¶ 01 Before You Start
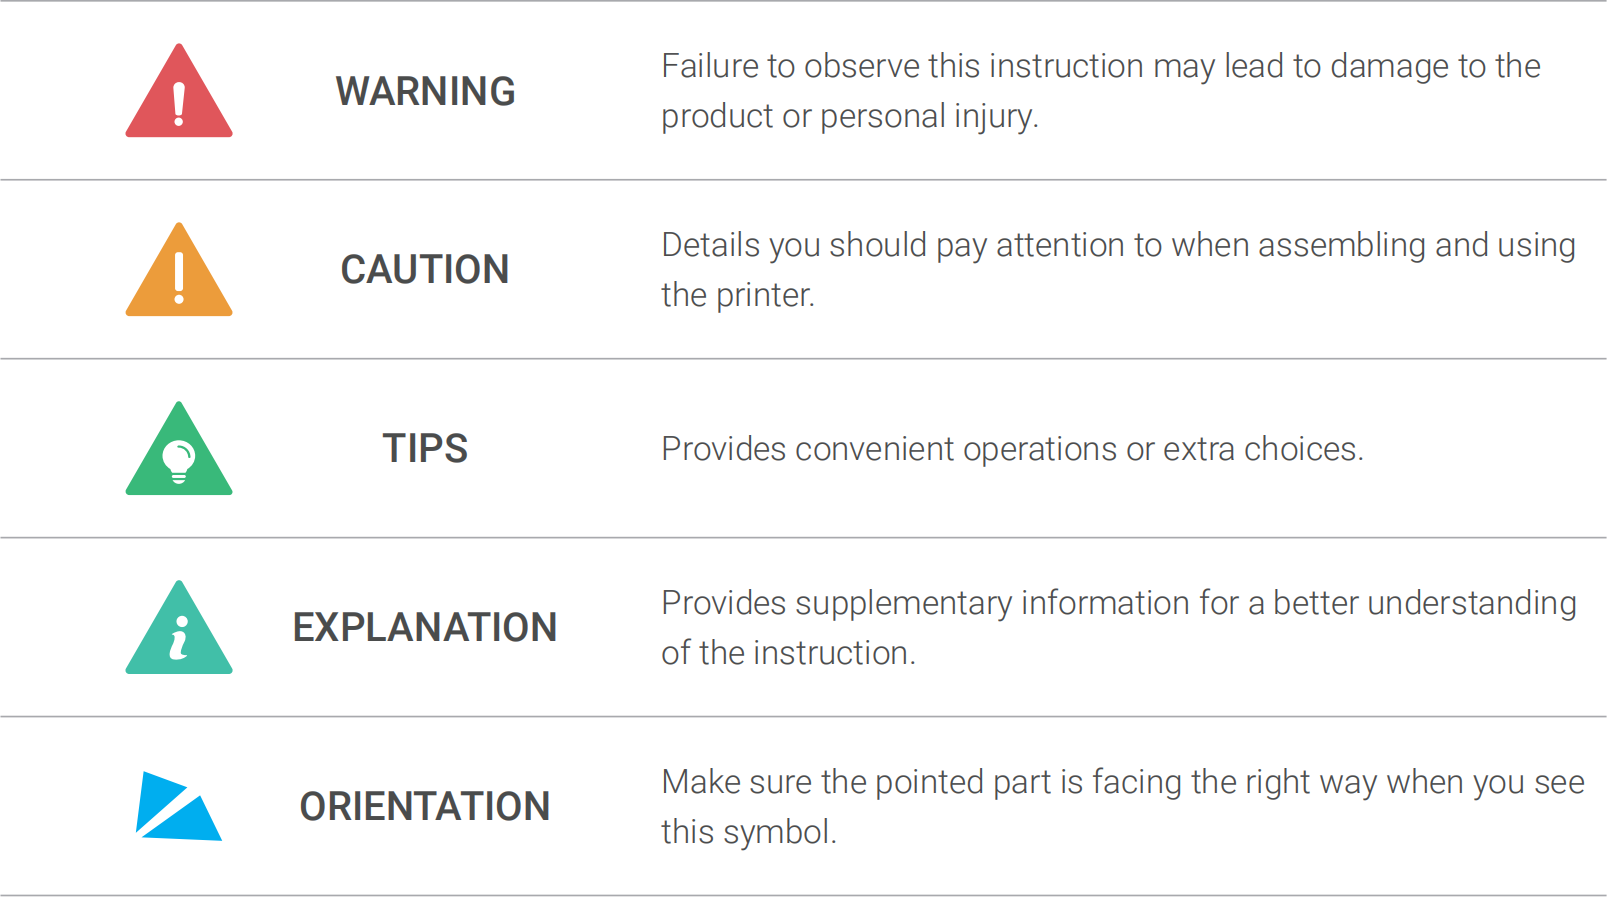
¶ Used Symbols

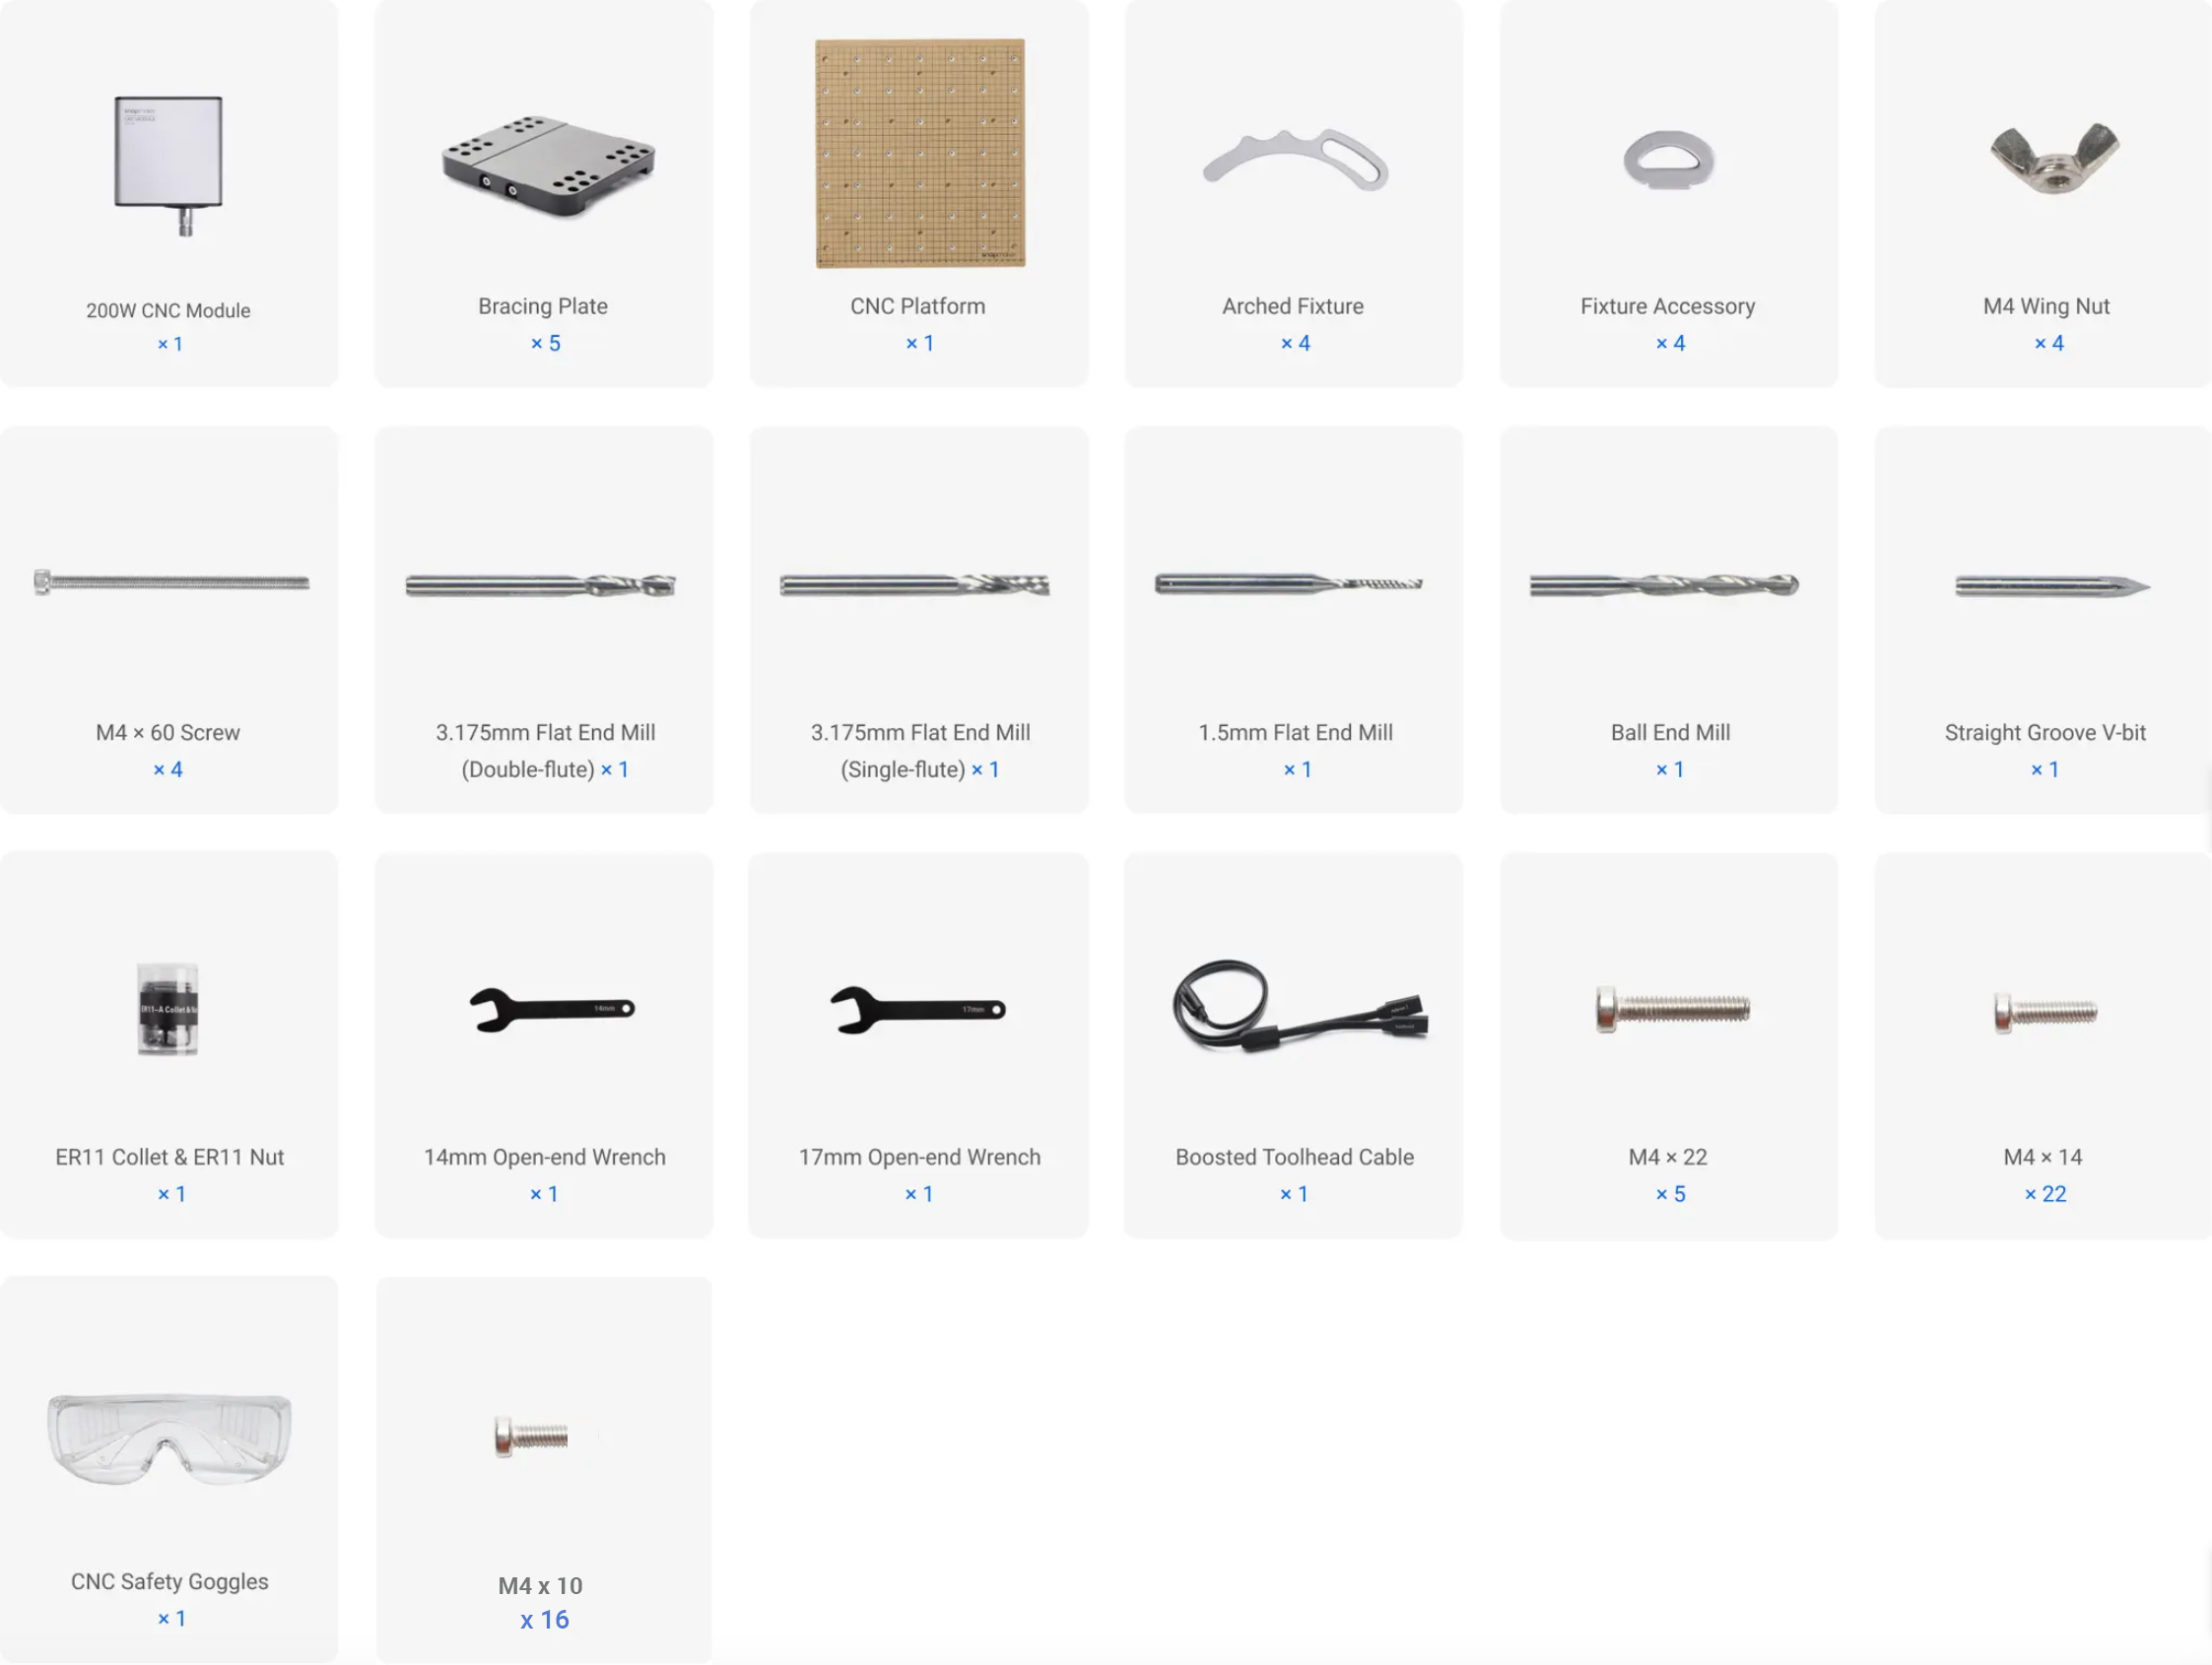
¶ Parts List
¶ For A250/A250T/A350/A350T

¶ For F250/F350

The M4 × 22 screws are used for installing the 20W/40W Laser Module. The M4 × 10 screws are used for installing the CNC Carving Platform.
¶ 02 Machine Assembly
¶ 03 Machine Configurations
¶ 3.1 Software updating
- Download the latest version of Snapmaker Luban from https://snapmaker.com/snapmaker-luban.
If you have already installed Snapmaker Luban on your computer, ensure that its version is 4.11.0 or later.
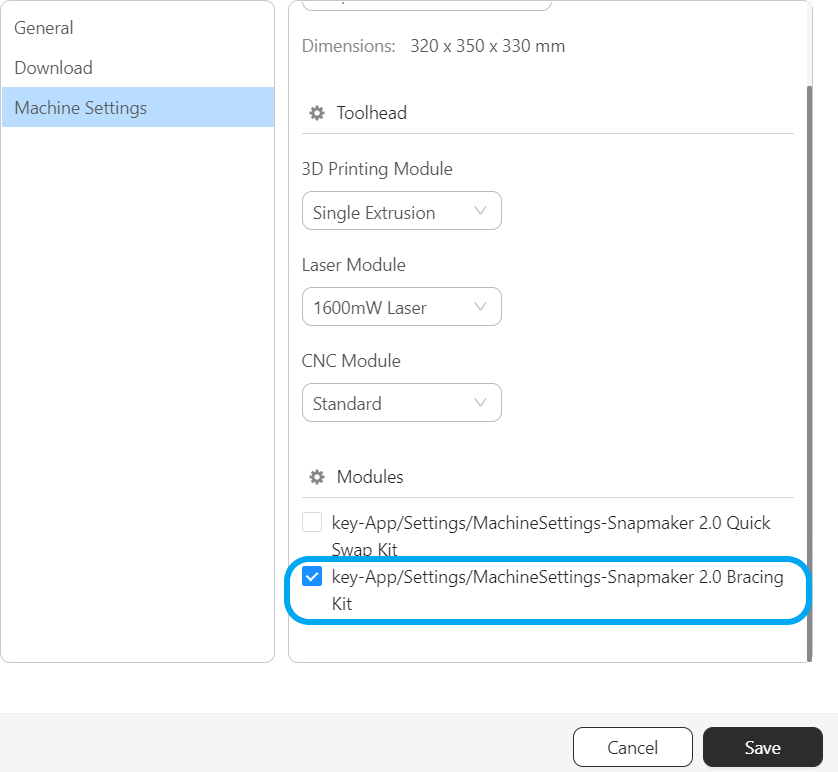
- Launch Snapmaker Luban, click Settings > Machine Settings in the menu bar to select Snapmaker 2.0 Bracing Kit and save the settings.

¶ 3.2 Firmware updating
Before use, update the firmware to version 1.19.0 or later. For Touchscreen installed with the firmware of V1.9.0 or later, you can update via Wi-Fi or USB flash drive. For firmware previous to V1.9.0, update only via USB flash drive.
Wi-Fi Updating
- Turn on the machine.
- Connect your machine to a Wi-Fi network.
- Swipe left on the touchscreen, then tap Settings > Firmware Update > Check for Updates > Update Now > Complete.
- Turn off the machine. Wait for 5 seconds, then restart the machine.
USB Flash Drive Updating
- Download our firmware from https://support.snapmaker.com.
- Insert the USB flash drive into the controller, then turn on the machine.
- Swipe left on the touchscreen, then tap Files > USB, select the firmware file to update.
- Turn off the machine. Wait for 5 seconds, and then restart the machine.
¶ 3.3 Enabling bracing kit feature
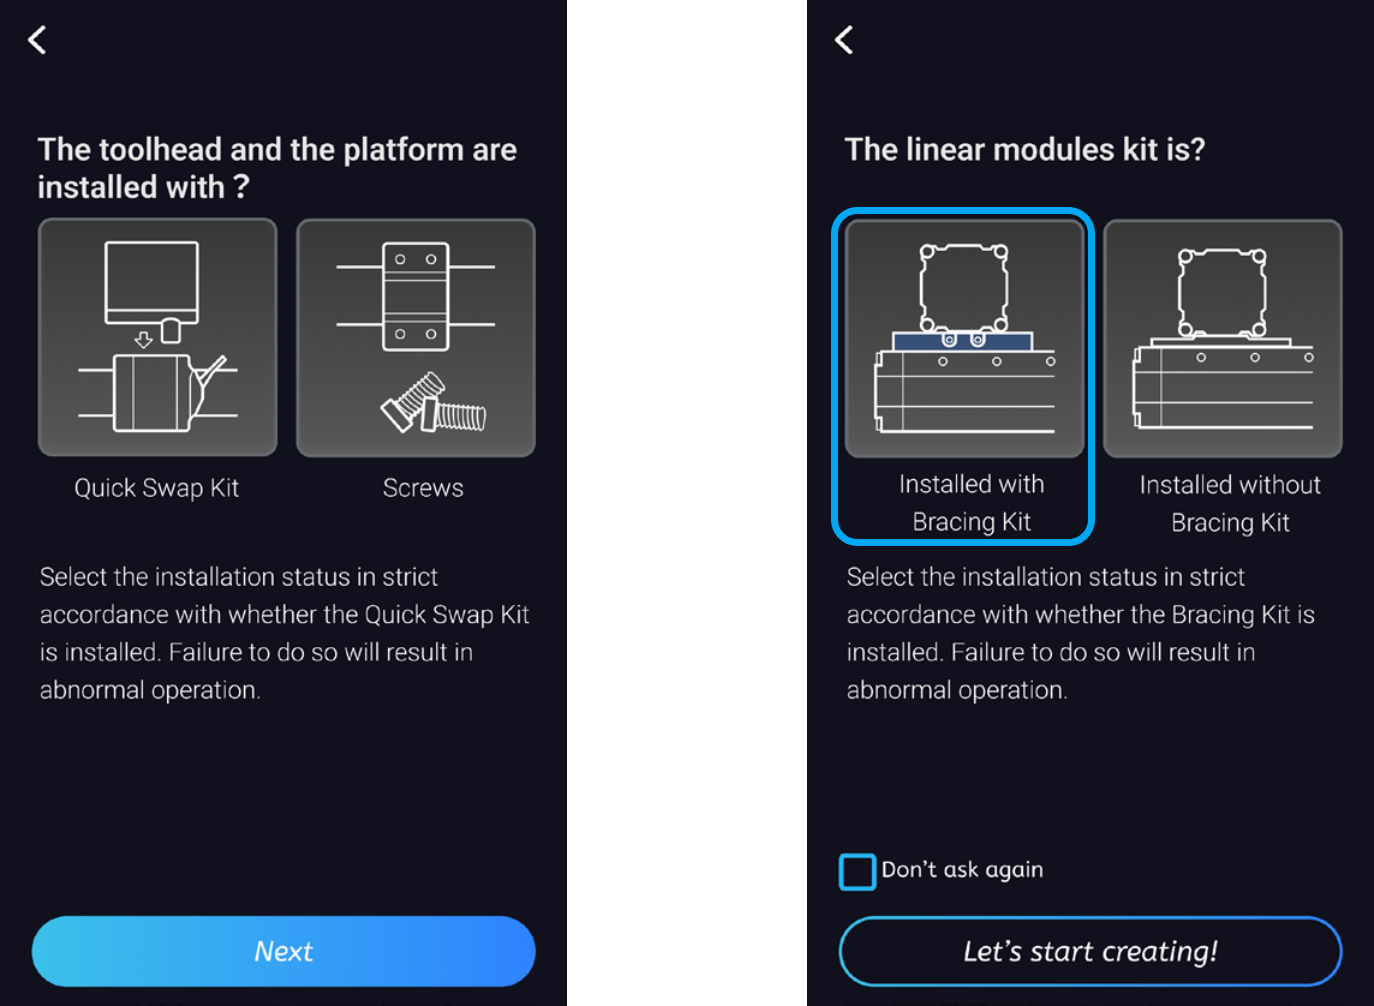
Swipe left on the touchscreen, then tap Settings > Quick Swap Kit/Bracing Kit Install Status, select the installation status.

¶ 3.4 Recalibrating
After installing the bracing kit, it is required to recalibrate the 3D printing and laser function. Refer to the respective Quick Start Guides based on the installed toolhead.
3D Printing Module
Dual Extrusion 3D Printing Module
1600mW Laser Module
2W Infrared Laser Module
10W Laser Module
20W/40W Laser Module
If you need to use the machine after removing the bracing kit, swipe left on the touchscreen, tap Settings > Quick Swap Kit/Bracing Kit Install Status to change the installation status, then recalibrate the 3D printing and laser function.
¶ 04 Start Your First Job
To bring your first job into the world, refer to section 04 How to CNC Carve for detailed instructions.