¶ 01 What is Snapmaker Luban?
Snapmaker Luban (Luban hereinafter) is a free, all-in-one open-source software tailored for Snapmaker machines. Whether you're working with 3D printing, laser engraving, or CNC carving, Luban provides a user-friendly interface to seamlessly manage your creative projects. Get ready to unlock the full potential of your Snapmaker with Luban!
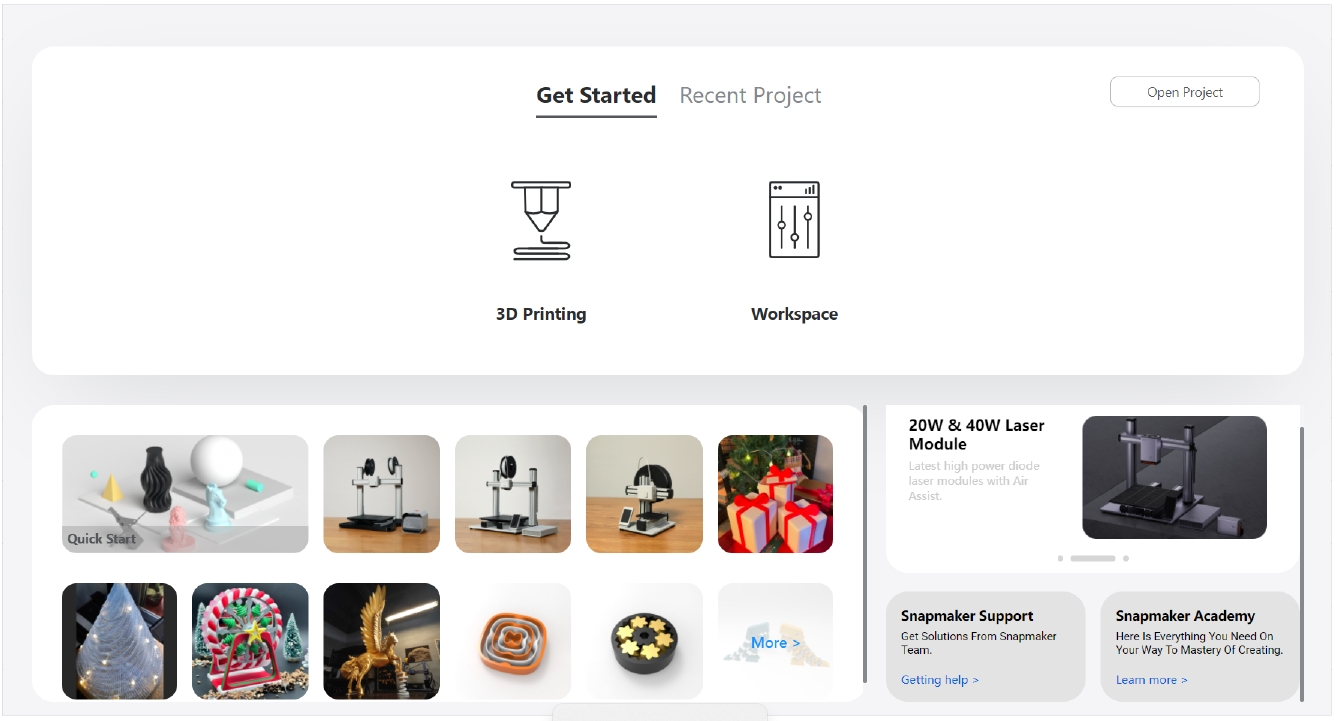
¶ 02 Download, Install & Update
If you have already installed Luban, we recommend you to update it to the latest version for the best user experience.
¶ 03 Configuration Wizard
If you are installing Luban for the first time, Luban will automatically pop up the Configuration Wizard, guiding you through the initial setup.
If you want to change these settings later on, click Settings on the top hidden menu.
¶ Step 1 Select Language
Please select a preferred language for your Luban interface.
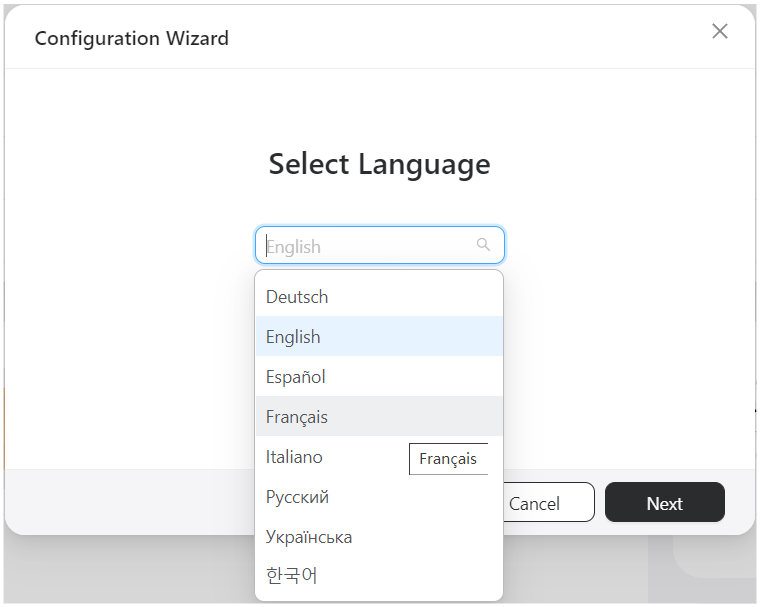
Currently, English, Chinese and German interface languages are well-developed, while other languages are still actively being improved.
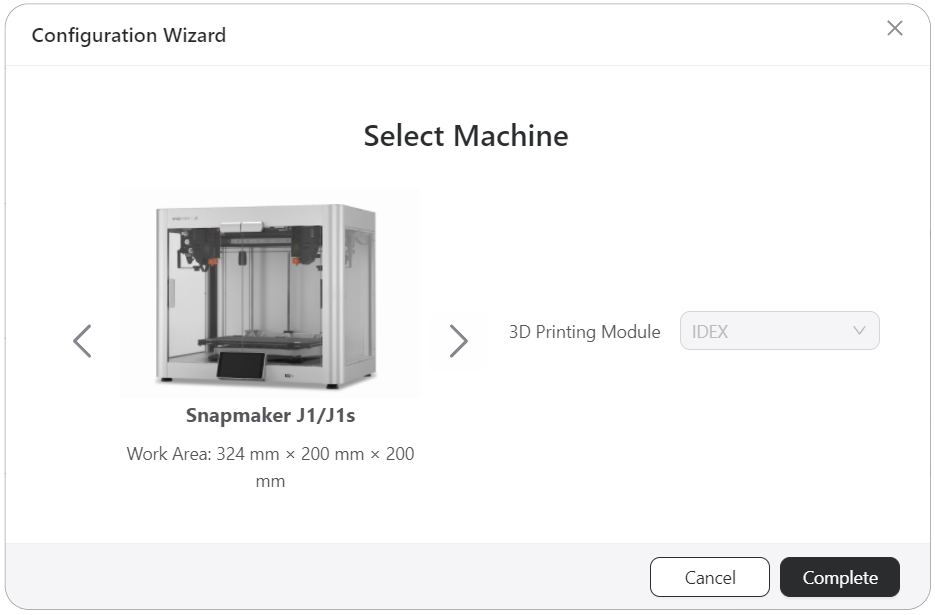
¶ Step 2 Select Machine
Please select the correct machine type. Then click Complete when finished.
¶ 04 Connect the machine to Luban
It is recommended to connect the machine to Luban before starting your first job. Luban supports the connection via Wi-Fi or via the serial port. For details, please refer to the following instructions:
¶ 05 Start Your First Job
Since V4.5, Luban supports IDEX seamless head change. When switching between two nozzles, it can achieve seamless switching, which can significantly reduce any waiting time. However, you need to make sure that you have upgraded the firmware to the latest.
- Click 3D Printing to enter 3D Printing G-code Generator.
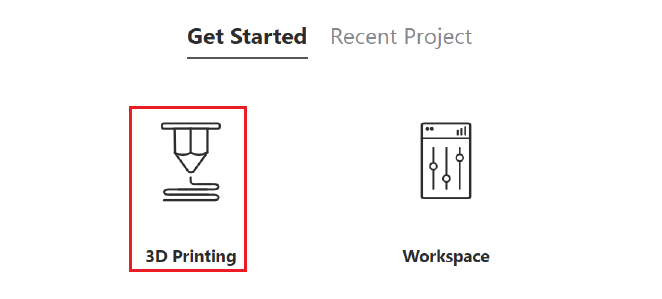
If you are using 3D printing function for the first time in Luban, Luban will automatically pop up the Beginner's Guide to guide you through the first job. You can follow Luban's Beginner's Guide to get familiar with Luban's 3D printing workflow. To access Beginner's Guide later on, click Help > Beginner's Guide on the top hidden menu.
To access Beginner's Guide later on, click Help > Beginner's Guide on the top hidden menu.
- Click
 to import an object file into Luban. Luban-supported file formats include: .stl, .obj, .amf and .3mf.
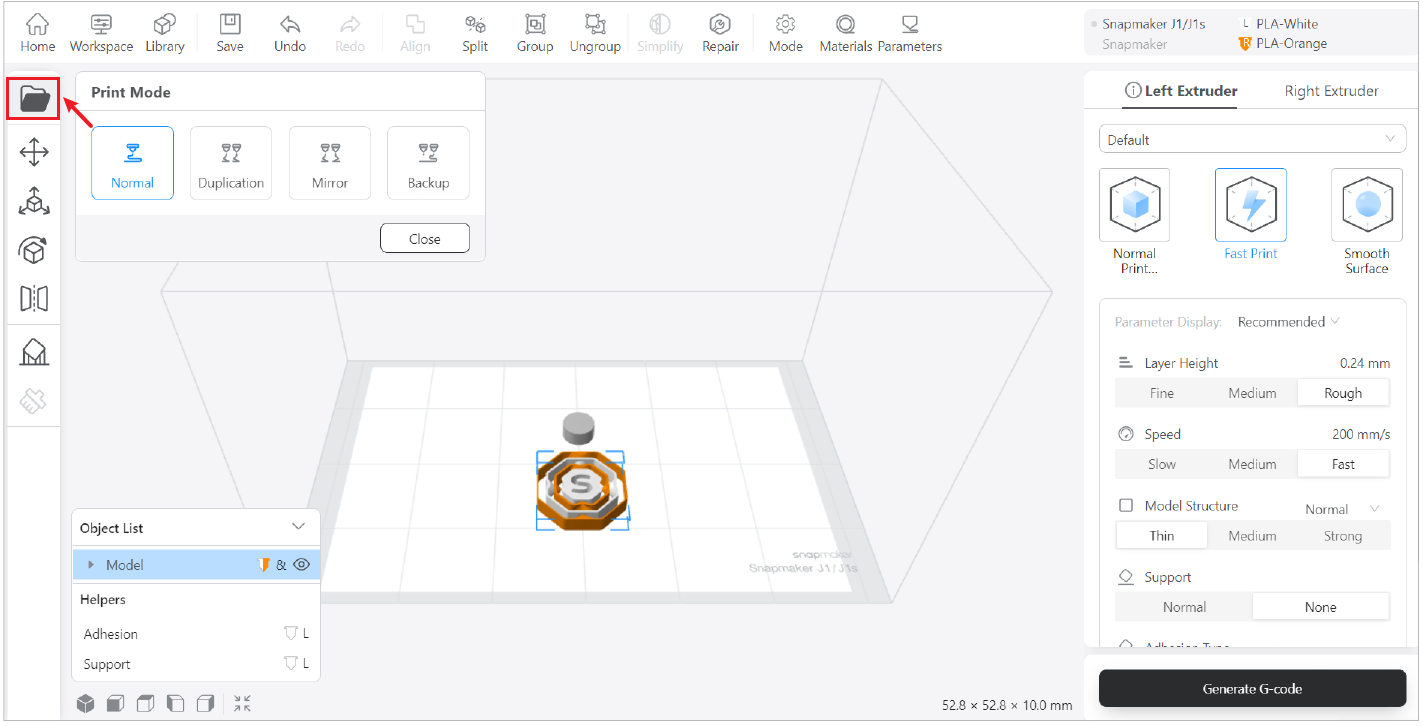
Please note that there may be bugs when importing files in .amf and .3mf. If you encounter any problems, please submit a support ticket to contact our technical support team.
The grey cylinder generated together with your model is the prime tower, which is enabled for dual extruder printing by default. When changing colors, there might be some residual material left inside the nozzle. With prime tower enabled, the extruder can extrude these residues out during printing the prime tower. As a result, the surface of the prime tower absorbs a lot of defects and looks hairy, while the model is more be more clean and tidy.
- There are four print modes available, namely, Normal, Duplication, Mirror and Backup. You can choose one based on your own print needs.
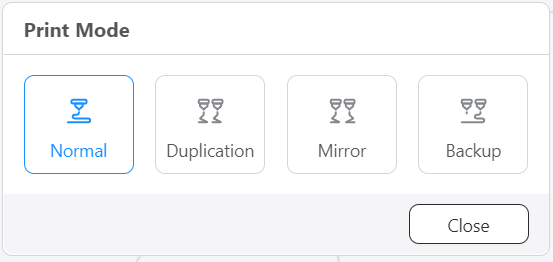
To know more about the available print modes, please refer to -Print Modes.
-
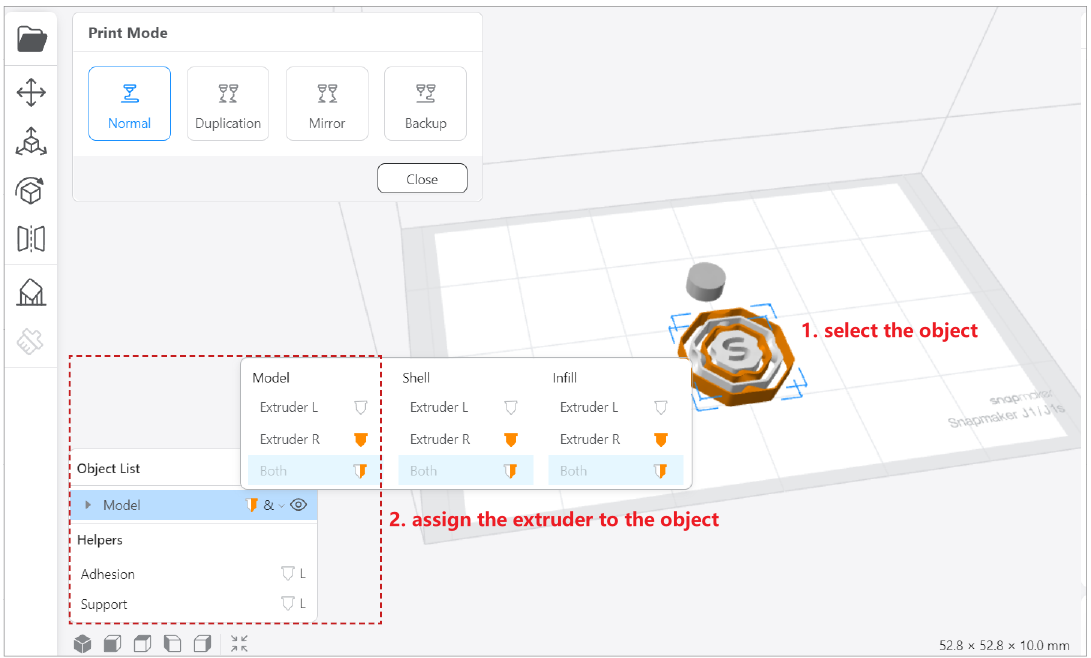
Select the object. Then in the Object List, assign extruder for the selected objects. In such way, Luban will know which extruder you want to use for the print.
-
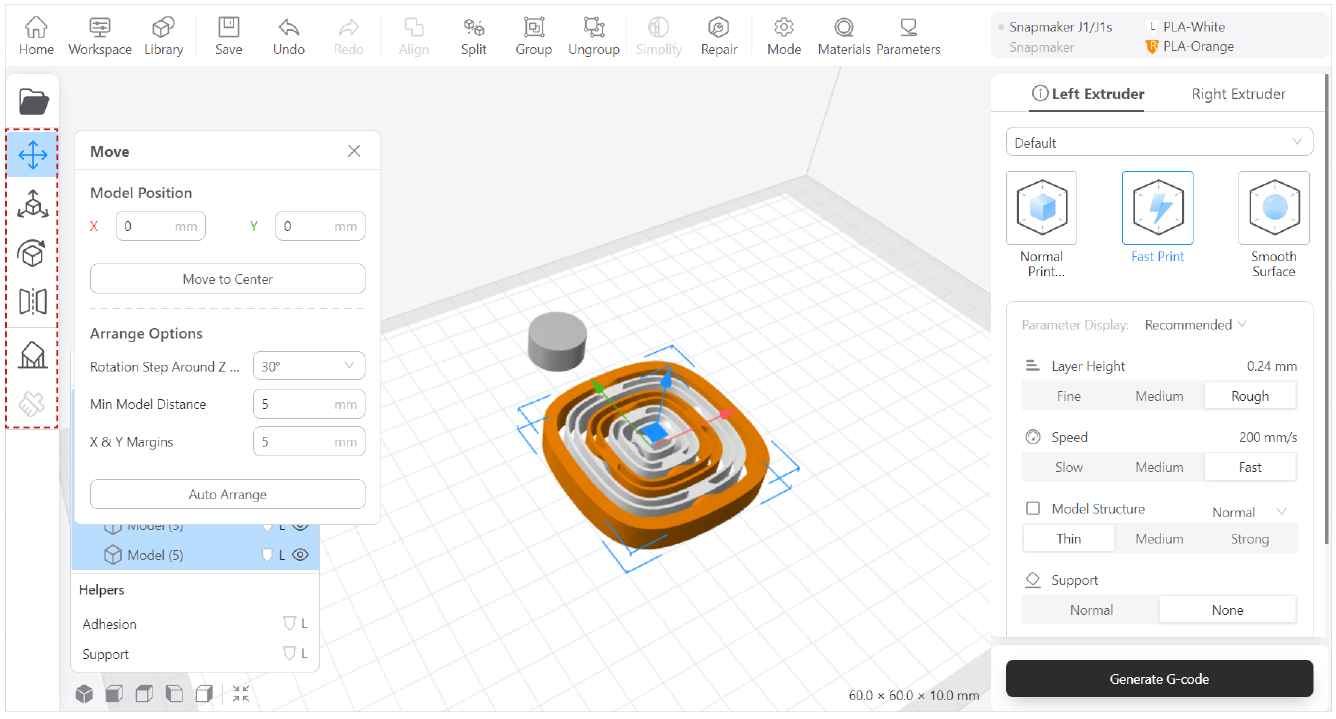
Place or transform the object using Move, Scale, Rotate, Mirror, Support and Mesh Painting tools.
-
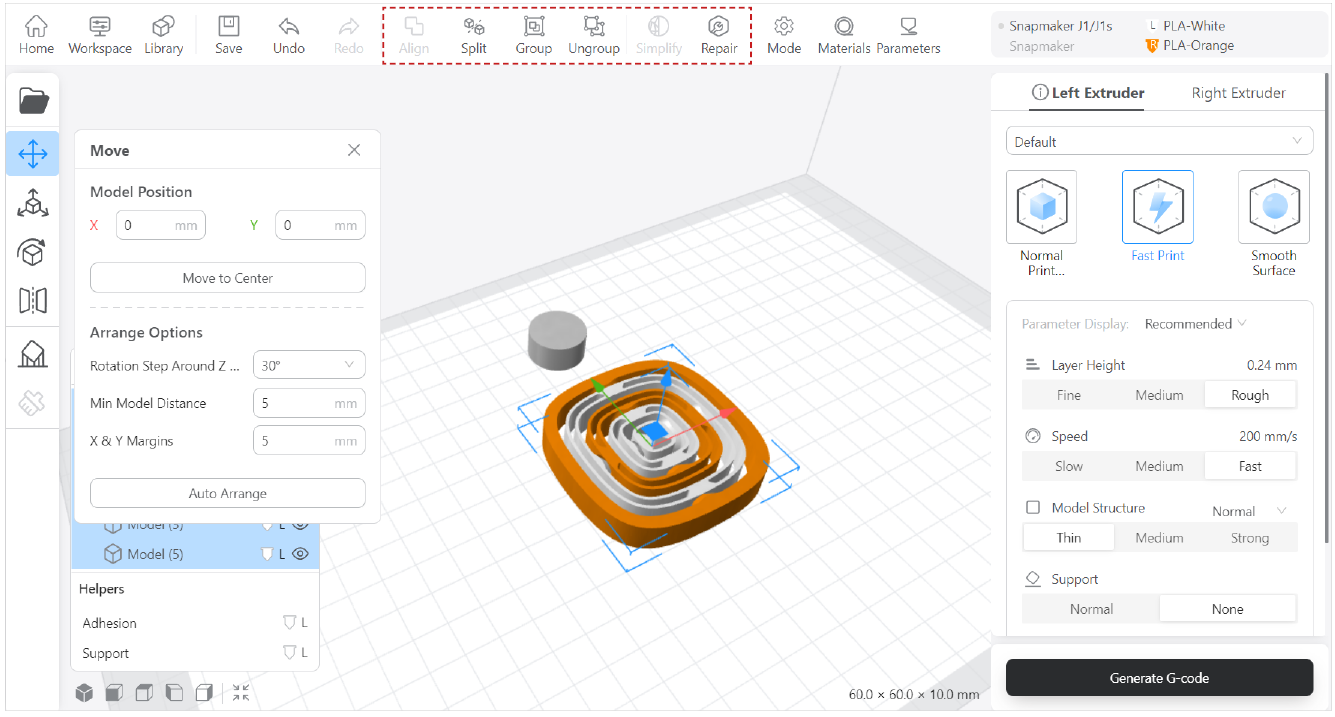
Based on your needs, arrange and edit objects with Align, Split, Group, Ungroup, Simplify and Repair tools.
-
Click the top right conner of interface to enter Select Material window, then specify the material for the left and right extruder, respectively.


Make sure that the filaments that will be loaded on the machine later on are the same as the ones assigned in Luban. Otherwise, print failure might occur.
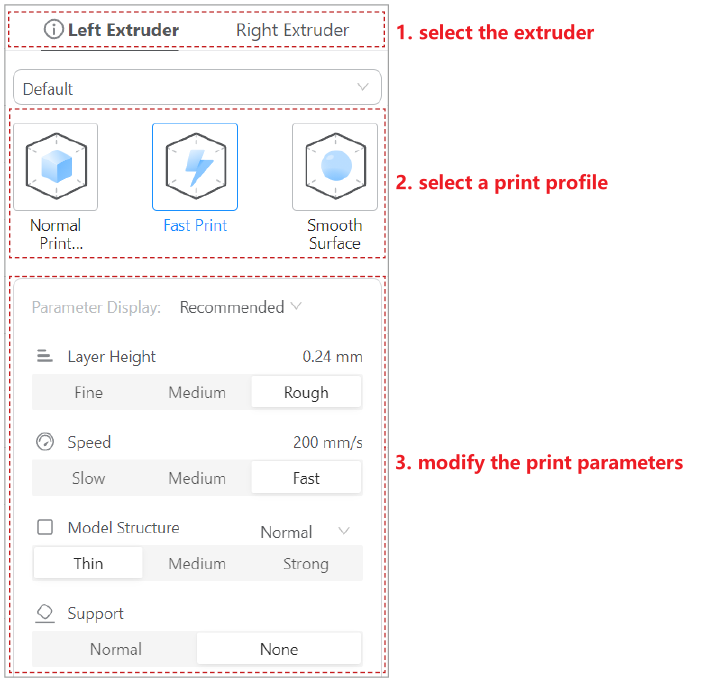
- On the right configuration bar, for each extruder, select a print profile (a set of settings you want to print the model in). Then configure the print parameters if needed.
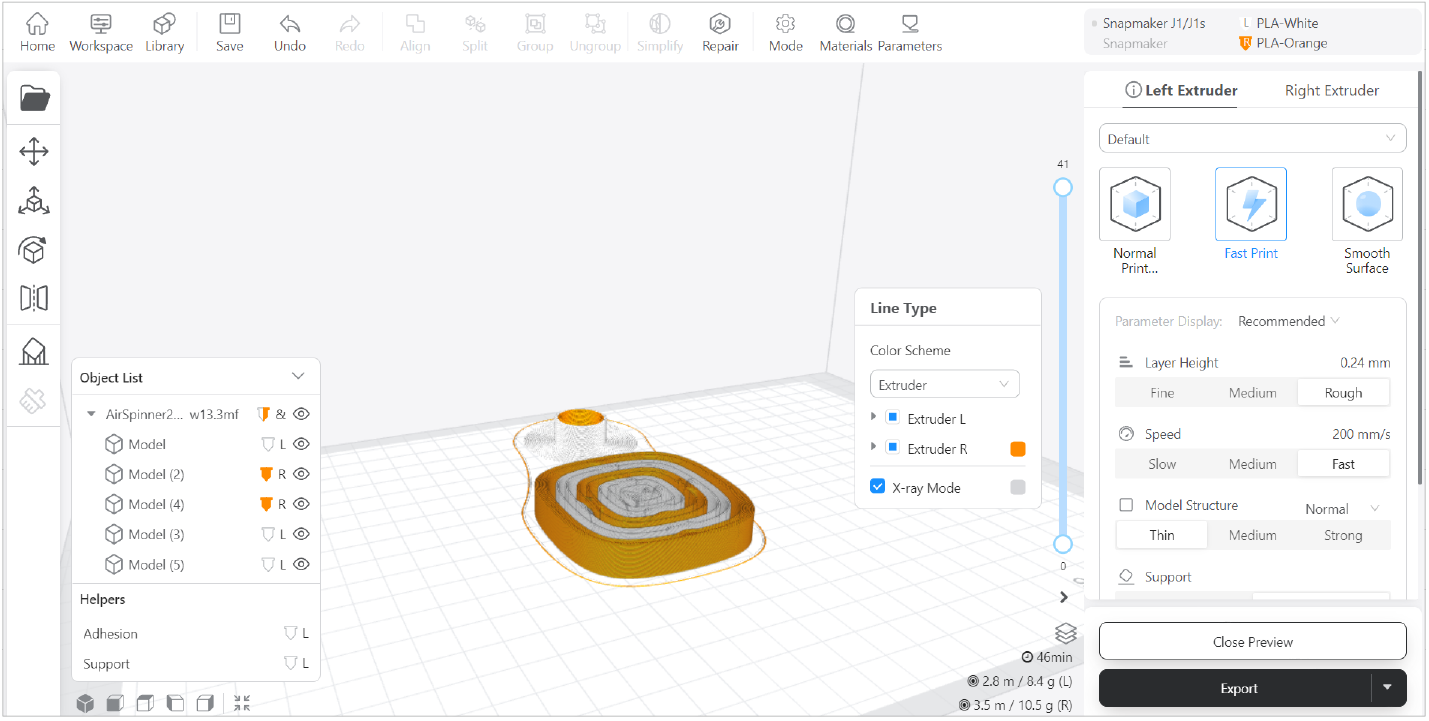
- Click Generate G-code. Once done, Luban will direct you to the Preview pane to preview the sliced effect.
- Click Export > Load G-code to Workspace.
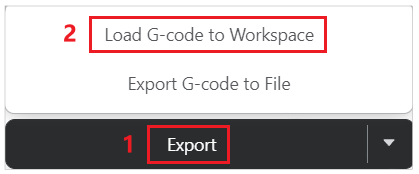
Alternatively, you can also click Export G-code to File to export it to USB flash drive, then transfer it to your machine and start printing on Touchscreen.
- Click Start on Luban.
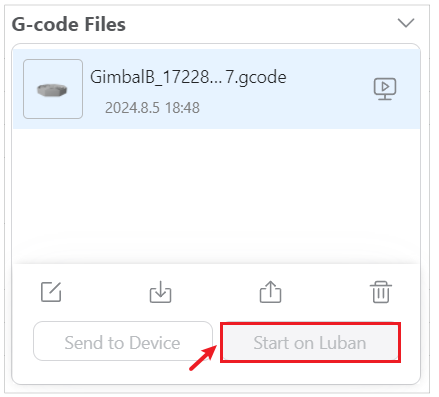
Alternatively, you can also click Send to Device to send the G-code file to Touchscreen and print it there.
Before starting the job, make sure that you have finished all the calibrations and loaded the filament.