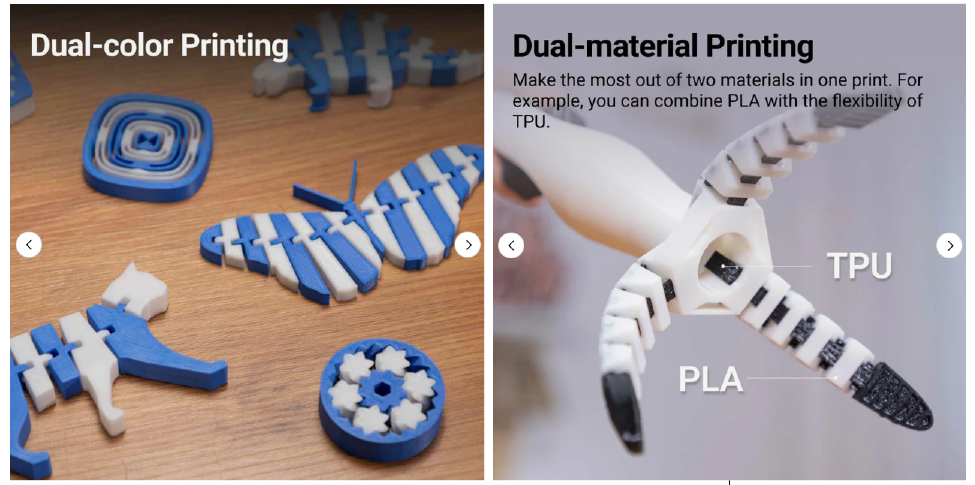
Dual-color/dual-material printing is the feature that separates Dual Extrusion Module(or IDEX) from the single extruder printer. The printer automatically switches between different colors or materials as designated. Each nozzle can be programmed to achieve the optimal temperature for each material, enabling you to apply different colors or combine different materials into the same print.
Only Dual Extrusion Module or IDEX support dual-color or dual-material printing. Therefore, make sure you have selected the correct machine type and module type in Machine Settings.
Combining materials enables you to obtain different mechanical properties just in one print, thus resulting in more functional prototypes. For more instructions about filament properties, refer to our Filament library.
¶ Convert Integrated Model to Dual Color/Dual Material Prints
To use this function, you need to update Luban to V4.8 and above.
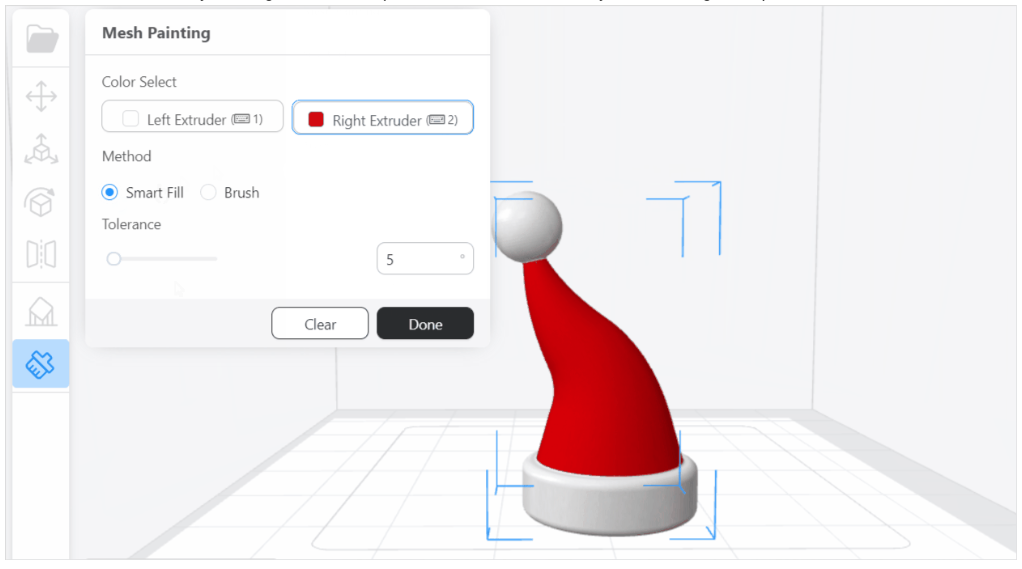
The integrated model is designed and exists as a single model. To print it with dual colors/materials, you need to use Luban's Mesh Painting tool to paint the model with the colors/materials that are associated with different extruders.
-
Click 3D Printing on homepage to enter 3D Printing G-code Generator.

-
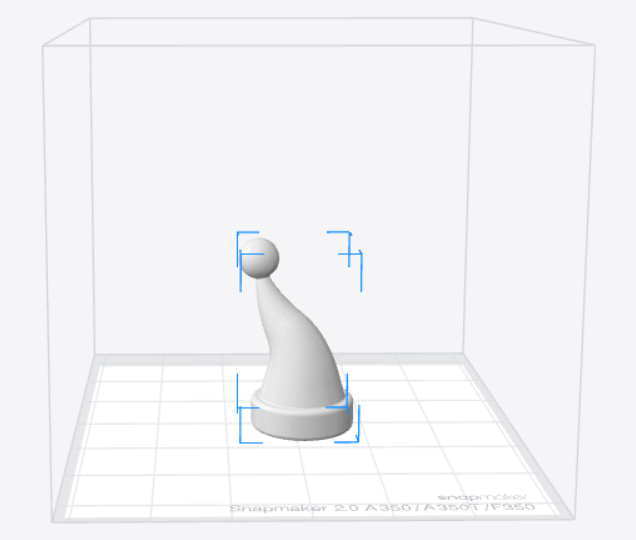
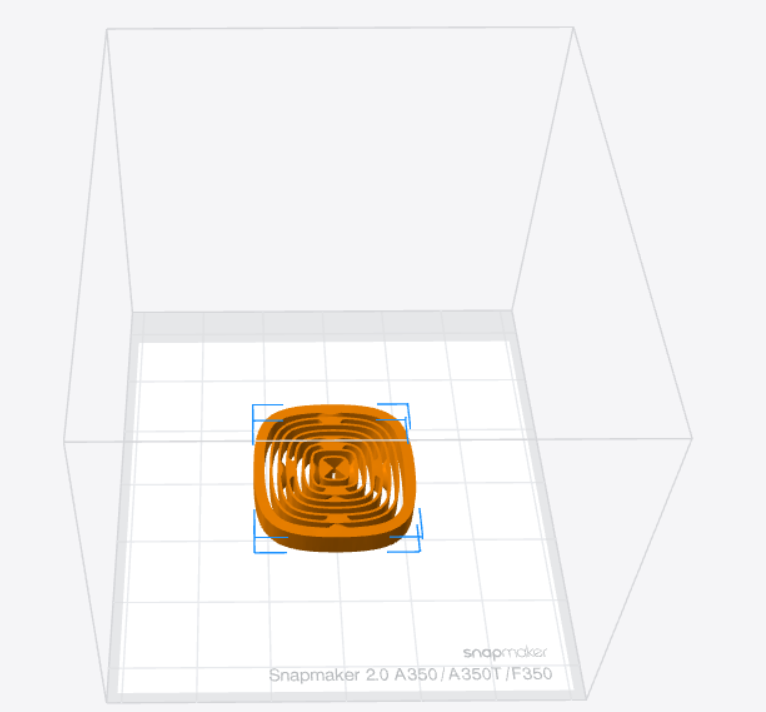
Drag the model into Luban.
If you are using J1/J1s machine, after importing the model, you will need to choose a proper print mode. Refer to Print modes of J1/J1s.
-
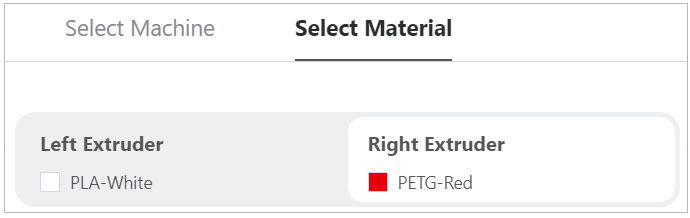
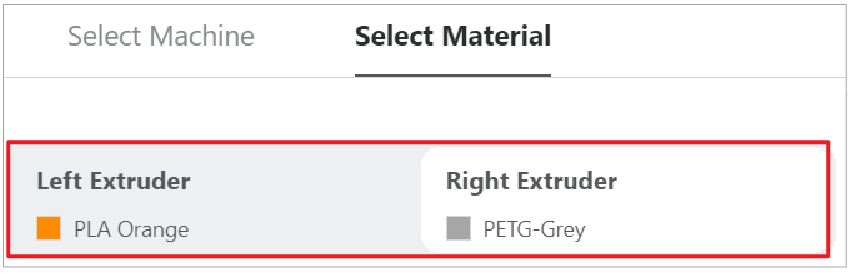
Assign left extruder and right extruder with different color/material as you preferred.
-
Use Mesh Painting tool to paint the area with the two materials you've assigned in Step 3.
-
Generate the G-code and preview the layers.
-
Start printing.
More extruders always mean more oozing. Whether it’s dual-material printing or dual-color printing, it is recommended to enable Prime Tower or Ooze shield. For detailed instructions, refer to Parameters > Left Extruder > Dual Extrusion Helper in Snapmaker Luban.
¶ Convert Multi-part Model to Dual Color/Dual Material Prints
The multi-part model consists of multiple parts, or say, sub-models; each part is designed and exists as a single model but can be seamlessly combined into one model in slicers. Under such case, you need to assign different materials/colors to different parts of a multi-part model.
-
Click 3D Printing on homepage to enter 3D Printing G-code Generator.
-
Drag the model into Luban.
If you are using J1/J1s machine, after importing the model, you will need to choose a proper print mode. Refer to Print modes of J1/J1s.
-
Assign left extruder and right extruder with different color/material as you preferred.
-
Assign different extruders to different parts of the model.
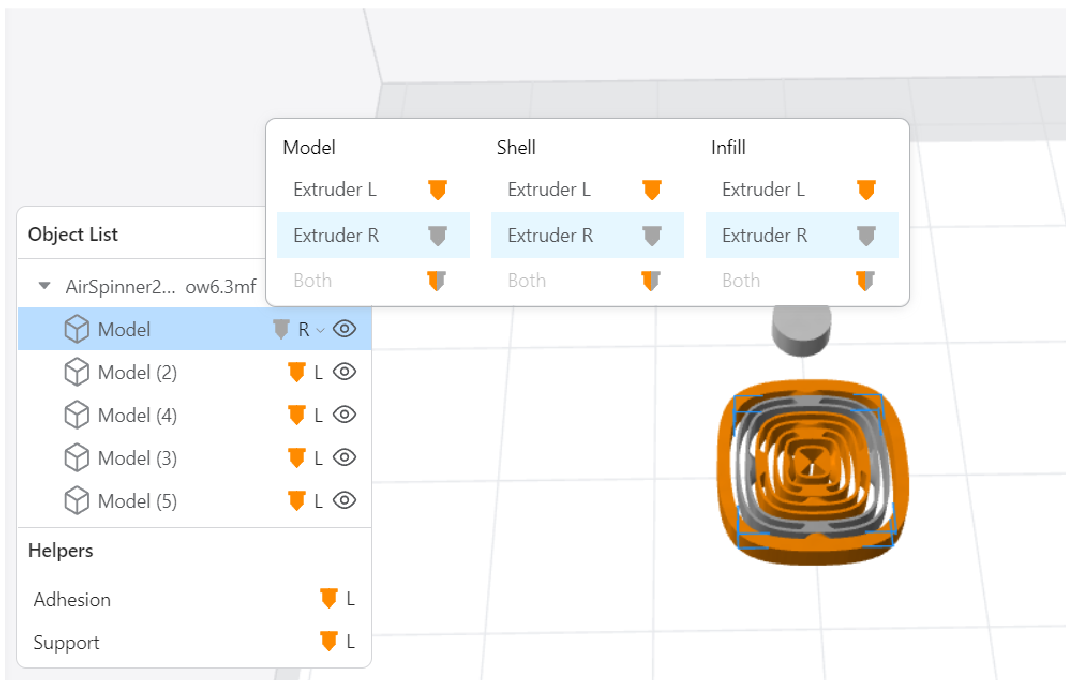
You can also assign shells and infill with different colors/materials, assign the body and the support with different colors/materials.
-
Generate the G-code and preview the layers.
-
Start printing.
More extruders always mean more oozing. Whether it’s dual-material printing or dual-color printing, it is recommended to enable Prime Tower or Ooze shield. For detailed instructions, refer to Parameters > Left Extruder > Dual Extrusion Helper in Snapmaker Luban.
¶ Print Support with Different Materials
Dual Extrusion Module or IDEX allows you to print supports with more convenient materials, e.g., break-away supports and dissolvable materials.
One extruder prints the majority of a part while the other extruder is only dedicated to support material. Technically, one of the most significant advantages of dual extrusion is its ability to combine a standard material with an easier-to-remove support material.
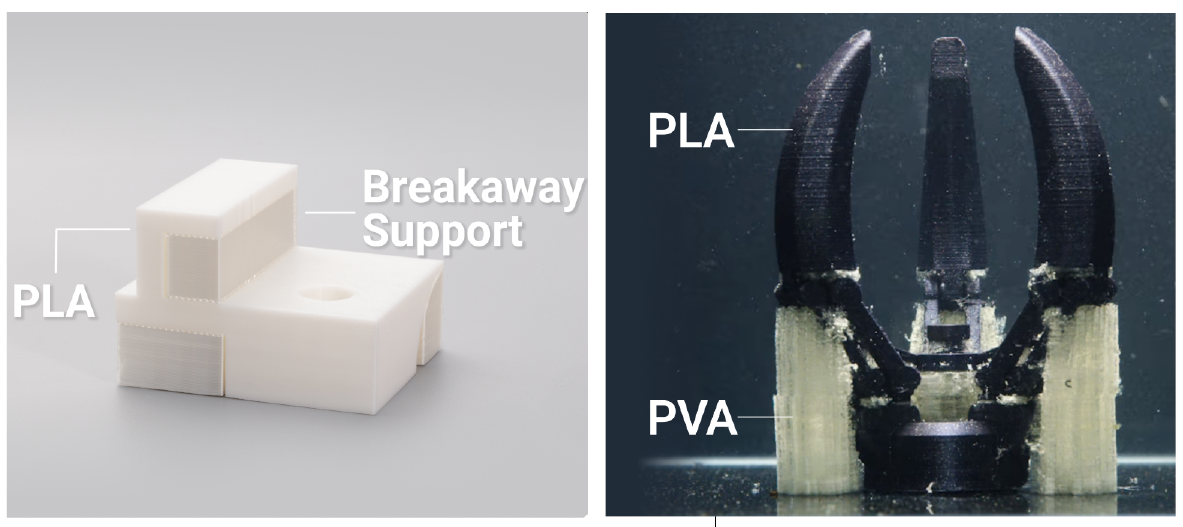
In addition to break-away supports, you might benefit a lot from soluble supports. Printing a part in a base material and its supports in a soluble material, which enables you to print much more complex parts with hard-to-reach internal supports, also ensures that no support marks are left on the final print. The most popular dissolvable filaments used for support structures are PVA and HIPS. PVA dissolves in water, while HIPS dissolves in limonene.
¶ Procedures
- Assign the expected materials to the left and right extruders, respectively.
For details, please refer to Assign materials to the extruder.
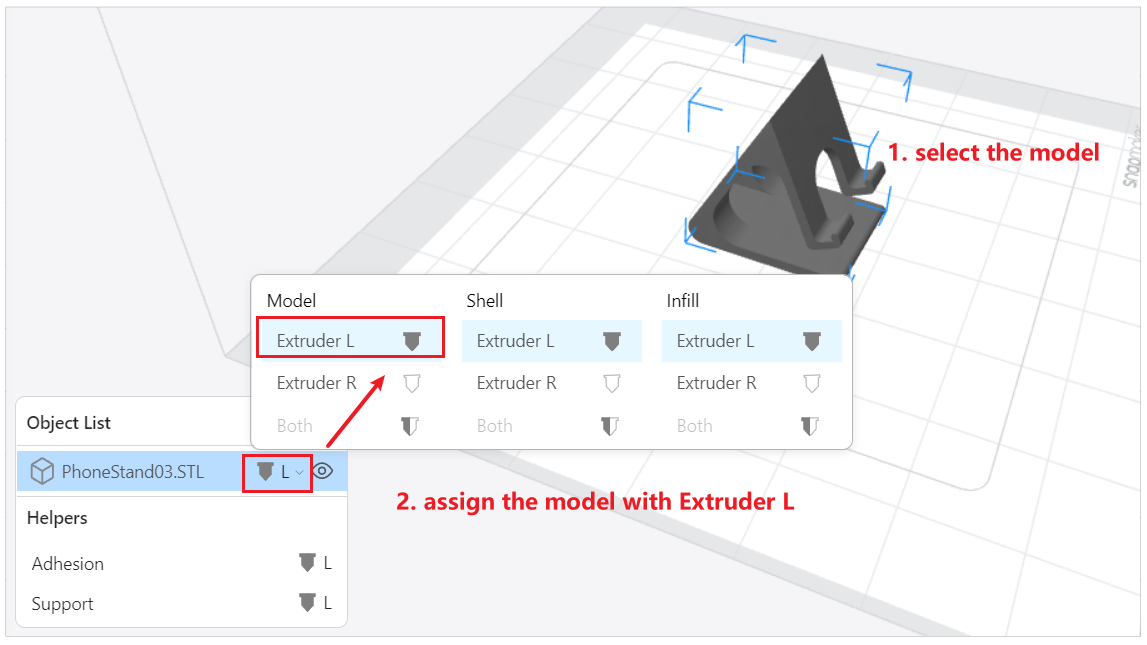
- Select the model. In the Object List, click the nozzle icon, then select an extruder, e.g., Extruder L.
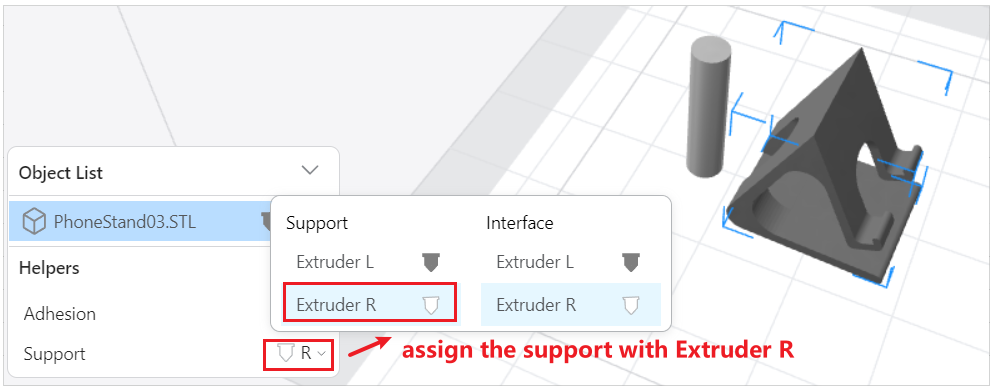
- Locate Support, click the nozzle icon, then select the other exrtuder, e.g., Extruder R.
- Generate G-code and preview the effects.
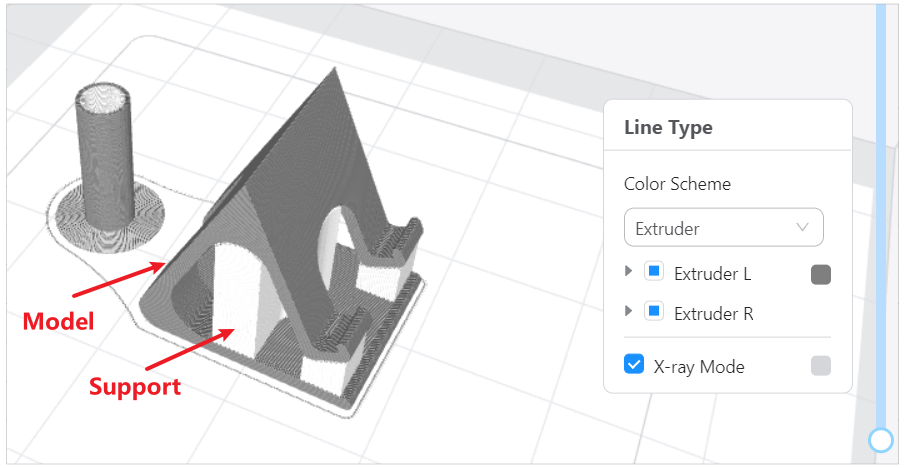
You can see that body of the model is printed with grey: the color of Extruder L; while the support is printed with white: the color of Extruder R.
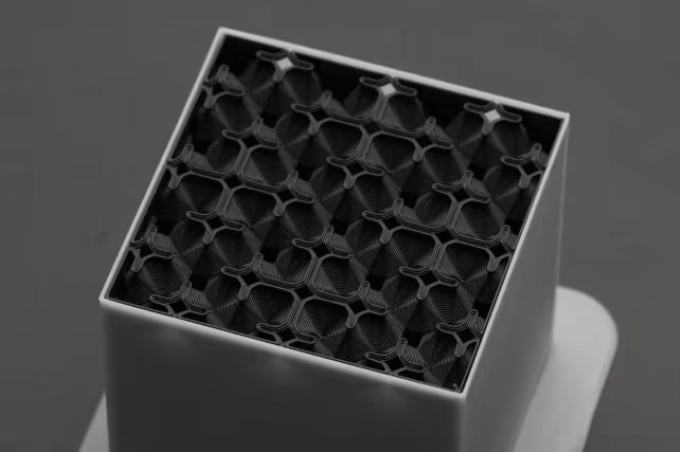
¶ Print Wall/Shell & Infill with Different Materials
By printing infill with economical materials plus a large-diameter nozzle, you can now spend most of your time and money budget on working the exterior to perfection.
¶ Procedures
- Assign the expected materials to the left and right extruders, respectively.
For details, please refer to Assign materials to the extruder.
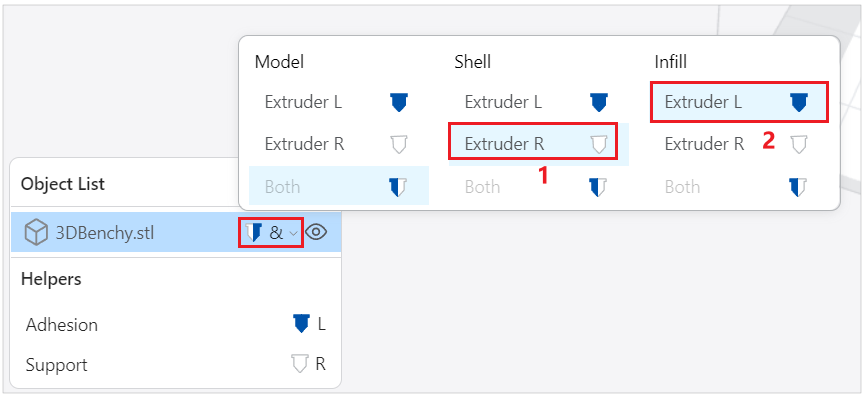
- Select the model. In the Object List, click the nozzle icon, select one extruder (e.g., Extruder R) for Shell and the other extruder (e.g., Extruder L) for Infill.
- Generate G-code and preview the effects.
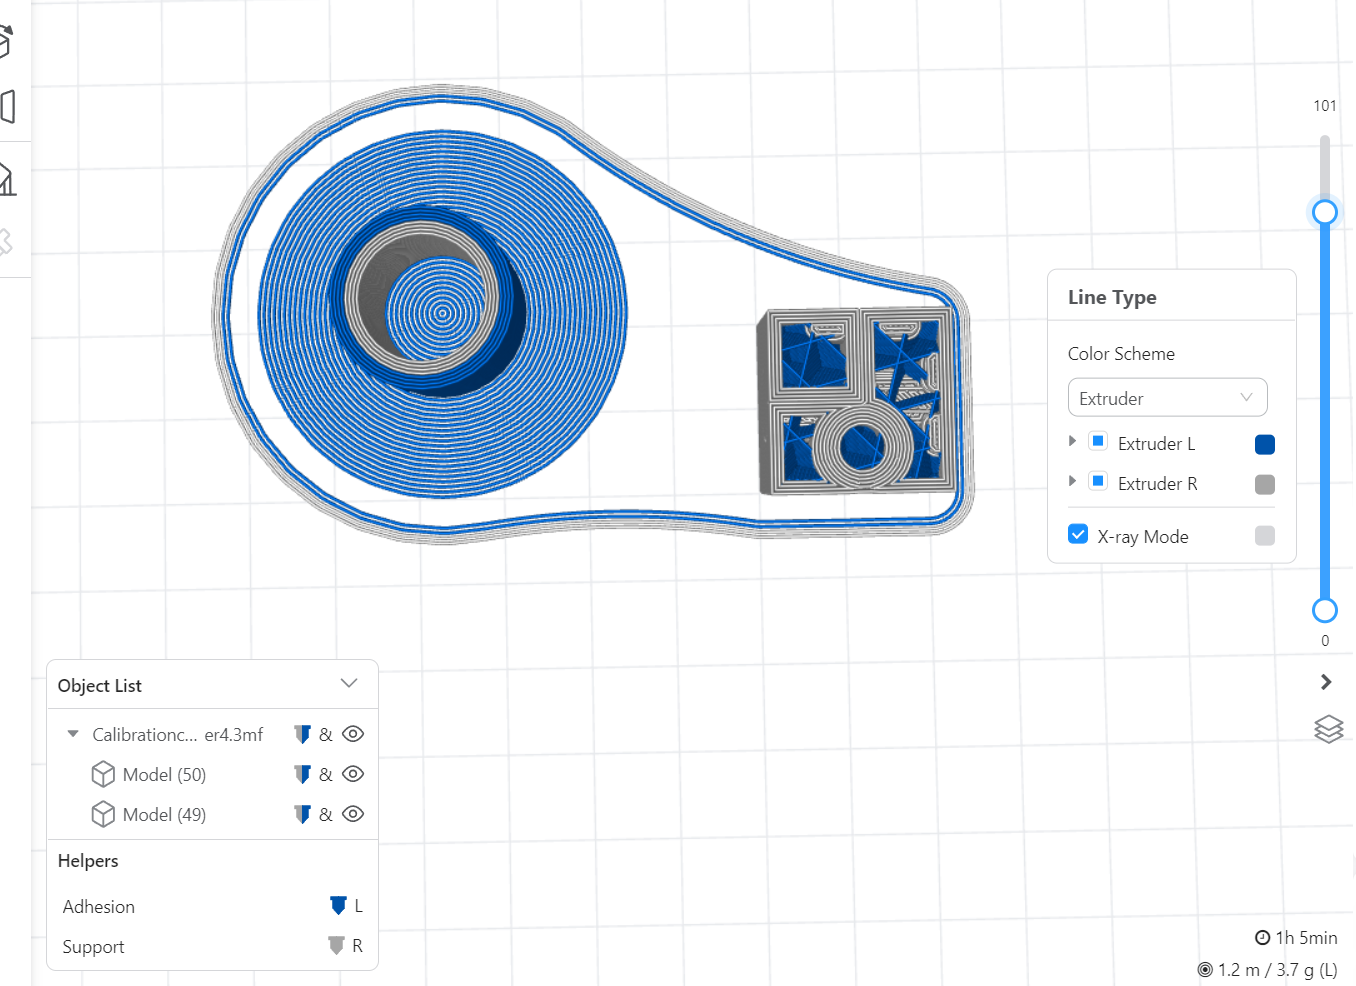
You can see that shell is printed with white: the color of Extruder R; while infill is printed with blue: the color of Extruder L.