¶ Step 1 Download & Installation
- Download Snapmaker Orca (hereafter Orca) either from the Snapmaker official website or Github.
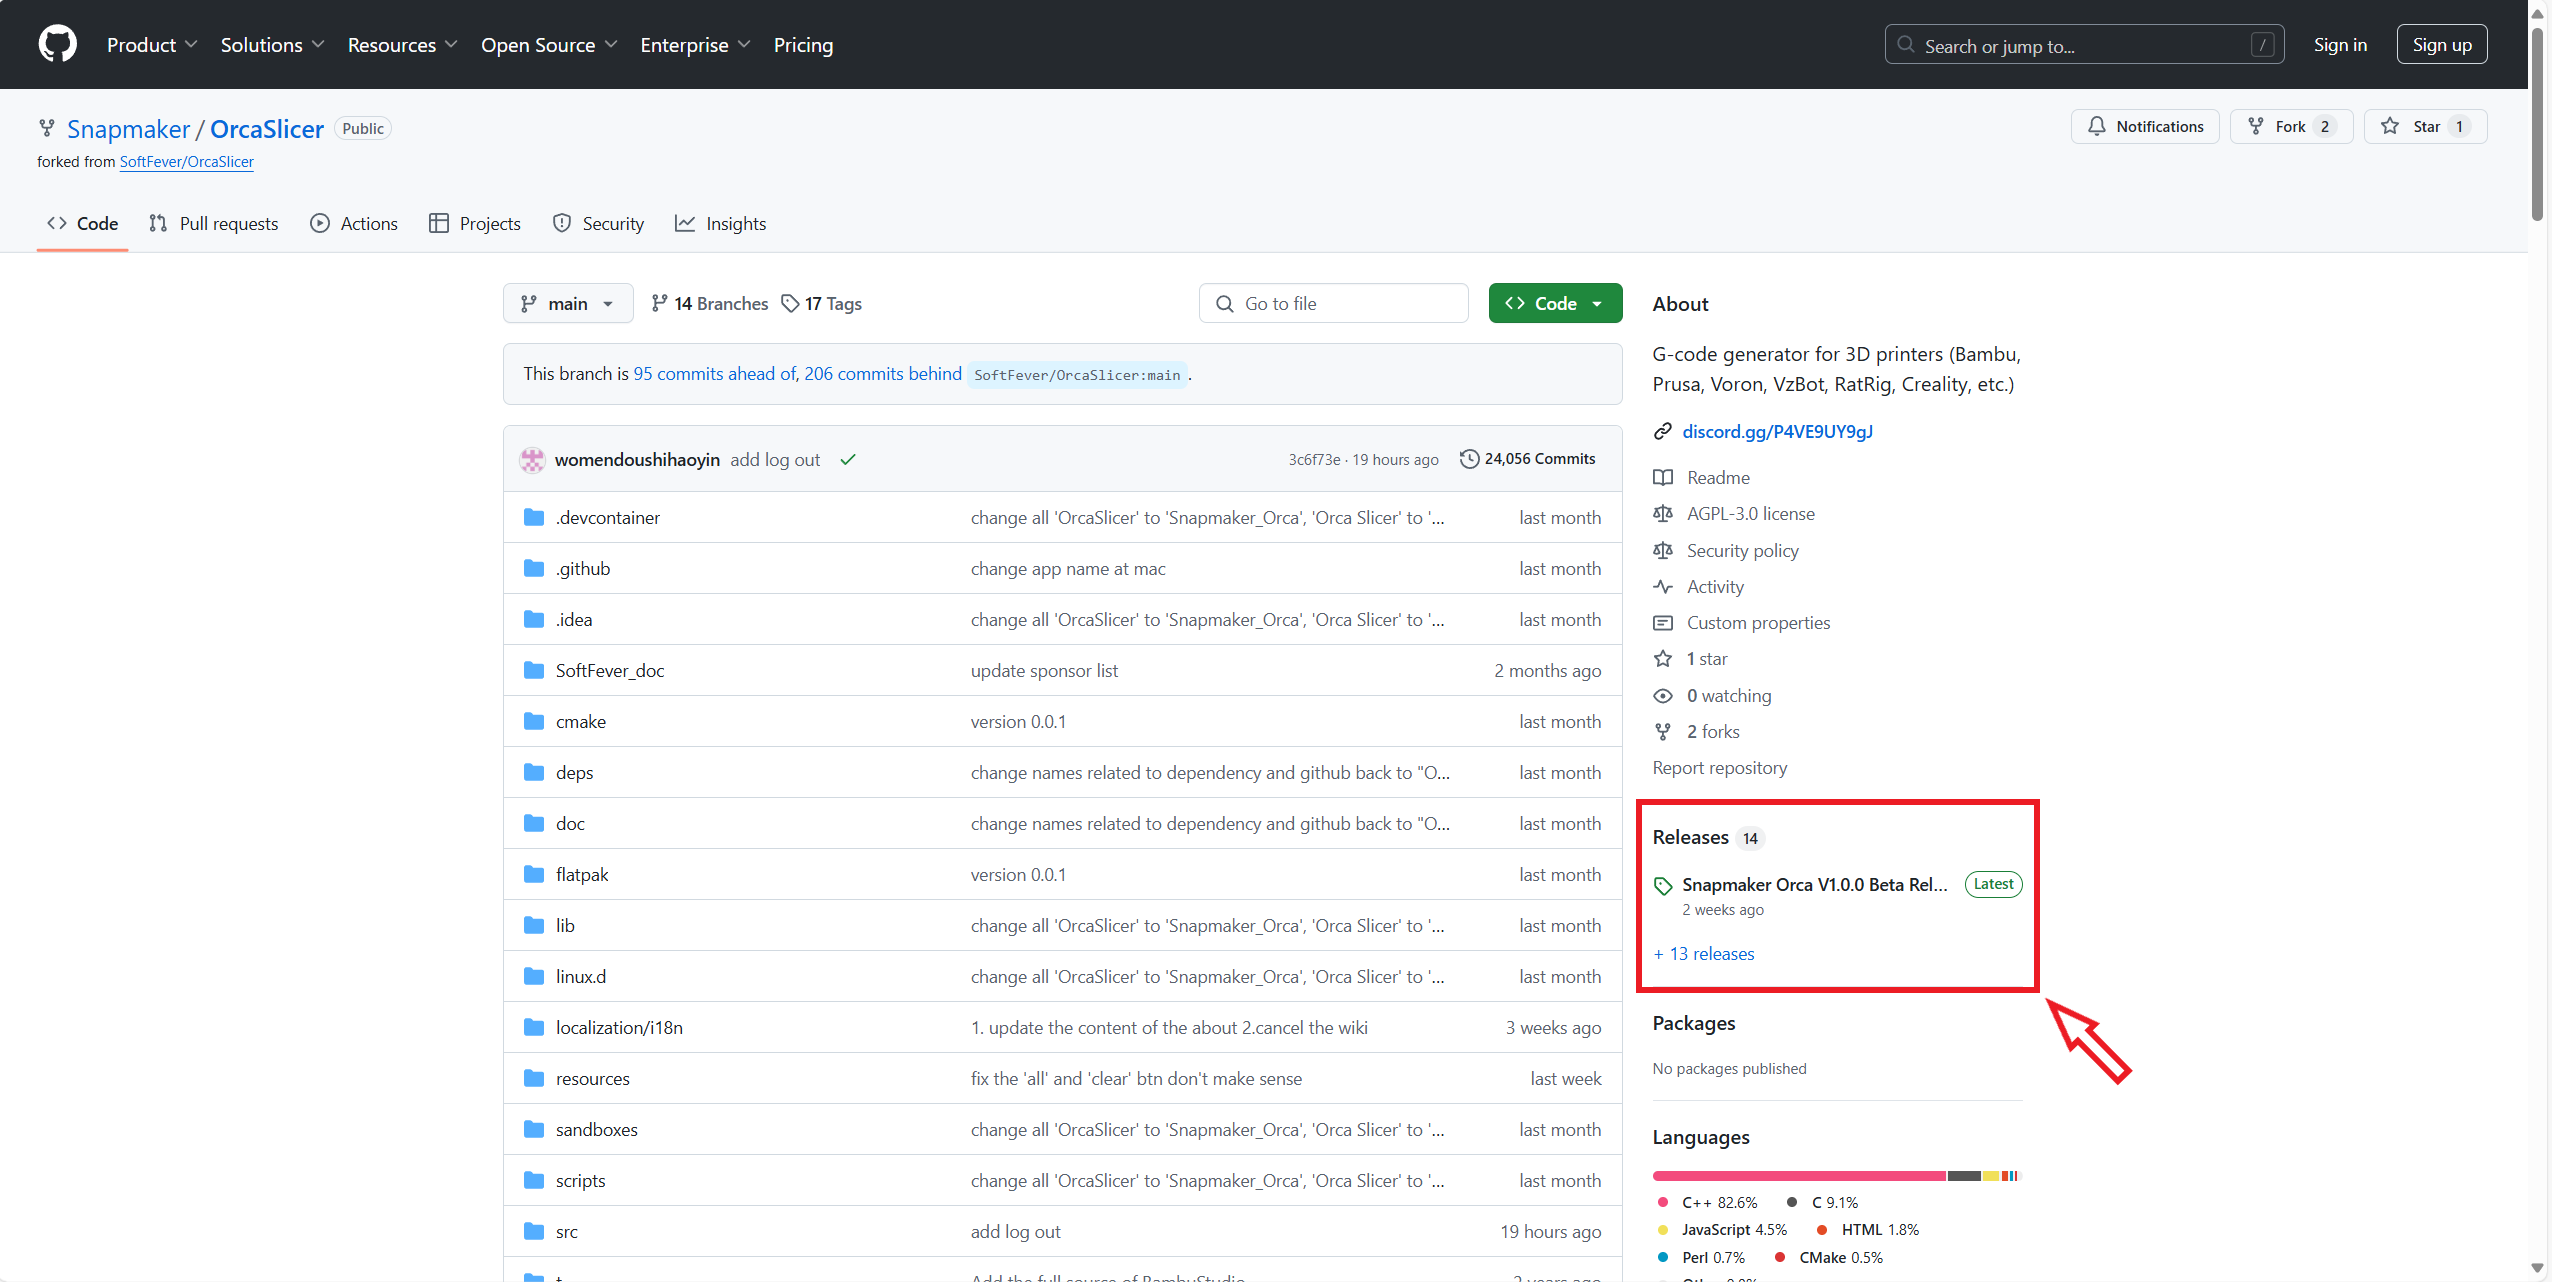
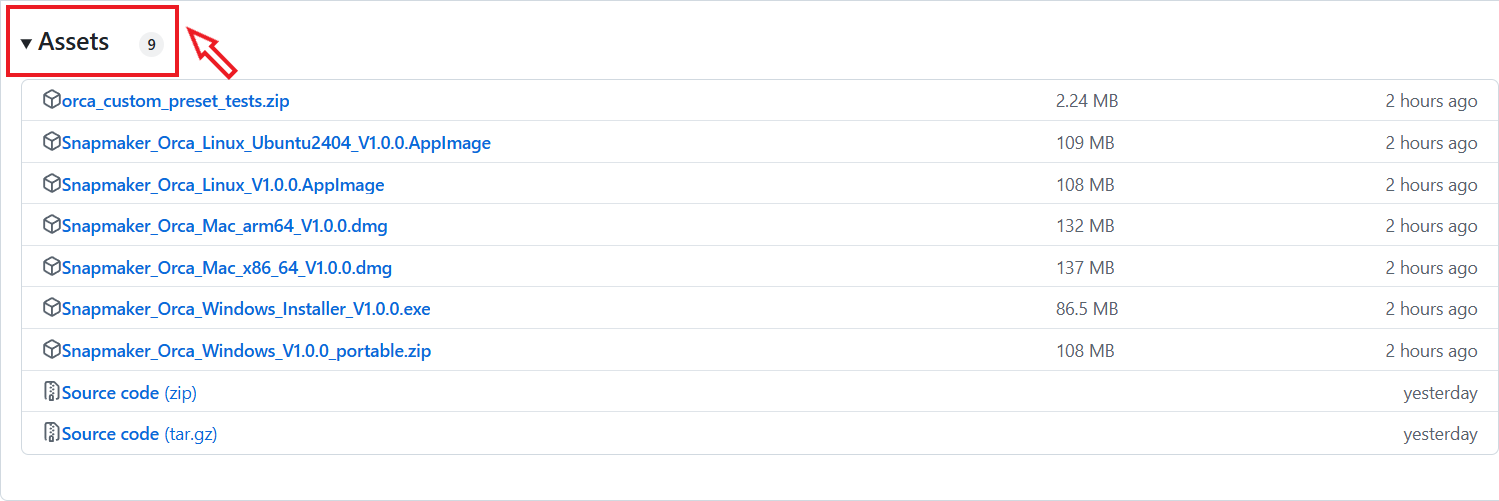
To Download from Github, click Releases section, in the new page, scroll down to locate Assets, then click the correct download link.
- Follow the on-screen instructions to complete the installation.
¶ Step 2 Setup Wizard
Setup Wizard only pops up for the first-time installation. If you want to access it later, click
> Help > Setup Wizard on the top menu bar.
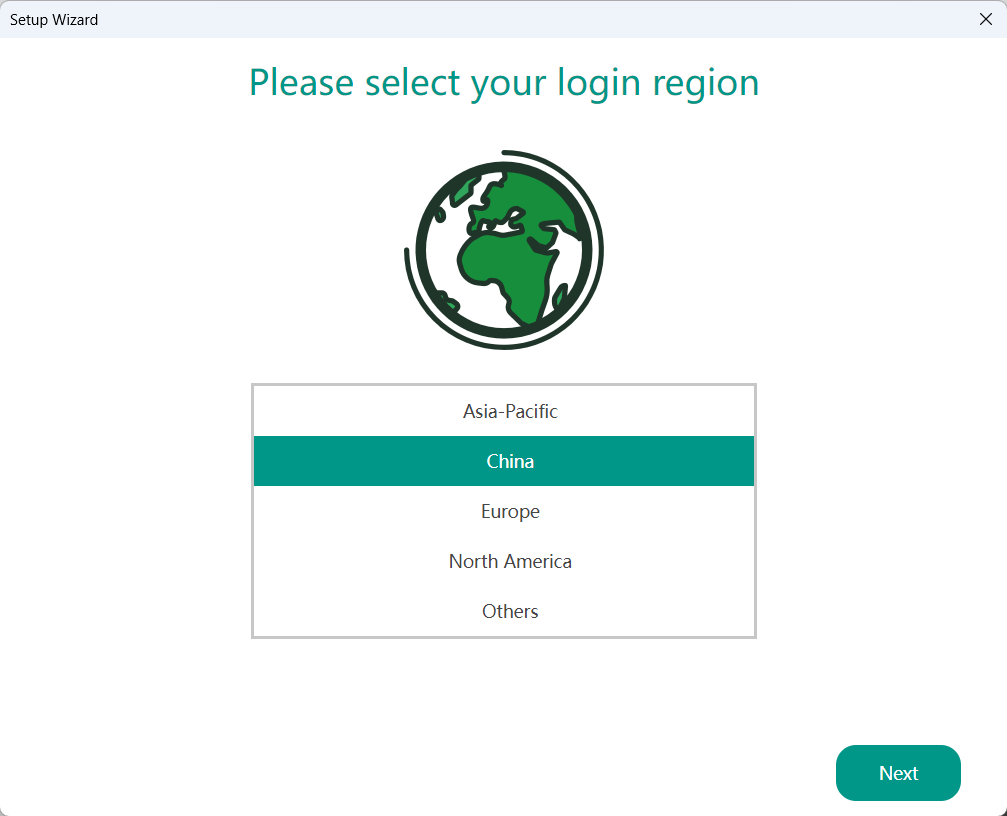
¶ Selecting Login Region
Select login region, then click Next.
¶ Printer Selection
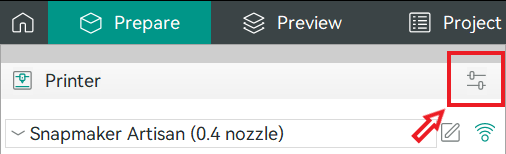
Select the printers and nozzles that you prefer to display in the slicer operation menu, then click Next.
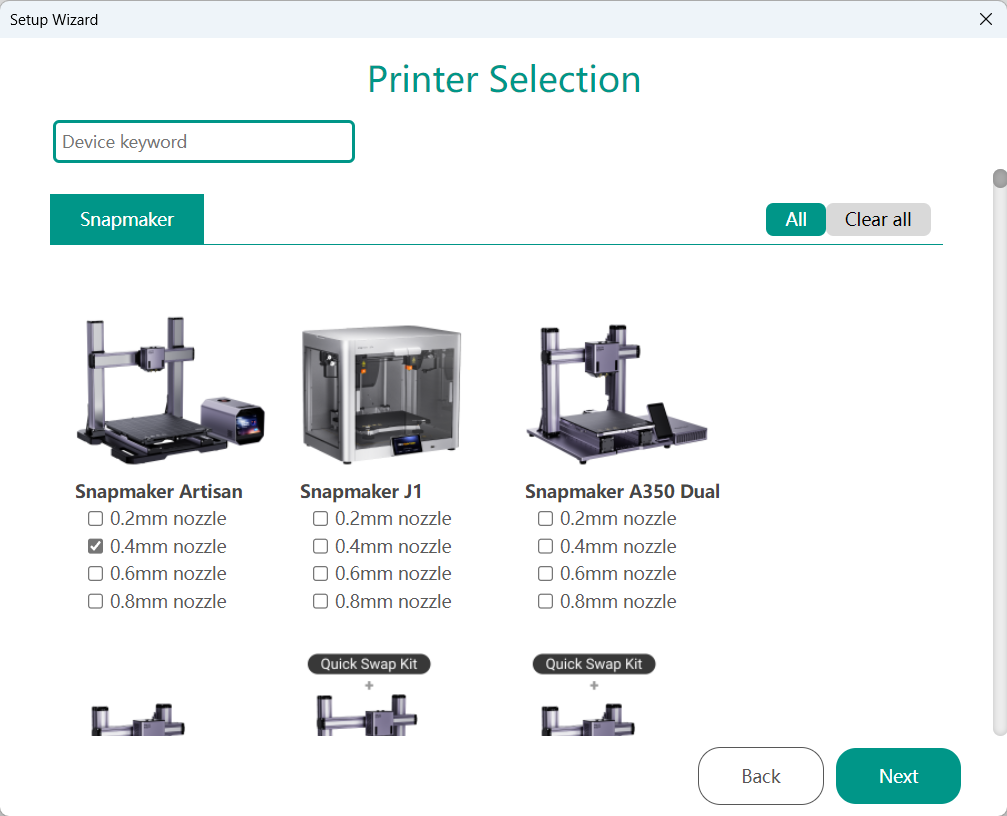
You may select any or all of the options available to you.
These options can be altered later in the slicer menu by clicking
next to Printer.
¶ Filament Selection
Select the filaments you prefer to display in the filament preset list, then click Finish.
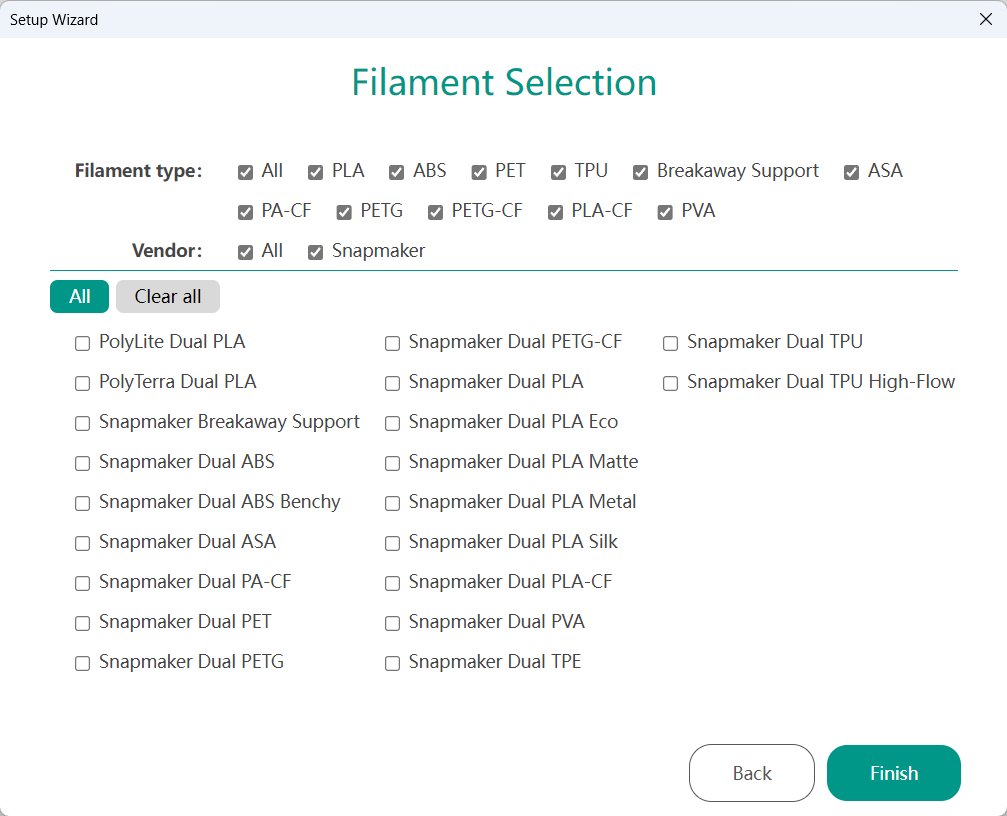
You can choose as many as are available.
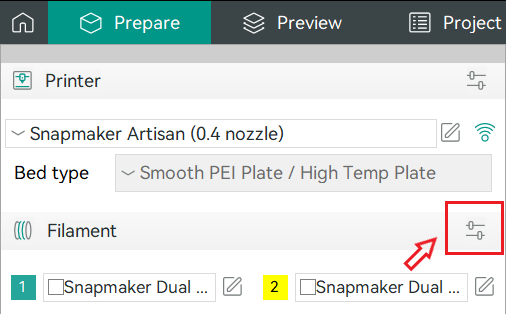
These options can be altered later in the slicer menu by clicking
¶ Step 3 First Print
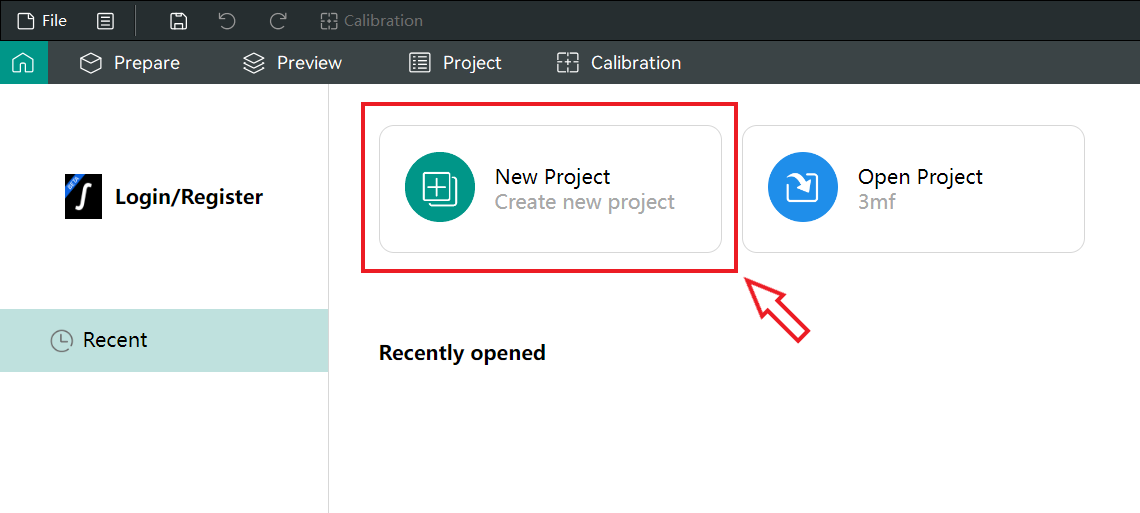
¶ Creating new project
To start slicing a model, you need to click New Project first.
¶ Loading the file
You can either drag a model file into the slicer, or click ![]() to import a model file.
to import a model file.

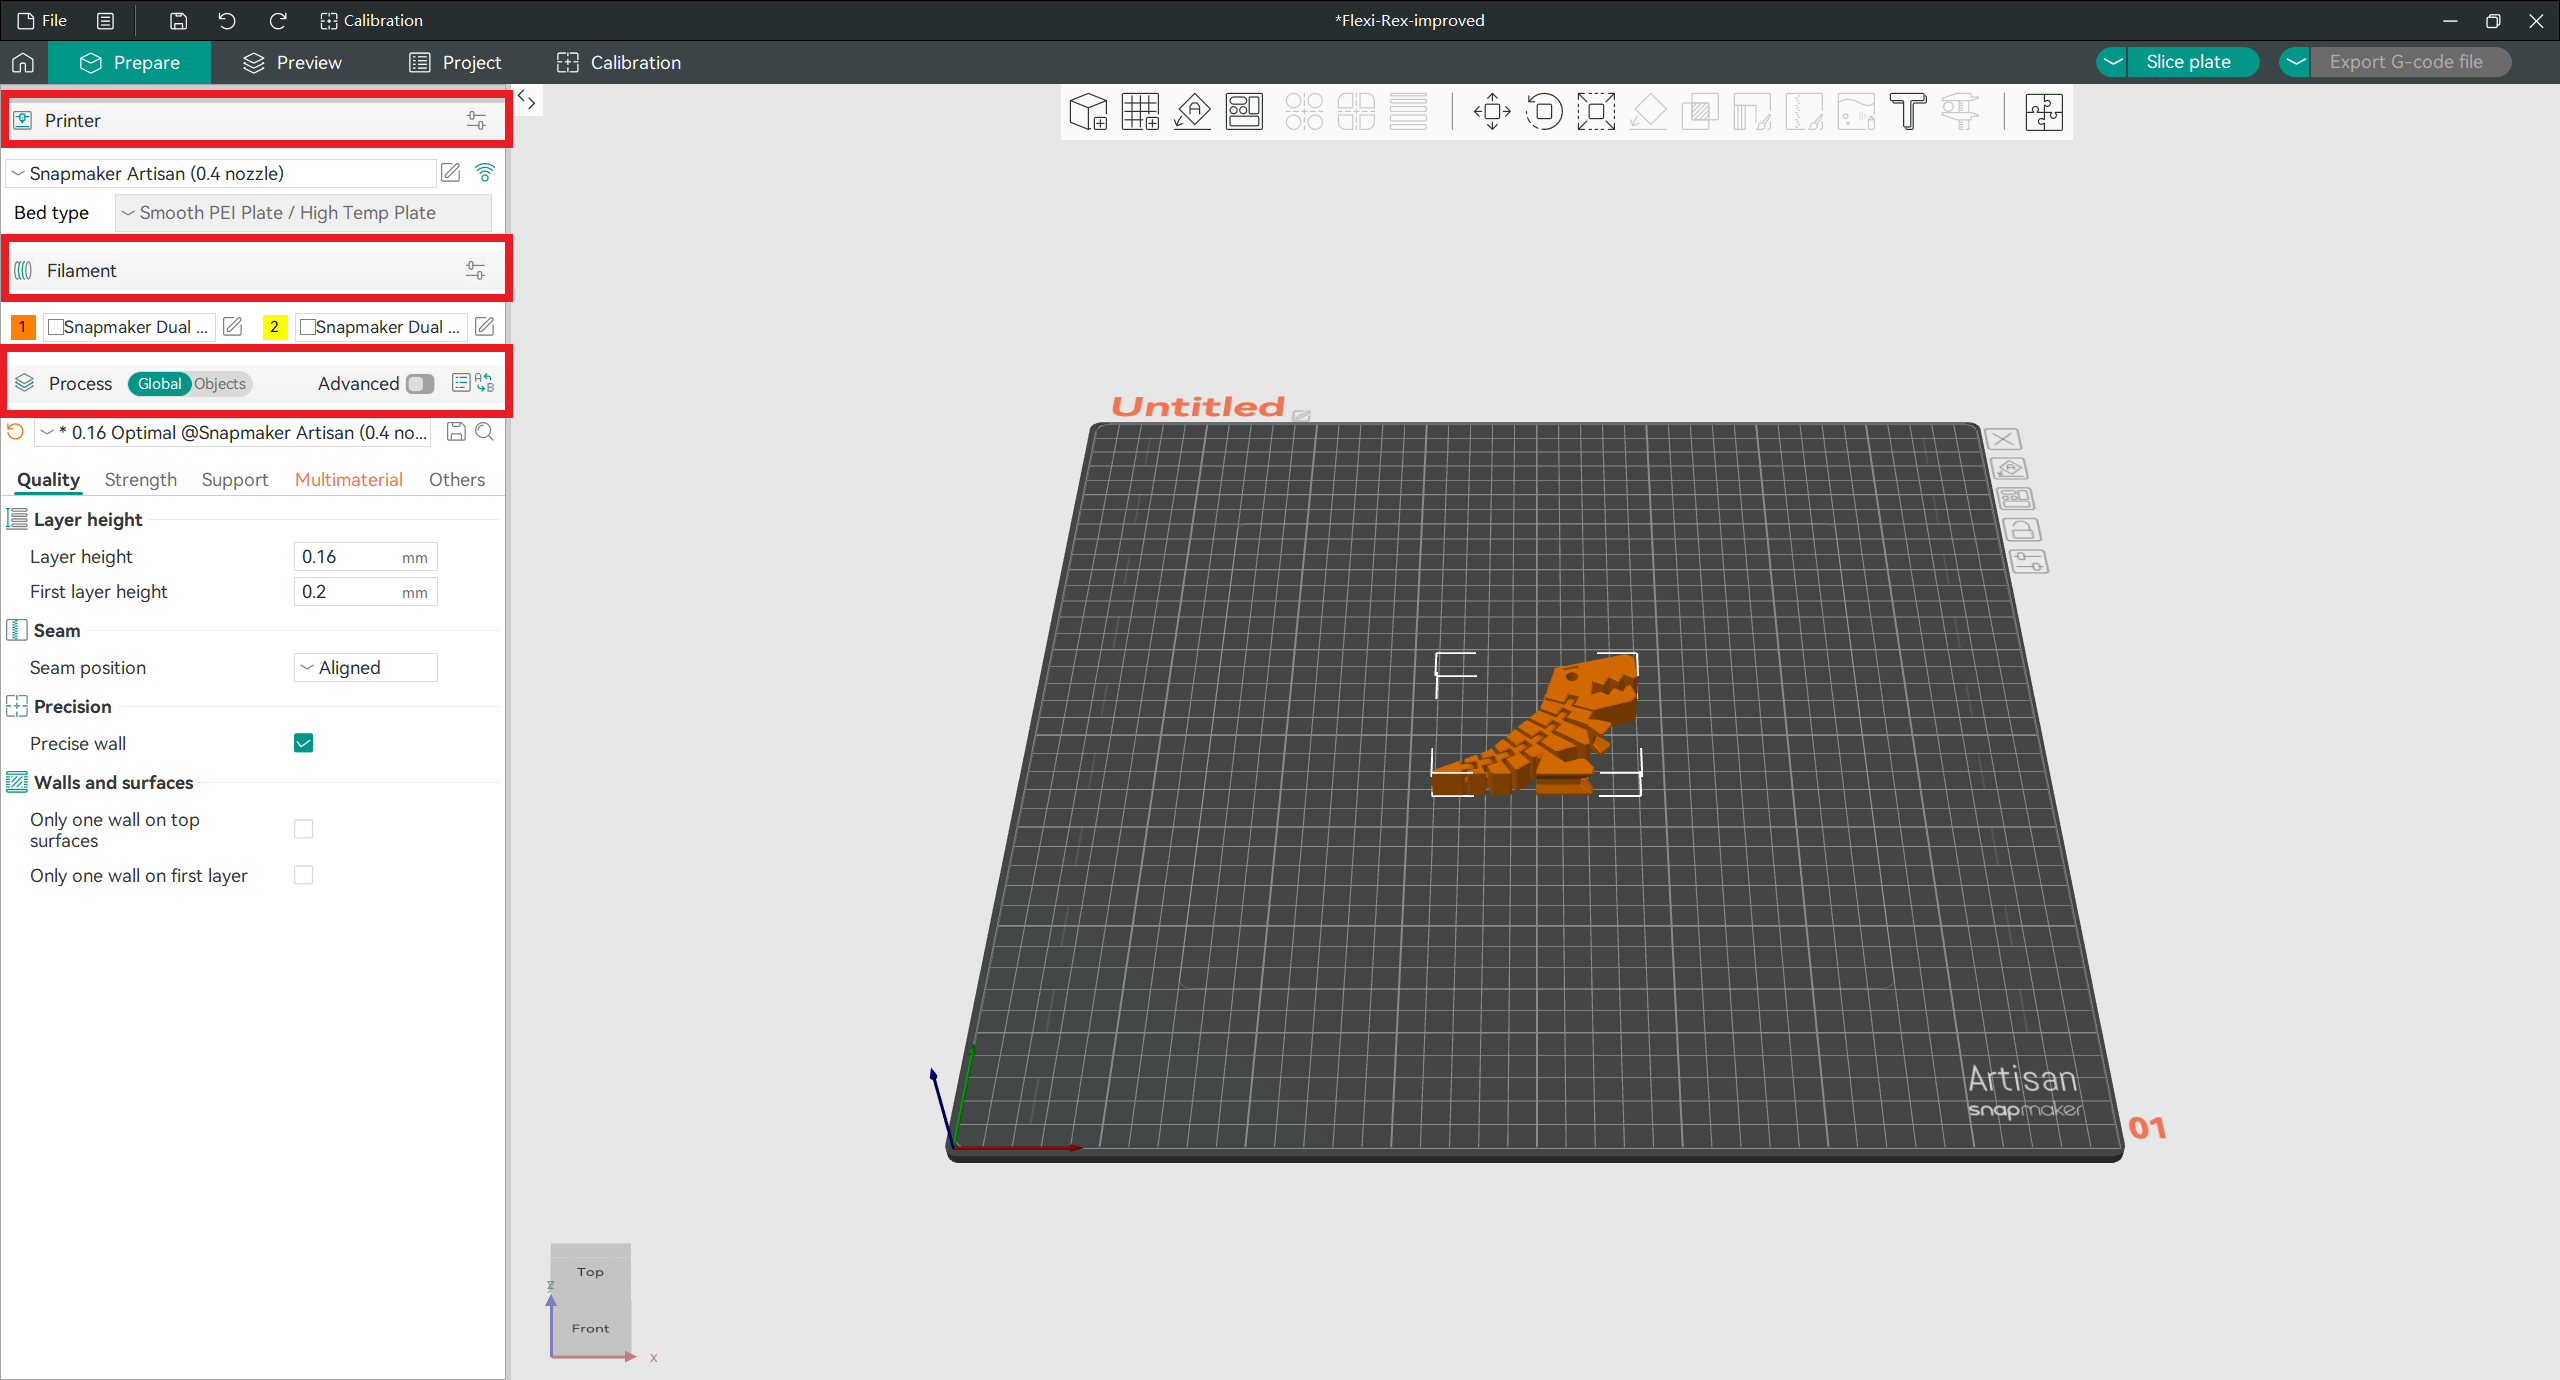
¶ Selecting Printer/Filament/Process presets
Before slicing the model, you need to choose the presets for the printer you are using, for the filament you will print with and also for the settings you want to print the model in.
For color painting tool guide, you can refer to this article.
¶ Editing the model
You can edit the models with top toolbar tools and right click tools.

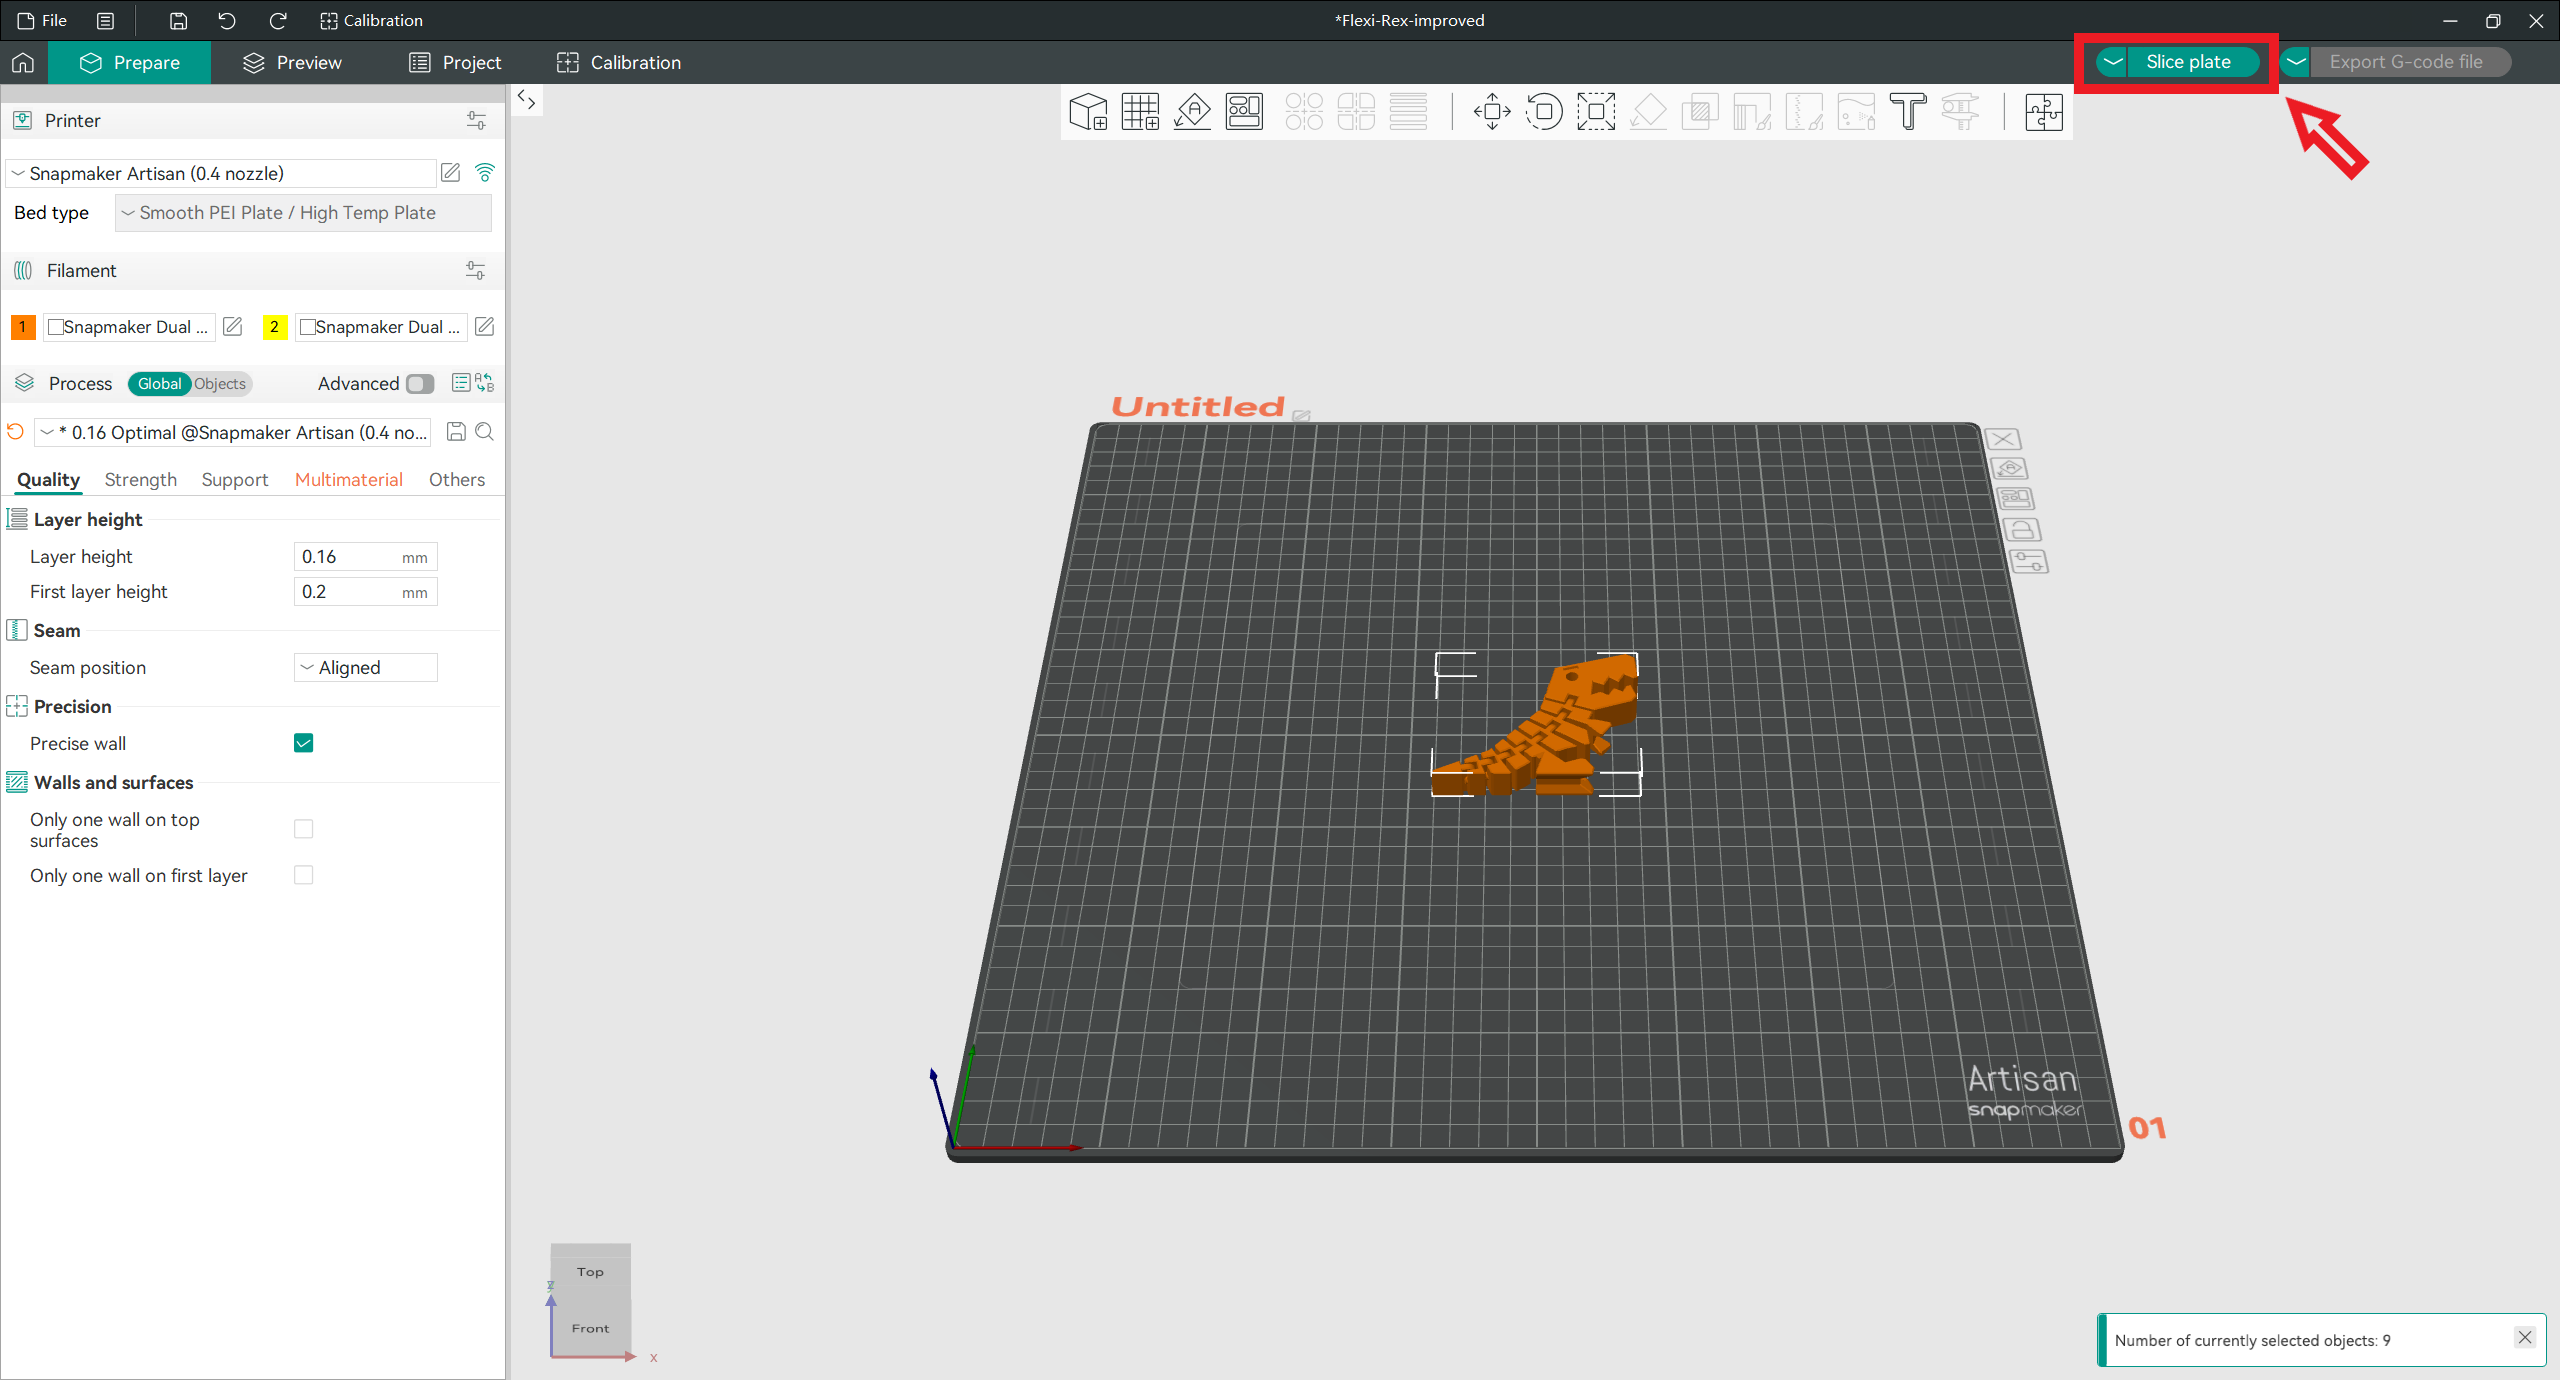
¶ Generating G-code
To generate G-code, click Slice plate. This will generate a .3mf or .gcode file which is the file format used for the printer to print the model.
¶ Starting printing via Wi-Fi or USB flash drive
Orca supports two ways to start printing: on Orca or on the Touchscreen.
No matter how you start the printing, pay close attention to the first layer adhesion so as to detect problems in time and avoid wasting filaments.
¶ Before You Start
The latest firmware versions for Artisan, J1/J1s, and 2.0 now support direct network communication with Orca, eliminating the need to use Luban as a transfer hub. Click the link below to upgrade the firmware:
¶ Procedures
-
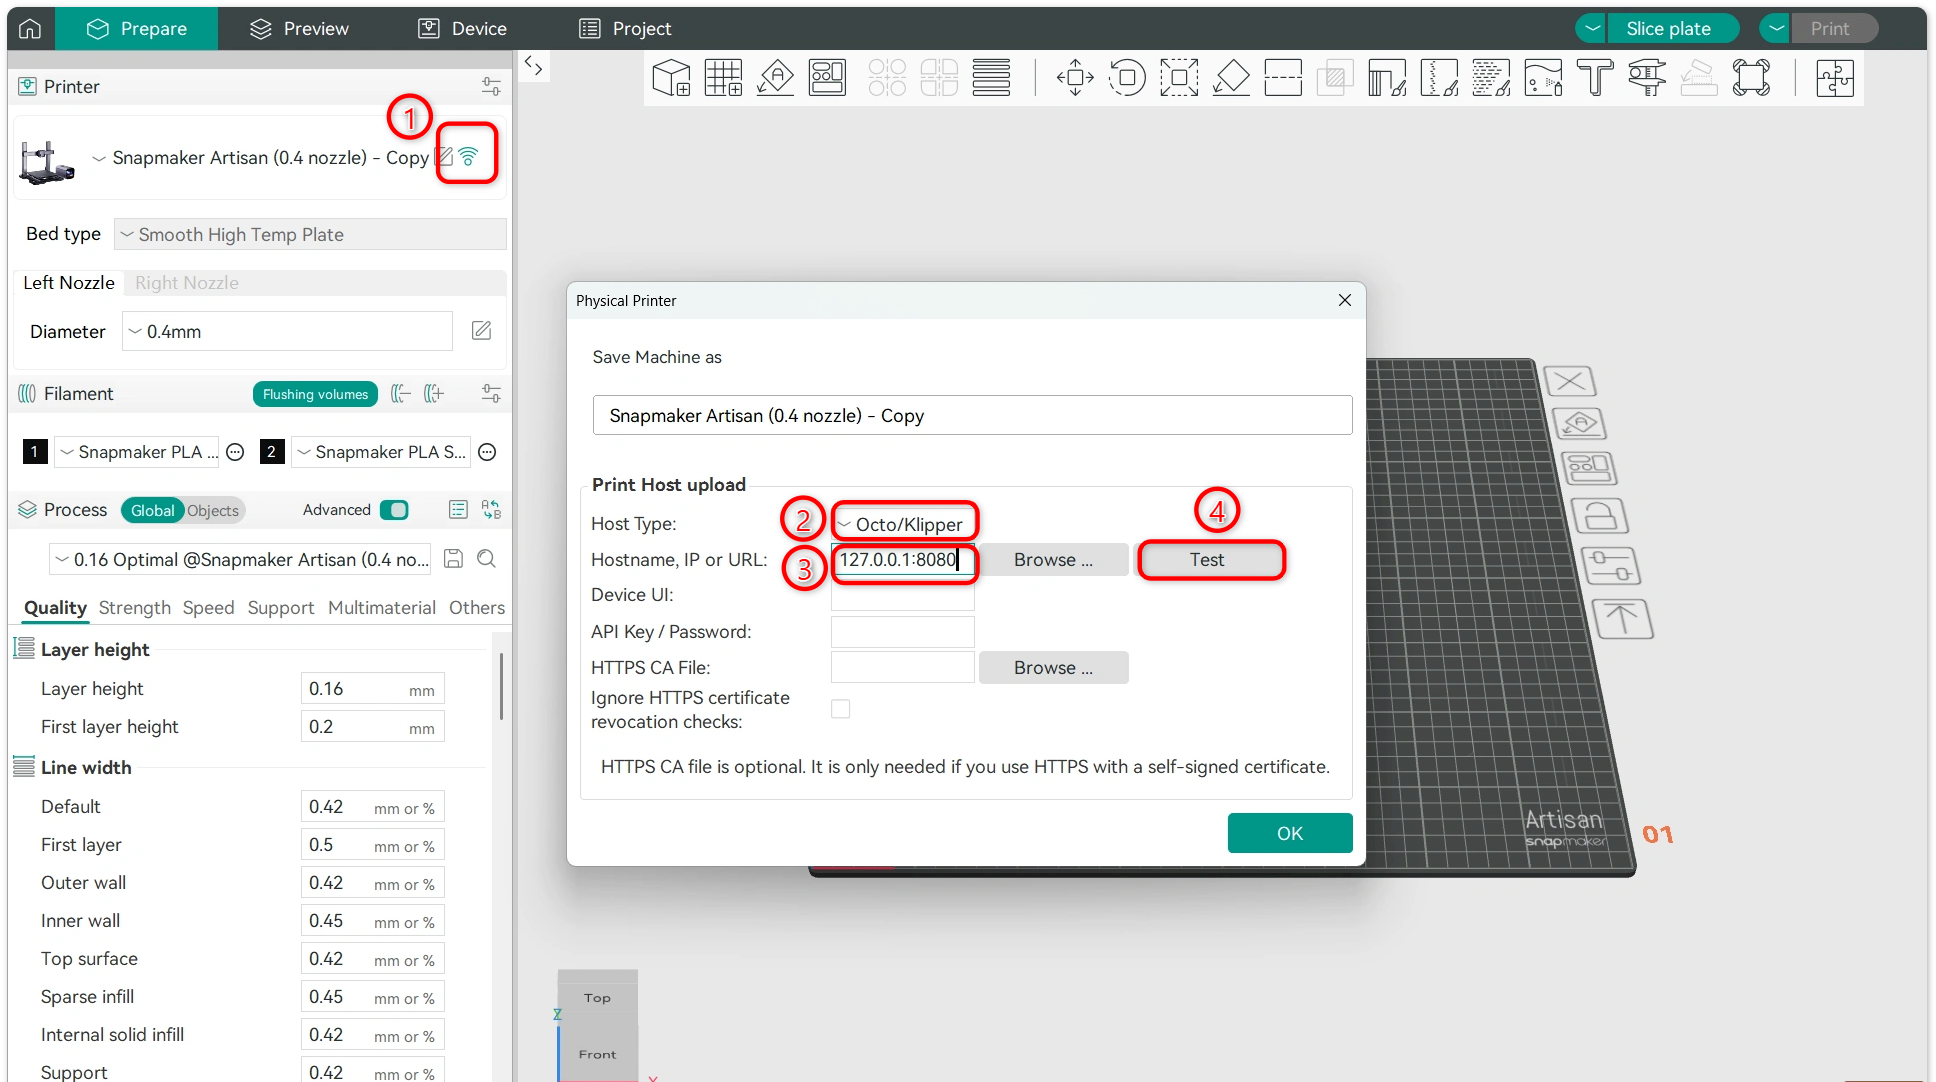
Click the icon to open the connection interface.
-
Select Octo/Klipper as the
Host Type. -
In the
Hostname,IP or URLfield, enter Current Device IP Address:8080 as the new IP address. -
Click Test to establish the connection.
-
In the upper-right corner, click
Print>Upload and Print.
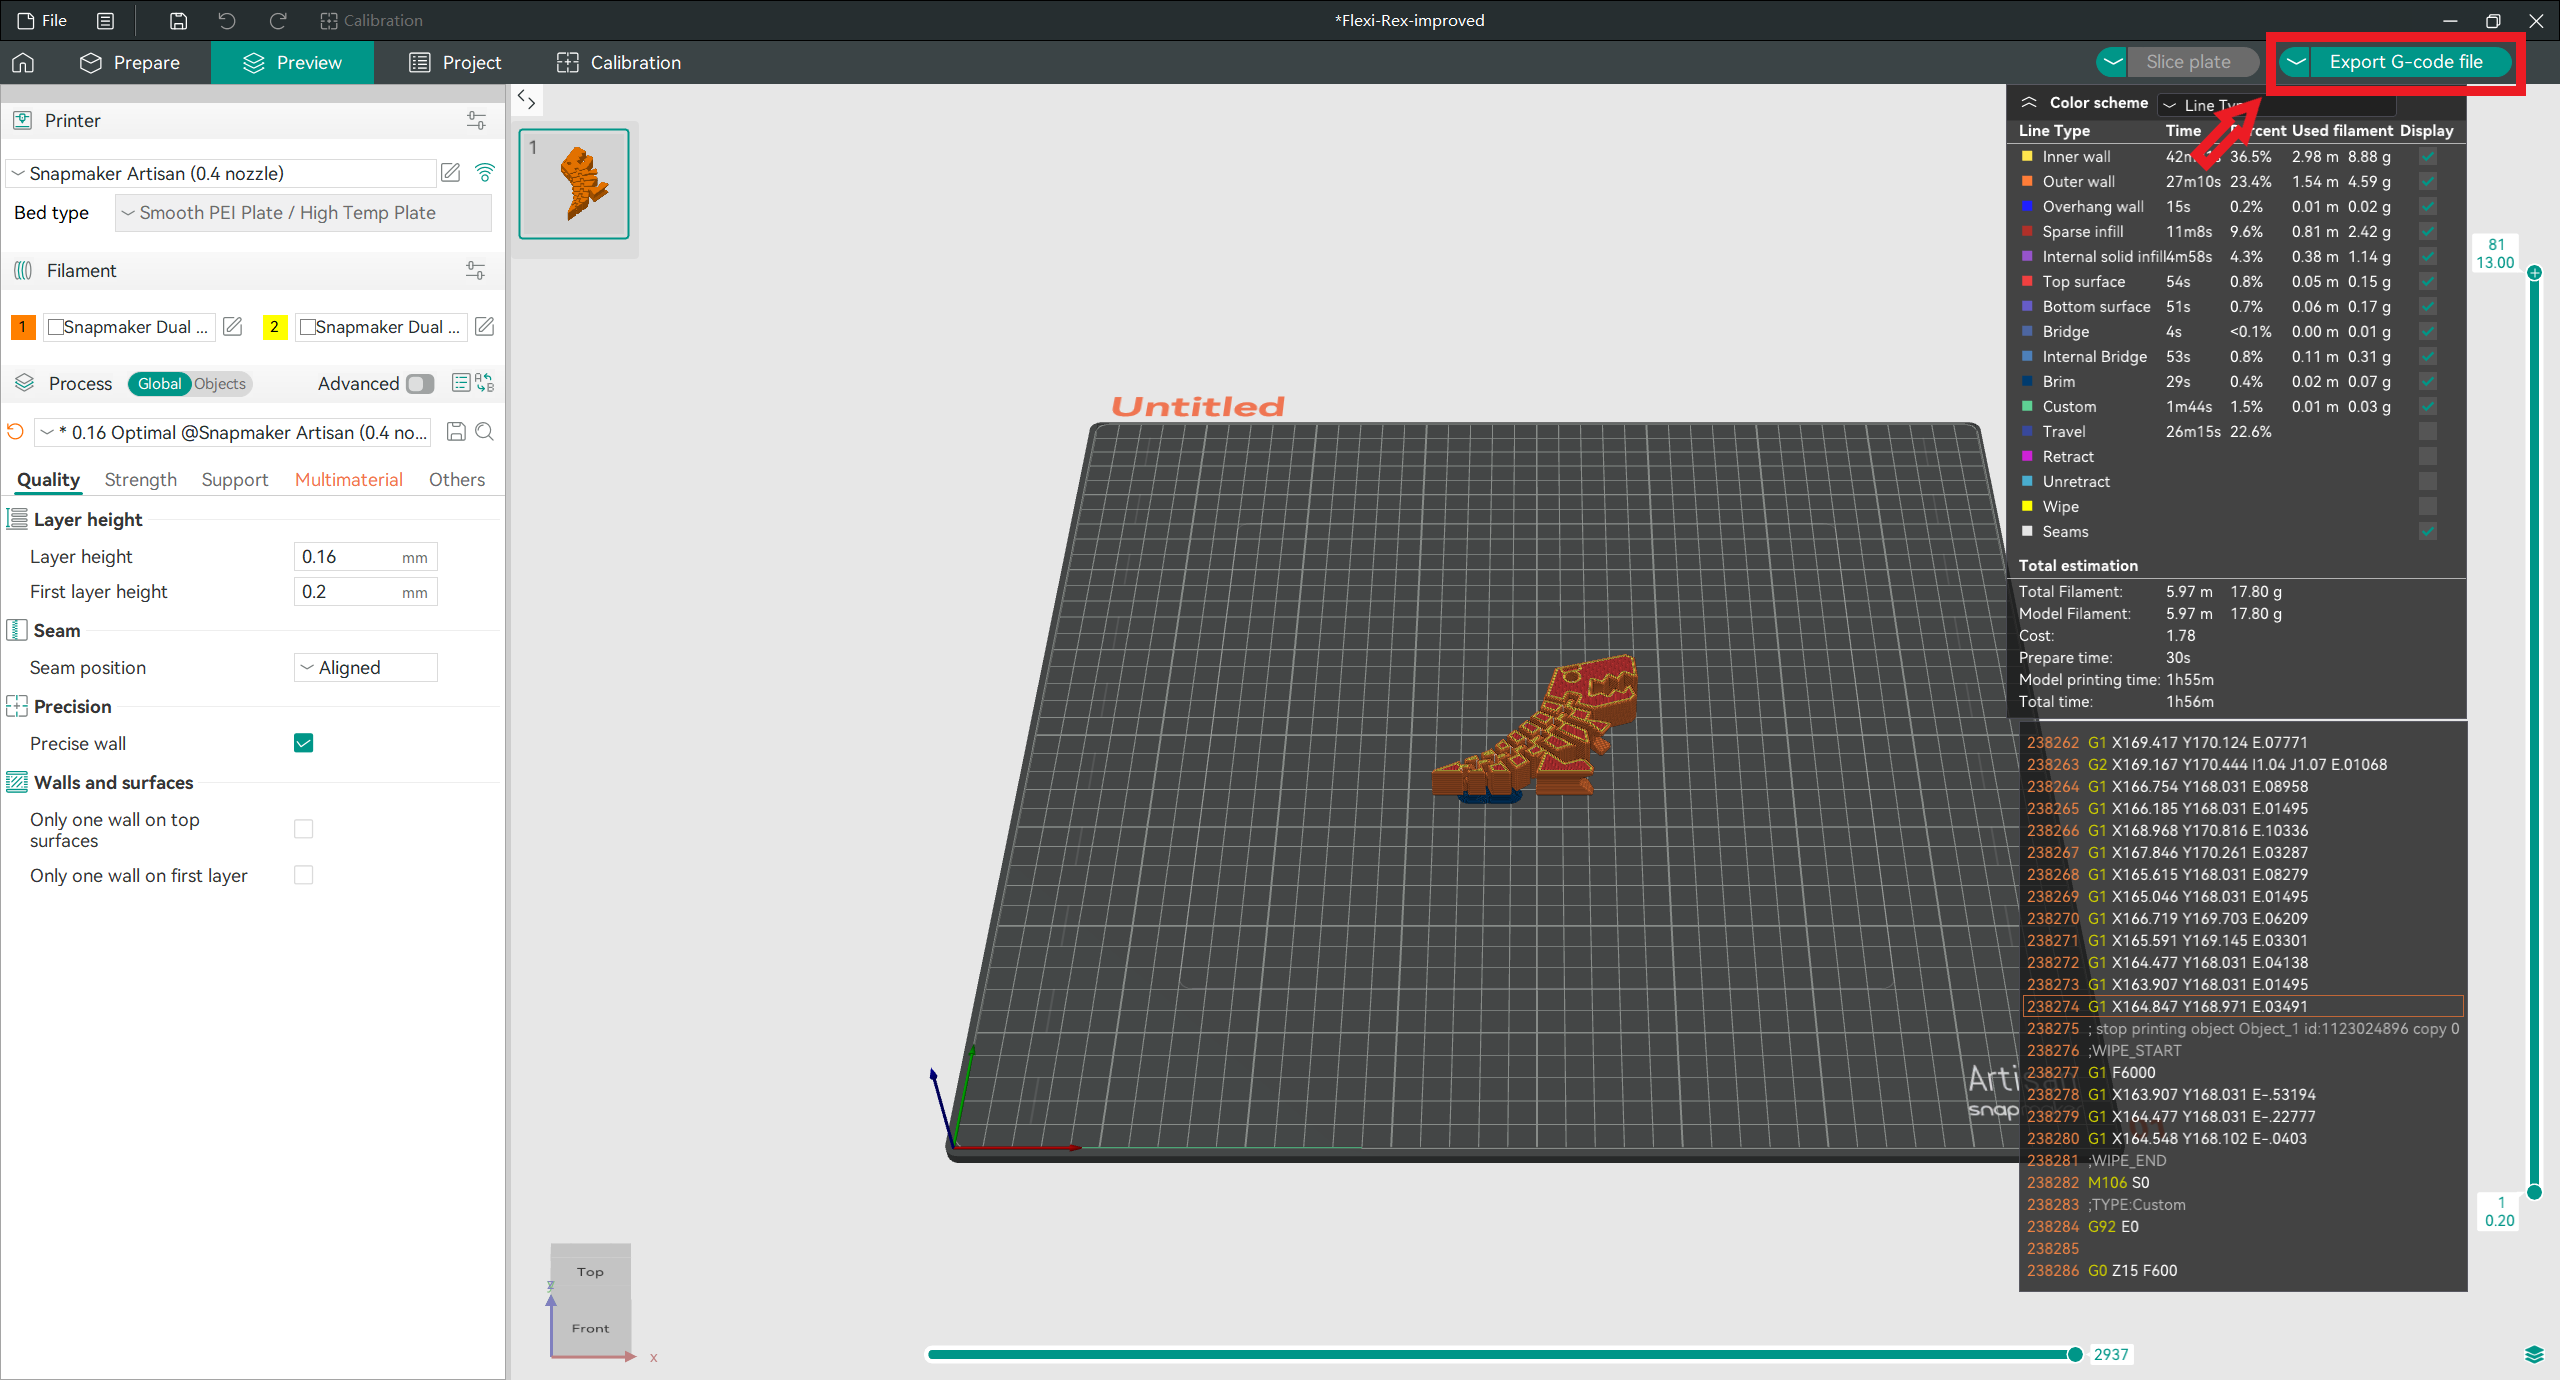
- Click Export G-code file to export G-code file to your USB flash drive.
-
Insert the USB flash drive into the machine.
-
Locate the G-code file on Touchscreen, then follow the on-screen instructions to start printing.