¶ Problem Description
When this problem occurs, you can observe all of the following phenomena.
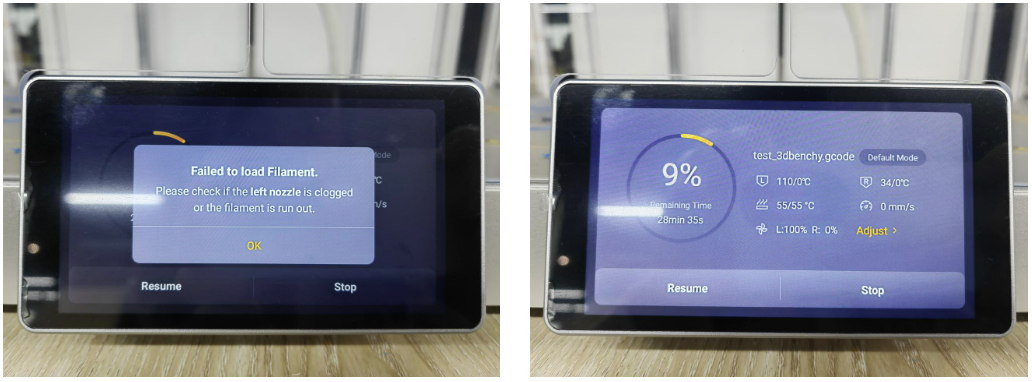
- A "Failed to Load Filament" error message constantly pops up on the screen.
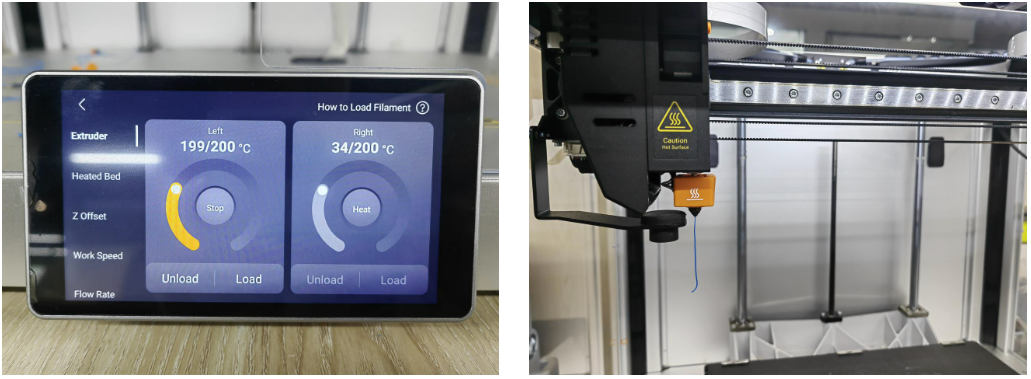
- Go to Control > Extruder > Heat > Load. The filament loads properly.
¶ Possible Causes
- The feed resistance is too high.
- The filament sensor wheel doesn't rotate smoothly. For example, there are filament residues stuck near the filament sensor.
- The filament sensor partially contacts or even does not contact the loaded filament due to the washer missing or insufficient spring force.
Here's a flowchart to help you navigate troubleshooting decisions.

¶ Tools Required
- Phillips screwdriver
¶ Before You Start
¶ How filament detection works on J1?
J1's filament sensor detects whether the filament is advancing instead of whether there's a breakage. Therefore, it can detect the conditions of filament clogging/runout/tangle. When triggered, the printer will pause the print automatically, waiting for you to fix the filament failure and allowing you to resume the print.
¶ Check if the feed resistance is too high.
- Inspect if the filament tubes are flattened or damaged.
- Check if the filament is tangled or knotted.
- Remove the top cover and filament tubes, then load the filament directly into the print head assembly and start printing. Monitor to see if the 'Failed to Load Filament' error message still occurs during the print process.
¶ Check if it's a false trigger of filament detection.
If the "Failed to Load Filament " error keeps constantly popping up on the touchscreen while printing, and the filament can load properly when you tap Load on the touchscreen, it's a false trigger.
Steps:
- When seeing the "Failed to load Filament." error on the touchscreen, note down if the left, right, or both nozzles are clogged or run out. Tap OK. Tap Adjust to access the print settings page. Or stop printing, and then go to Control > Extruder.
- Tap Heat for the Extruder that might be clogged. Wait until the nozzle heats up to the target temperature. Tap Load. The touchscreen will pop up a message "The extruders will now move into a position...". Tap Got it.
- Check if there's filament coming out of the nozzle. If yes, this is a false trigger for filament detection. There's something wrong with the filament sensor.
- If there's no filament coming out of the nozzle, skip the Solutions in this Wiki and continue to try troubleshooting steps in Extruder drive gears are not aligned/Extruder driving gear set screw is loose (J1) .


¶ Solutions
- Please check and confirm if the firmware is version 2.7.2 or above.
- If the firmware is up-to-date (2.7.2 or above) and the issue persists, check for any residual material or blockages inside the filament detection assembly. Here are the steps:
- 2.1. Tap Control > Motor, then tap to turn off the motor.
- 2.2. Open the side cover of the print head. Take out the orange case, which contains the filament sensor. Do not release the wire connection.
- 2.3. Check if the filament sensor wheel can rotate smoothly. If the wheel cannot not rotate smoothly, open the orange case with your hand, and remove the blockages if there's any.
- 2.4. Ensure the washer and spring work properly. Close the orange case. Reinstall the orange case. Ensure the wires are securely connected. Reinstall the side cover of the print head.
- 2.5. Turn on the motor via Control > Motor on the touchscreen. Test filament loading and printing performance.
Reference Operation Video:
- If there is no residual material or blockages inside the filament detection assembly, please go to the link below to download the STL file for a spacer. Print it out and install it according to the operation video in the link.
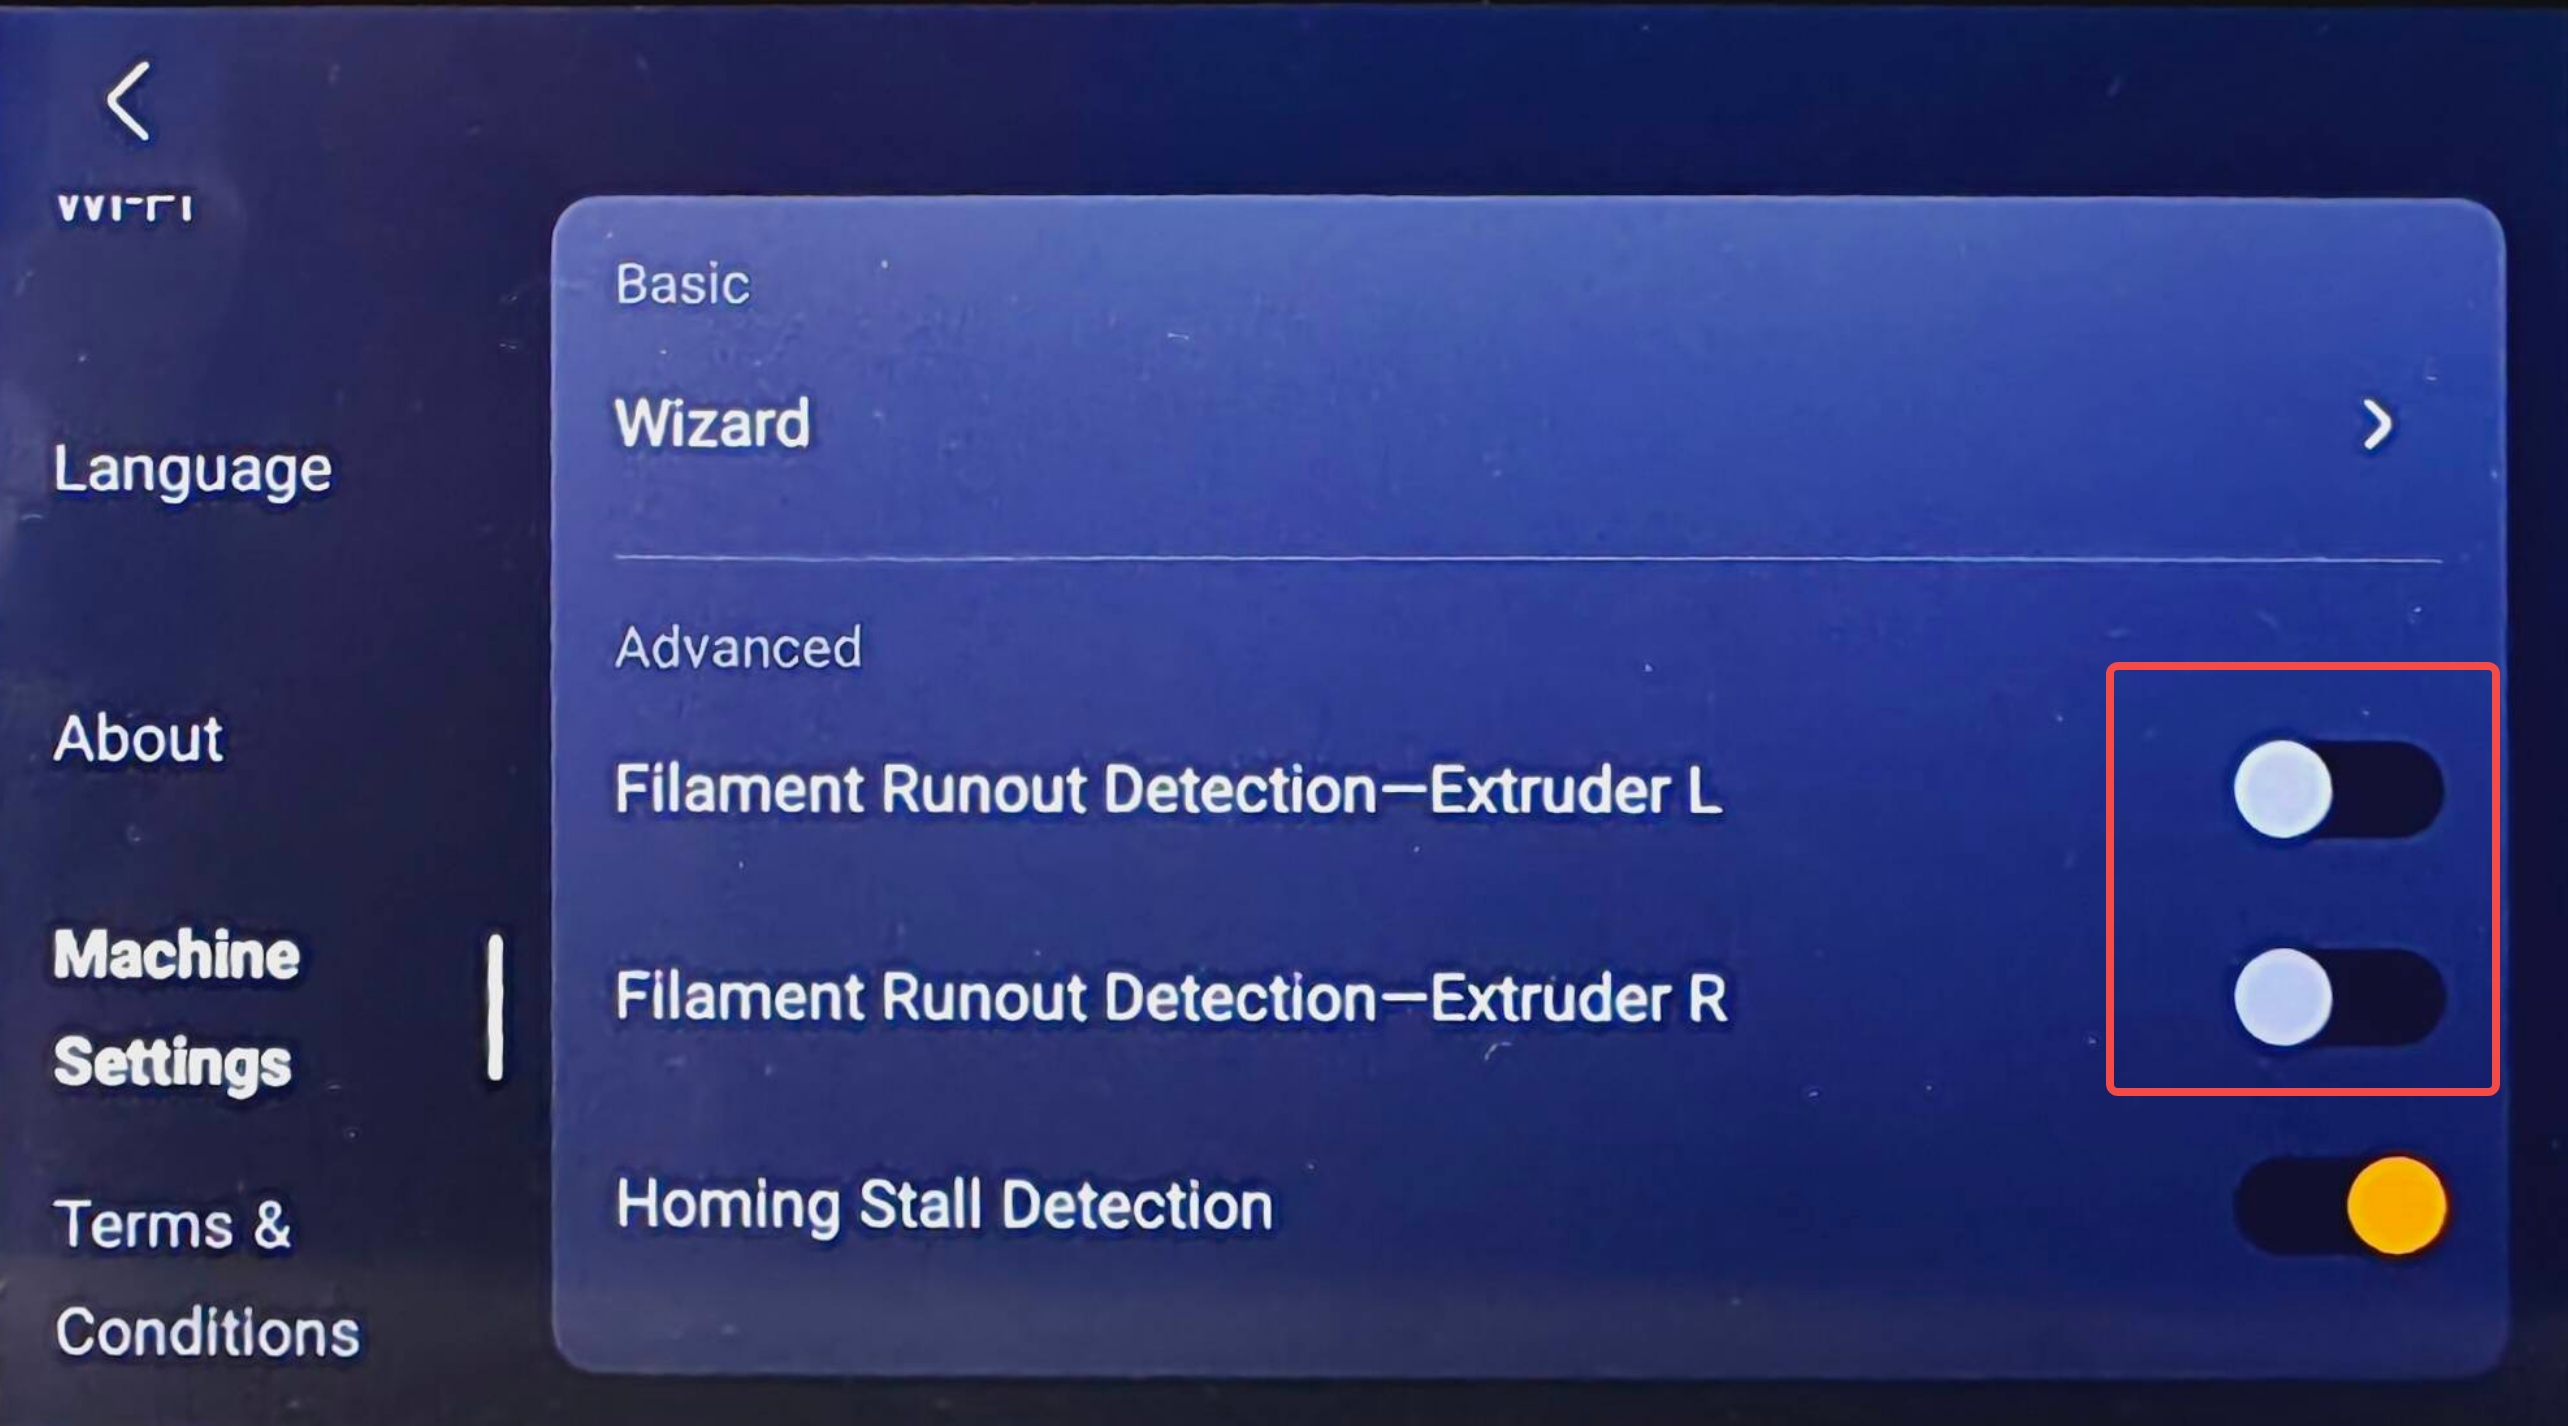
- If all the steps above couldn't fix the issue, please go to Machine Settings on the touchscreen, and then turn off the runout detection of the left and/or right extruder to continue printing temporarily. After that, contact Snapmaker Support to replace the filament detection assembly under warranty or purchase to fix the issue.

You can contact Snapmaker Support Team by submitting a support ticket: https://snapmaker.formcrafts.com/support-ticket
¶ Related articles
3D_Printing_Operation: Load Filament, Change Filament
Troubleshooting flowchart for clogging/filament not extruding (J1)