For rigid filaments such as PLA and PETG, the default Auto Loading mode is recommended.
For flexible filaments such as TPU, please follow the instructions for Manual Loading.
- Trim the end of the filament at an approximately 45° angle with diagonal cutters.
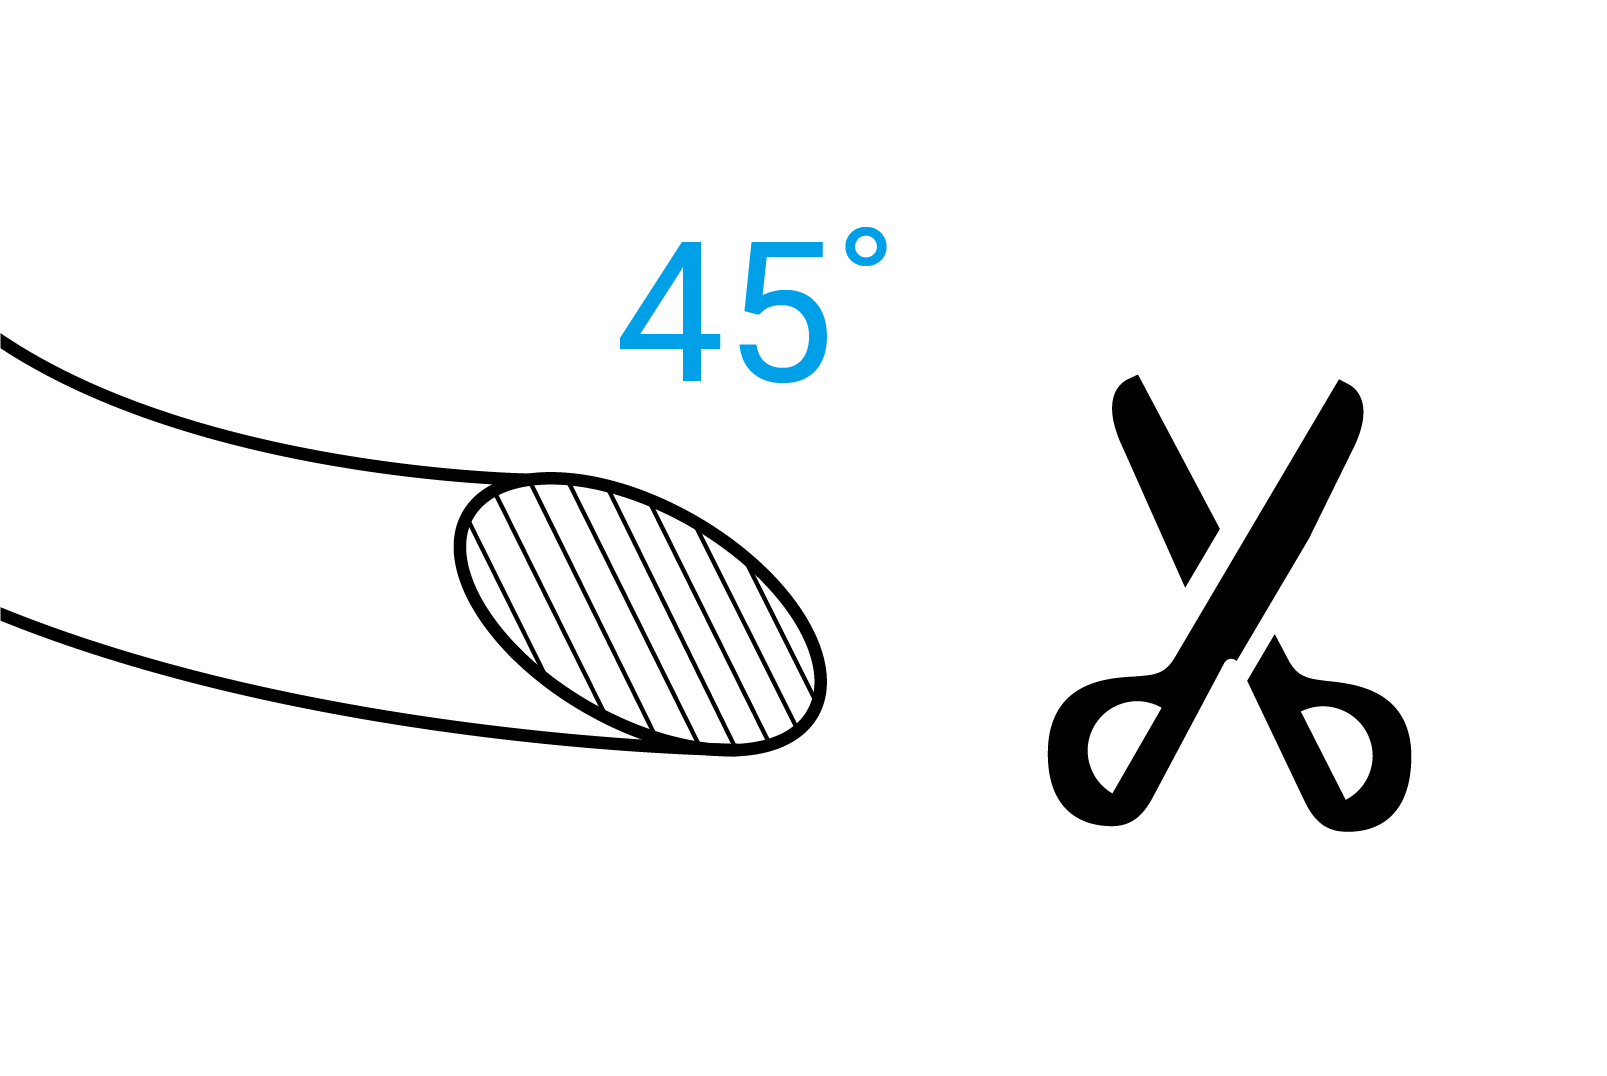
This reduces feeding resistance, thus enhancing the success rate.
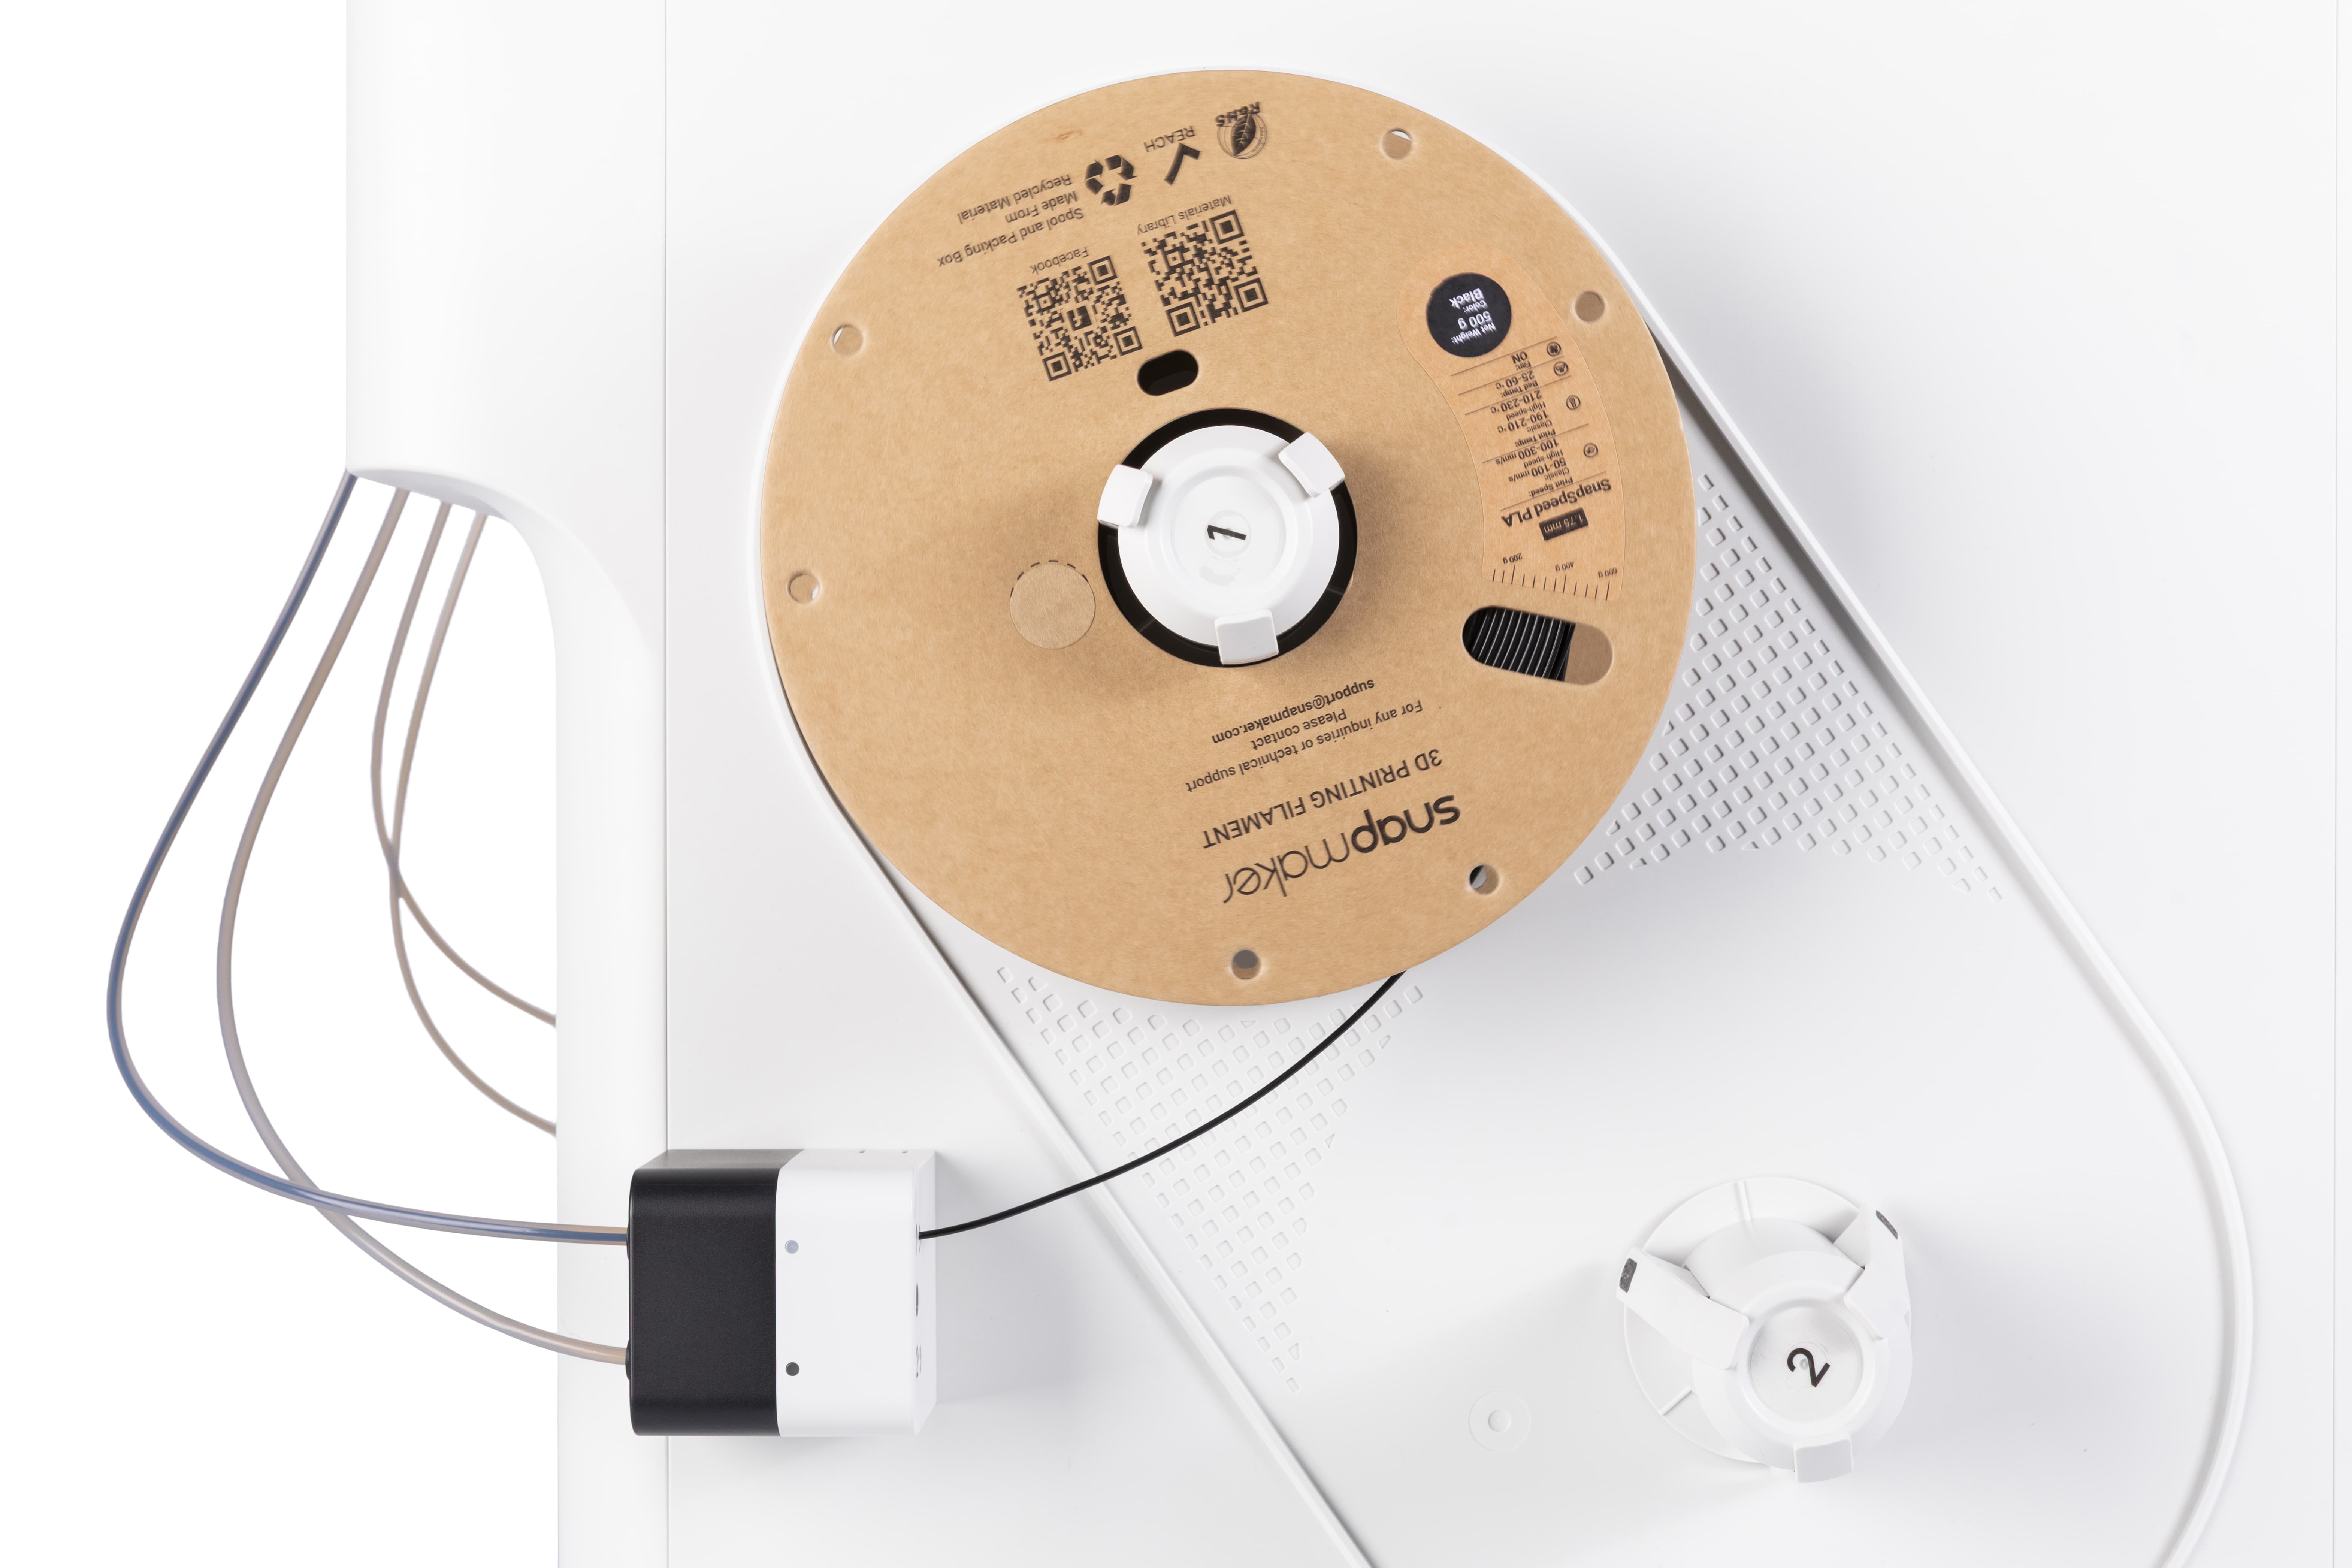
- Mount the filament spool on the spool holder. Make sure the filament can be pulled tangentially from the bottom of the spool.
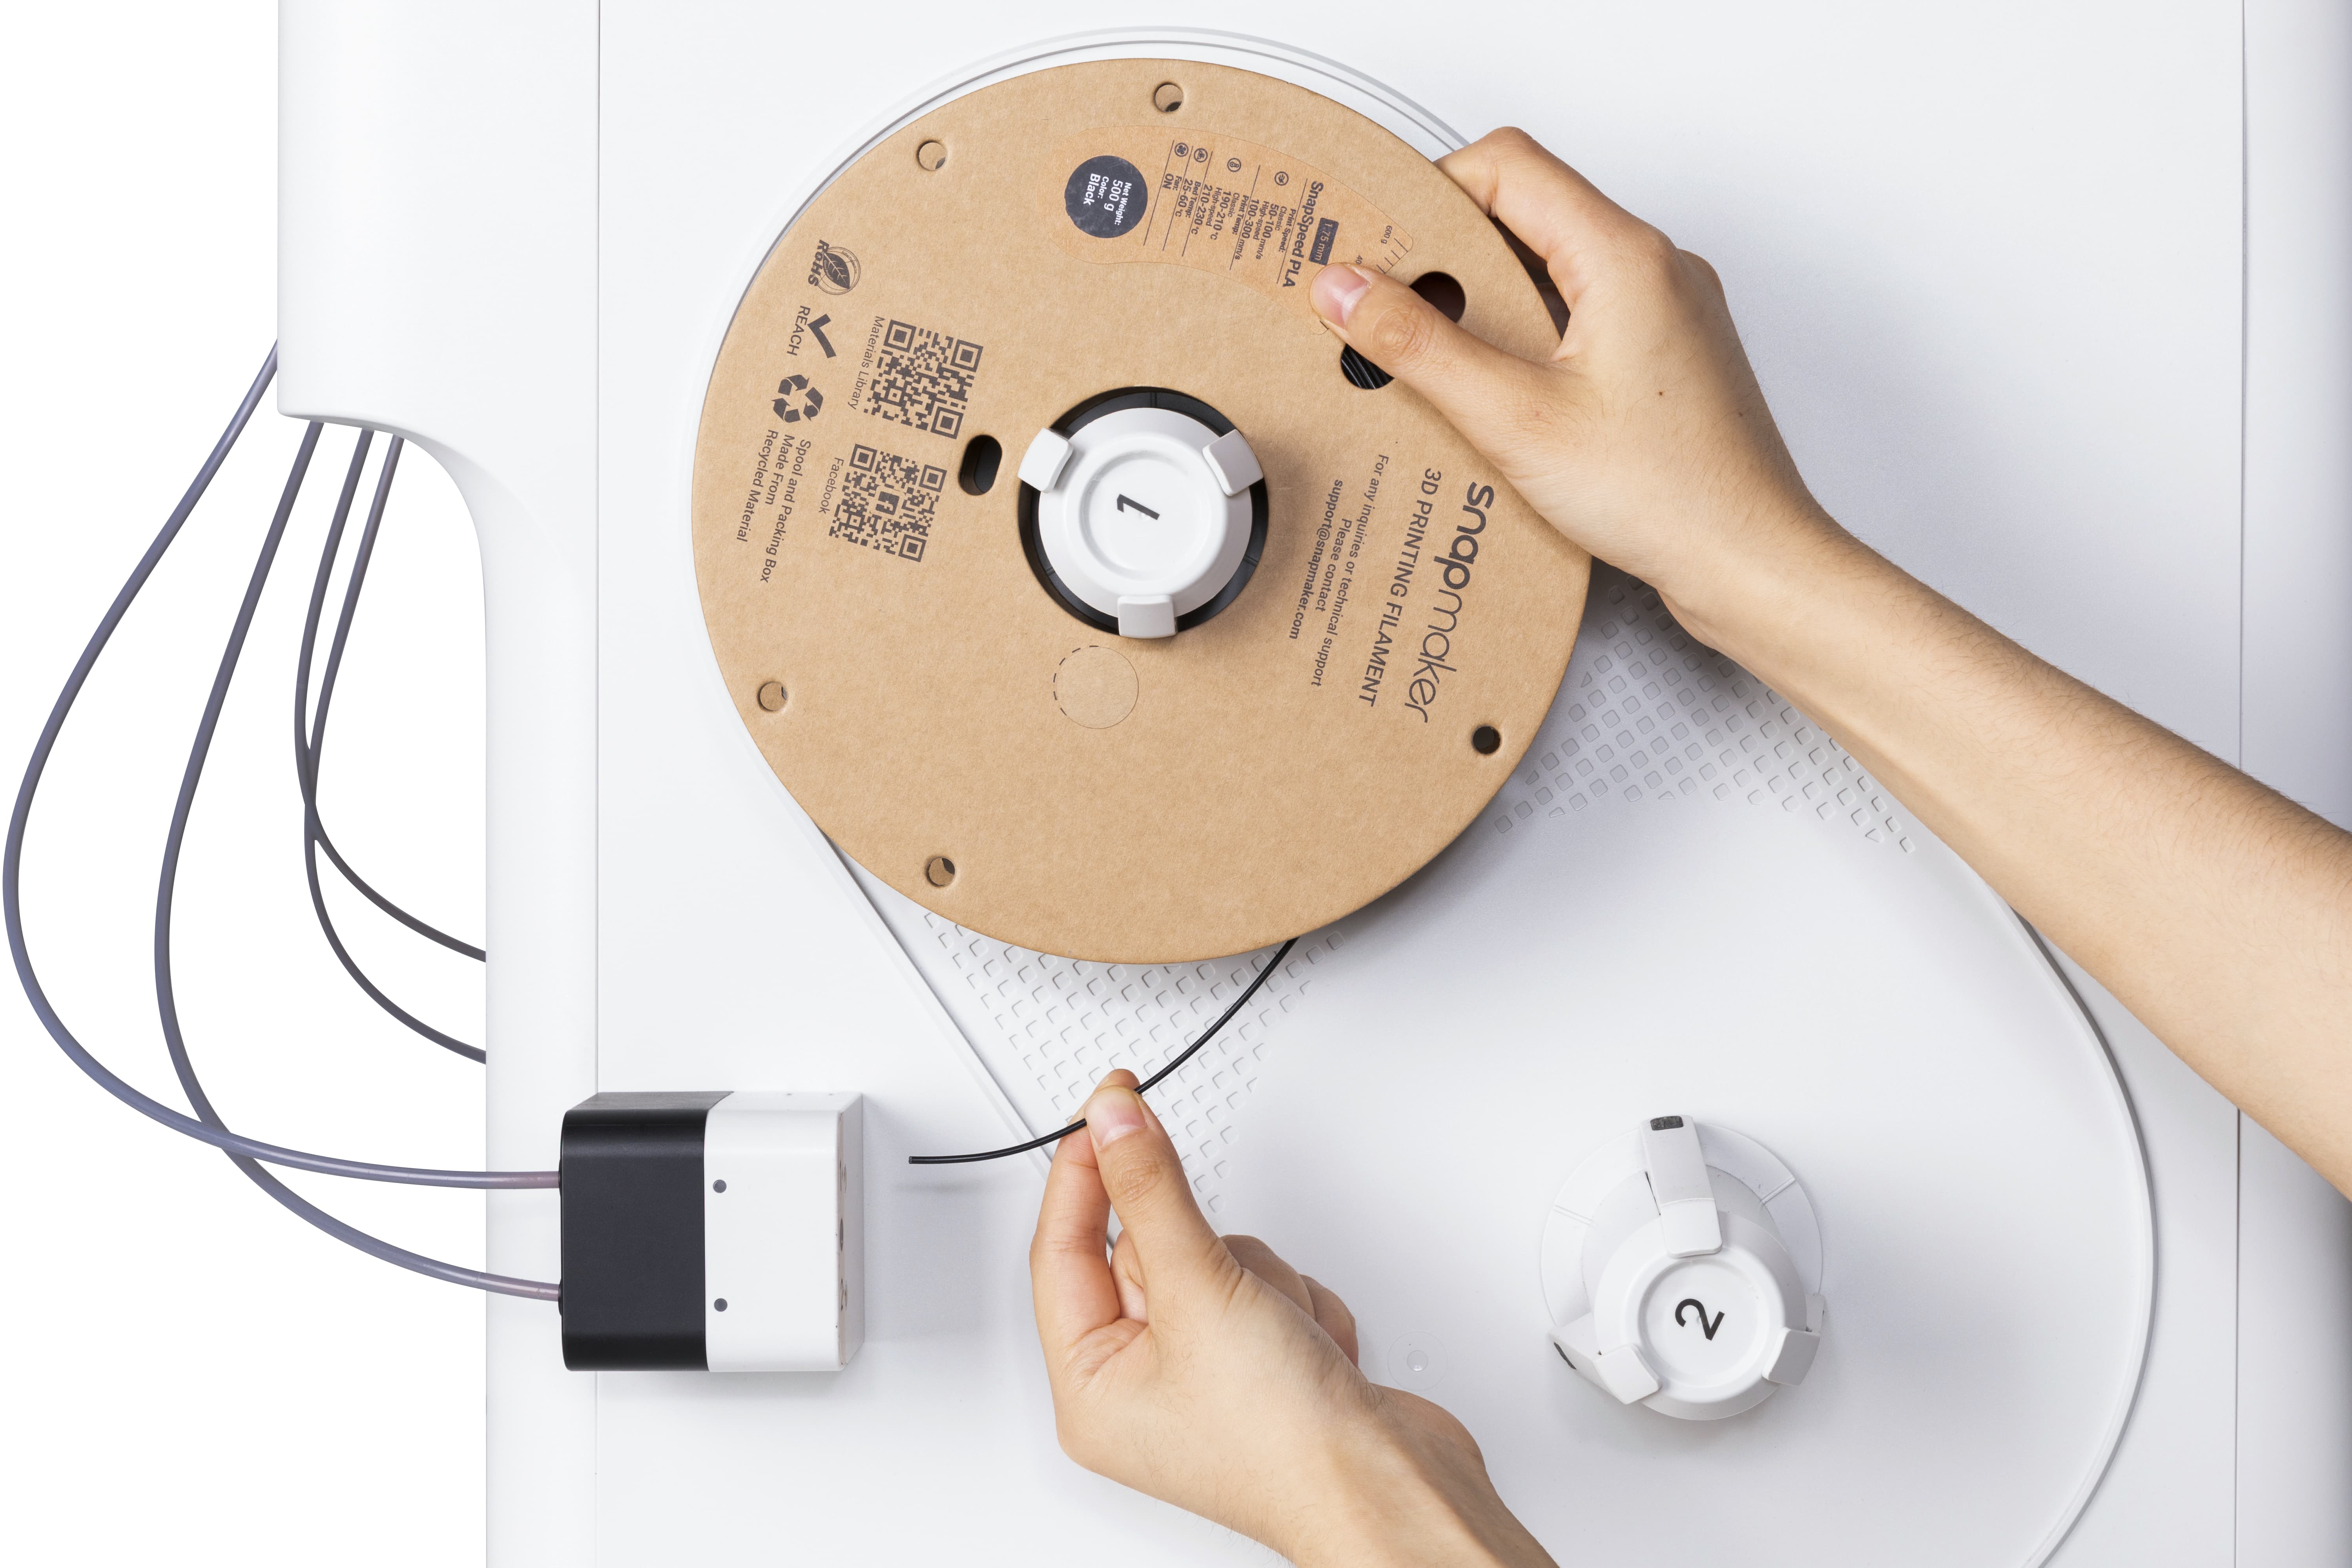
- Insert the filament into the feeder until the white indicator light turns on.
If the feeder's white light is blinking, feeding is still in progress.
If the white light remains steady, pre-loading is complete.
- On the touchscreen main interface, navigate to the Filament page to edit filament information.
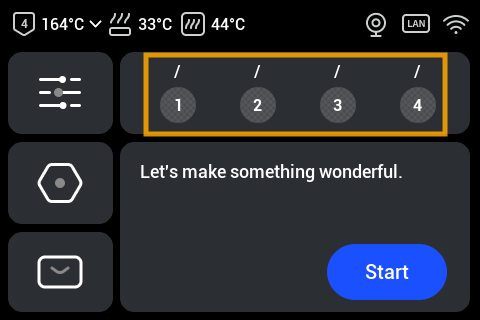
- If using RFID-equipped Snapmaker official filament, the device will automatically recognize the filament information; no manual editing is needed.
- For third-party filament or Snapmaker filament without RFID, manual editing is required. Tap the icon below the corresponding filament > Select filament type and color >
Save.
- On the Filament page, tap
Loading Mode> Select the corresponding filament >Load.
- The printer will automatically perform the following steps: extract the toolhead, feed filament into the nozzle, heat the nozzle, extrude filament, and cleanse old material from the toolhead. Upon completion, tap
Doneon the screen.
The filament status is now updated to Loaded.