¶ Background
We recognize that the installation process of a new J1/J1s machine may not always go as smoothly as expected. To assist you, we have compiled the following preventive tips to ensure a smoother process for everyone. The tips listed in the article below are first inspired by a popular forum post (by Mechanikus).
To refer to J1/J1s mannual, please click: Manual of Snapmaker J1/J1s.
¶ Preventive Tips
¶ Assembly & installation
-
The machine is not as light as it looks (weights nearly 28kg), so two people are required to move or lift it.
-
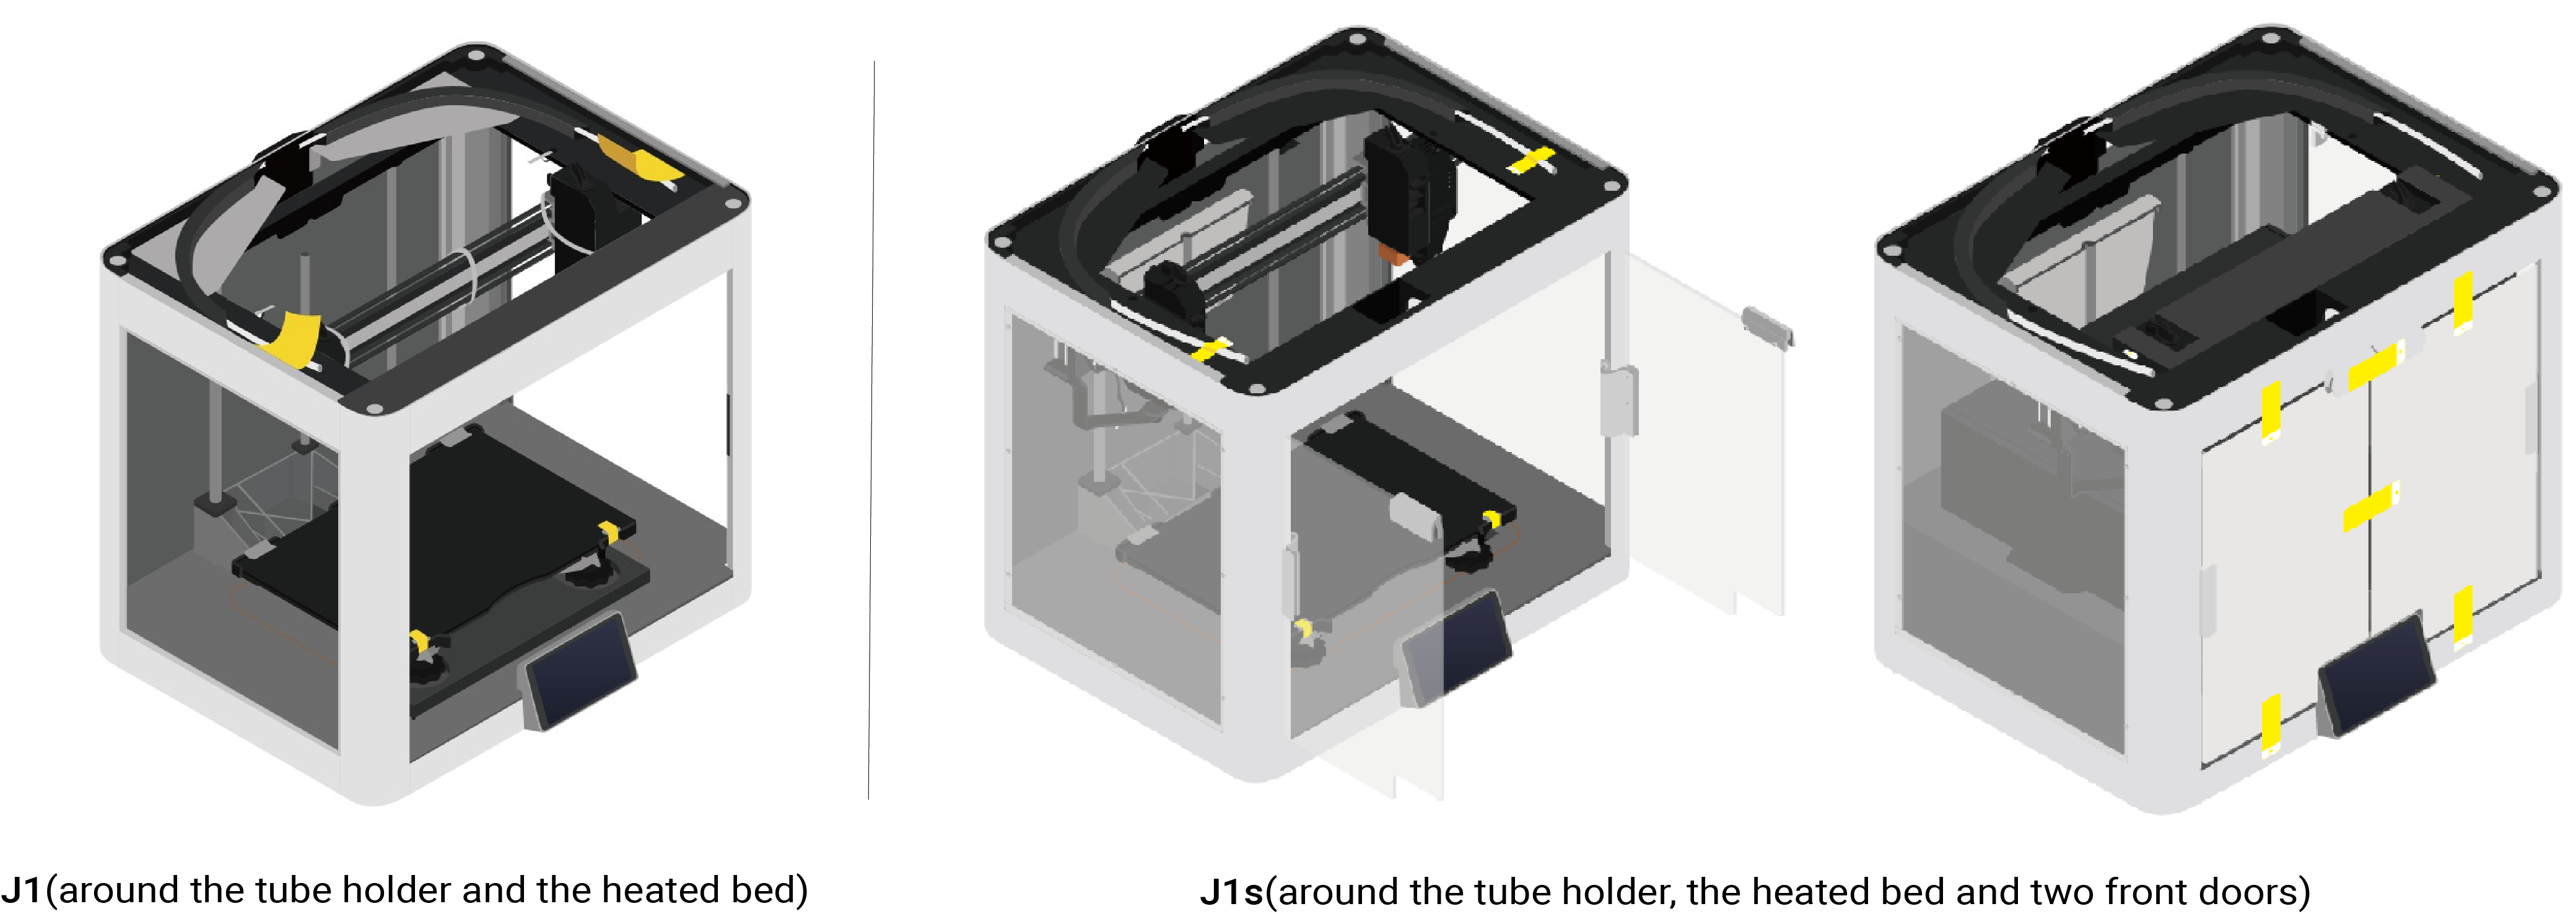
When removing the yellow stickers, please do so slowly to avoid leaving any adhesive residue behind.

Supposed that there is any adhesive residue left, you may refer to either of the following methods to remove it.
① Use silicone remover to loosen the adhesive residue, then use eraser to erase the residue.
② Apply some rubbing alcohol onto a soft cloth or cotton swab. Gently rub to loosen the adhesive residue, then use a clean cloth to remove the residue.
Note that acetone may cause plastic to become cloudy, dull, or discolored. Therefore, please do not use acetone to remove the adhesive residue, which may potentially damage your front doors.
-
Well lubricated axes are quite important for 3D printing process. After unpacking your J1/J1s, first check if the linear bearings are greased properly to avoid any damages by running them dry. If not, please refer to - Lubricating the Axes to grease your linear bearings.
-
Carefully check if the two tiny FFC connectors on the back top centre of the printer are locked. There are small black lines on the cable which should be parallel to the line printed on the PCB and very close to that line. The shoulder of the bar on the connector should be very close to the white connector housing. If there is a gap of about 1mm either at the top or at the bottom or throughout, the connector is not locked which means its connection is not reliable.

Make sure that the power is switched off when doing so.
Here you can find a nice picture on how these connectors work, the top variant is what is used in the J1: Slide lock or flip lock for FFC connector? Electrical Engineering Stack Exchange 68.
¶ Setting up the Touchscreen
-
Ensure your printer has fully completed the calibration steps found under Calibration on Touchscreen. For the best results, perform these calibration steps after switching nozzles, hotends, or updating firmware.
-
The automatic leveling process may sometimes be inaccurate, so it is important to check carefully. If needed, mannually leveling the bed with a test model, such as the one on Printables 77.
¶ Updating the firmware
- Ensure your printer is running the latest firmware.
You can check for firmware updates by clicking Settings > Firmware Update on Touchscreen.
¶ Preparing the machine
- Check if your PEI glass plate is flat since J1/J1s heavily relies on that.
- When installing filaments, it is recommended to follow the steps below:
(1) Pull out the Teflon tube on the top of toolhead.
(2) Insert the filament through the Teflon tube from the back.
(3) Insert the filament into the toolhead.
(4) Install the Teflon tube.
¶ Start printing
- When printing thermal materials (especially PLA), to avoid clogging the nozzle when printing the first layer, please remove the top plate and keep the front doors open during printing. Alternatively, you can apply 3D printing glue on the glass side of the print platform and print without heating the heated bed.
To modify the heat bed temperature settings, please click Materials > Heating & Cooling > Build Plate Temperature on top toolbar.
¶ Removing the print
- When printing with the PEI-coated side of the plate, please wait for the plate to cool down to room temperature before separating the model from the plate. Avoid removing the model while the PEI glass plate is still hot, which will damage the PEI coating on the glass plate.
Your experiences are valuable to us and the rest of the community. We encourage you to enhance this guide by contributing additional tips or corrections based on your experience. Together, we can make the start smoother for every Snapmaker user!

