¶ Problem Description
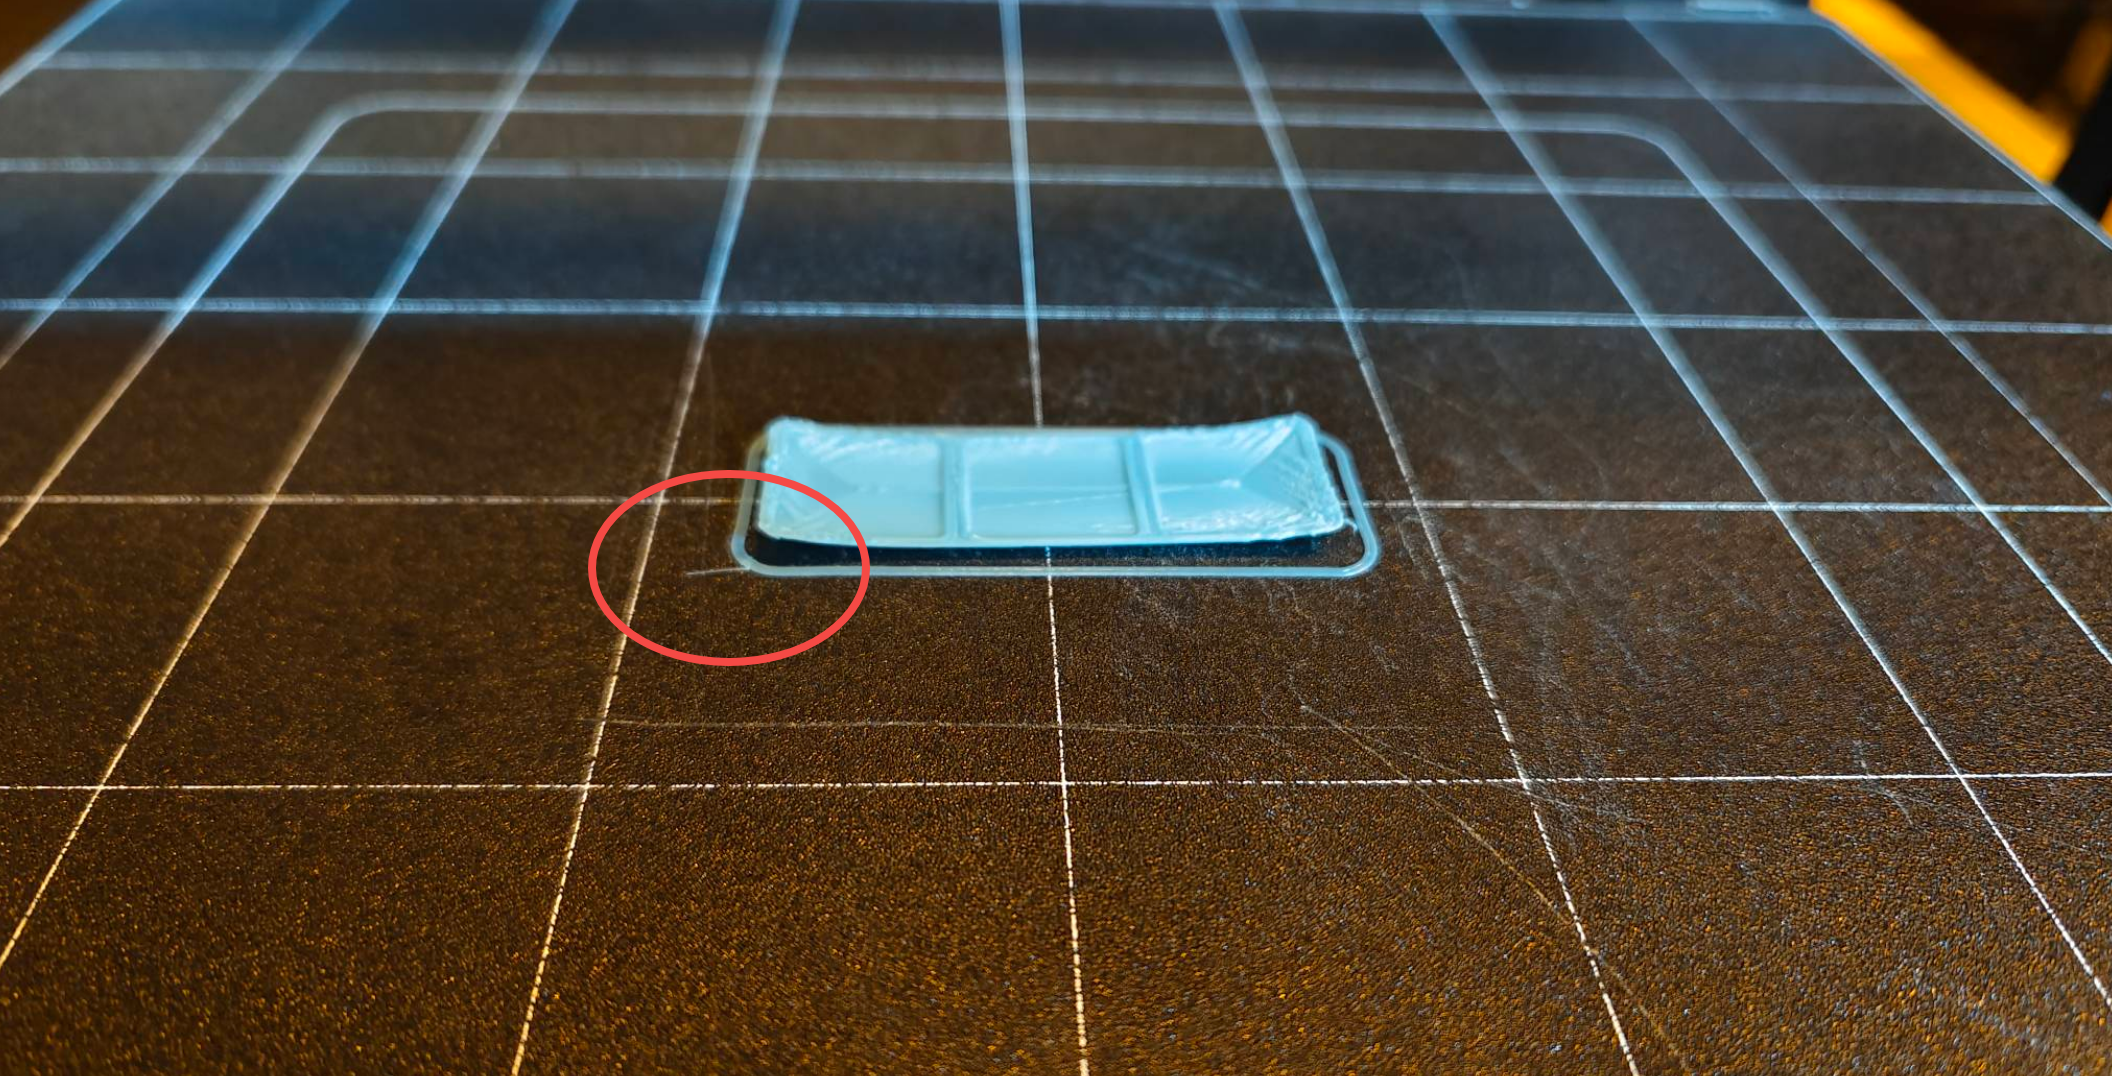
Warping is a common issue in 3D printing where the base of the printed object curls up and separates from the print bed. This deformation usually occurs during the printing process and can result in parts with an uneven base, making them unusable.

¶ Possible Causes:
- Inaccurate heated bed temperature
- Cooling fan was incorrectly activated (for ABS ASA)
- The ambient temperature is too low.
- Poor first layer adhesion
¶ Solutions:
¶ 1. Heated bed temperature
Make sure the heated bed temperature is set adequately.
For the recommended settings for various filaments, please refer to our Filament Library
If the bed temperature is set within the recommended range and warping issues persist, increase the bed temperature by 5-10°C above the recommended value for the filament.
¶ 2. Cooling fan setting
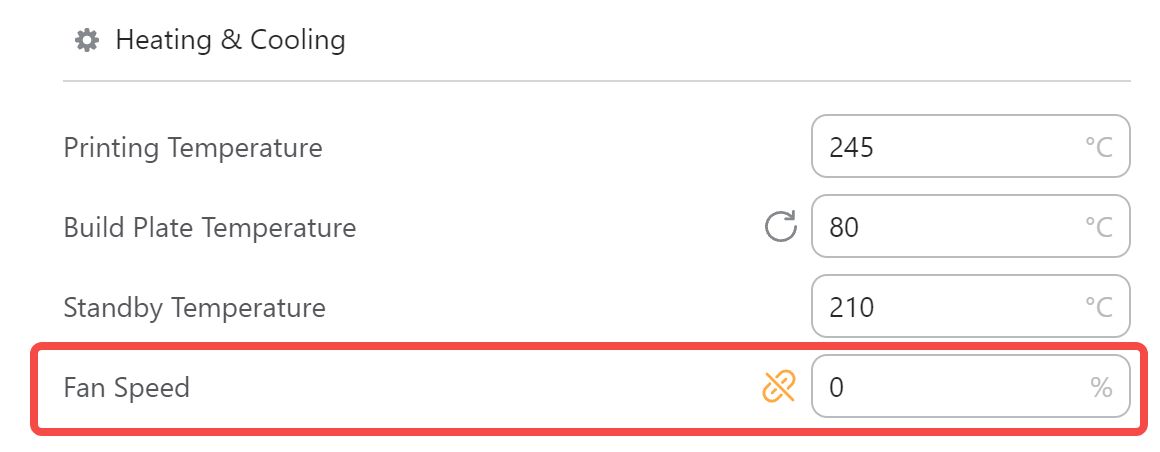
If the cooling fan starts too early during the first layer, it can cause the material to cool too quickly, leading to warping. For materials like ABS and ASA that require maintaining a warm environment, do not turn on the cooling fan or the enclosure fan, and print with the door closed.

¶ 3. Ambient temperature
Some filaments require high ambient temperature during printing, so print with the enclosure and the enclosure door should be closed
¶ 4. Poor first layer adhesion
Poor adhesion between the print bed and the first few layers of the print can lead to warping. If the base layers do not stick properly, they will lift and curl as the print progresses.
If there is grease or dust on the heated bed, it can cause adhesion issues with the first layer. Before printing, make sure the print surface is clean. You can wipe it with a wiping cloth dampened with ethyl alcohol. Refer to the below guide on cleaning:
Removing the filament residues
Removing the grease and dust
Removing the adhesive
Please take a look at this article to enhance the first layer adhesion:
Poor first layer adhesion
¶ Additional Enhancement Measures
¶ 1. Skirts, Brims and Rafts
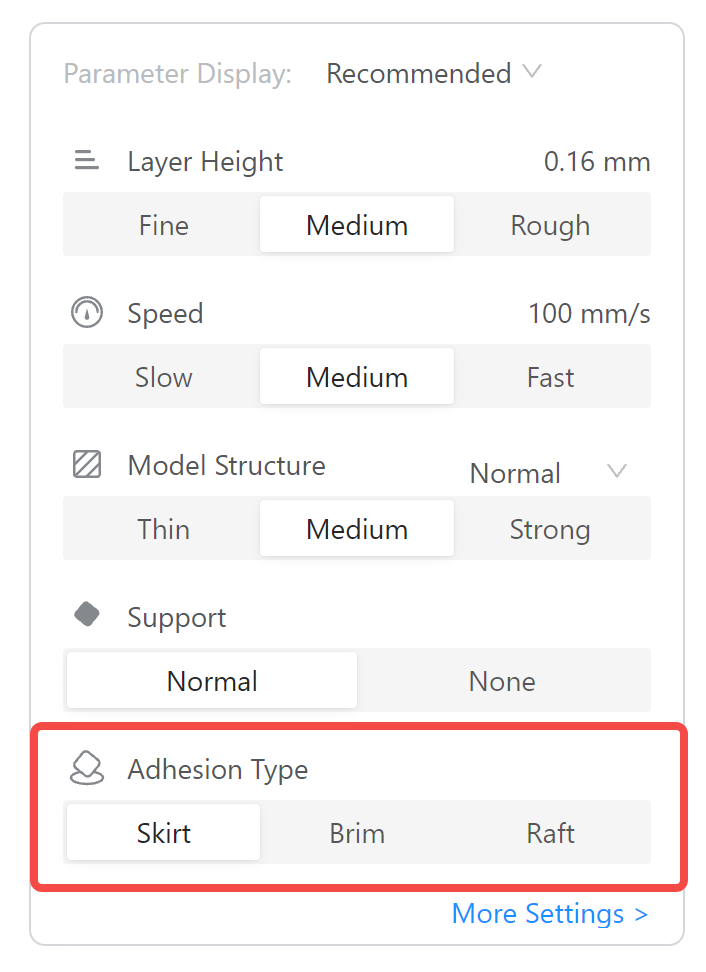
If you’ve implemented all the previous suggestions and are still experiencing curling with your parts later in the print, consider adding a brim or a raft. These features help secure the edges and are less likely to warp, as they usually consist of just a few layers.

¶ 2. Use Adhesives
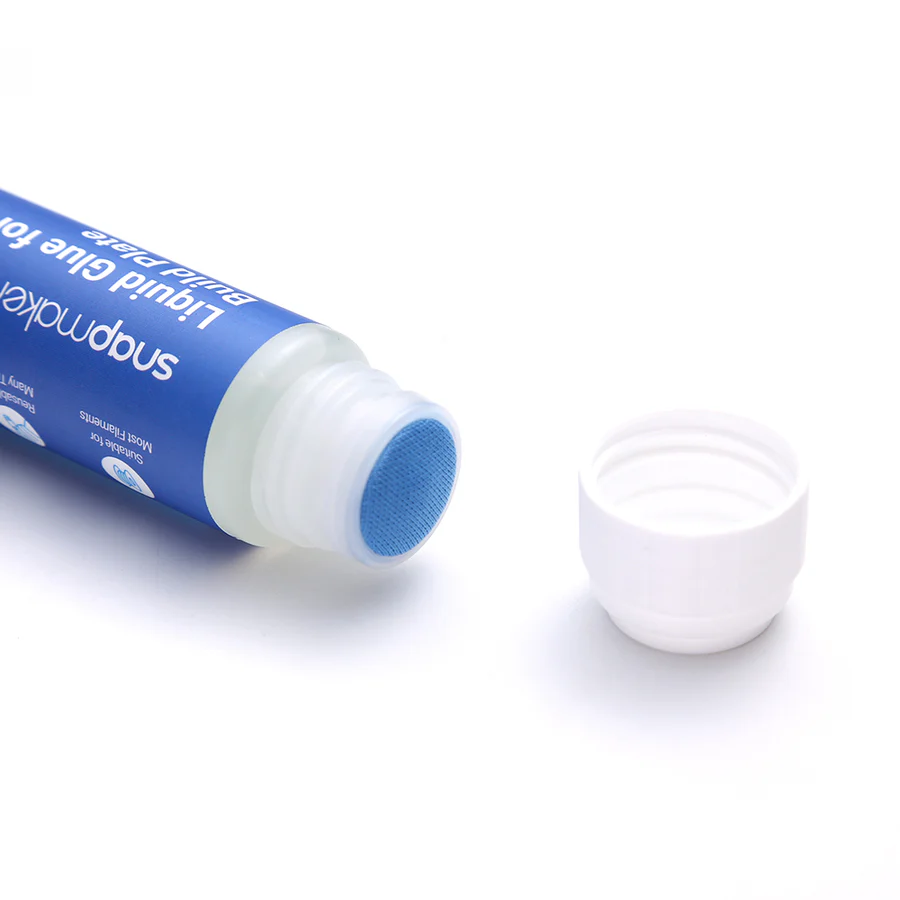
Apply an even layer of water-soluble adhesive (like liquid glue) or 3D printing tapes on the printing area to improve the first layer adhesion.
After the printing, you can dampen a cloth with water to wipe off any remaining adhesive from the build plate.
For the purchase link for liquid glue (type the keywords in the search box), as well as the reasons why we recommend using liquid glue instead of glue stick, please visit our online store.

¶ Contact Support
After following the troubleshooting steps, if you find it difficult to resolve your issue, kindly submit a support ticket through https://snapmaker.formcrafts.com/support-ticket and share your troubleshooting results with some pictures/videos. Our dedicated support team will be more than willing to assist you in resolving the issue.