You need to change the collet and the CNC bit first, then to reset the Z-axis work origin manually.
You can replace the provided ER11 collet with other ER11 collets. But ensure that it is an ER11 collet; otherwise, your collet will not fit the ER11 nut.
¶ Before You Start
Make sure you've worn the CNC safety glasses.
¶ Tools & Accessories Required
- New collet
- New bit
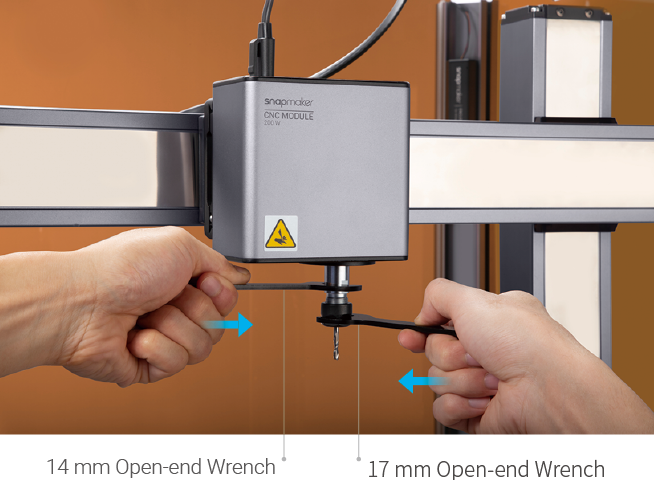
- 14mm open-end wrench
- 17mm open-end wrench
¶ Procedures
¶ Step 1: Change the collet
- Detach the bit part (including the ER11 collet, the ER11 nut and the bit) from the shank.
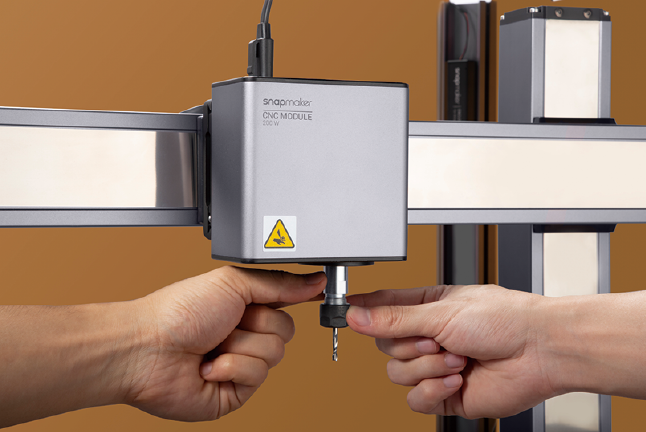
- Pull the CNC bit out from the ER11 collet, and detach the ER11 collet and the ER11 nut.
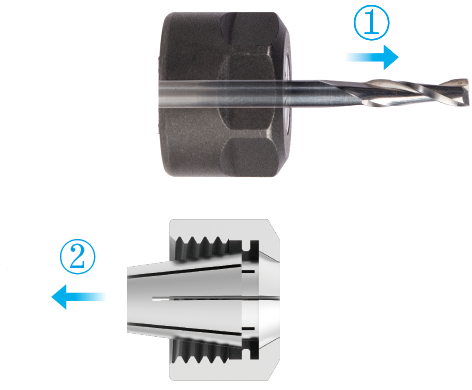
Handle the CNC bits with caution and keep them away from children.
- Insert the new CNC bit into the your new collet, and keep pushing the bit until its end bottoms against the shell of the new collet.
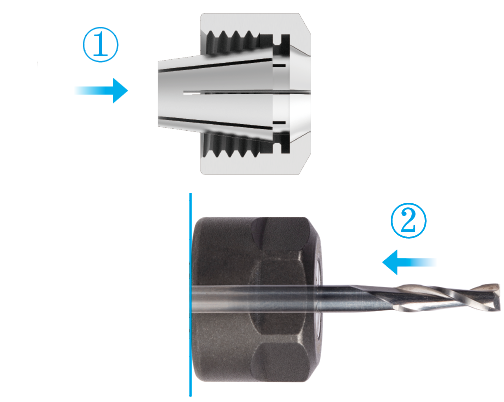
Before operation, make sure that you have worn the CNC safety googles.
Handle the CNC bits with caution and keep them away from children.
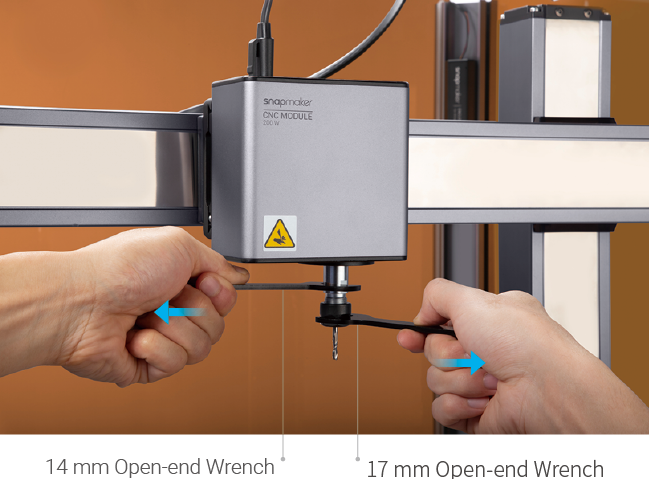
- Twist the entire unit onto the shank as tight as possible, and then completely tighten the ER11 nut with the open-end wrenches.

¶ Step 2: Reset the work origin of Z-axis
If the CNC bit bumps into the machine, turn off the machine or press the emergency stop button immediately.
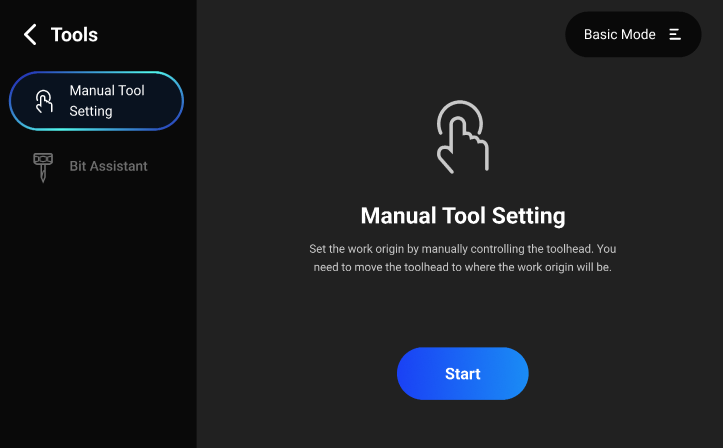
- On the Touchscreen, tap Tools > Manual Tool Setting > Start.
- Place the calibration card or a piece of A4 paper between the CNC bit and the material.
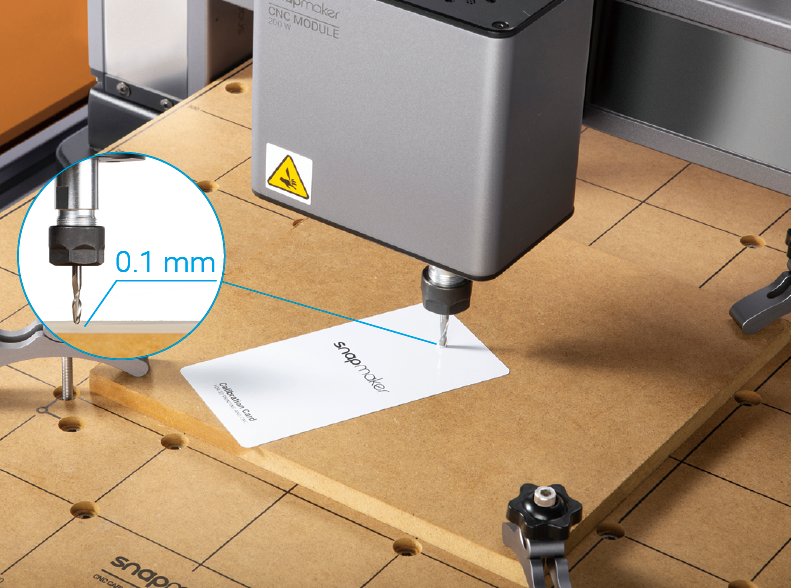
- Tap Z+ or Z- button to adjust the height of the CNC bit. If you can feel slight resistance when pulling out the calibration card and wrinkle the card when you push it forward, then the work origin of the Z-axis is properly set.
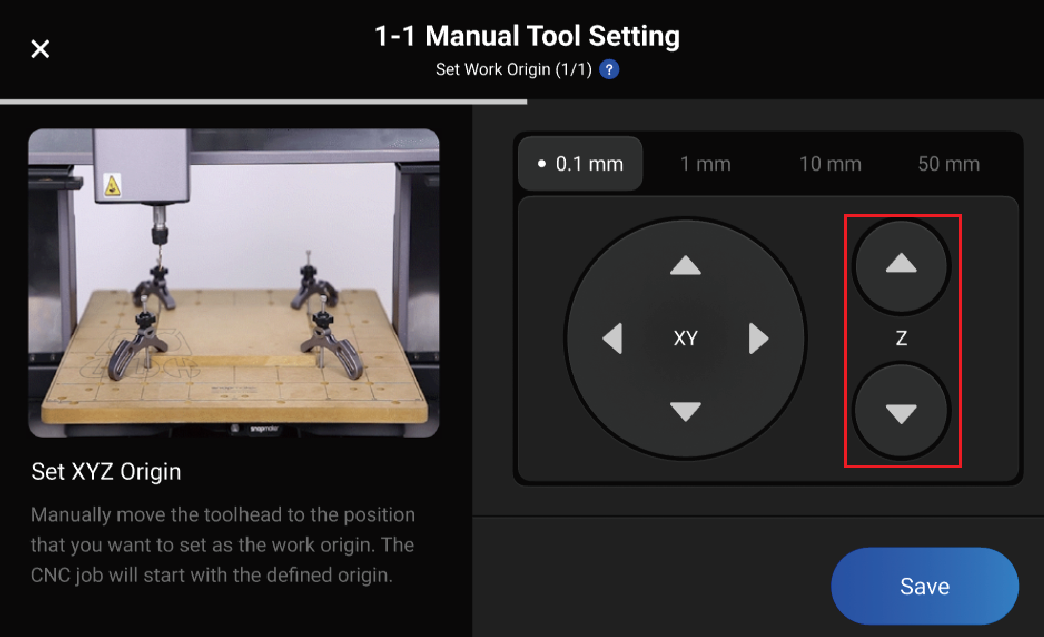
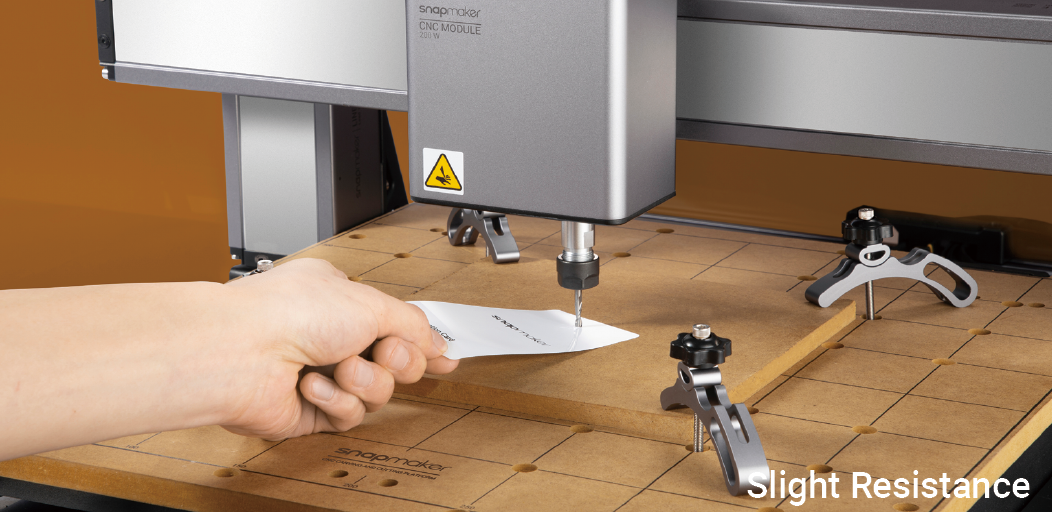
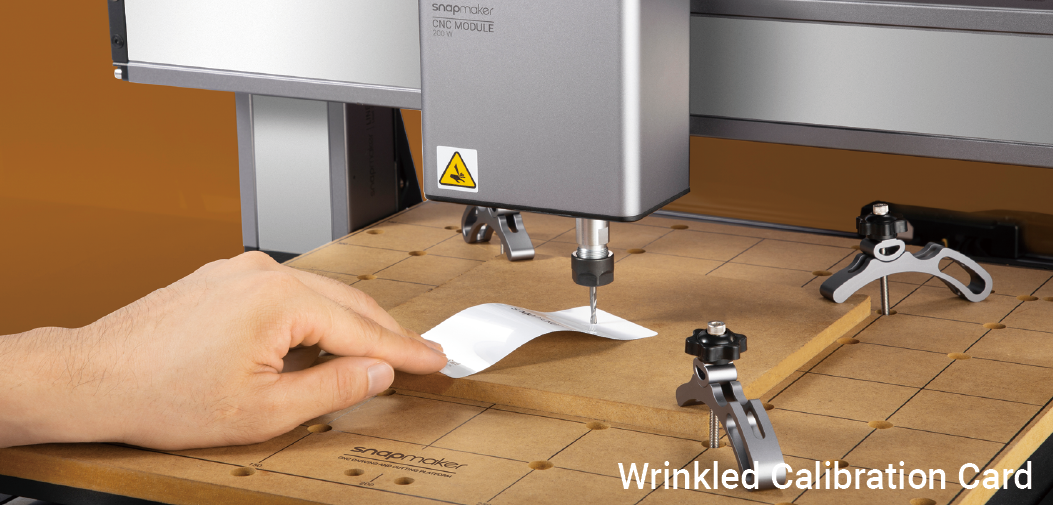
- Tap Save to save the origin for Z-axis.
Related Pages