¶ How It Works
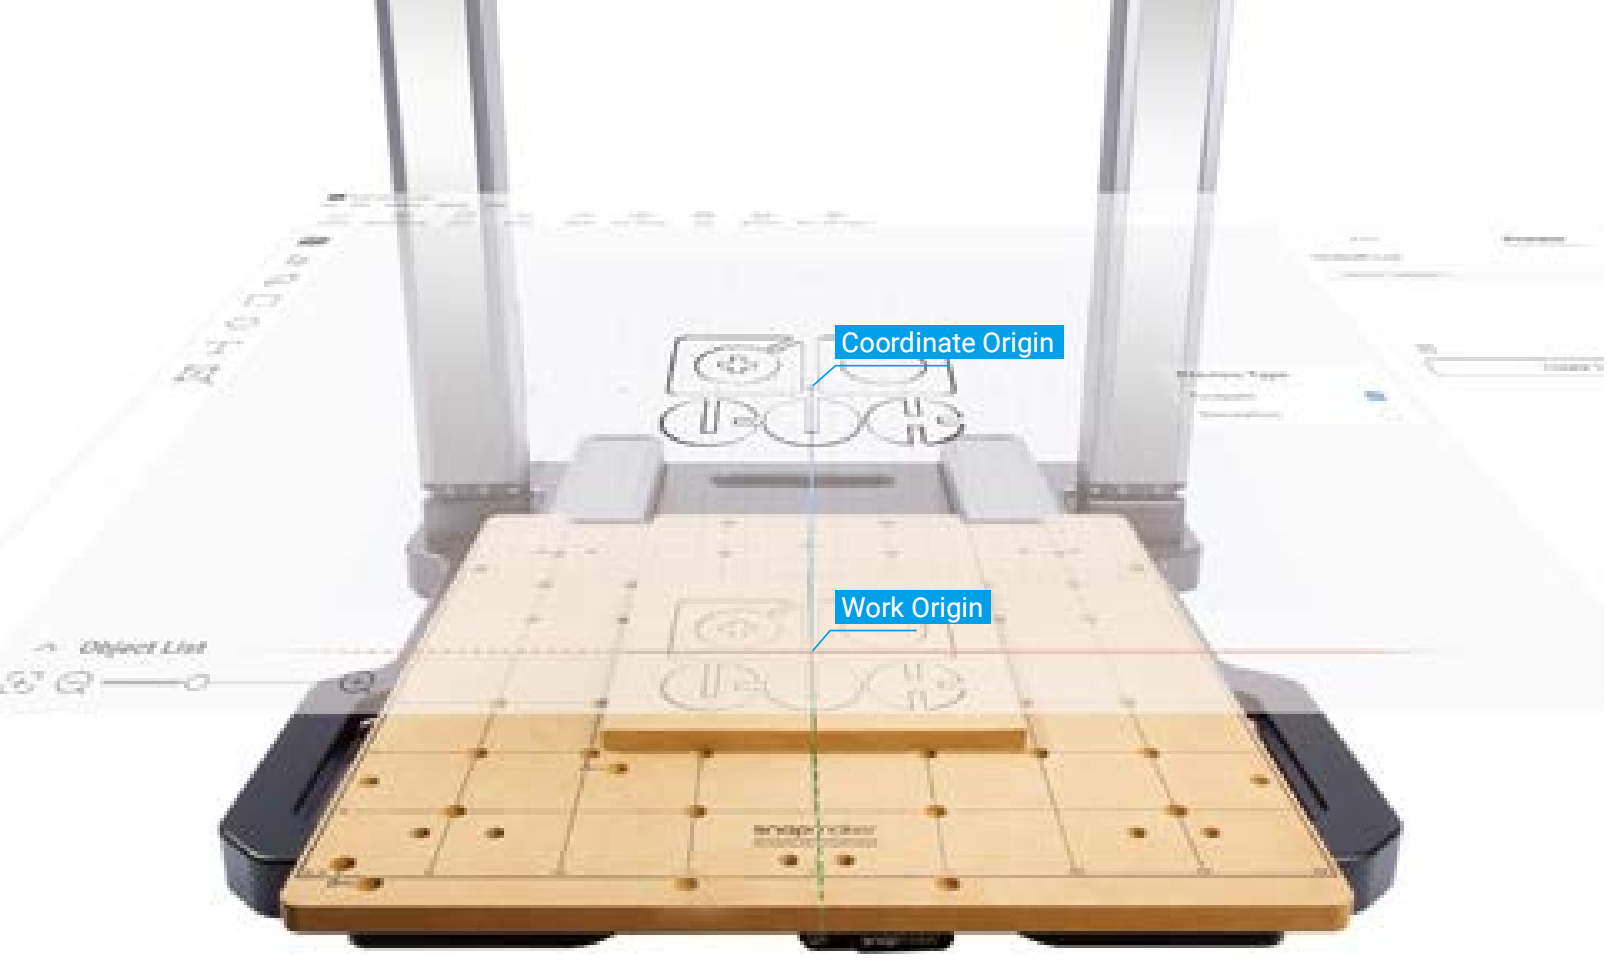
Work Origin
Determine where the carving will take place by setting the work origin. The work origin corresponds to the (0, 0) coordinate origin in the software.
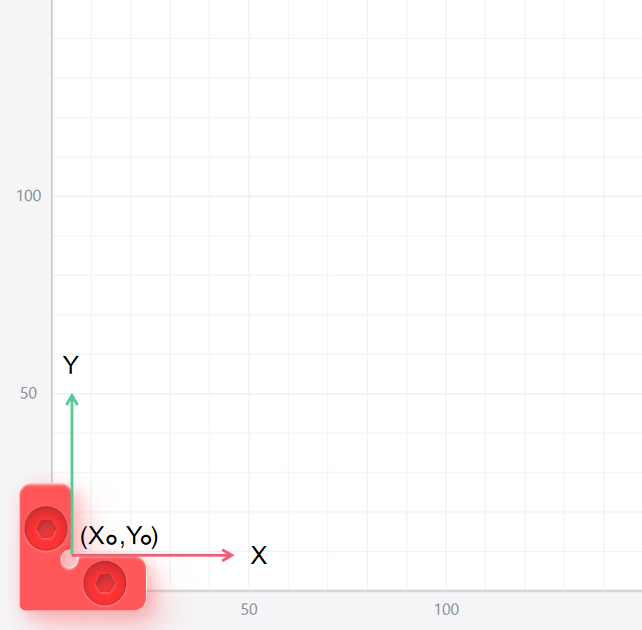
The intersection of the right-angle sides of the L bracket will be pre-defined as the work origin of the X and Y axes. You only need to separately set the work origin of the Z axis, which improves the accuracy and speeds up the process.
¶ Tools & Accessories Required
-
Workpiece × 1
-
CNC Bit × 1
-
Clamp Set × 4
-
L Bracket × 1
-
H2.5 Hex Key × 1
-
M4 × 12 Low Head Cap Screw × 2
¶ Procedures
¶ Fastening the L Bracket
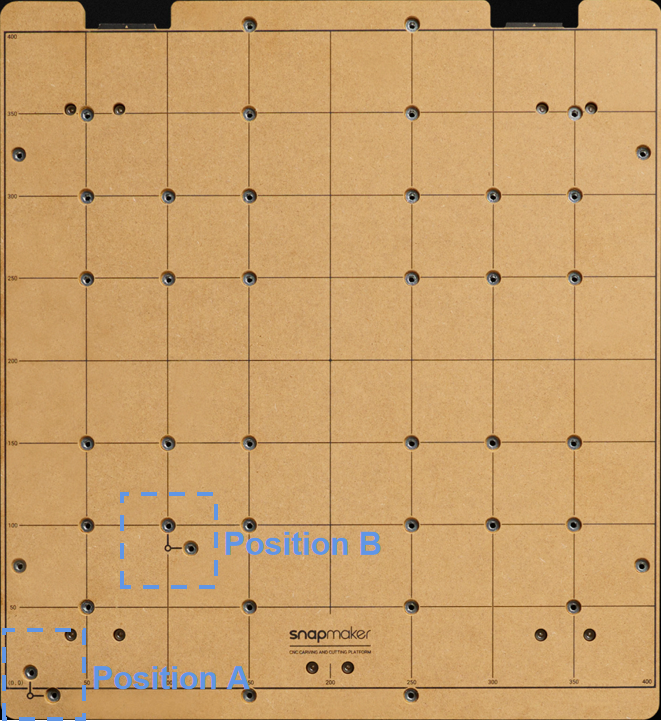
Fasten the L bracket onto either of the two anchor points as needed.
¶ Clamping the Material
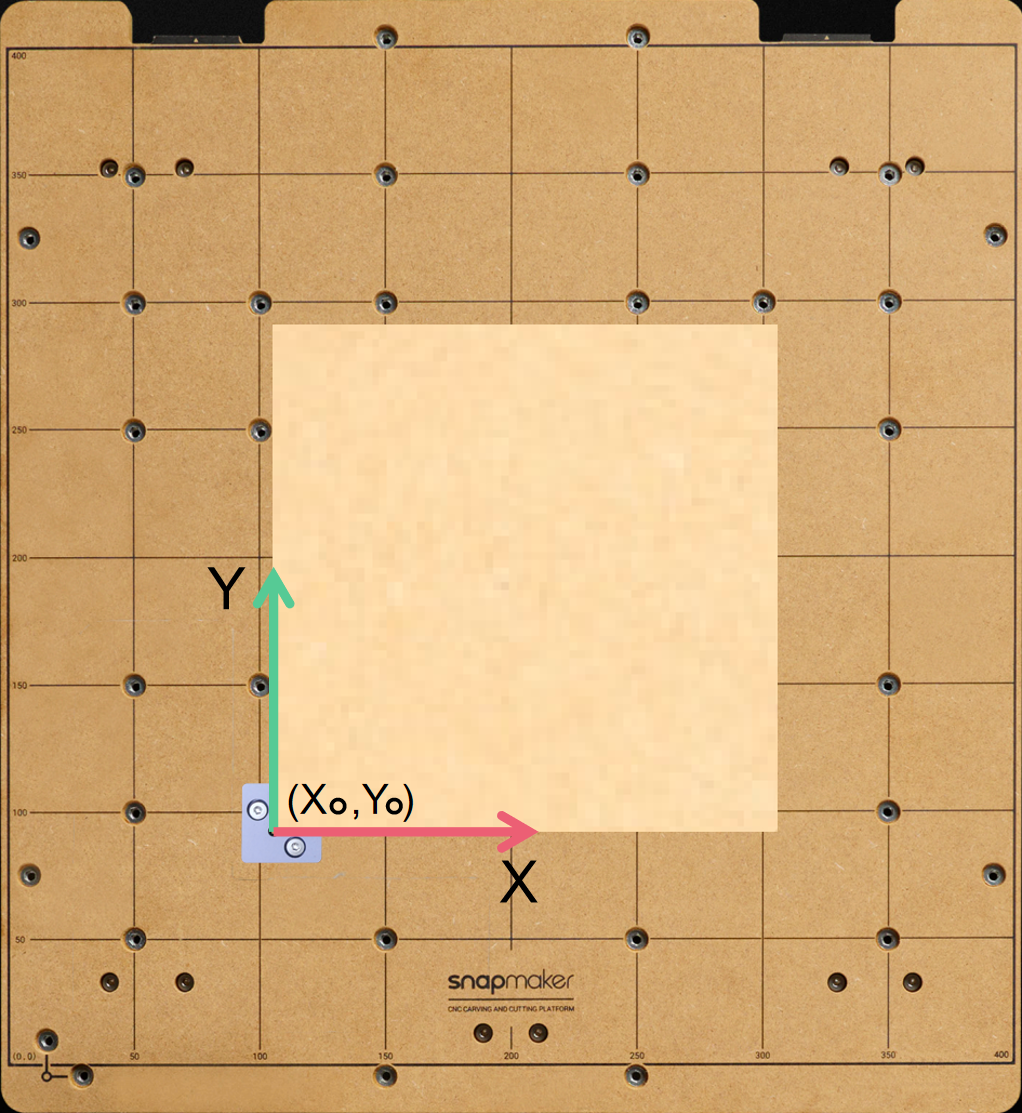
Ensure that the right-angle sides of the material are in alignment with the L bracket.
¶ Installing the CNC Bit
¶ Generating the G-code File and Sending to Your Machine
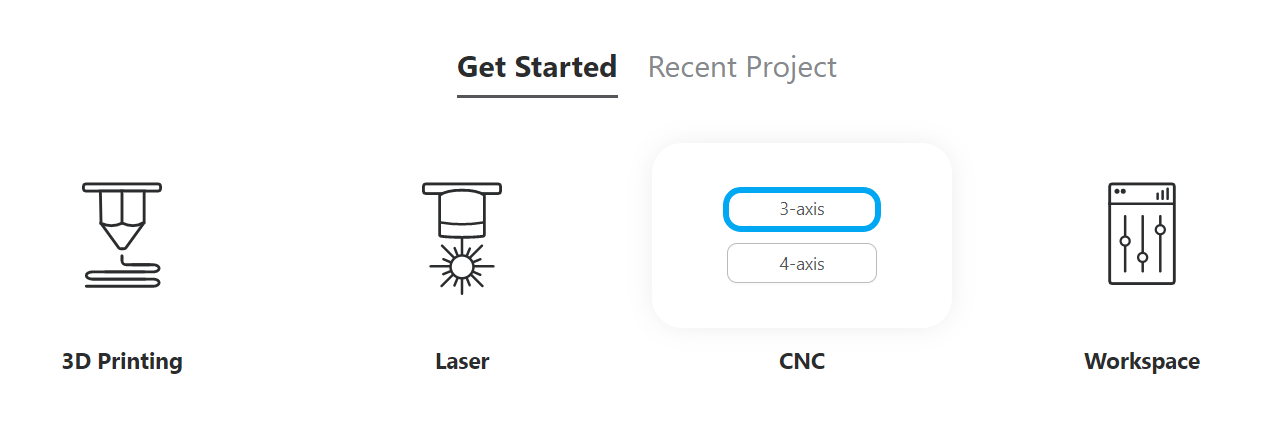
- Click CNC > 3-axis to enter the CNC G-code Generator.
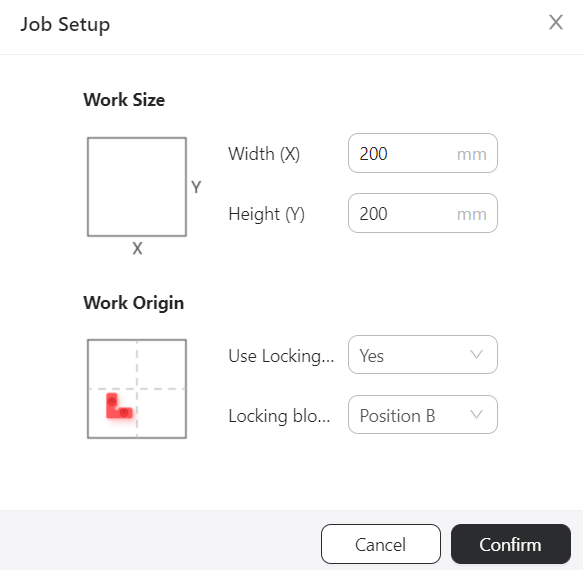
- Enable the L bracket feature, select the corresponding anchor point, and set the size of the material.
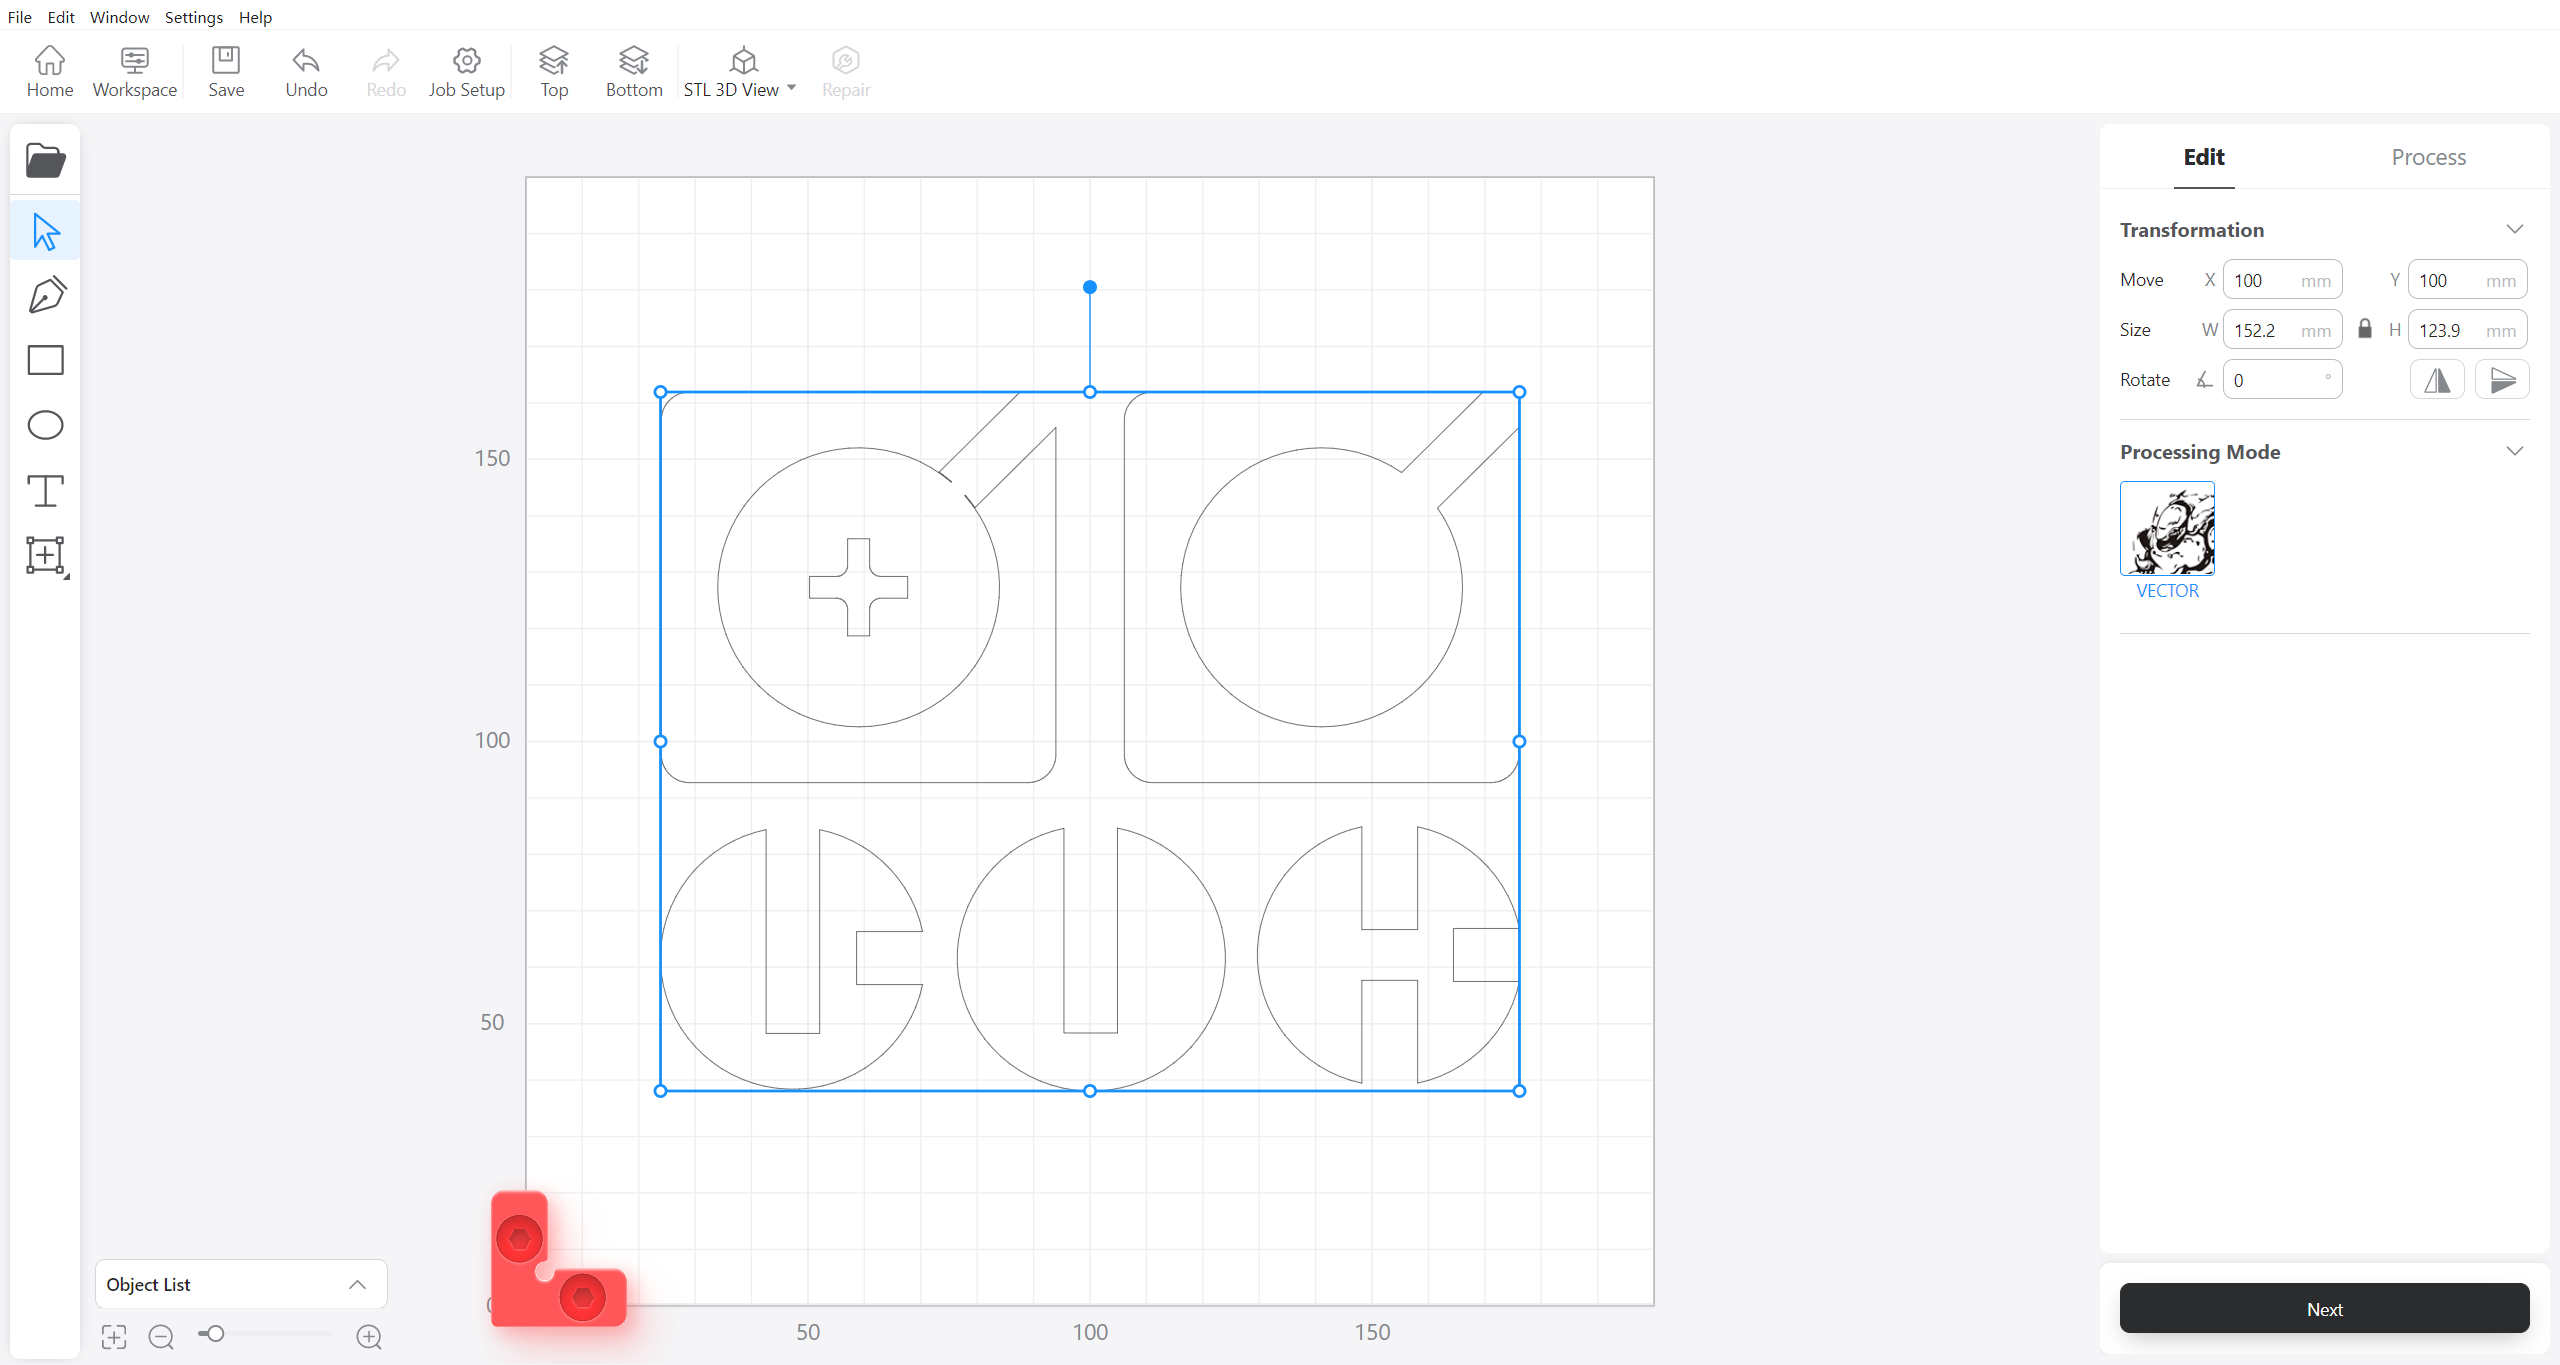
- Import your own file, configure the parameters, and generate the G-code file.
- Click Export > Load G-code to Workspace, and then click Send to Device on the G-code Files panel to send the G-code file to your machine via Wi-Fi.
You can also send the G-code file to your machine via the USB flash drive.
Setting the work origin via the L bracket is not supported when you start the job on Snapmaker Luban.
¶ Setting the Work Origin and Starting Carving
-
After the G-code file is successfully sent to the machine, tap Start > Files > Local, select the received G-code file, and tap Next.
-
Ensure that the CNC bit is above the clamp set, and then tap Run Boundary to check if the machining area on X and Y axes is set properly.
If the CNC bit runs into any part of the machine, press the emergency stop button on top of the Integrated Controller. After you have handled the emergency, rotate the emergency stop button clockwise to release it. Change the CNC bit (refer to Changing CNC bits) if it is damaged due to the collision.
If any part of the boundary trailed by the CNC bit goes outside of the material, or if the CNC Bit collides with any parts of the machine, reset the work origin of the X and Y axes, and run the boundary again.
If you have run the boundary with the CNC bit above the clamp set, you can lower the CNC bit to run the boundary again to locate the machining area more precisely. But note: Always make sure the CNC bit is above the material surface when running the boundary to avoid damaging the bit or the material.
- Place the calibration card or a piece of A4 paper between the CNC bit and the material, and then tap the Z- or Z+ button to adjust the height of the CNC bit. If you can feel slight resistance when pulling out the calibration card and wrinkle the card when you push it forward, tap
 to save the work origin of the Z axis.
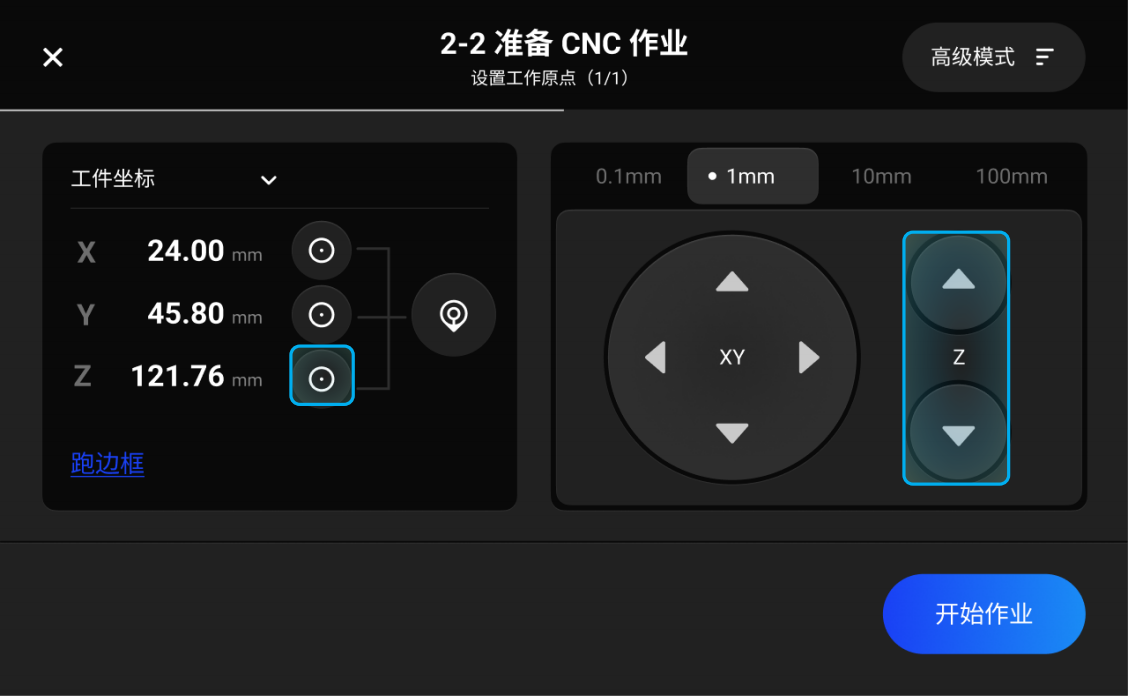
- After you have confirmed the work origins of the X, Y, and Z axes are properly set, tap Start to start carving.
Ensure that you place the Integrated Controller within easy reach. In case of an emergency, press the emergency stop button on top of the Integrated Controller to stop the job immediately. After you have handled the emergency, rotate the emergency stop button clockwise to release it.
It is not recommended to turn on the exhaust fan of the Enclosure during a CNC process, or the dust and wood chips generated will attach to the inner surfaces of the Enclosure and the exhaust fan. To configure the settings of the Enclosure, refer to section 3.2 of the Quick Start Guide.
Related Pages