¶ Before You Start
The G-code file is output of the process during which the geometric information of the design file is translated into instruction information that the machine can read and comprehend. Therefore, you need to prepare a design file first.
For useful websites to find amazing design files for laser engraving and cutting, read our Academy article: Templates and Designs for Laser Engraving and Cutting: Great Websites and Software that Will Make You A Better Creator.
Luban supports the following formats of the design file: .stl, .svg, .jpeg, .png, .jpg, .bmp, .dxf, .amf and .3mf.
Snapmaker Luban cannot guarantee compatibility with all .dxf files exported from various software. For those .dxf files that are compatible, the parsing results may vary depending on the software used for export.
¶ Procedures
Before slicing, always check if you've selected the correct machine model and toolhead via Preferences > Machine Settings.
-
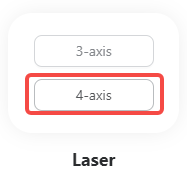
Launch Luban and click Laser > 4-axis to enter the Laser G-code Generator.

-
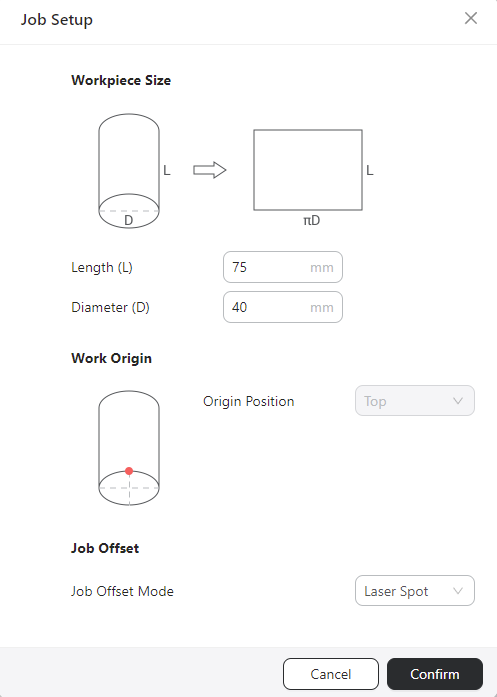
Finish Job Setup and click Confirm.

For details, please refer to - Job setup.
-
Click the Import button in the toolbar to import the prepared design file, or directly drag the file into Luban.

-
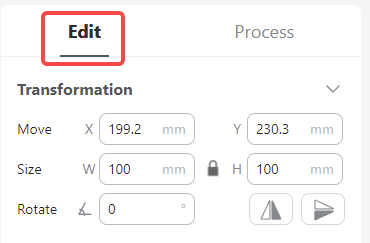
Adjust the size and angle of the design in the Edit panel.

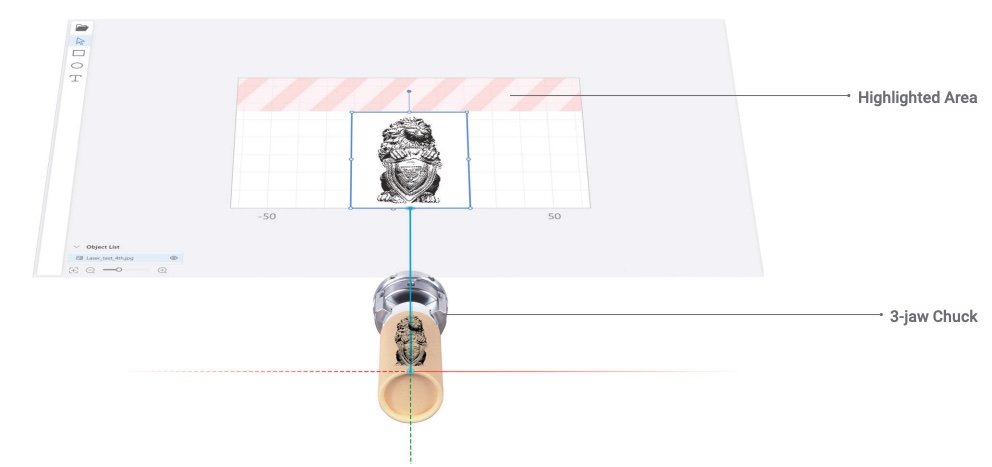
You should put your object within the canvas. The stripe-highlighted area is where the material is clamped by the 3-jaw chuck.
You can click the Lock icon to ensure the width and the height of the design change proportionally or independently.
-
Click Process, then select an object (the smallest independently movable unit in your design) and click Create Toolpath.
-
Configure the parameters for engraving and cutting in the Toolpath Settings window.
You can use the preset parameters directly or make adjustments based on them.
For more information on configuring engraving and cutting parameters, read our Academy article: Parameter Configuration Guide: How to Set Proper Work Parameters for Laser Engraving and Cutting
-
Click Generate G-code and Preview.
-
Click Export to export the G-code file to the local directory or to Workspace.
