Laser processing modes define how the objects will be processed. Luban provides three modes for CNC processing: Relief, Vector and Model. Relief mode is primarily used for 3-axis carving operation, Vector mode is mainly used for 3-axis cutting operation, while Model mode is used for 4-axis processing.
To select a processing mode for graphics or models, you need to select the graphics or models first, then click the mode on the configuration bar.

After selecting a proper processing mode, you need to give detailed instructions to the machine, refer to - CNC: Toolpath Settings.
Here is a table showing the available processing choices of different file formats.

¶ Relief
Converts the object to a greyscale graphic. To carve reliefs, you are recommended to use raster graphics for processing.
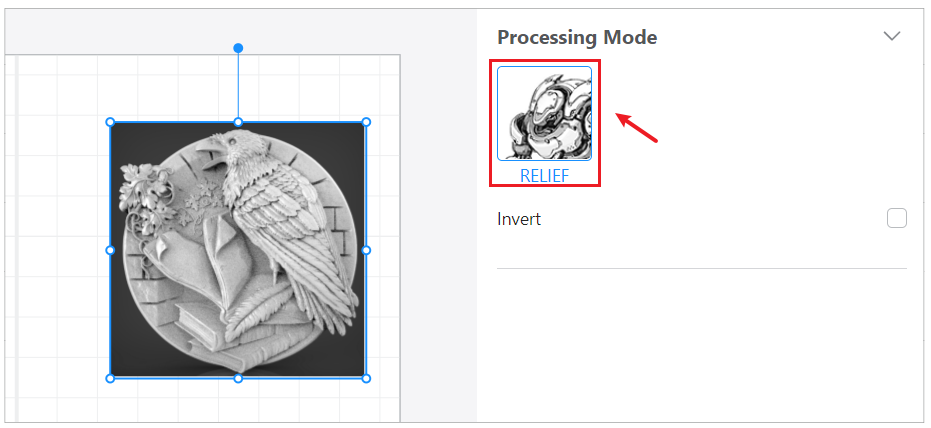
Relief is mostly used for carving operations.
It’s also worth noting that some file types are restricted to only one processing mode. As we can see here, this image is restricted to only “Relief” mode because it isn’t the “vector” type of image.
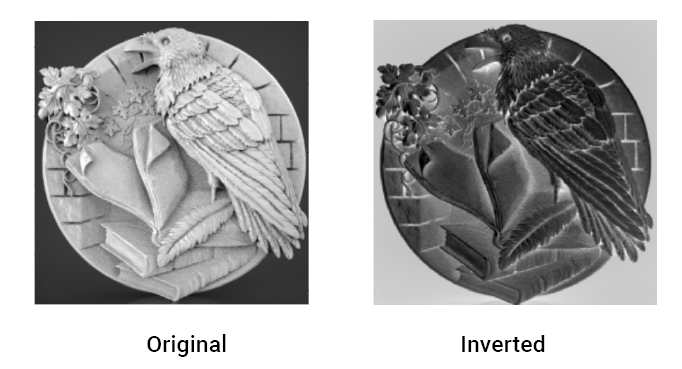
¶ -Invert
Inverts the color of images, white becomes black, and black becomes white.
¶ Vector
Converts the object to a vector graphic.
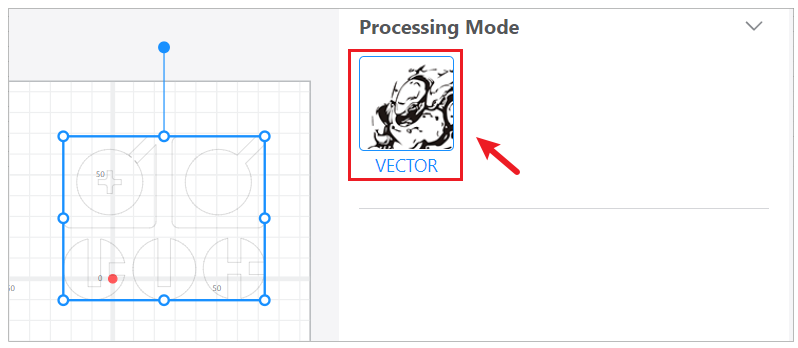
Vector is mostly used for cutting operations.
It’s also worth noting that some file types are restricted to only one processing mode.
¶ Model
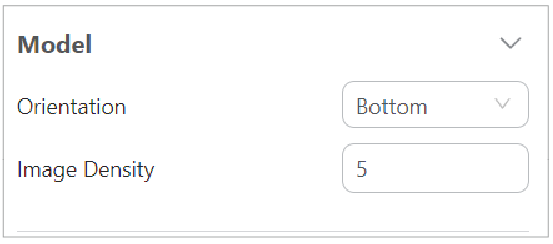
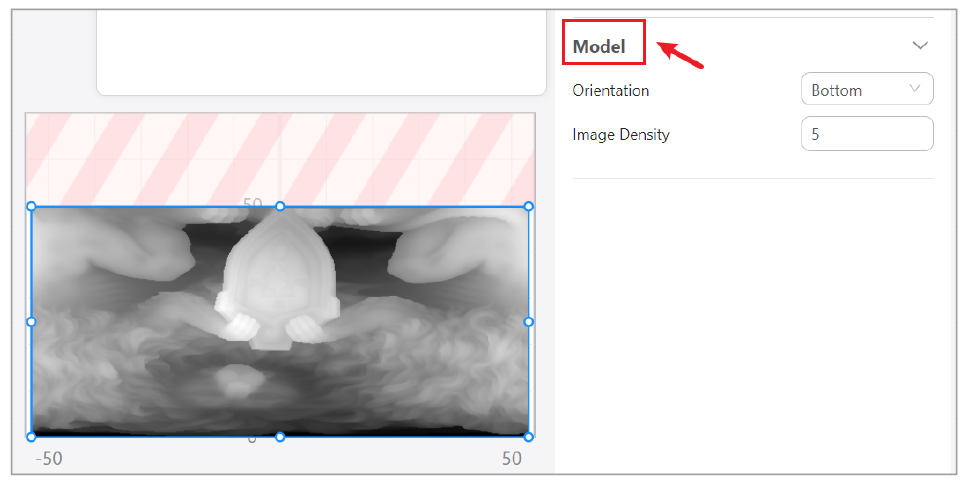
Set the orientation and image density of the 3D model. It takes effect in 4-axis CNC projects.
¶ - Orientation
Set the projection orientation of the 3D model. The original direction looks like this:
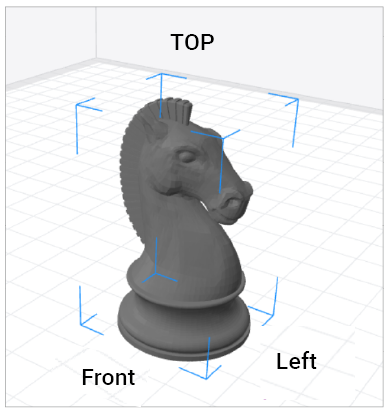
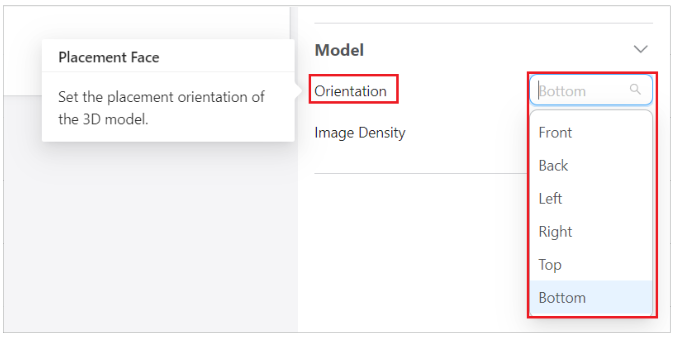
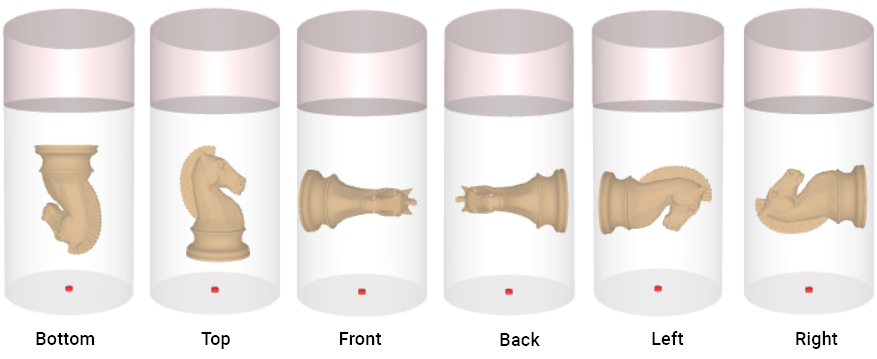
On Model panel of the right configuration bar, click drop-down list in Orientation, and set the placement orientation of the model based on your preference. The face of the model you set will be clamped by the 3-jaw Chuck.
¶ - Image Density
Input a value to set the resolution of the grayscale image generated by the 3D model.

The bigger the value is, the more details your model will have.
