¶ Transfer the G-code File
If you want to operate laser engraving and cutting on the Touchscreen, you must transfer the G-code file to the machine. This section describes how to transfer the G-code file to the machine for laser engraving and cutting.
-
Connect the machine to Luban (see Connecting the machine to Snapmaker Luban via Wi-Fi).
-
In the edit and process space for laser in Luban, click Load G-code to Workspace. In the workspace of Luban, click Send to Device via Wi-Fi.
-
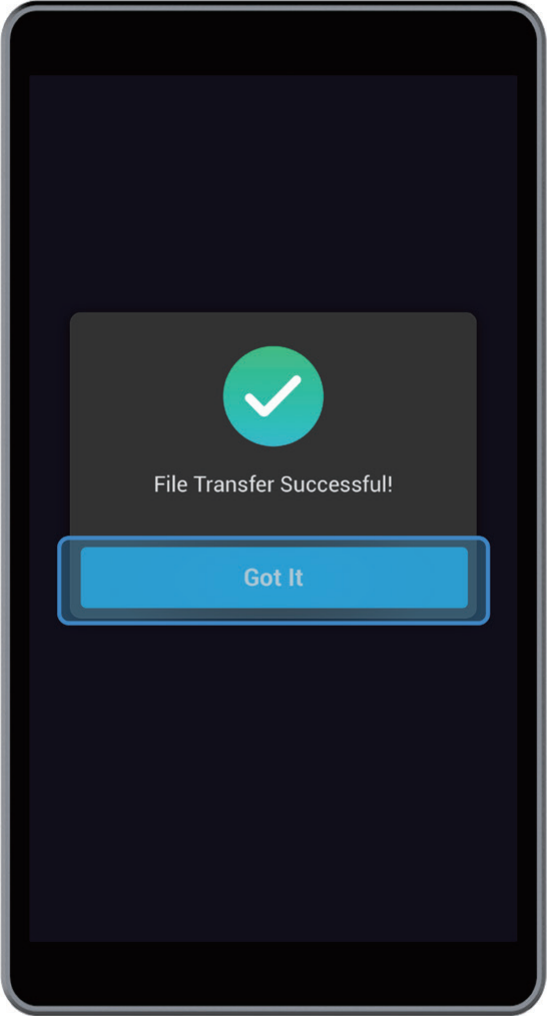
On the Touchscreen, tap Got It to receive the G-code file.
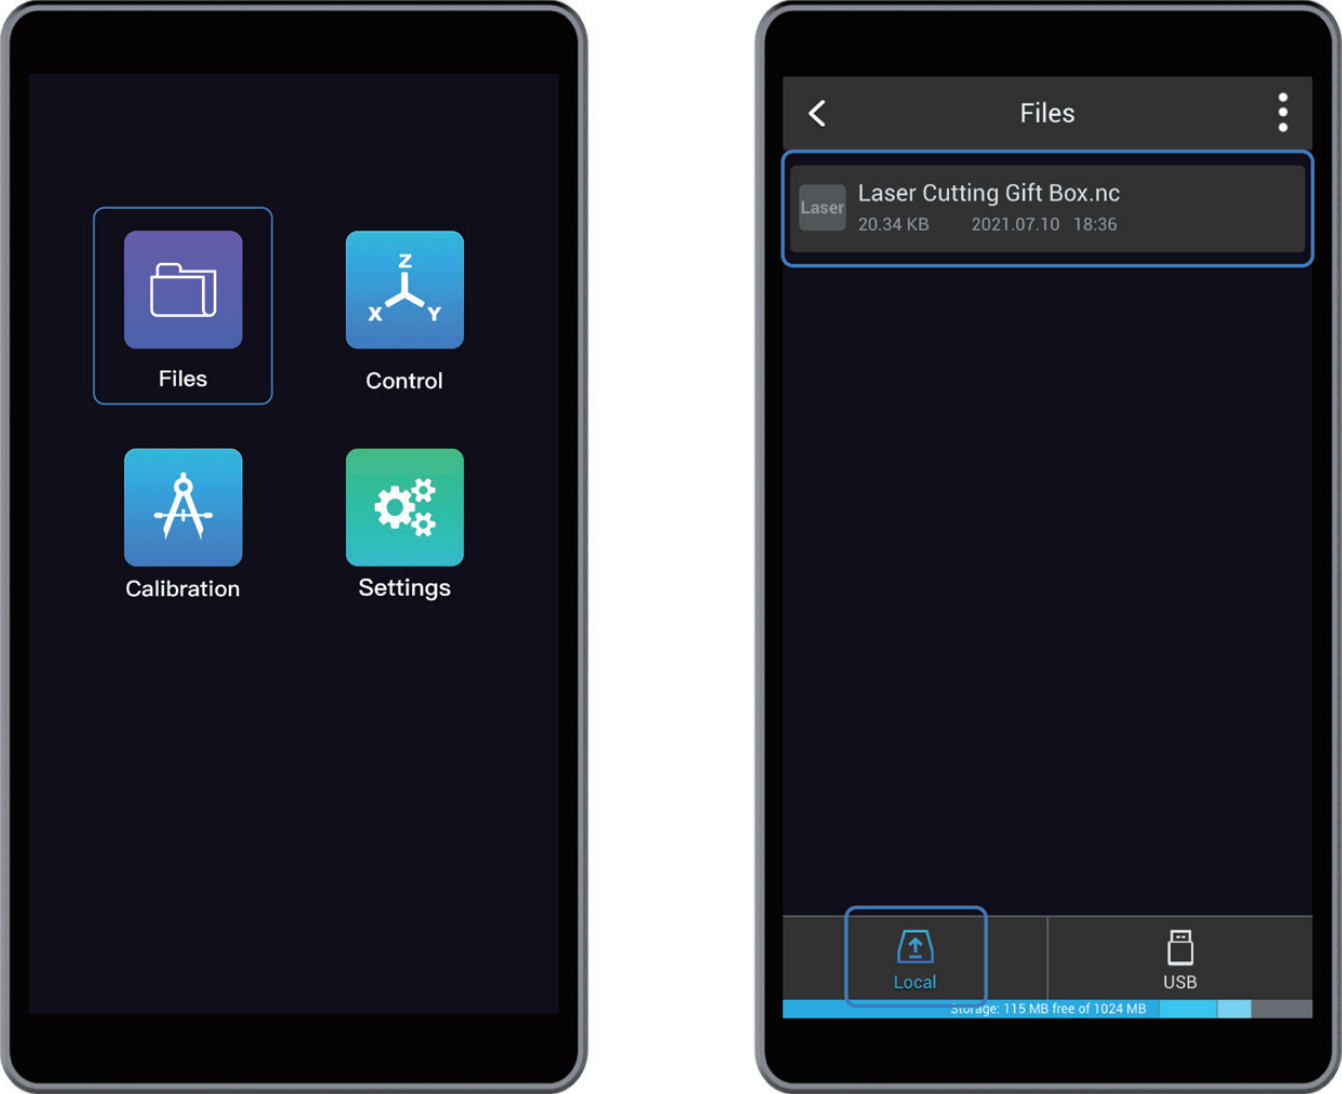
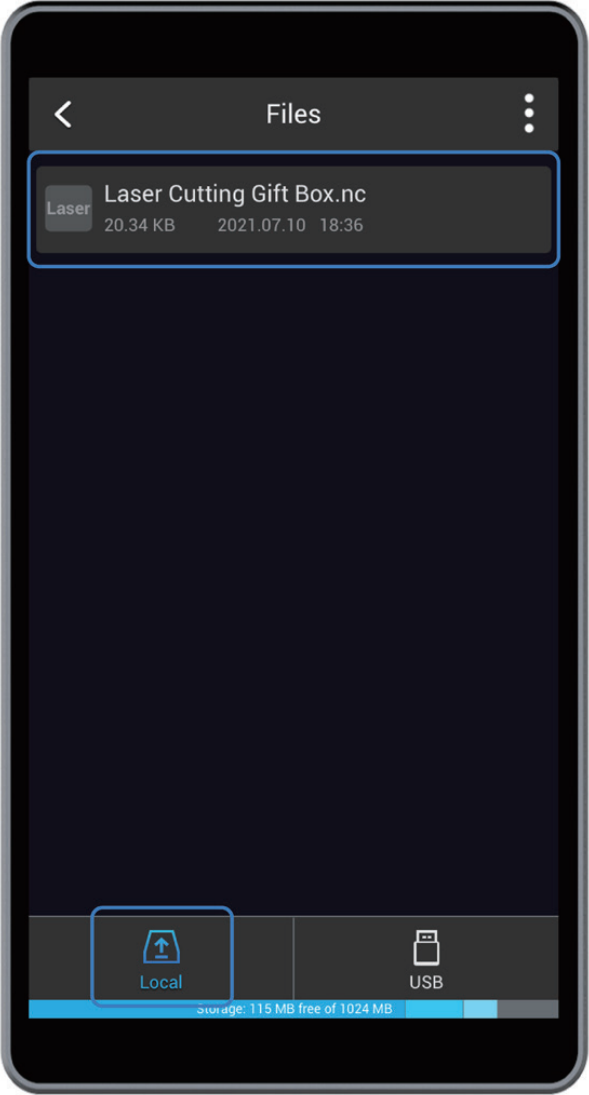
- On the Touchscreen, find the G-code file by tapping Files > Local.
-
In the edit and process space for laser in Luban, click Export G-code to File (in .nc format) and save the exported file to the USB flash drive.
-
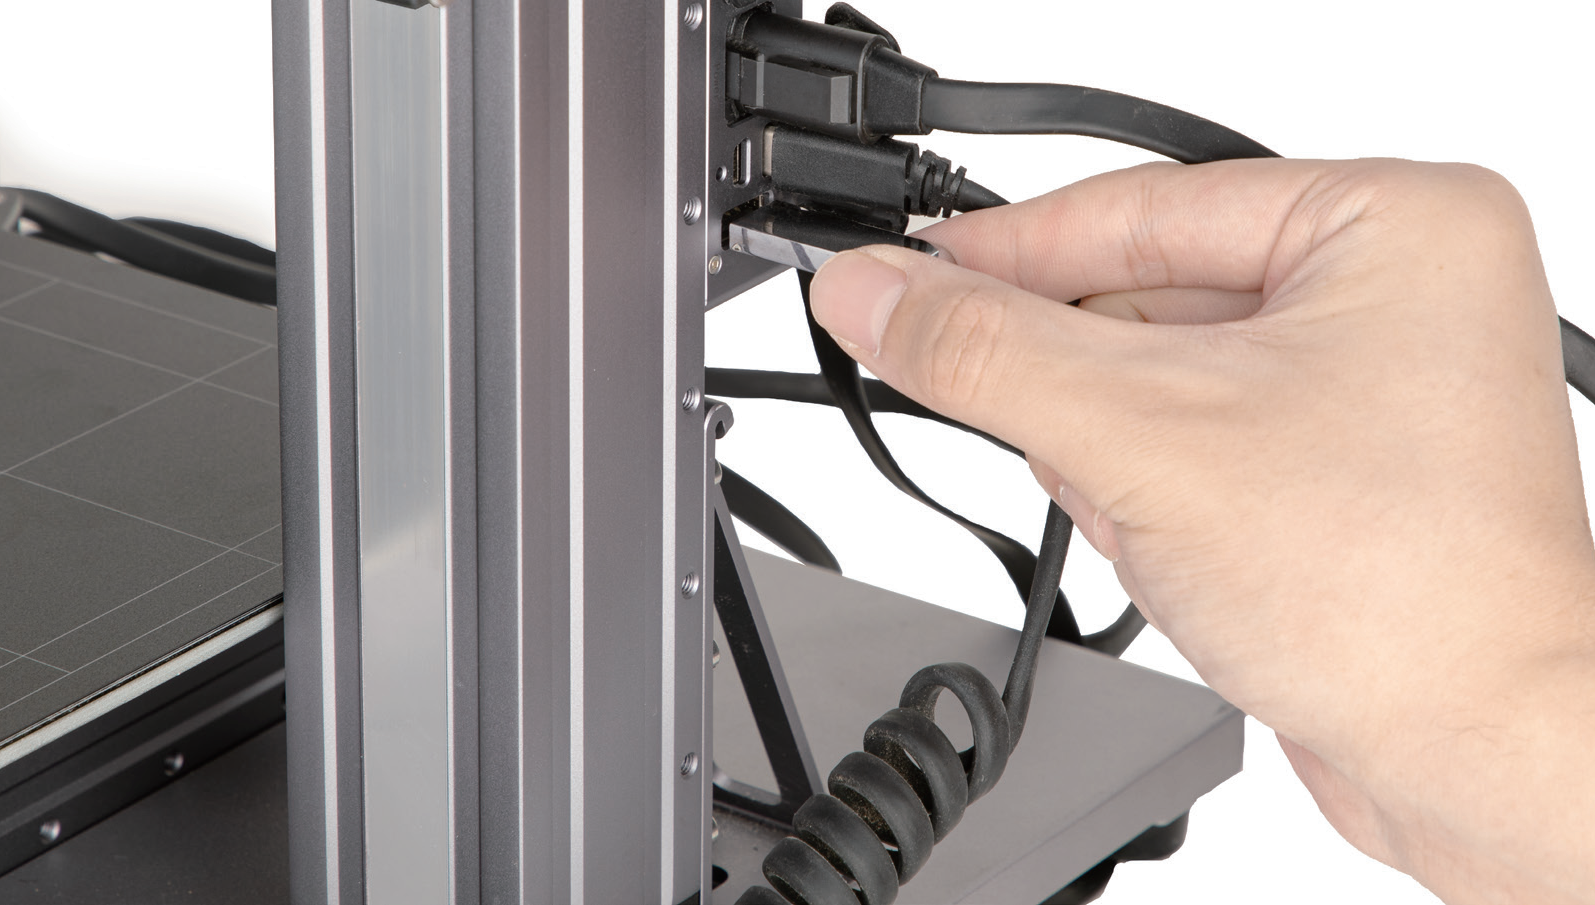
Insert the USB flash drive into the Controller of the laser engraving and cutting machine.
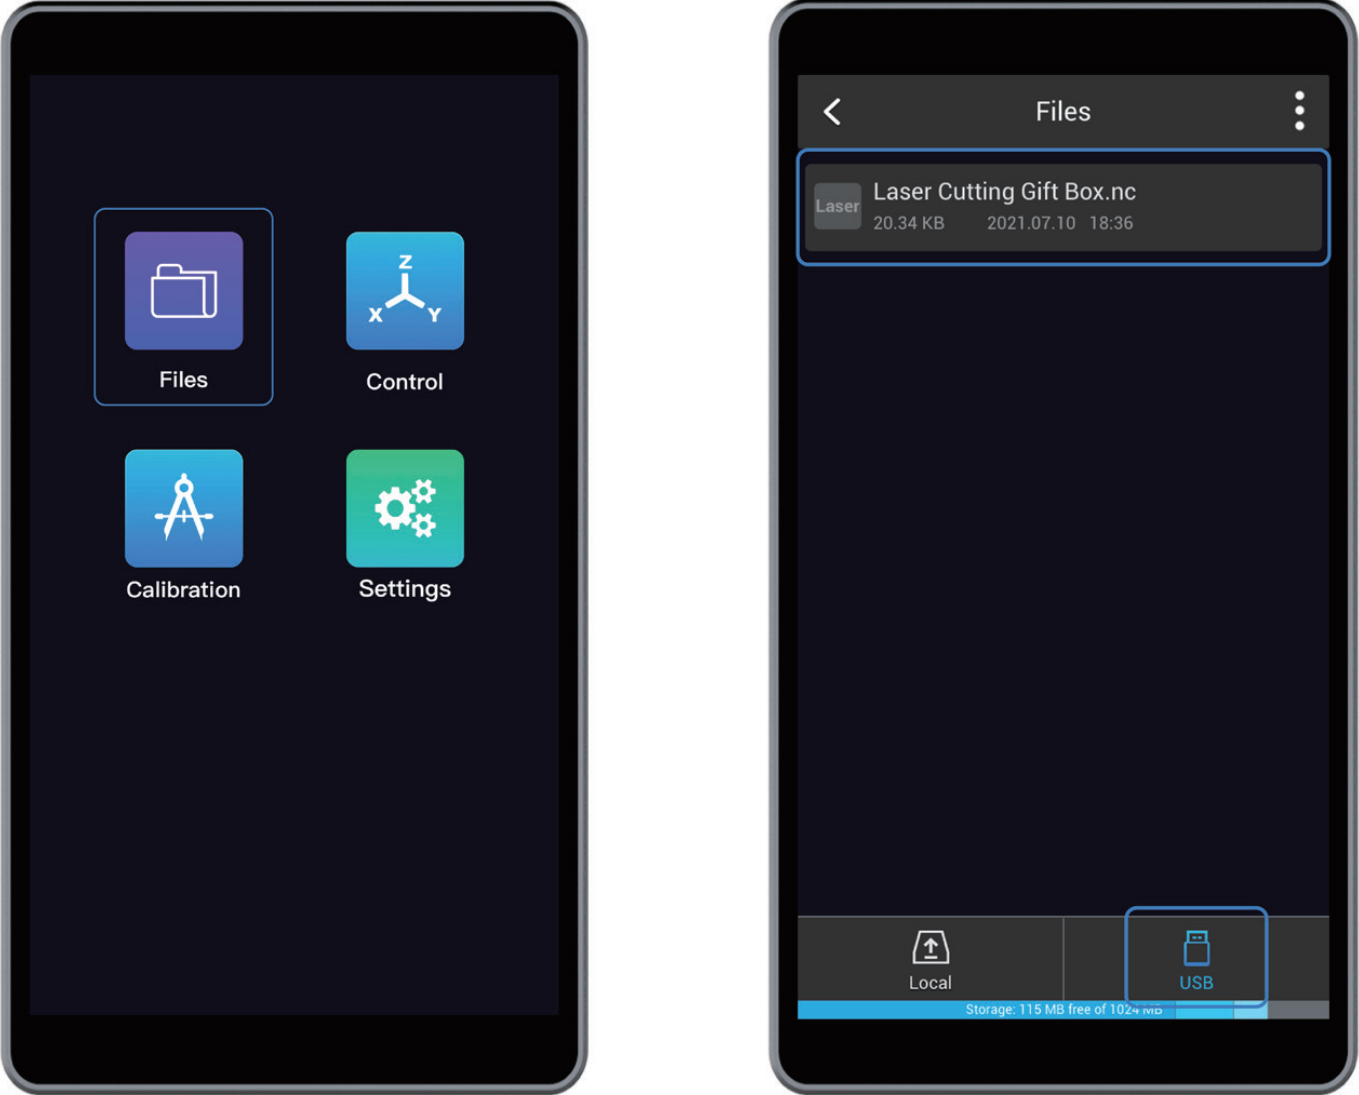
- On the Touchscreen, find the G-code file by tapping Files > USB.
¶ Start Engraving and Cutting
After the machine, material, and G-code file are ready, you can start engraving and cutting. The operating console can be Luban or the Touchscreen. Set Work Origin is a crucial step to start engraving and cutting. This article explains work origin and describes how to start engraving and cutting in Luban or on the Touchscreen.
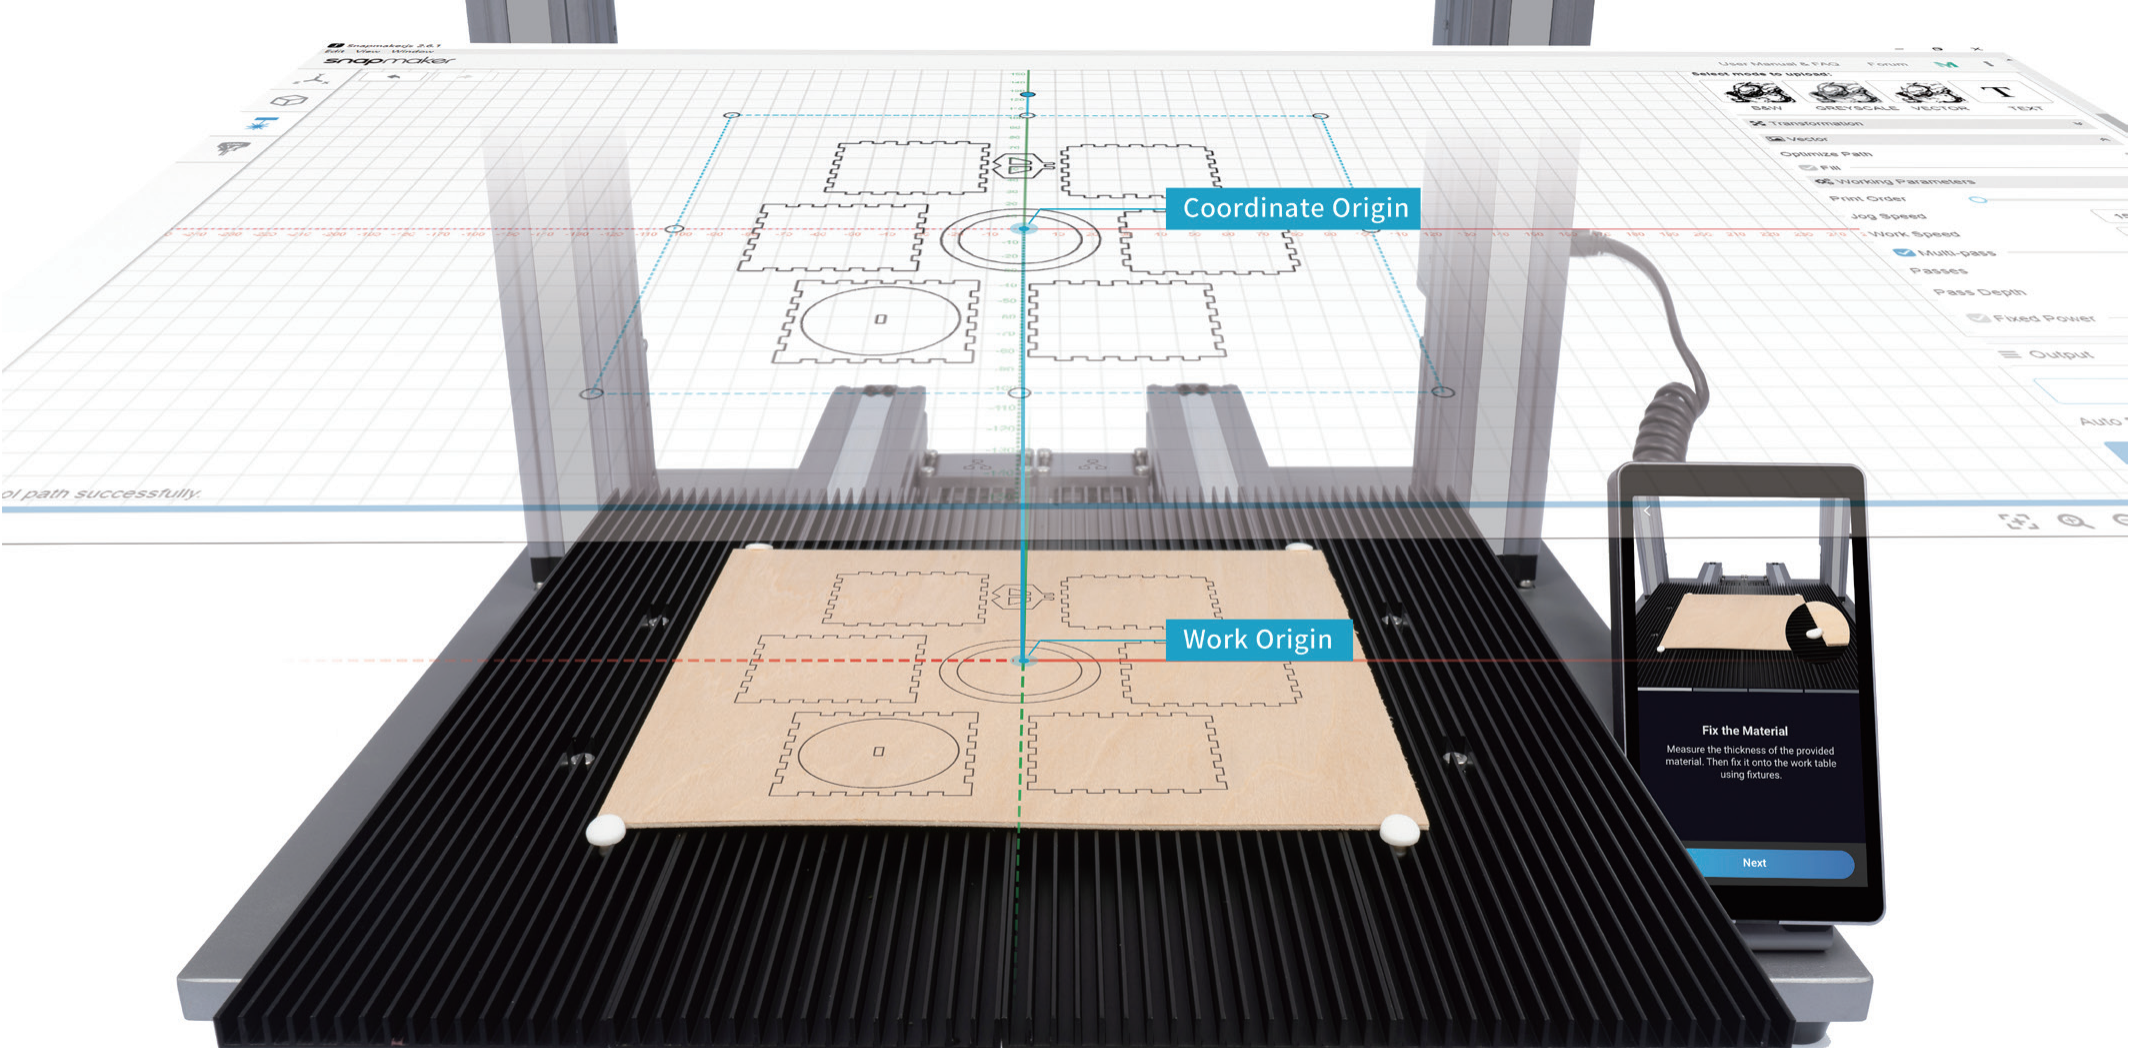
How It Works: Work Origin
The work origin corresponds to the (0, 0) coordinate origin in Luban. By setting the work origin and running boundary, you can find out where the engraving and cutting will take place.
If you use the camera capture feature to determine the engraving and cutting position, you do not need to set the work origin.
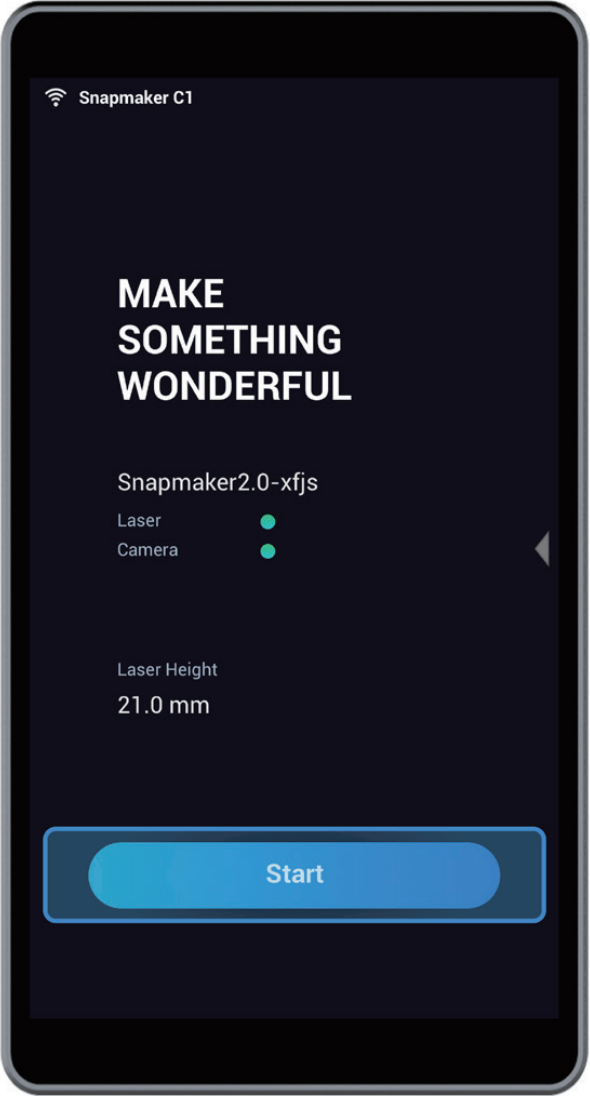
- On the Touchscreen, tap Start.
- Choose the G-code file you prepare from Local or USB.
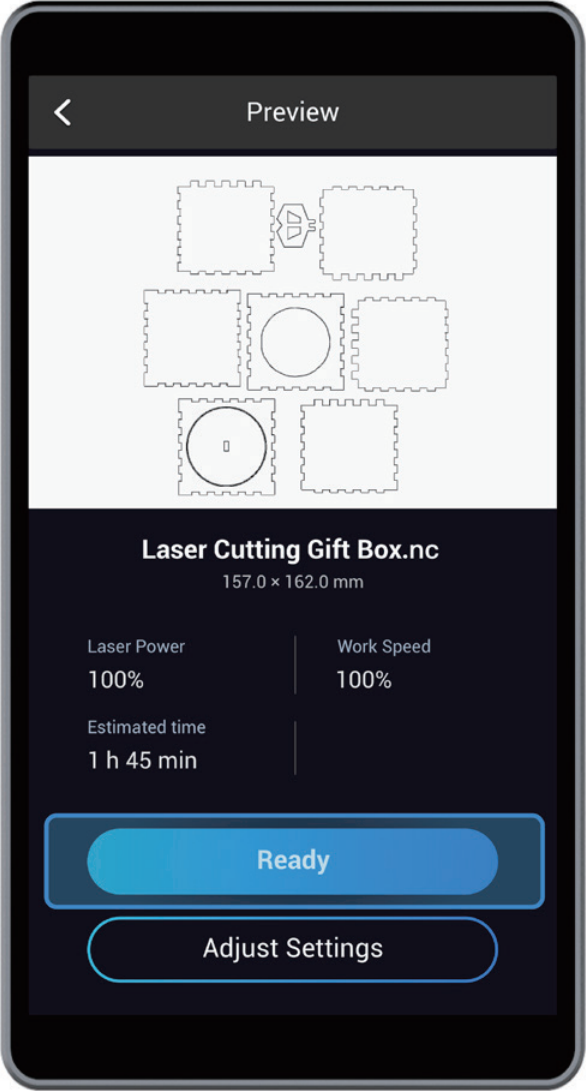
- On the Preview screen, you can preview the image for engraving and cutting. Laser Power, Work Speed, and Estimated Time are also displayed on the screen. You can tap Adjust Settings to modify Laser Power and Work Speed. Check if the image is right and the laser power and the work speed are proper, and then tap Ready.
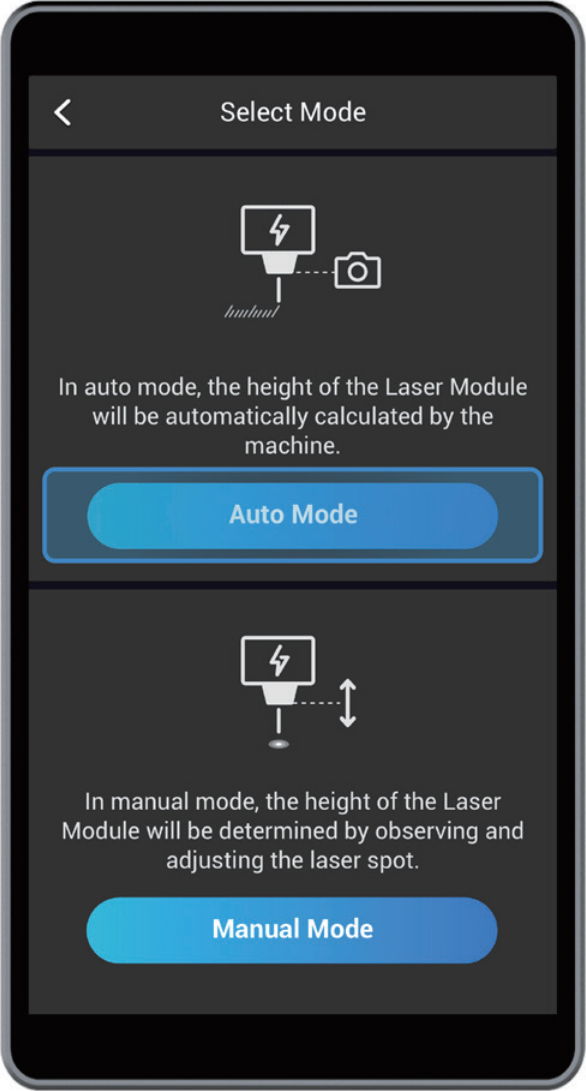
- In the Select Mode screen, tap Auto Mode.
You can also opt for Manual Mode. However, we recommend auto mode as it is easier to follow. To know more about the differences between the two modes as well as how to navigate the manual mode, see Auto Mode and Manual Mode for Laser Engraving and Cutting.
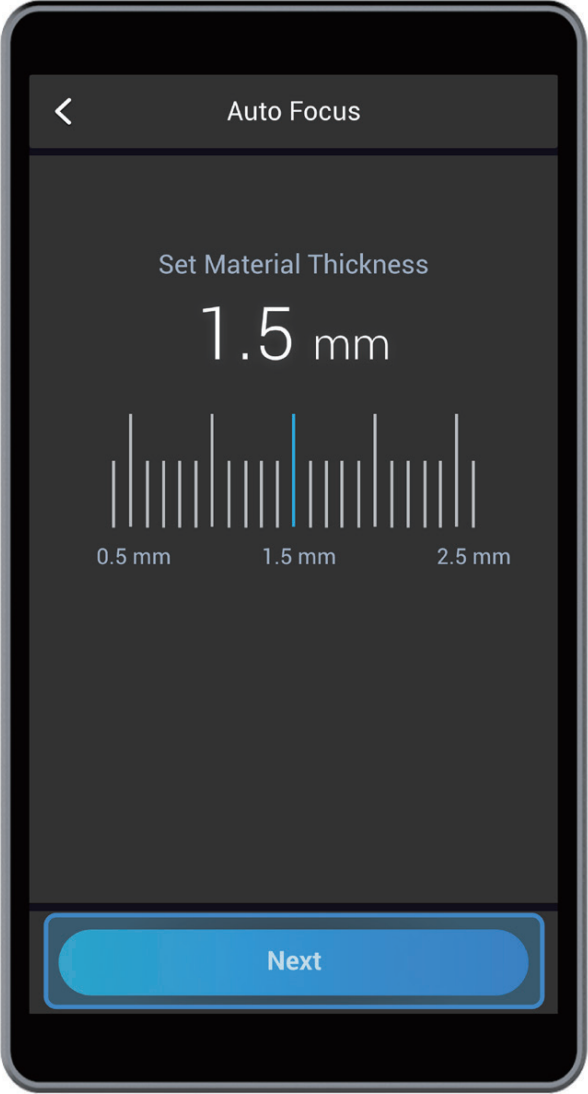
- Set the thickness of the material you want to engrave or cut, and then tap Next.
Set an accurate material thickness. Otherwise, the Lens Hood may collide with the material.
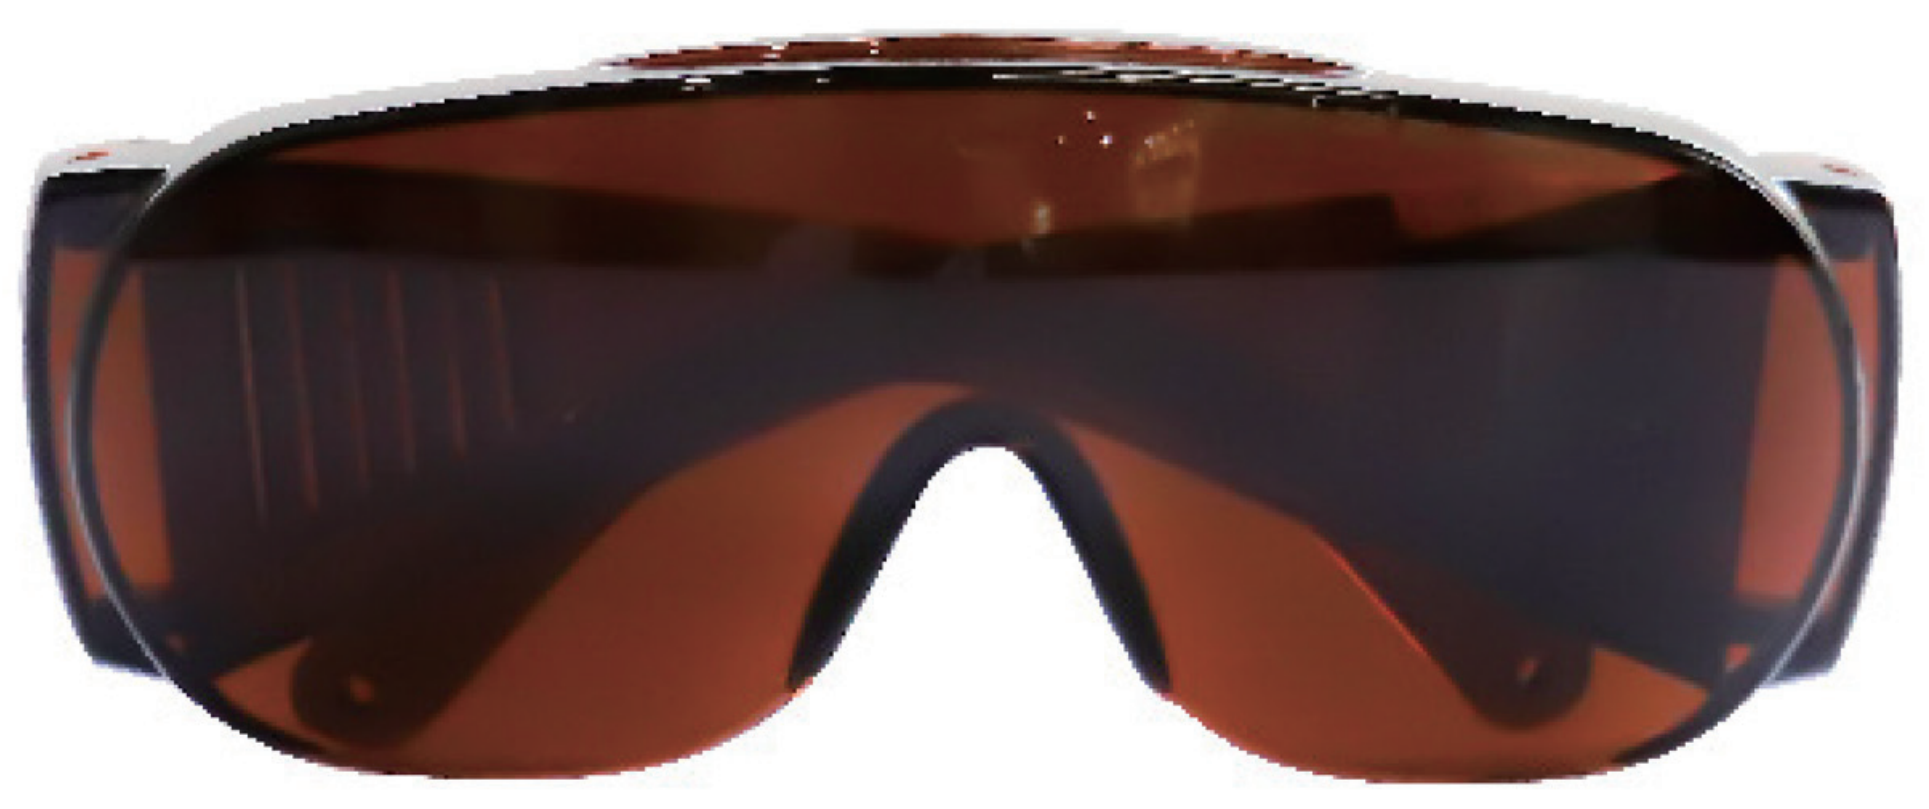
- Put on the Laser Safety Goggles and tap Next.
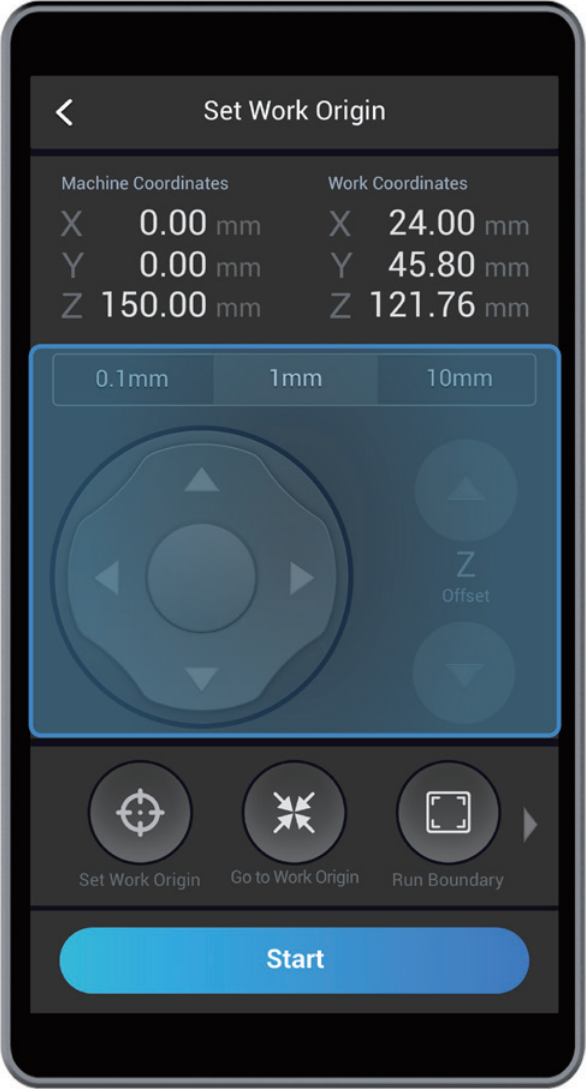
- Tap X-, X+, Y-, or Y+ to move the laser dot to where the work origin will be, and then tap Set Work Origin. Next, tap Run Boundary to check if the work origin is proper. If not, reset the work origin and run boundary again. After you set a proper work origin, tap Start.
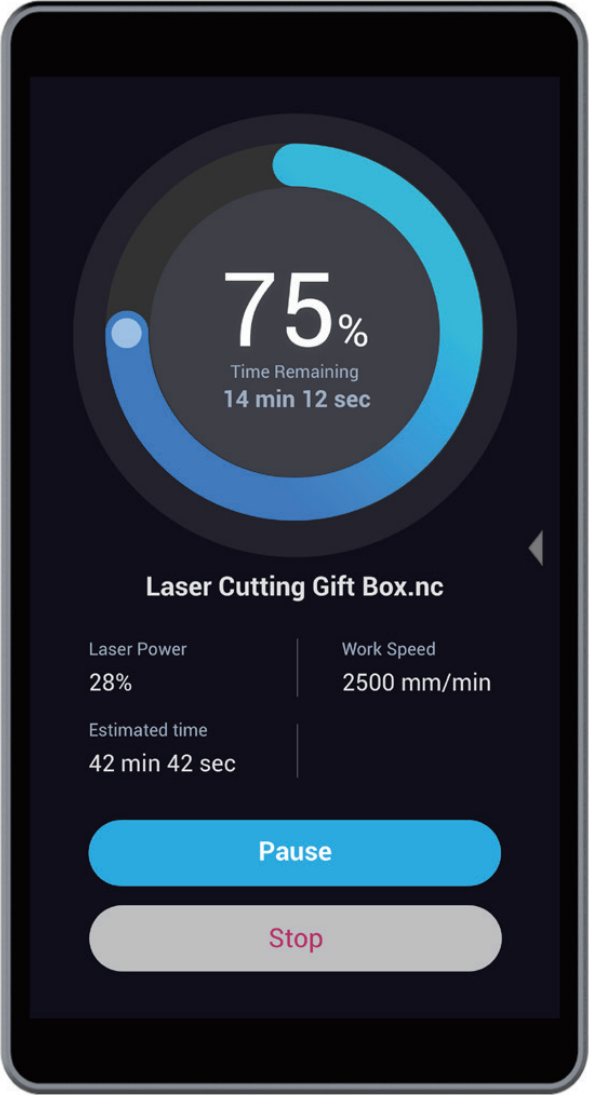
- Laser engraving and cutting starts.
You can swipe left to modify Laser Power and Work Speed.
-
Connect your machine to Luban.
-
Load G-code to Workspace.
-
If you generate G-code in Luban, click Load G-code to Workspace to load the generated G-code to Workspace.
-
If you want to use a G-code file stored in your computer, click Open G-code. Select a G-code file (NC file) from your computer and click Open.
- Select Auto Mode.
You can also opt for Manual Mode. However, we recommend auto mode as it is easier to follow. To know more about the differences between the two modes as well as how to navigate the manual mode, see Auto Mode and Manual Mode for Laser Engraving and Cutting.
-
Set Material Thickness. Enter the thickness (in millimeters) of the material you want to engrave or cut.
-
Put on the Laser Safety Goggles and turn on Laser Power.
-
Click X-, X+, Y-, or Y+ to move the laser dot to where the work origin will be, and then click Set Work Origin. Next, click Run Boundary to check if the work origin is proper. If not, reset the work origin and run boundary again. Repeat this step until you set a proper work origin.
If you use the camera capture method to determine the position of the image, skip this step to continue the following operations.
-
You can also modify Laser Power and Work Speed in Luban.
-
On the top-left corner of the Workspace, click the Run button to start engraving and cutting.