¶ When to Replace the FFC Cable
- The print head FFC cable has obvious damage and serious folding marks.
- When you encounter a abnormal extruder temperature control issue that has been identified as being caused by the FFC cable.
¶ Required Tools and Materials:
- H2.0 screwdriver
- Phillips screwdriver
¶ Steps to Replace the FFC Cable:
¶ Part 1
Turn off the machine power and follow the steps below to remove the print head.
- Use an H2.0 screwdriver to slightly loosen the bolts securing the FFC cable
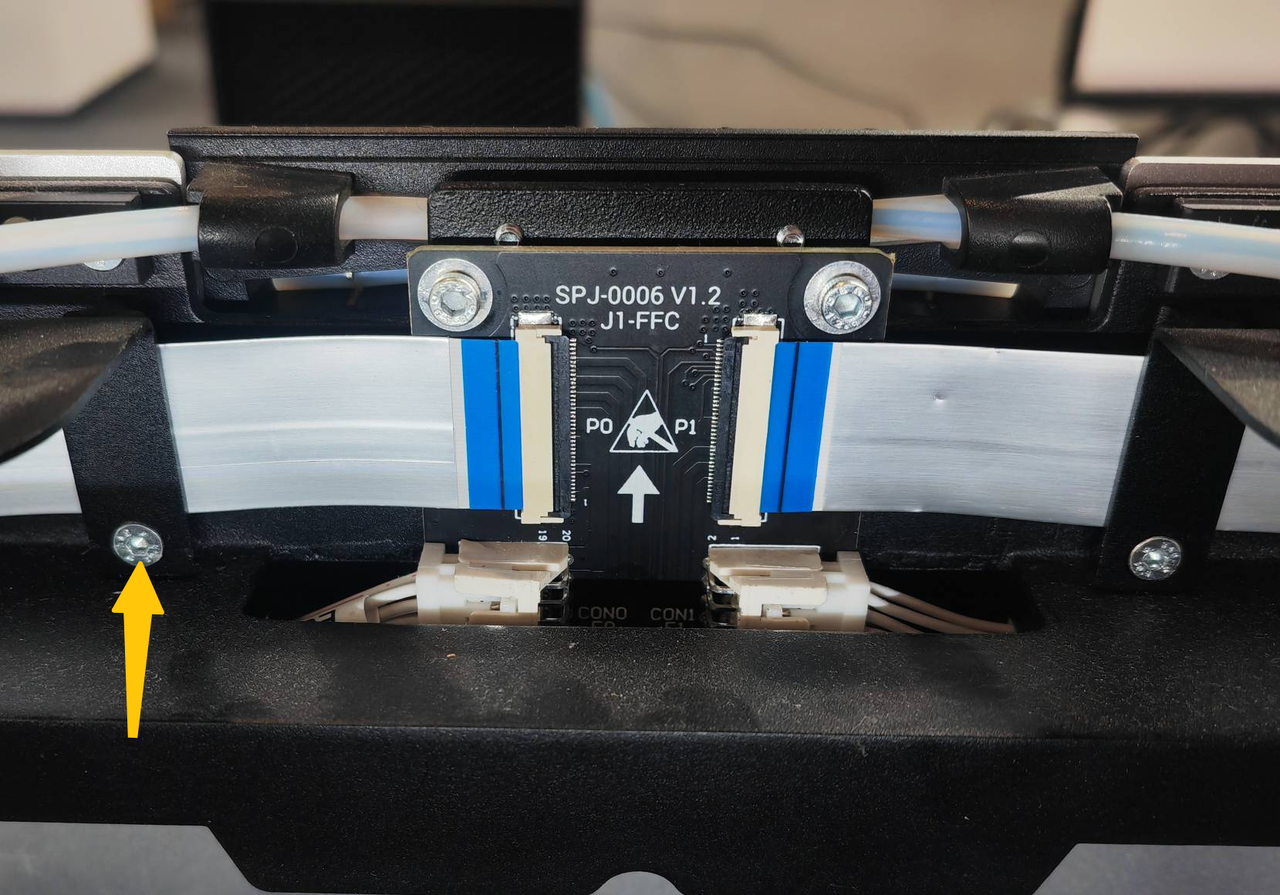
There’s no need to fully unscrew them.
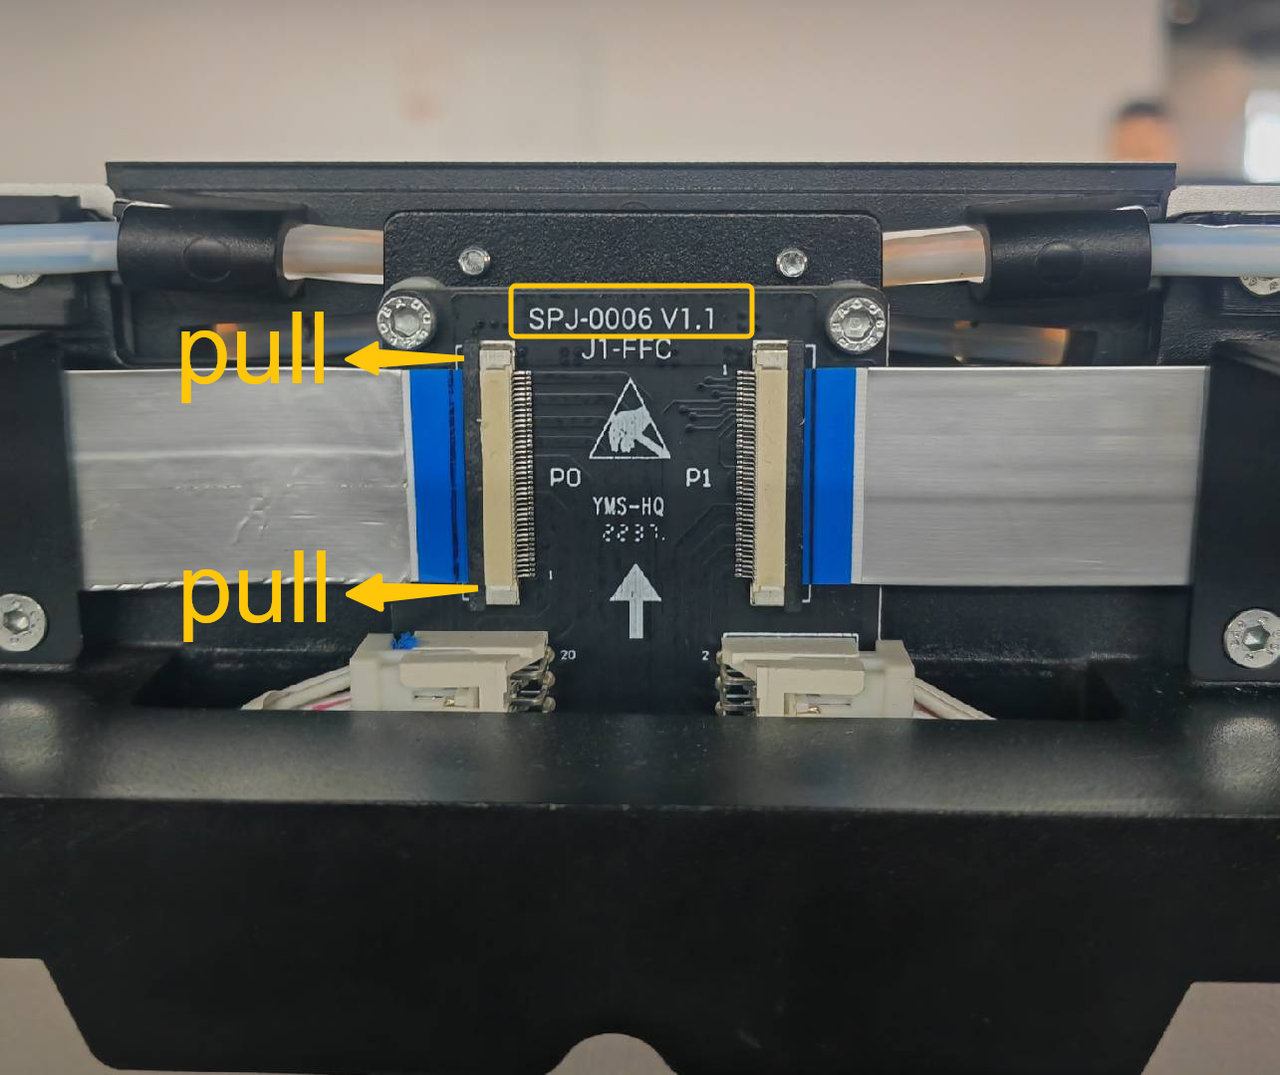
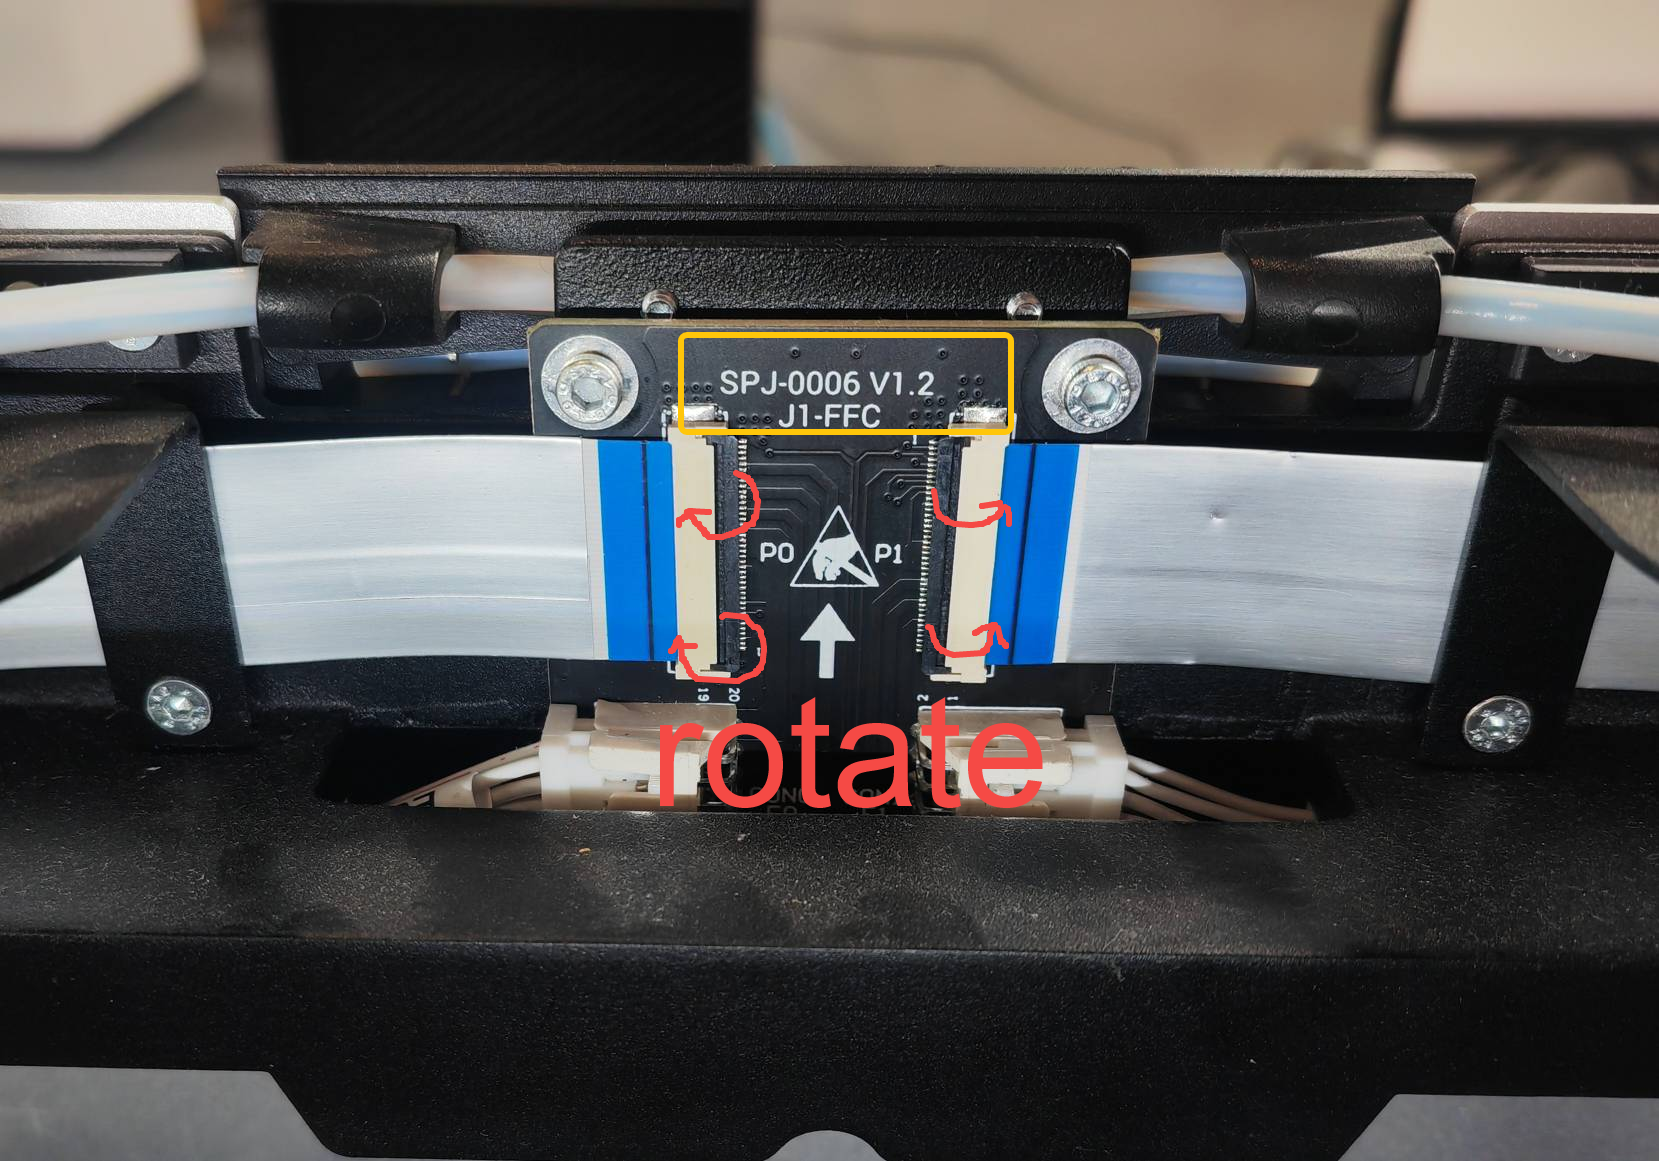
- Unplug the FFC cable from the FFC adapter board. Before doing so, take a look at the writing on the PCB.
- If the PCBA version is V1.1, gently PULL the FFC cable to unplug it, as shown in the left picture below;
- If the PCBA version is V1.2, gently ROTATE the FFC cable to unplug it, as shown in the right picture below.
 |
 |
|---|
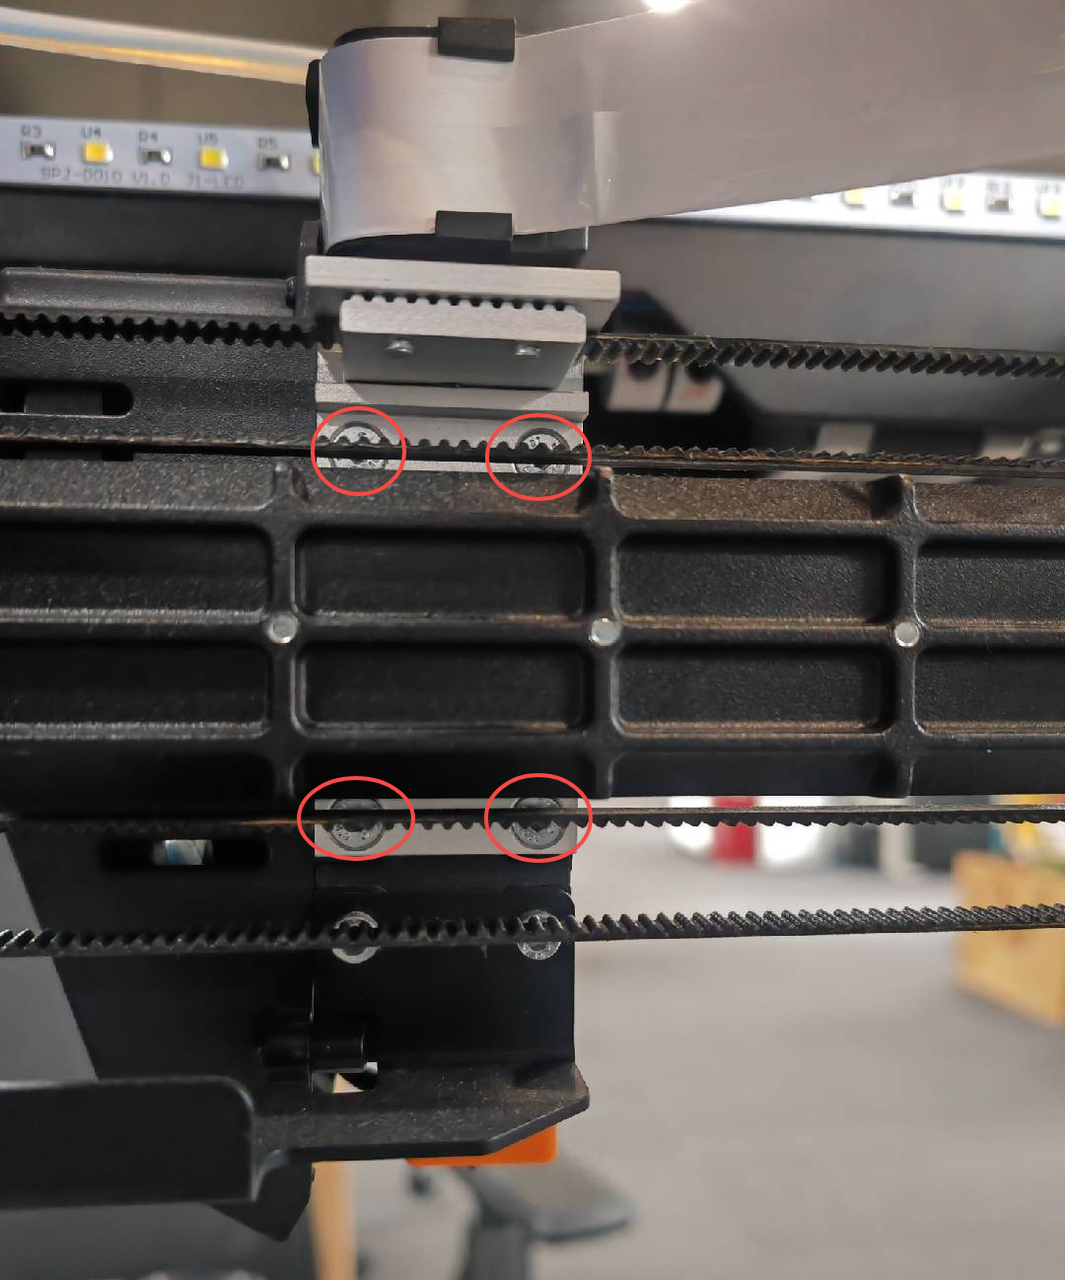
- Remove the print head from the X-axis. Use an H2.0 screwdriver to remove the four bolts on the back of the print head. Be sure to hold the print head during this process to prevent it from falling.
Please pay attention to holding the print head during the unscrewing process to avoid the print head falling off.
¶ Part 2
Refer to the video below to remove the FFC cable from the print head and then replace it with a new one: