Before you can start printing with Snapmaker J1, you need to load filaments. Filaments need to enter the extruder inside the printer and be extruded from the nozzle after being heated by the heating block.
Snapmaker J1 supports two loading modes – aided loading and manual loading. In manual loading mode, after the filament is inserted into the extruder and engaged, you need to continue to insert the filament manually until the filament flows out of the nozzle. To perform manual loading, proceed as follows:
¶ Procedures
-
Tap Control > Motor, then tap to turn off the motor.
-
Manually move the extruder out of the position above the nozzle wiper.
3.Tap Control > Extruder > slide to target temperature > tap Heat.
By default, the nozzle will be heated to 200°C (392°F). The Load button can only be taped when the nozzle has been heated to around the preset temperature.
Different filaments require different heating temperatures. If the temperature is not matched, the filament may not be extruded smoothly. It is recommended to consult the information provided by the filament manufacturer for detailed guidance.
-
Remove the top panel and hang the filaments onto the filament holders.
-
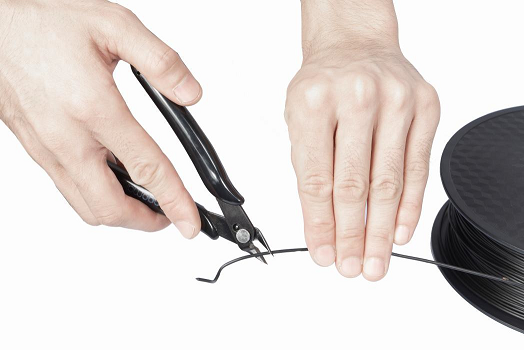
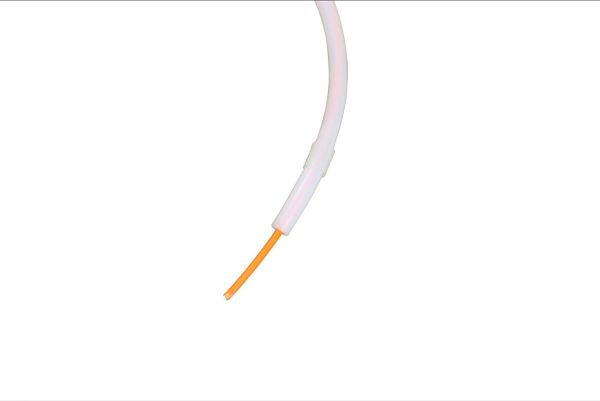
Cut the filament ends with diagonal pliers to form a sharp angle of about 45°.
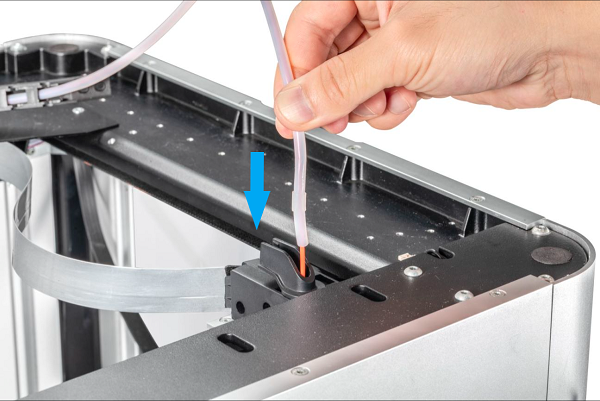
- Insert the filament into the filament entry until it protrudes from the other end of the guide tube.
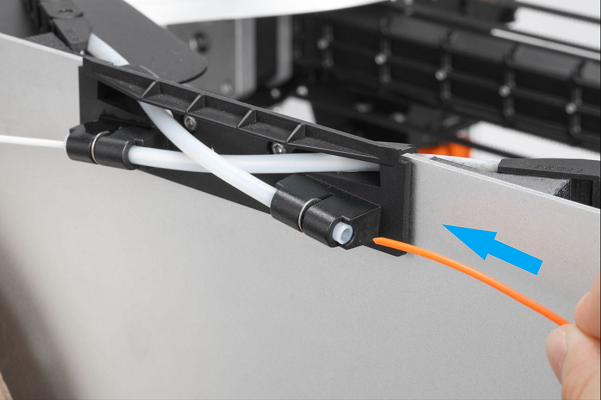
The filament entry of the left extruder is located on the right side of the machine body, and the filament entry of the right extruder is located on the left side.
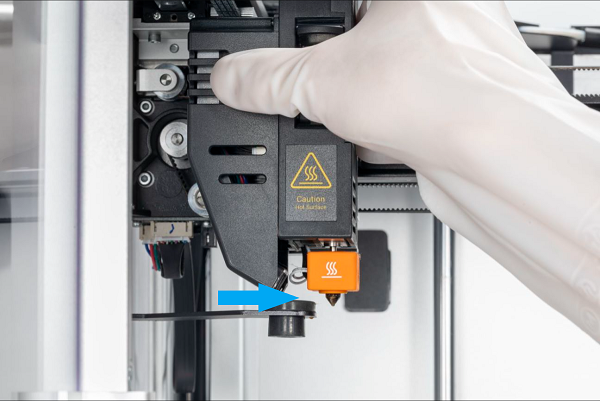
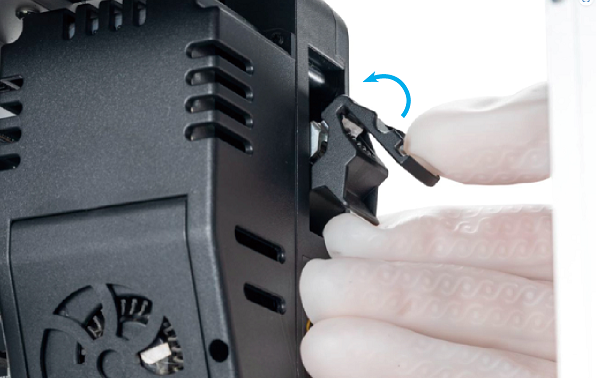
- Press down on the idler latch on the front of the printhead to open it.

Avoid contact with hot nozzles, which may result in burns. It is recommended to wear insulated gloves for operation.
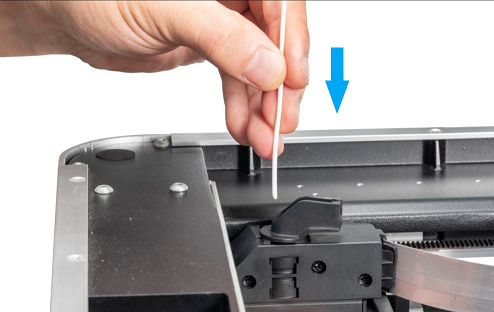
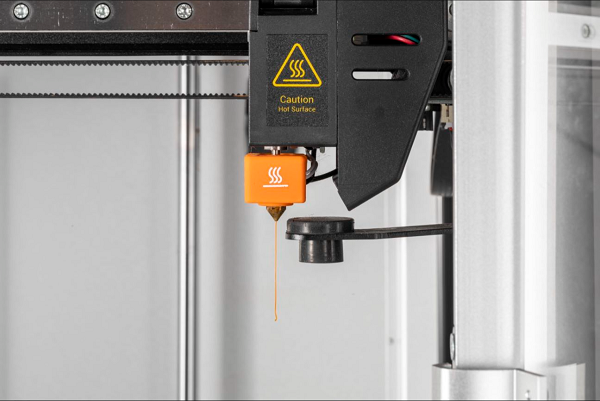
- When the extruder reaches the target temperature, insert the filament into the extruder until the filament flows out of the nozzle.
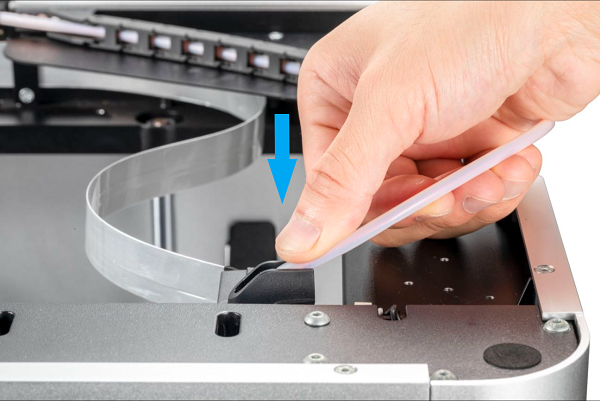
- Close the idler latch on the front of the printhead. Insert the guide tube into the extruder and snap it into the tube clip. Then reinstall the top panel.
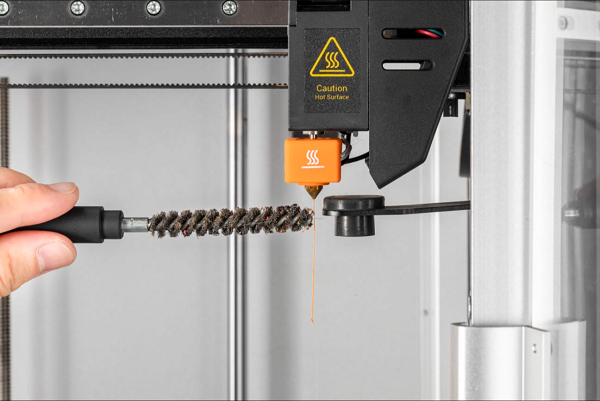
- Clean excess filaments from the nozzle with a wire brush.