¶ When & Why
-
At least once every three months, or when you:
- Find that the printing effect is not good, such as the failure of the first layer to adhere to the glass plate, and the layer shifting when printing with dual filaments, etc.
- Belt makes abnormal noise during printing.
- After transporting the printer over a long distance.
-
Belts are an important part of the printer transmission system. If the belt is too loose, printhead movement may not be accurate, which can cause print inaccuracies; If it is too tight, it may affect the lifespan of the belt itself.
¶ Tools Required
- 5.5mm wrench (provided, in tool box)
- Pink hex key (provided, in tool box)


¶ Before You Start
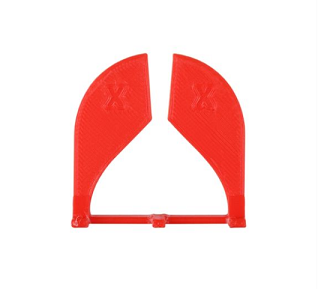
For firmware V2.2.2 and above, obtain the G-code in the Local folder of the screen and print the X-axis belt tension gauge using PLA filaments. If not found, please download the file to print X-axis timing belt calibrator STL file.
¶ Procedures
- On the Touchscreen, tap Control > Motor, and tap to turn off the motor.
- Turn off the printer and unplug the power cable from the electrical outlet.
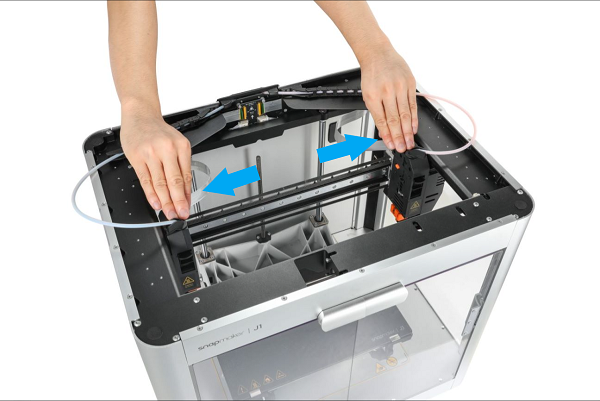
- Manually move the left extruder to the leftmost side and the right extruder to the rightmost side.
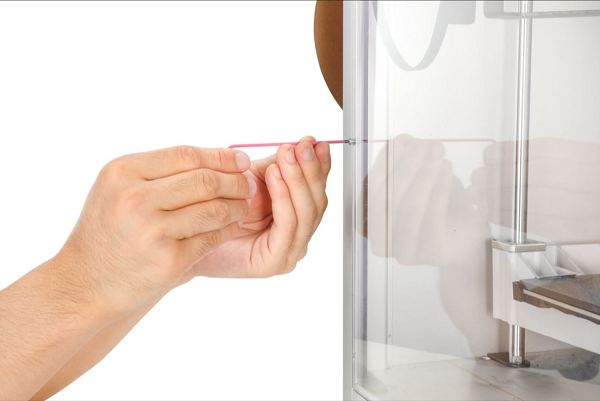
- Remove the left and right side panels with an hex key (H2.0).
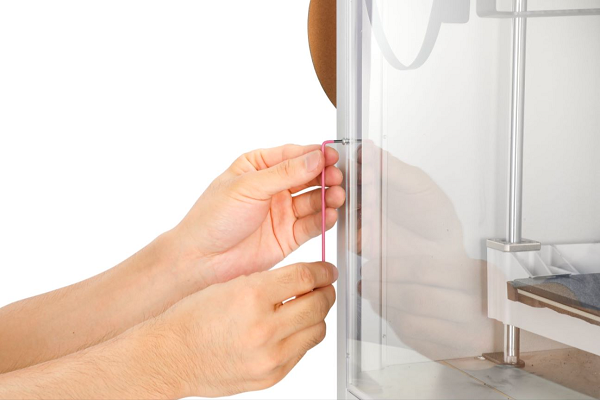
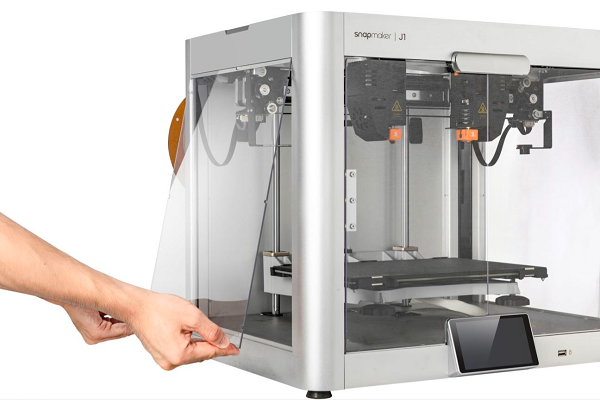
When using an hex key, you can hold the longer end first to loosen the screw, and then switch to the shorter end to unscrew the screw quickly.
- Clip the X-axis belt tension gauge onto the X-axis belt as illustrated.
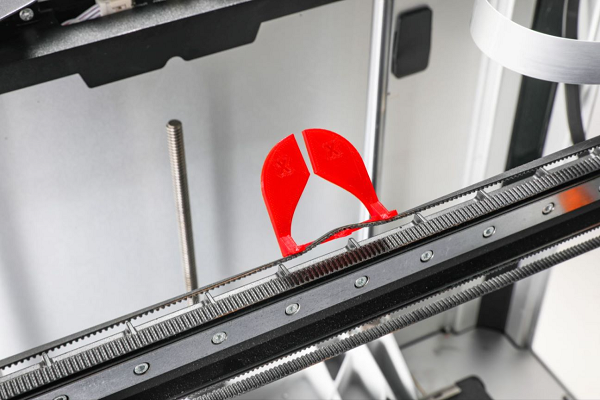
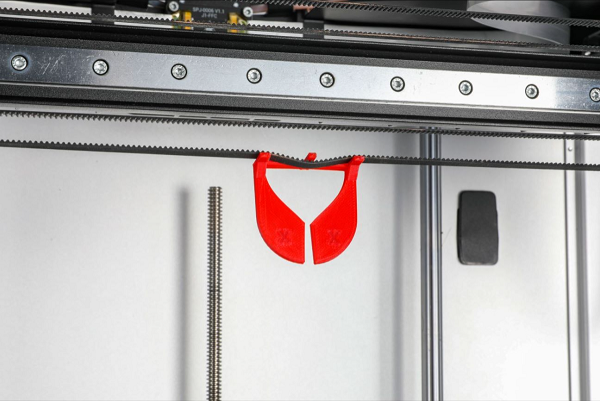
- Use a 5.5mm wrench to adjust the hexagon screws at the left and right ends of the X-axis linear rail respectively until the two sides of the X-axis belt tension gauge are closed and there is no obvious gap.
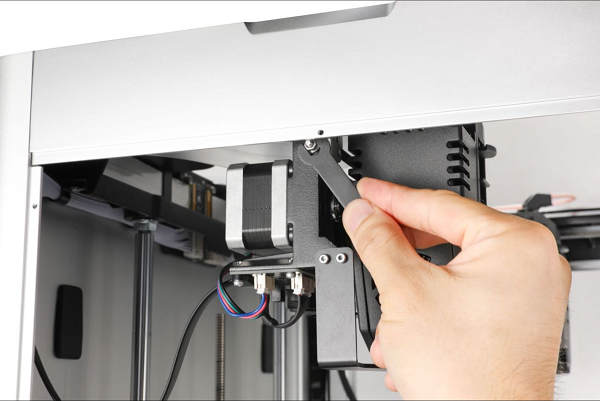
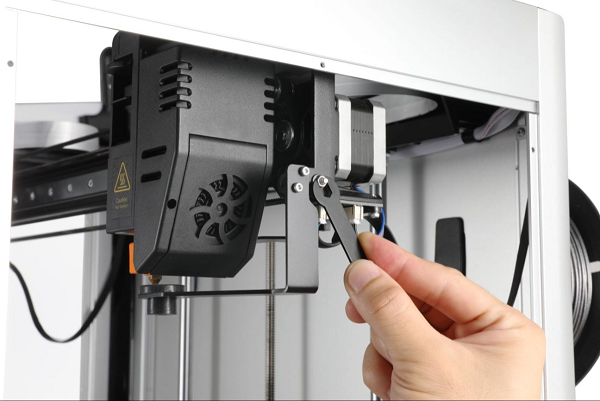
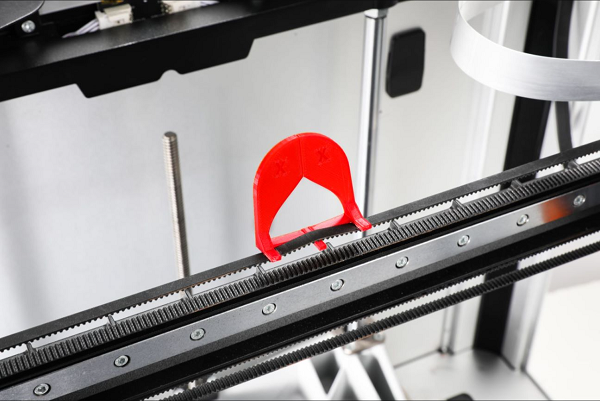
7. Reinstall the left and right side panels with an hex key (H2.0).
¶ Before You Start
For firmware V2.2.2 and above, obtain the G-code in the Local folder of the screen and print the Y-axis belt tension gauge using PLA filaments. If not found, please download the file to print Y-axis timing belt calibrator STL file.
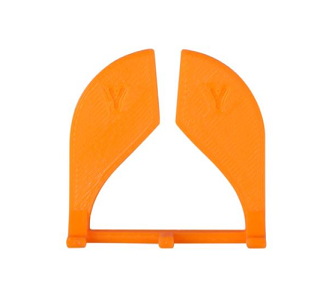
¶ Procedures
-
On the touchscreen, tap Control > Motor, and tap to turn off the motor.
-
Turn off the printer and unplug the power cable from the electrical outlet.
-
Manually move the left extruder to the leftmost side and the right extruder to the rightmost side, and then move the X-axis linear rail to the innermost side.
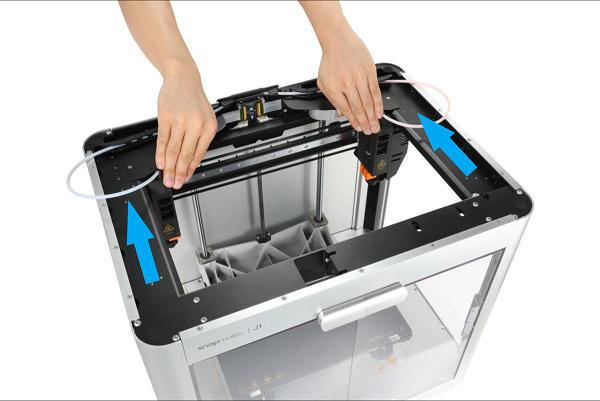
- Remove the left and right side panels with an hex key (H2.0).


When using an hex key, you can hold the longer end first to loosen the screw, and then switch to the shorter end to unscrew the screw quickly.
- Clip the Y-axis belt tension gauge onto the Y-axis belt as illustrated.
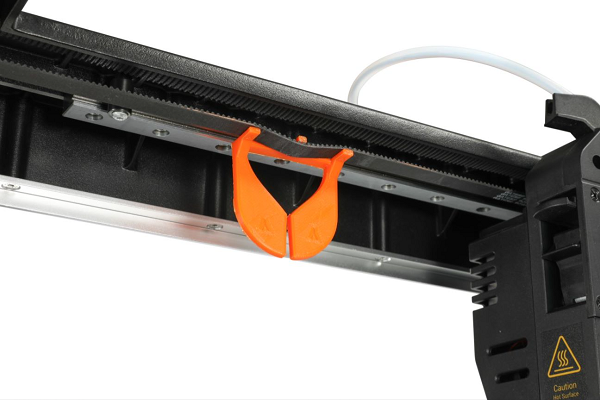
- Manually twist the screw in the upper left corner on the back of the printer until the two sides of the Y-axis belt tension gauge are closed and there is no obvious gap.
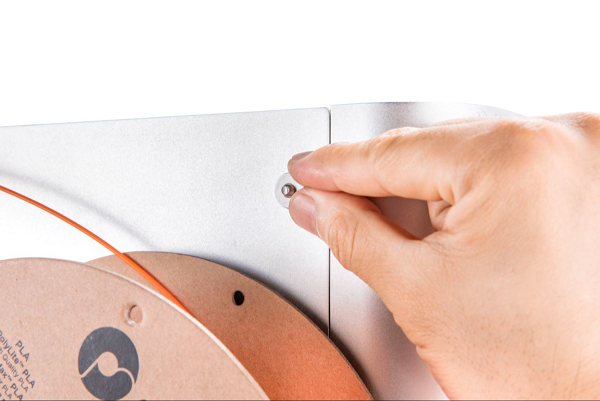
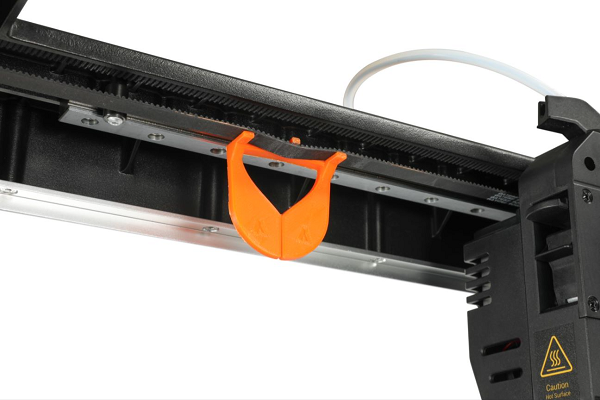
- Remove the Y-axis belt tension gauge and clip it onto the right Y-axis belt in the same way.
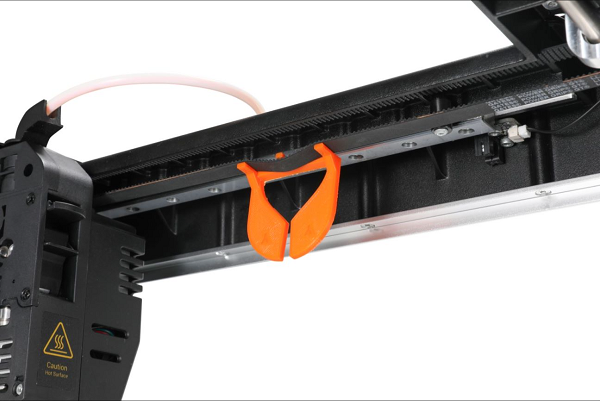
- Manually twist the screw in the upper right corner on the back of the printer until the two sides of the Y-axis belt tension gauge are closed and there is no obvious gap.
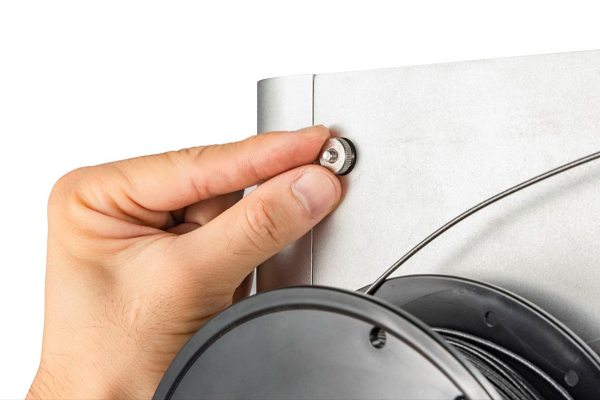
- Reinstall the left and right side panels with an hex key (H2.0).
