¶ Overview
¶ Location
-
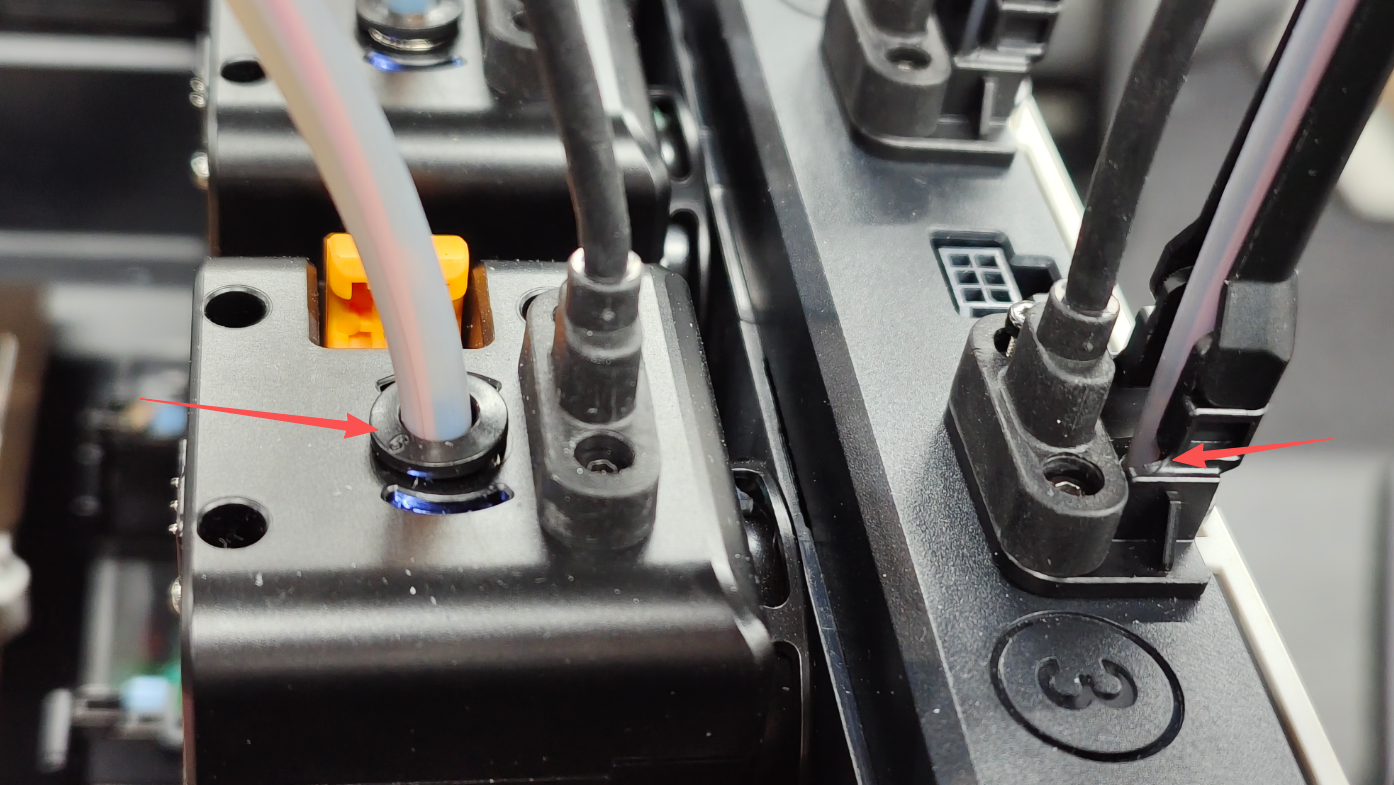
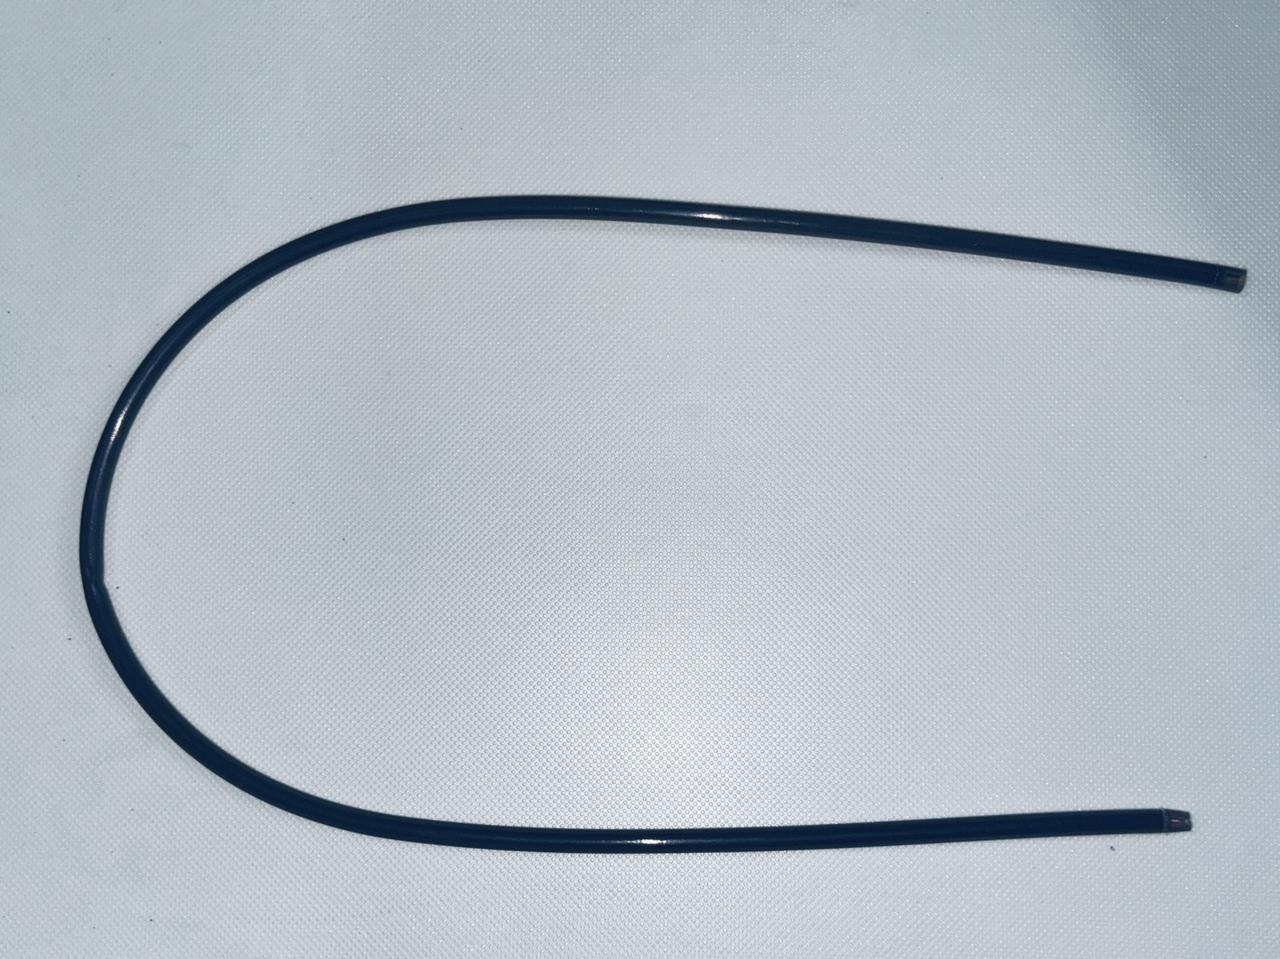
The filament tube between the toolhead and the top panel has a specification of outer diameter 6 mm, inner diameter 4.6 mm, length 650 mm.
-
Both ends are secured with quick-release fittings, which must be pressed to remove the tube.
¶ Difficulty and Time Estimate
- Difficulty:★☆☆☆☆ (Easy)
- Estimated Time:5minutes
¶ Where to Buy
US: https://us.snapmaker.com/products/toolhead-thick-filament-tube-6mm-4-pack-for-snapmaker-u1
EU: https://eu.snapmaker.com/products/toolhead-thick-filament-tube-6mm-4-pack-for-snapmaker-u1
Global: https://shop.snapmaker.com/products/toolhead-thick-filament-tube-6mm-4-pack-for-snapmaker-u1
¶ Tools and Parts Required
- New filament tube
¶ Procedure
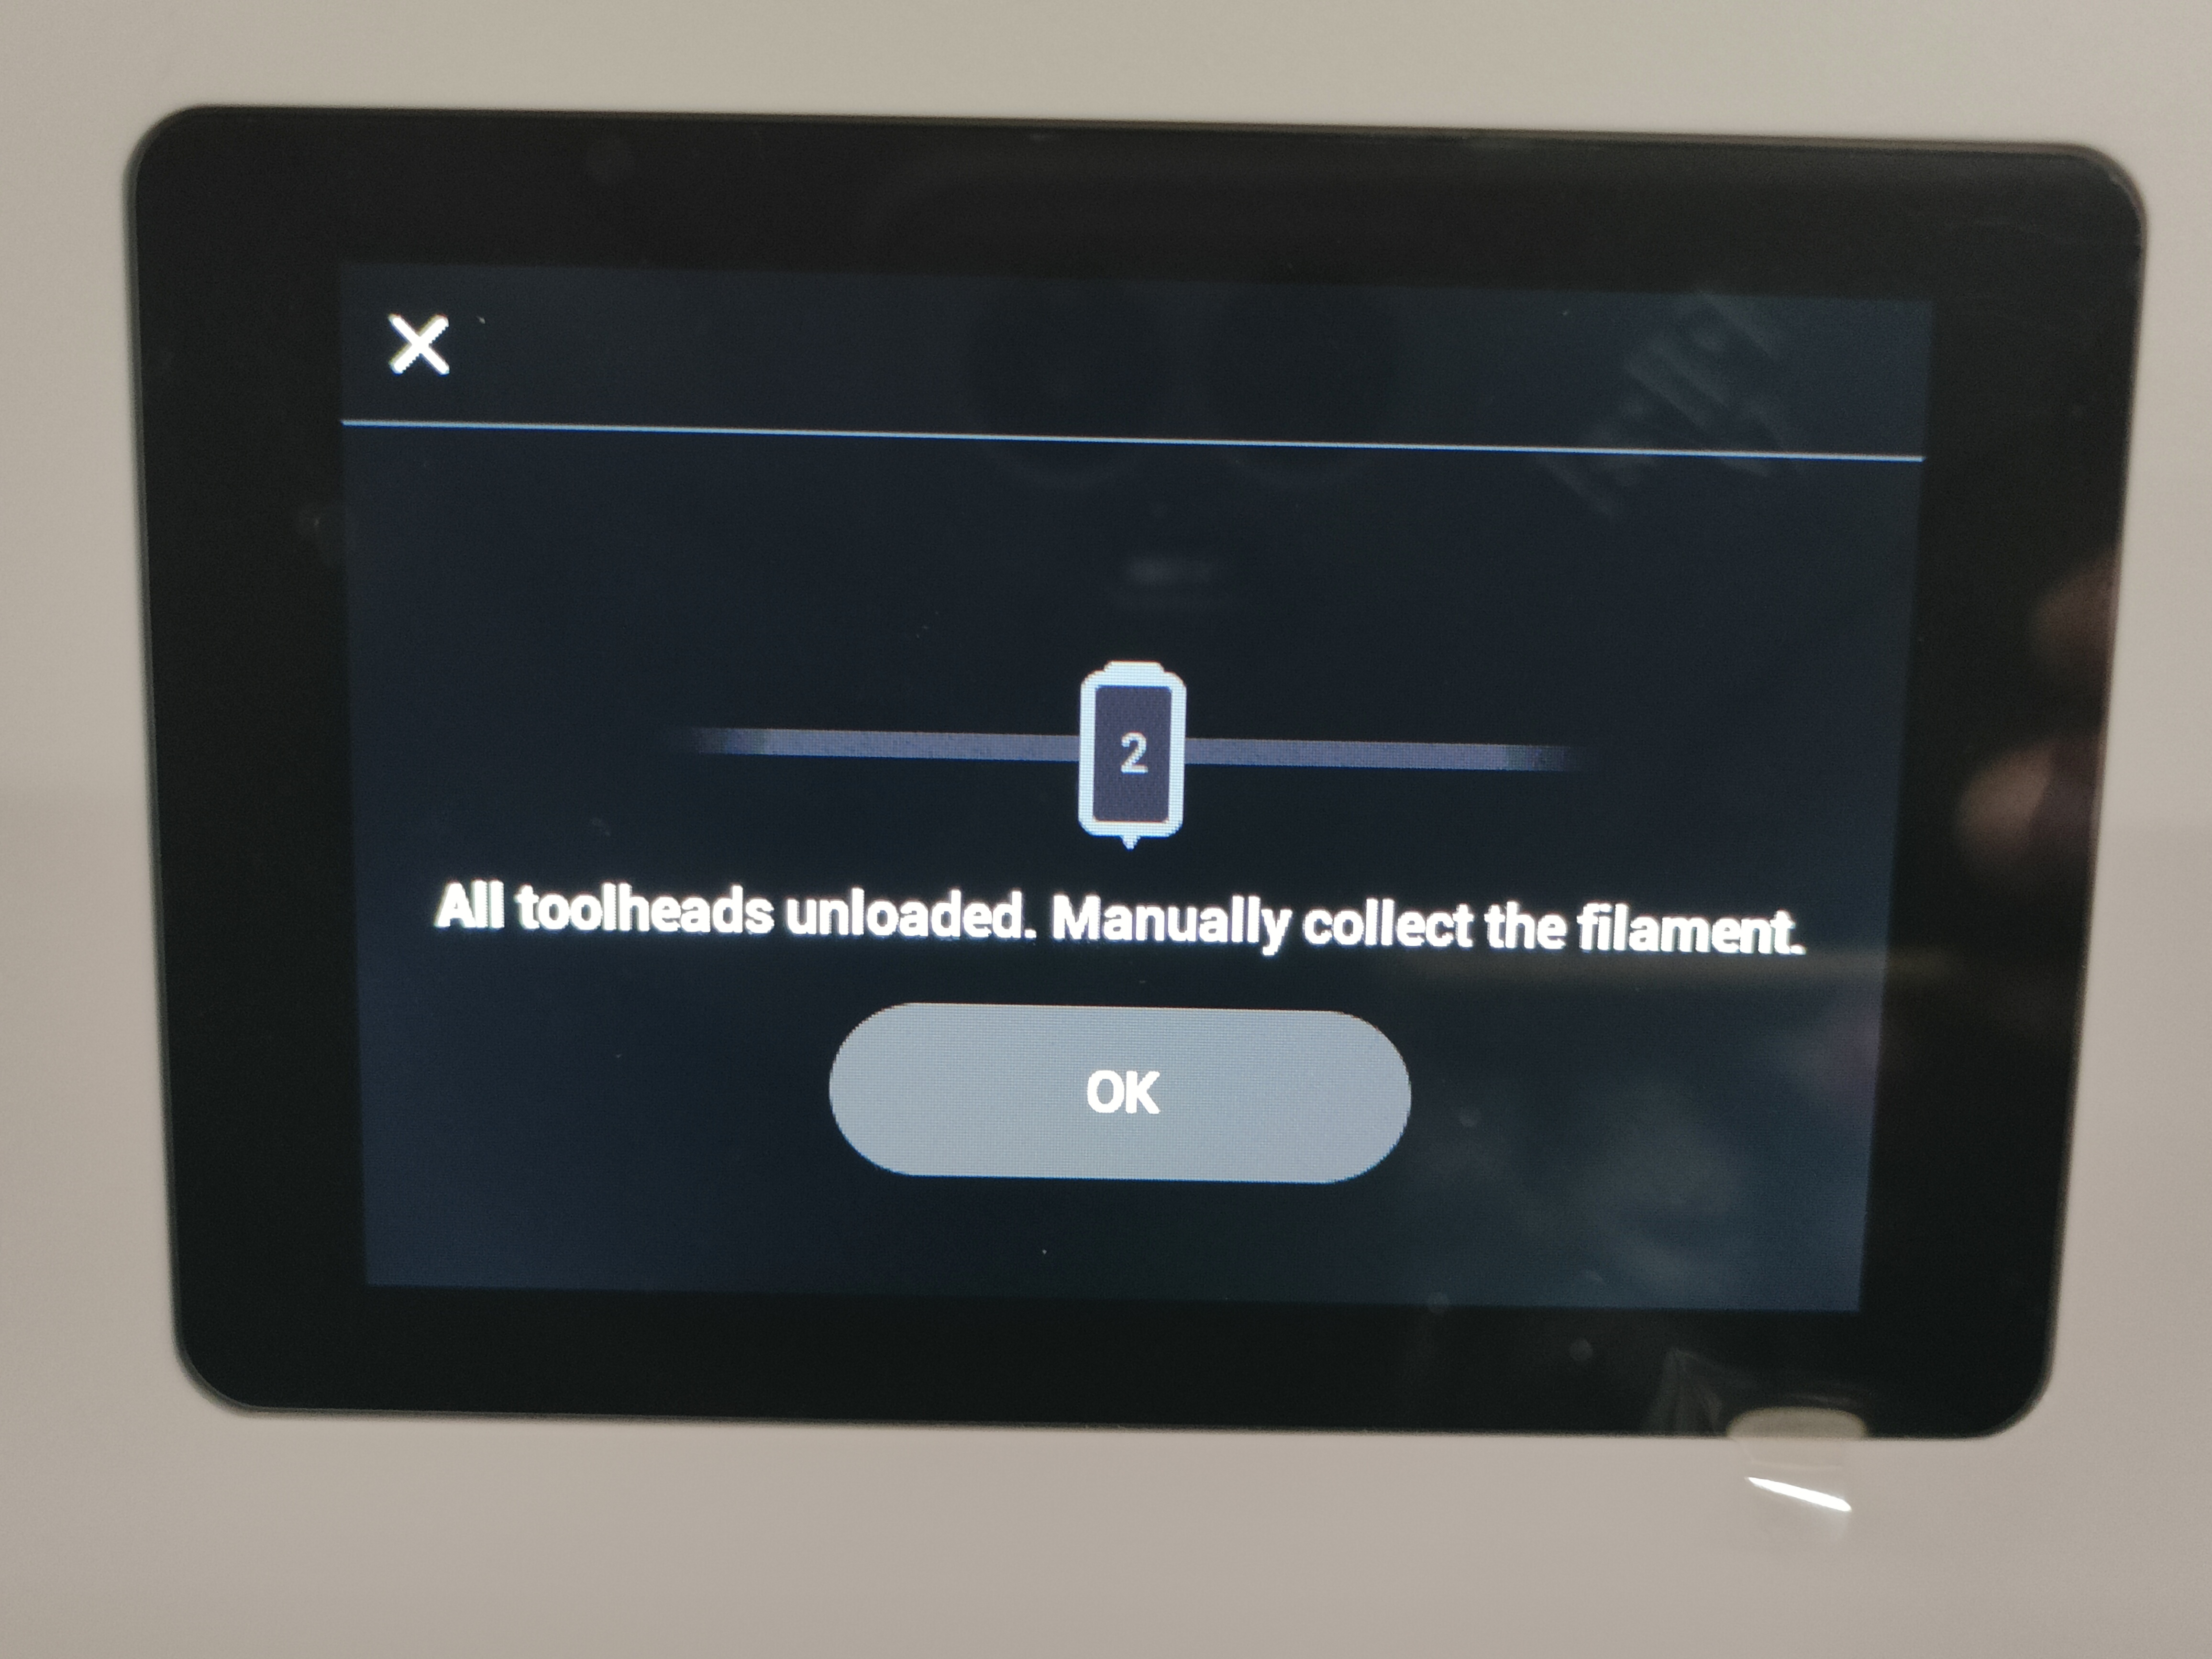
¶ Step 1. Unload filament
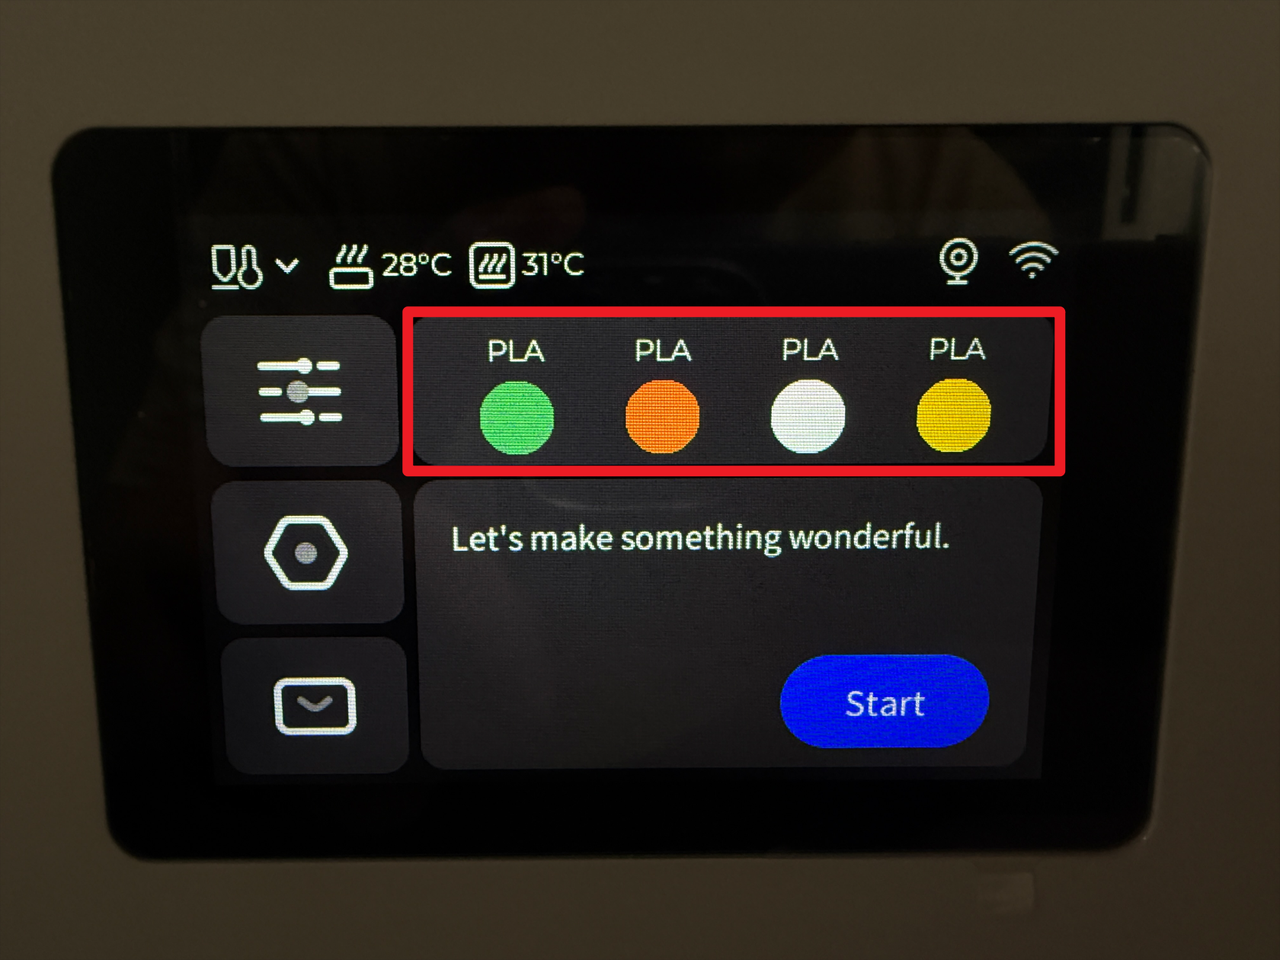
- Tap the specified area on the touchscreen (Highlighted in red in the image below).
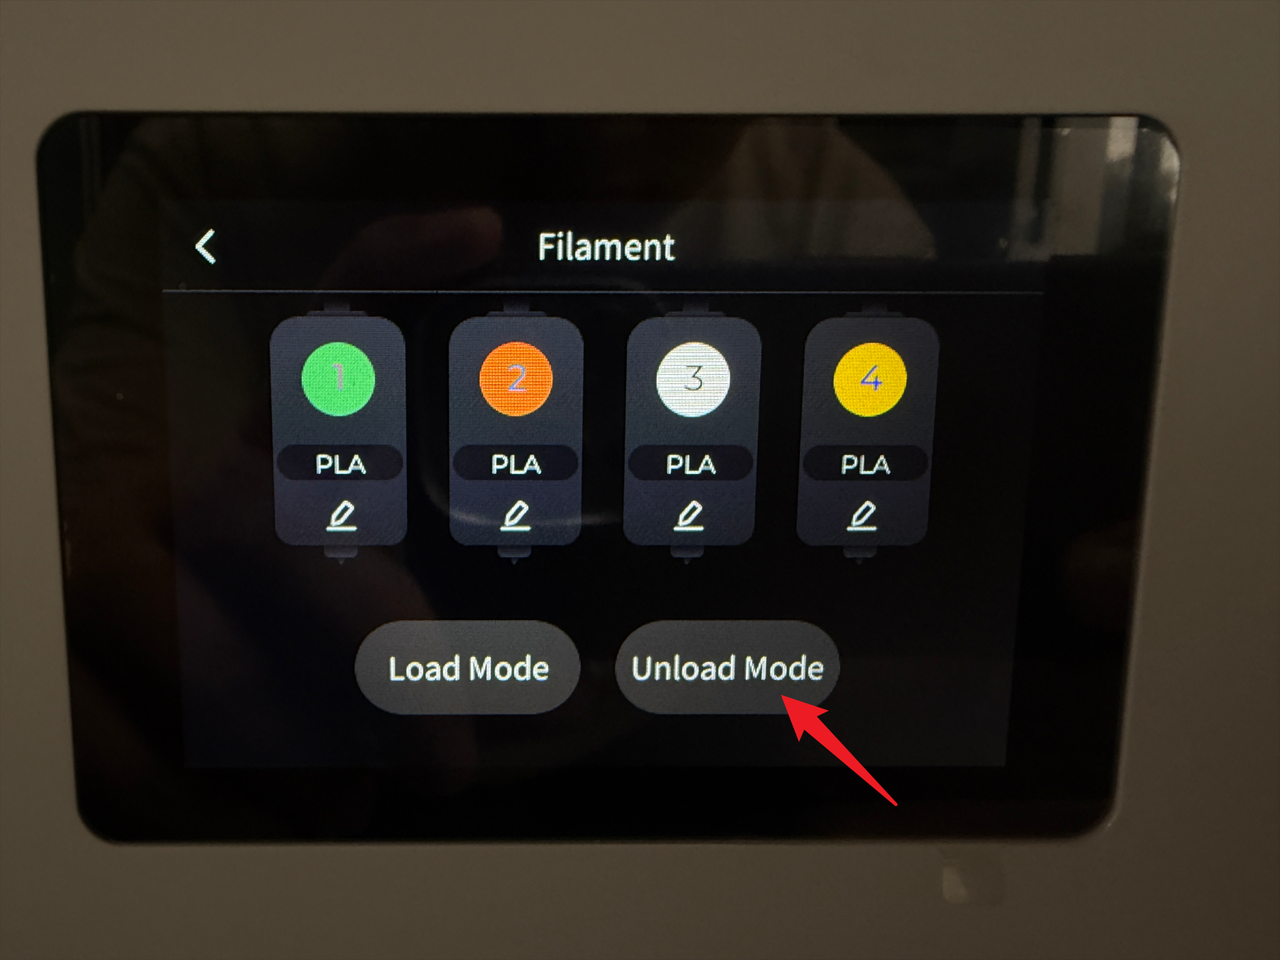
- Tap "Unload Mode".
- Select the target toolhead (e.g., No.2) and tap "Unload".
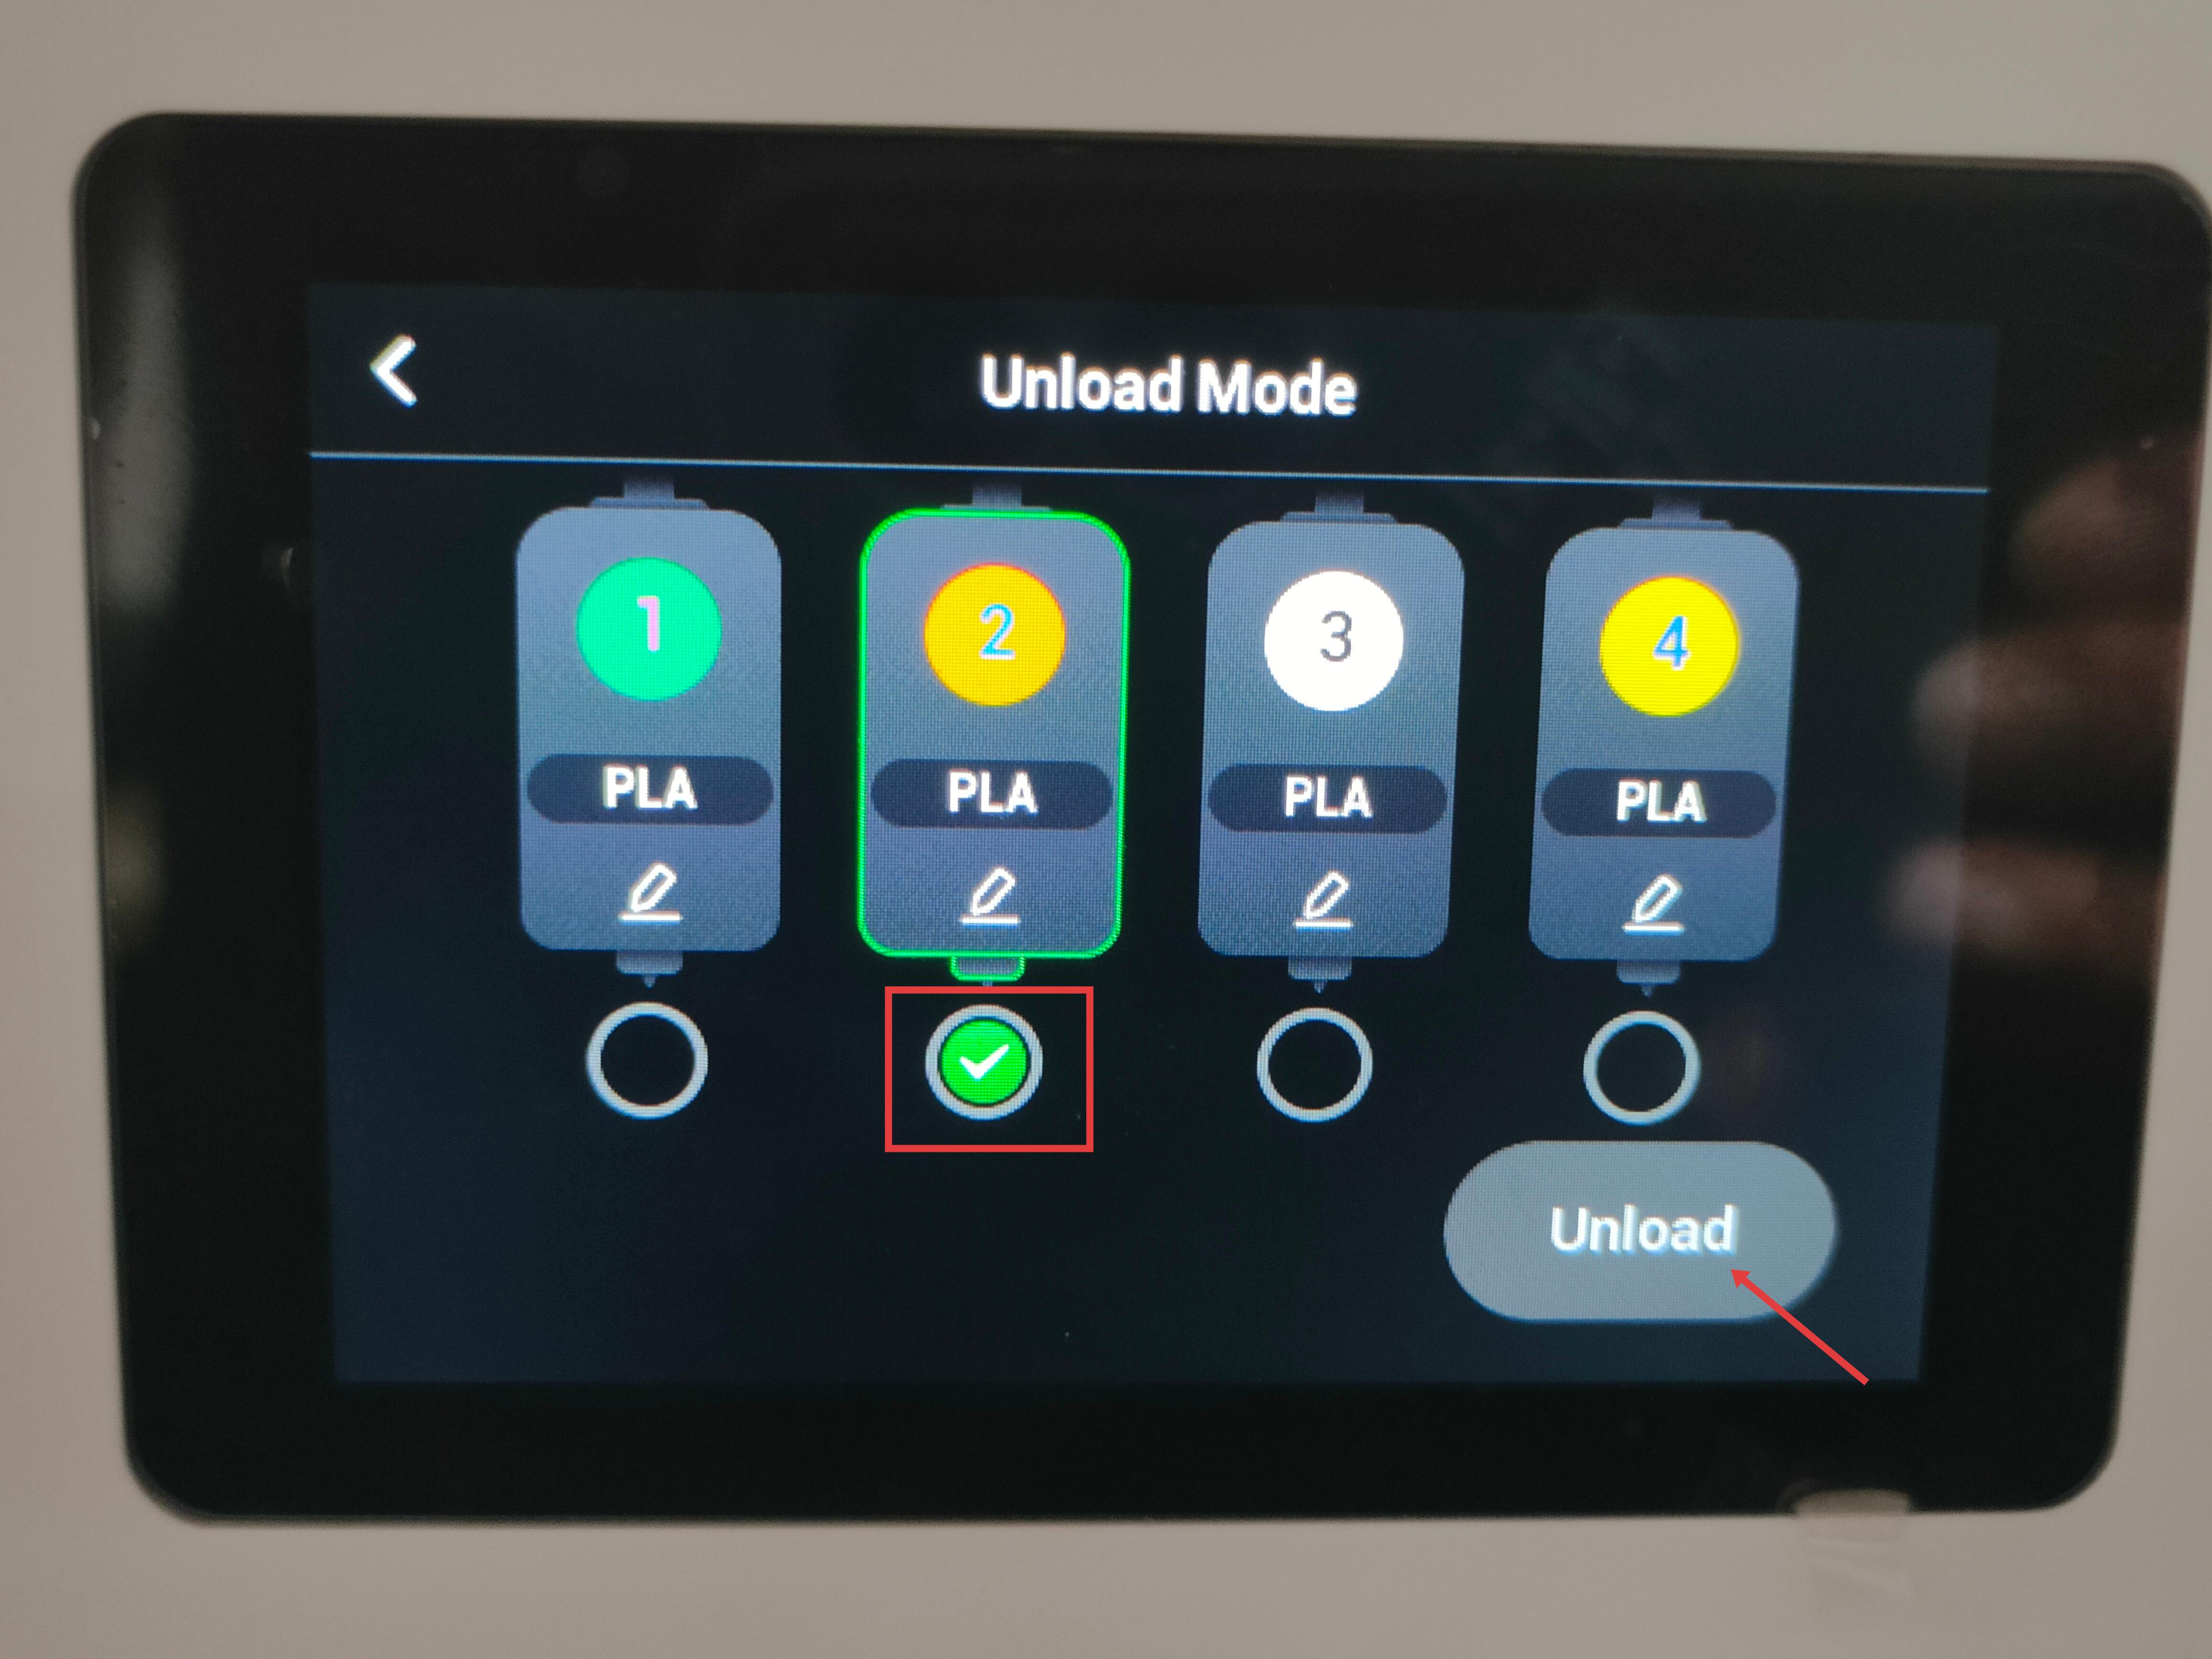
- Wait for the system to automatically complete the filament unloading.
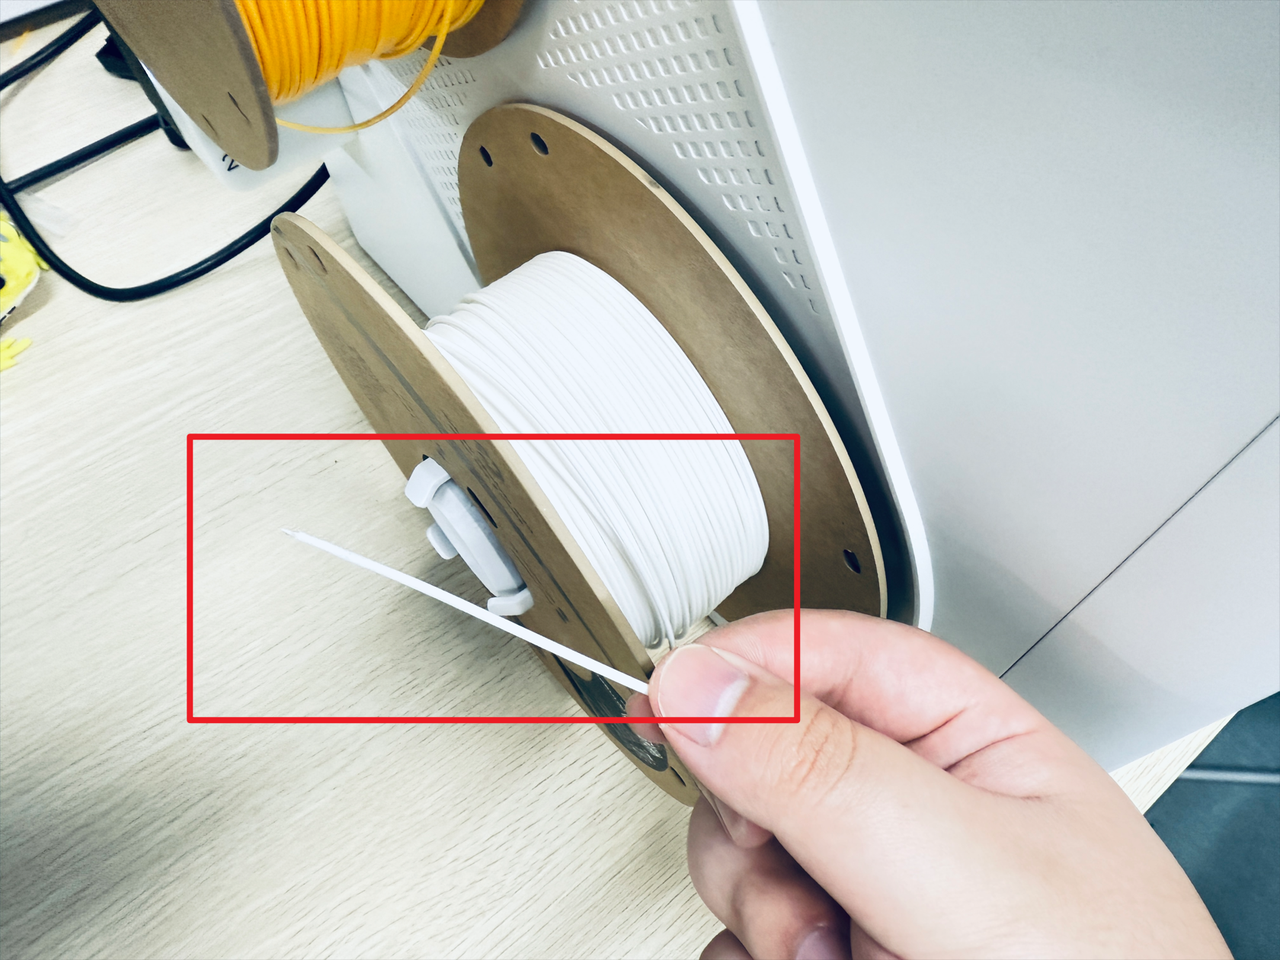
- Turn the spool to retract the filament.
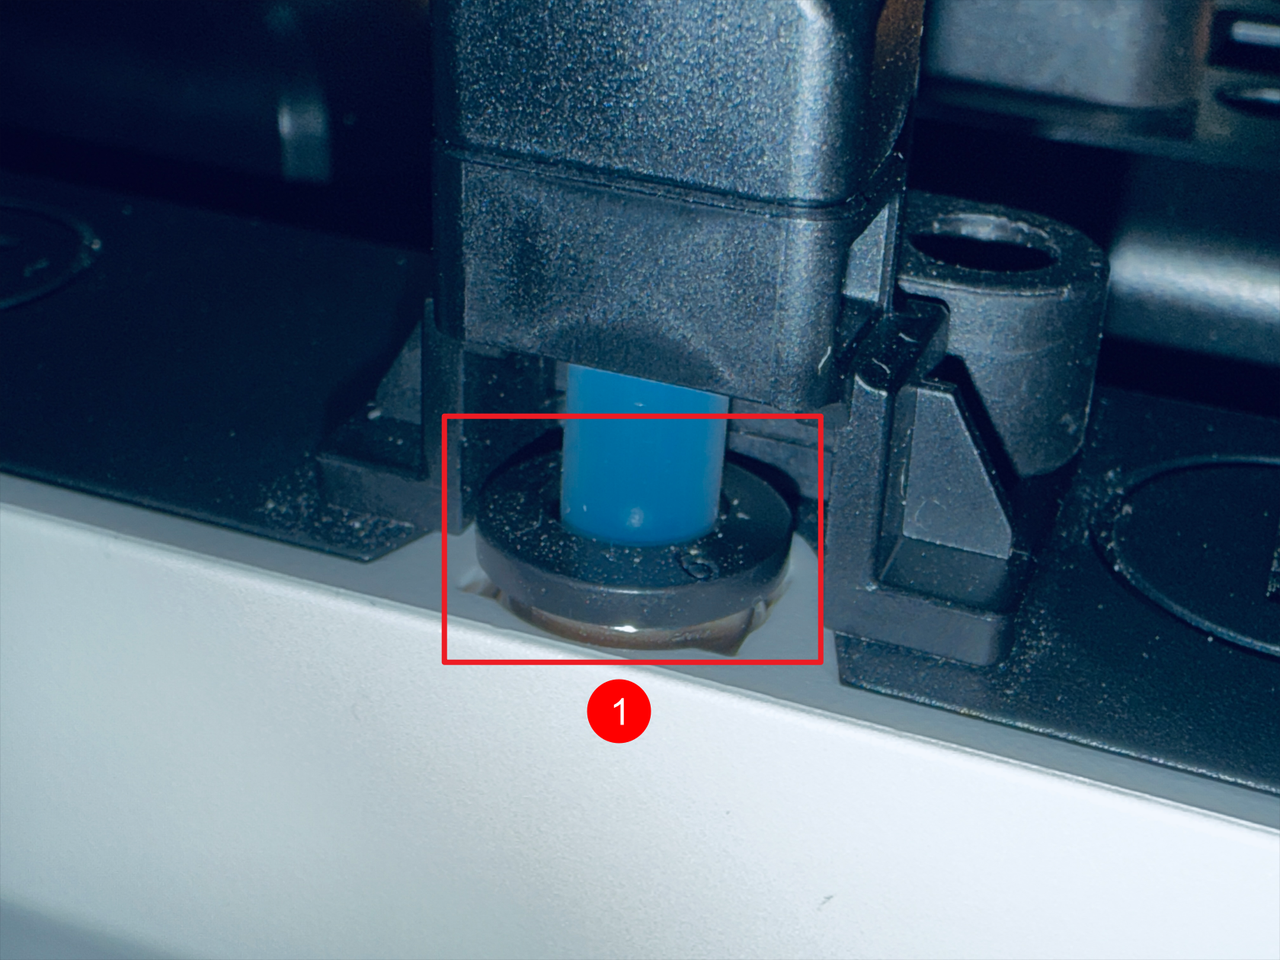
¶ Step 2. Remove the old filament tube
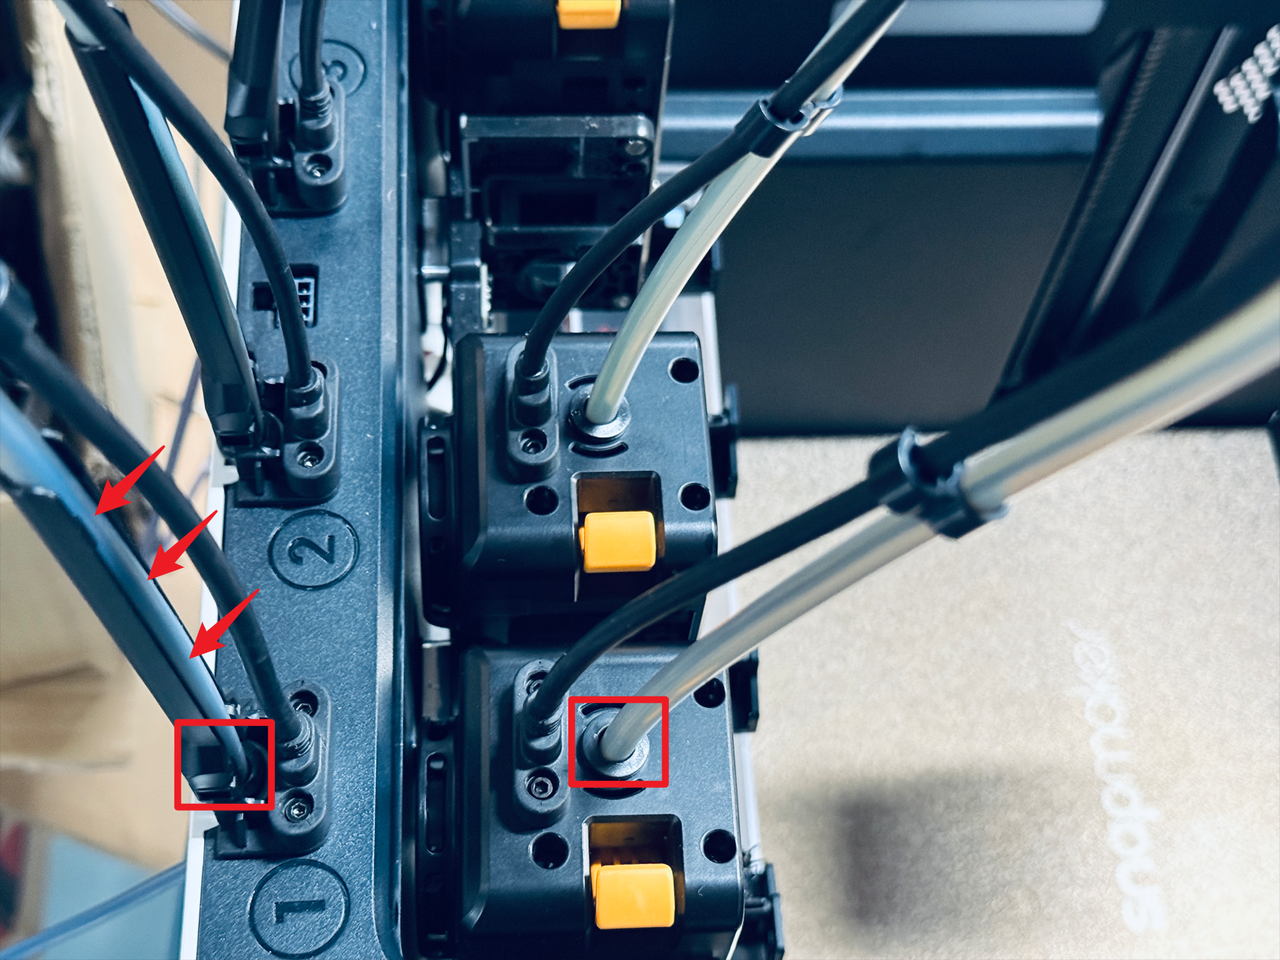
- Press the quick connectors at positions 1 and 2, then remove both ends of the filament tube.

- Remove the filament tube from the filament tube holder.
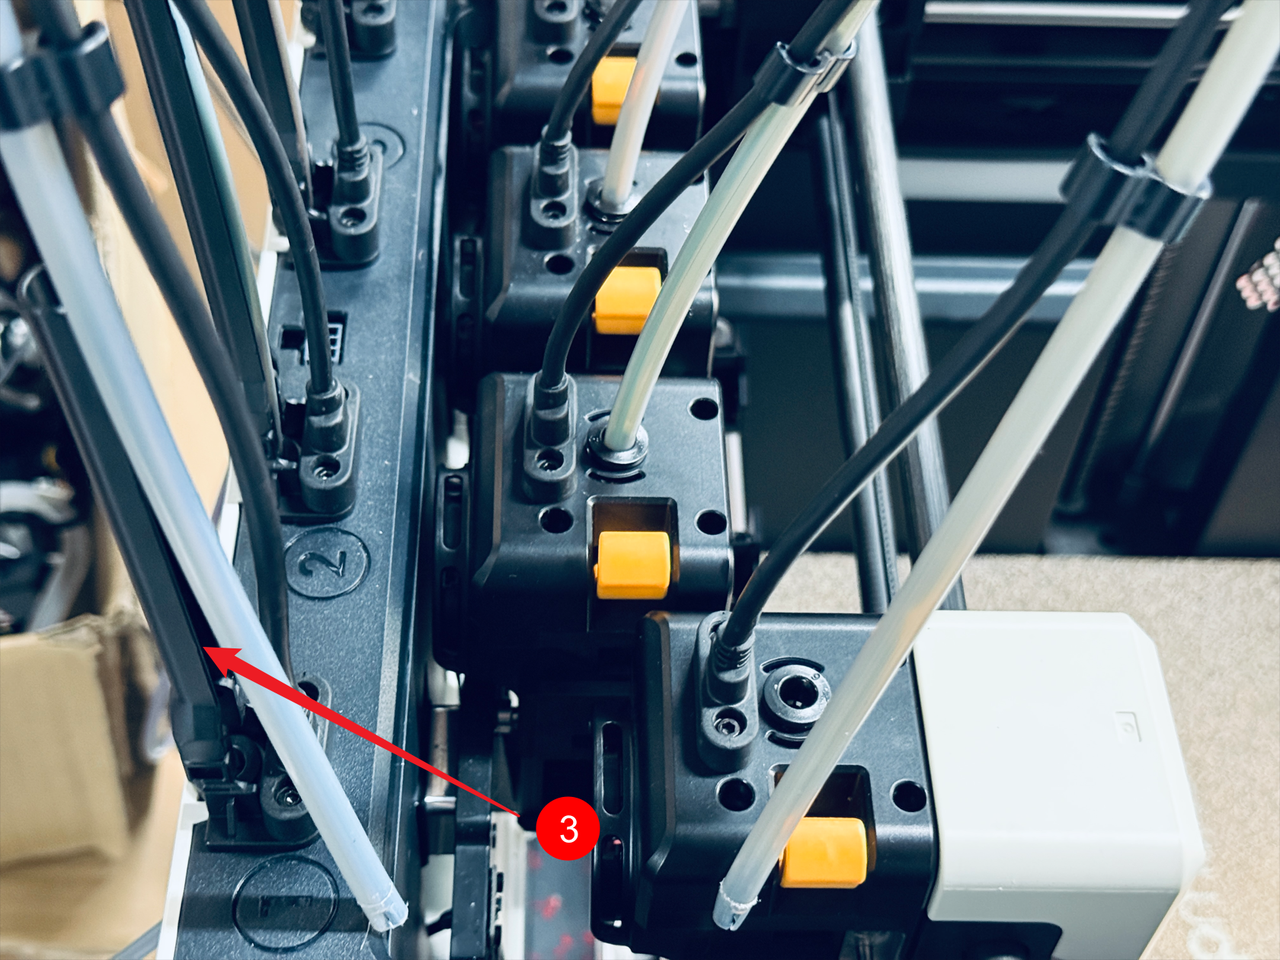
- Complete.
¶ Step 3. Install the new filament tube
- Insert both ends of the new filament tube into the quick connectors, then press the filament tube into the filament tube holder.
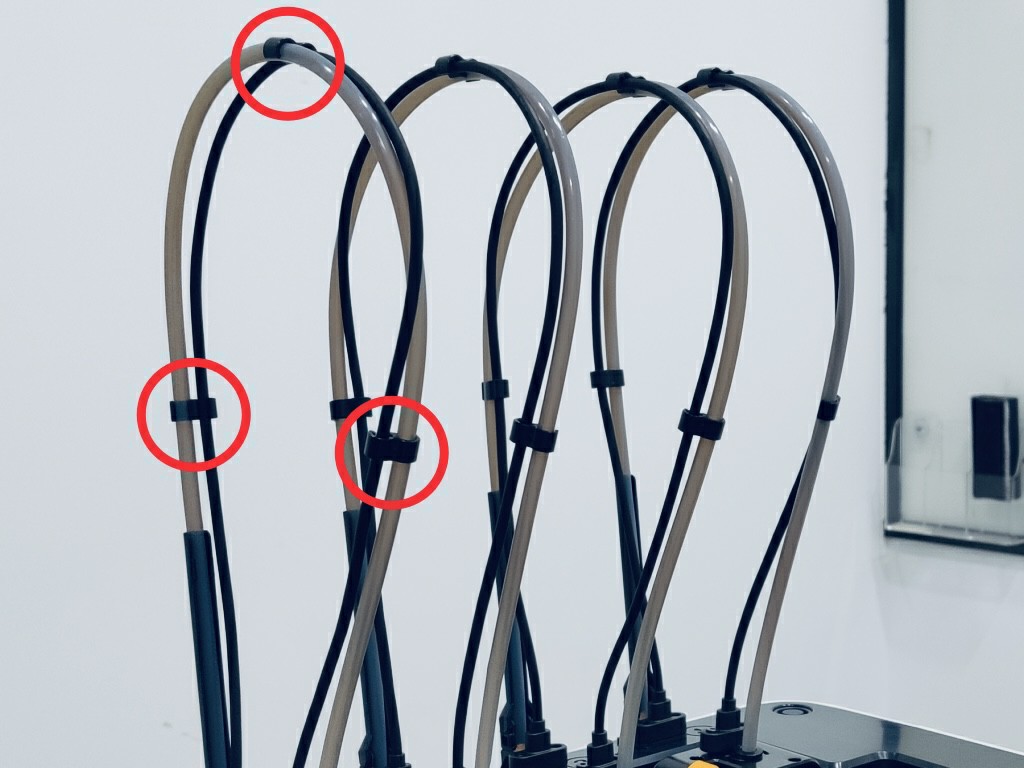
- Finally, use the clips to secure the filament tube and the toolhead USB cable.
¶ Reach out to Snapmaker Support
After following the troubleshooting steps, if you find it difficult to resolve your issue, kindly submit a support ticket through https://snapmaker.formcrafts.com/u1-troubleshooting-request and share your troubleshooting results with some pictures/videos.
Our dedicated support team will be more than willing to assist you in resolving the issue.