¶ Overview
¶ Location
- The docking Hall sensor board is located on the toolhead docking bracket, and can only be replaced after moving the toolhead away.

¶ Difficulty and Time Estimate
- Difficulty:★☆☆☆☆ (easy)
- Estimated Time:5 minutes
¶ Where to Buy
This accessory is expected to be available on the official Snapmaker online store soon. Please stay tuned.
¶ Tools and Parts Required
- H1.5 hex key
- New docking Hall sensor board
¶ Procedure
¶ Step 1. Move the toolhead
- Select the toolhead (e.g., No.1) corresponding to the docking Hall sensor board to be replaced, then tap "Detach Toolhead" on the touchscreen.
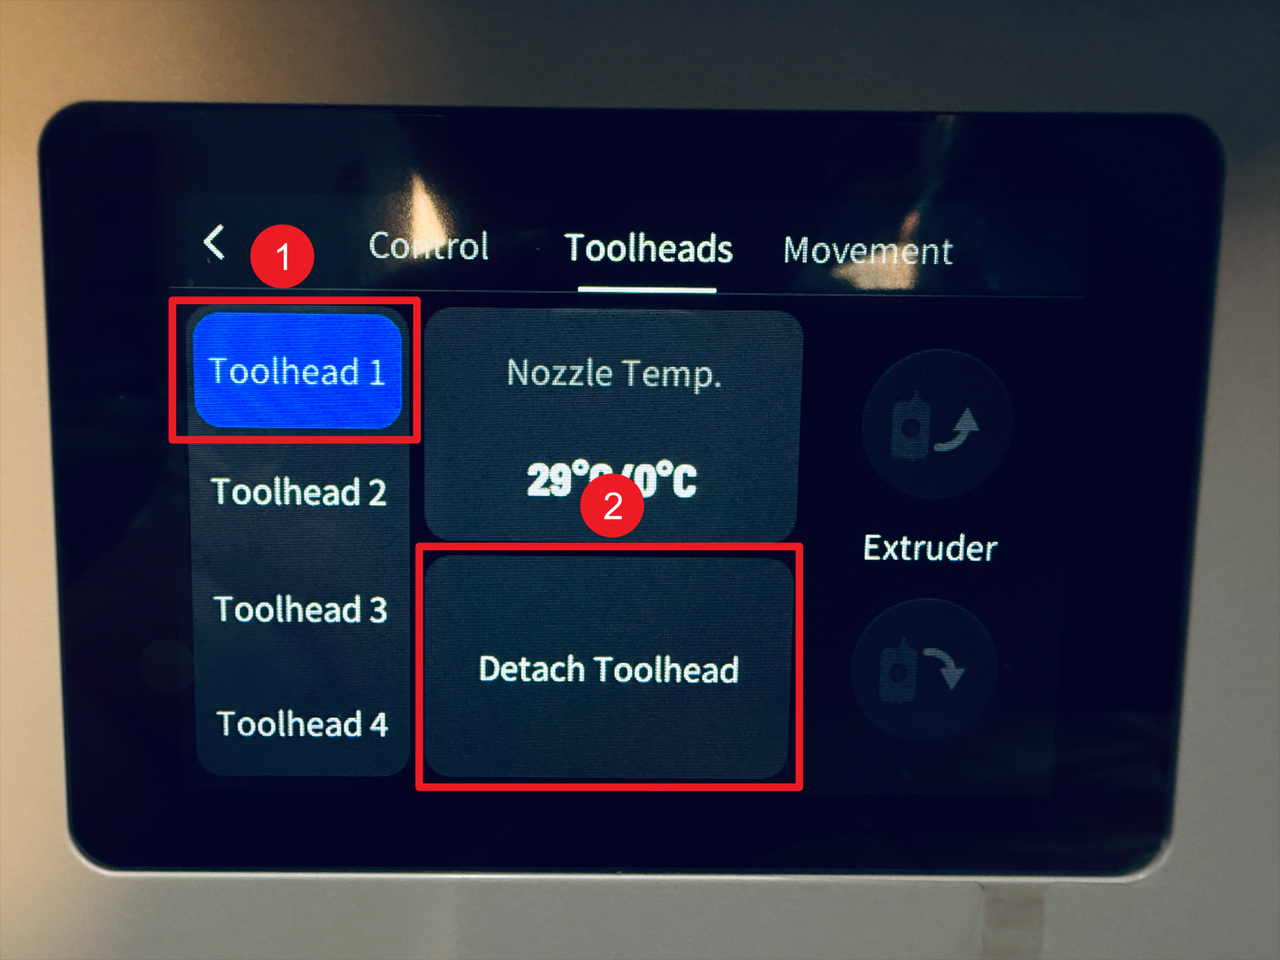
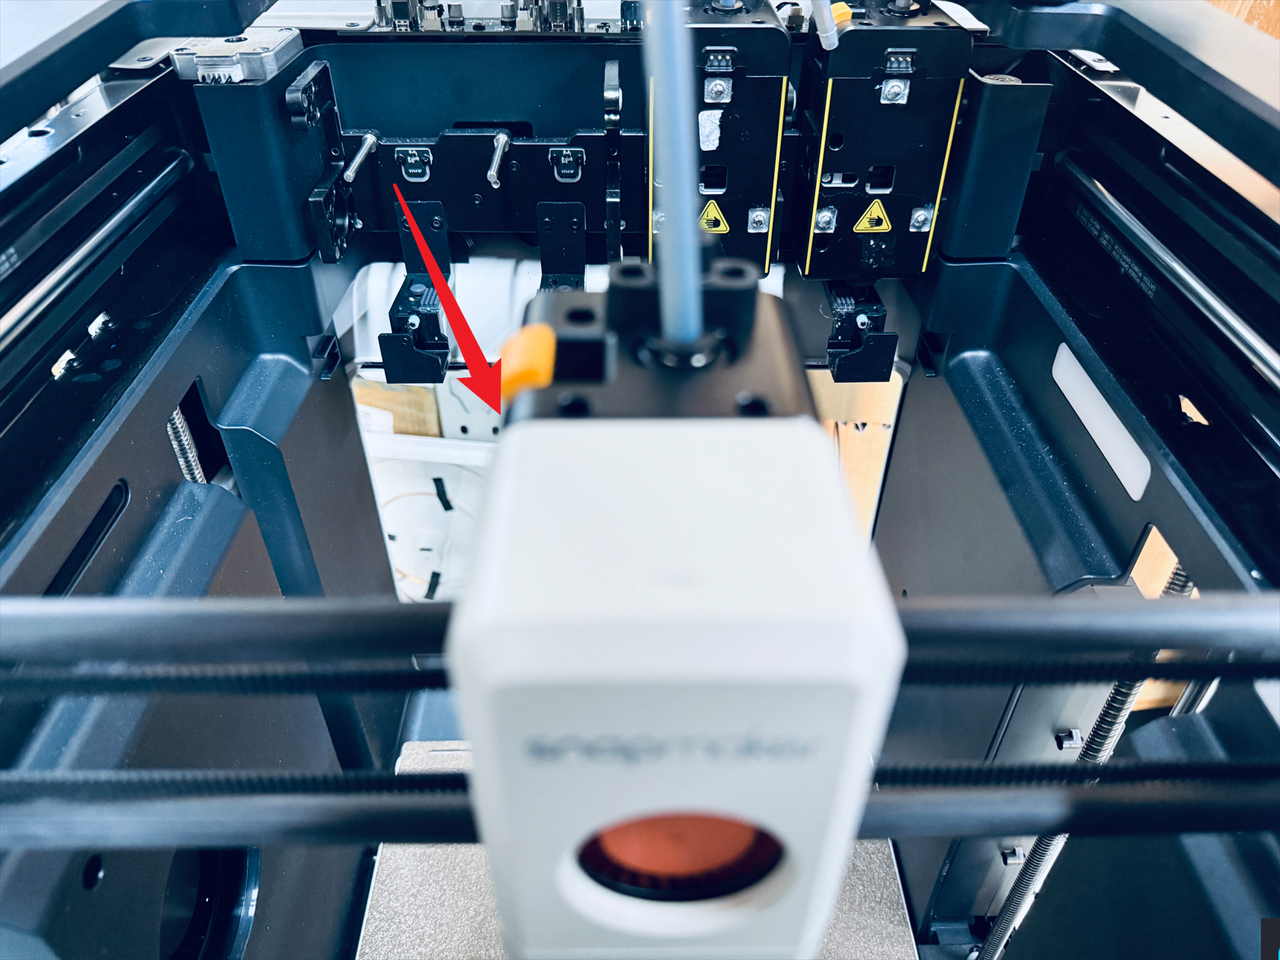
- Turn off the machine and unplug the power cable, then manually move the toolhead away from the docking Hall sensor board.

¶ Step 2. Remove the old docking Hall sensor board
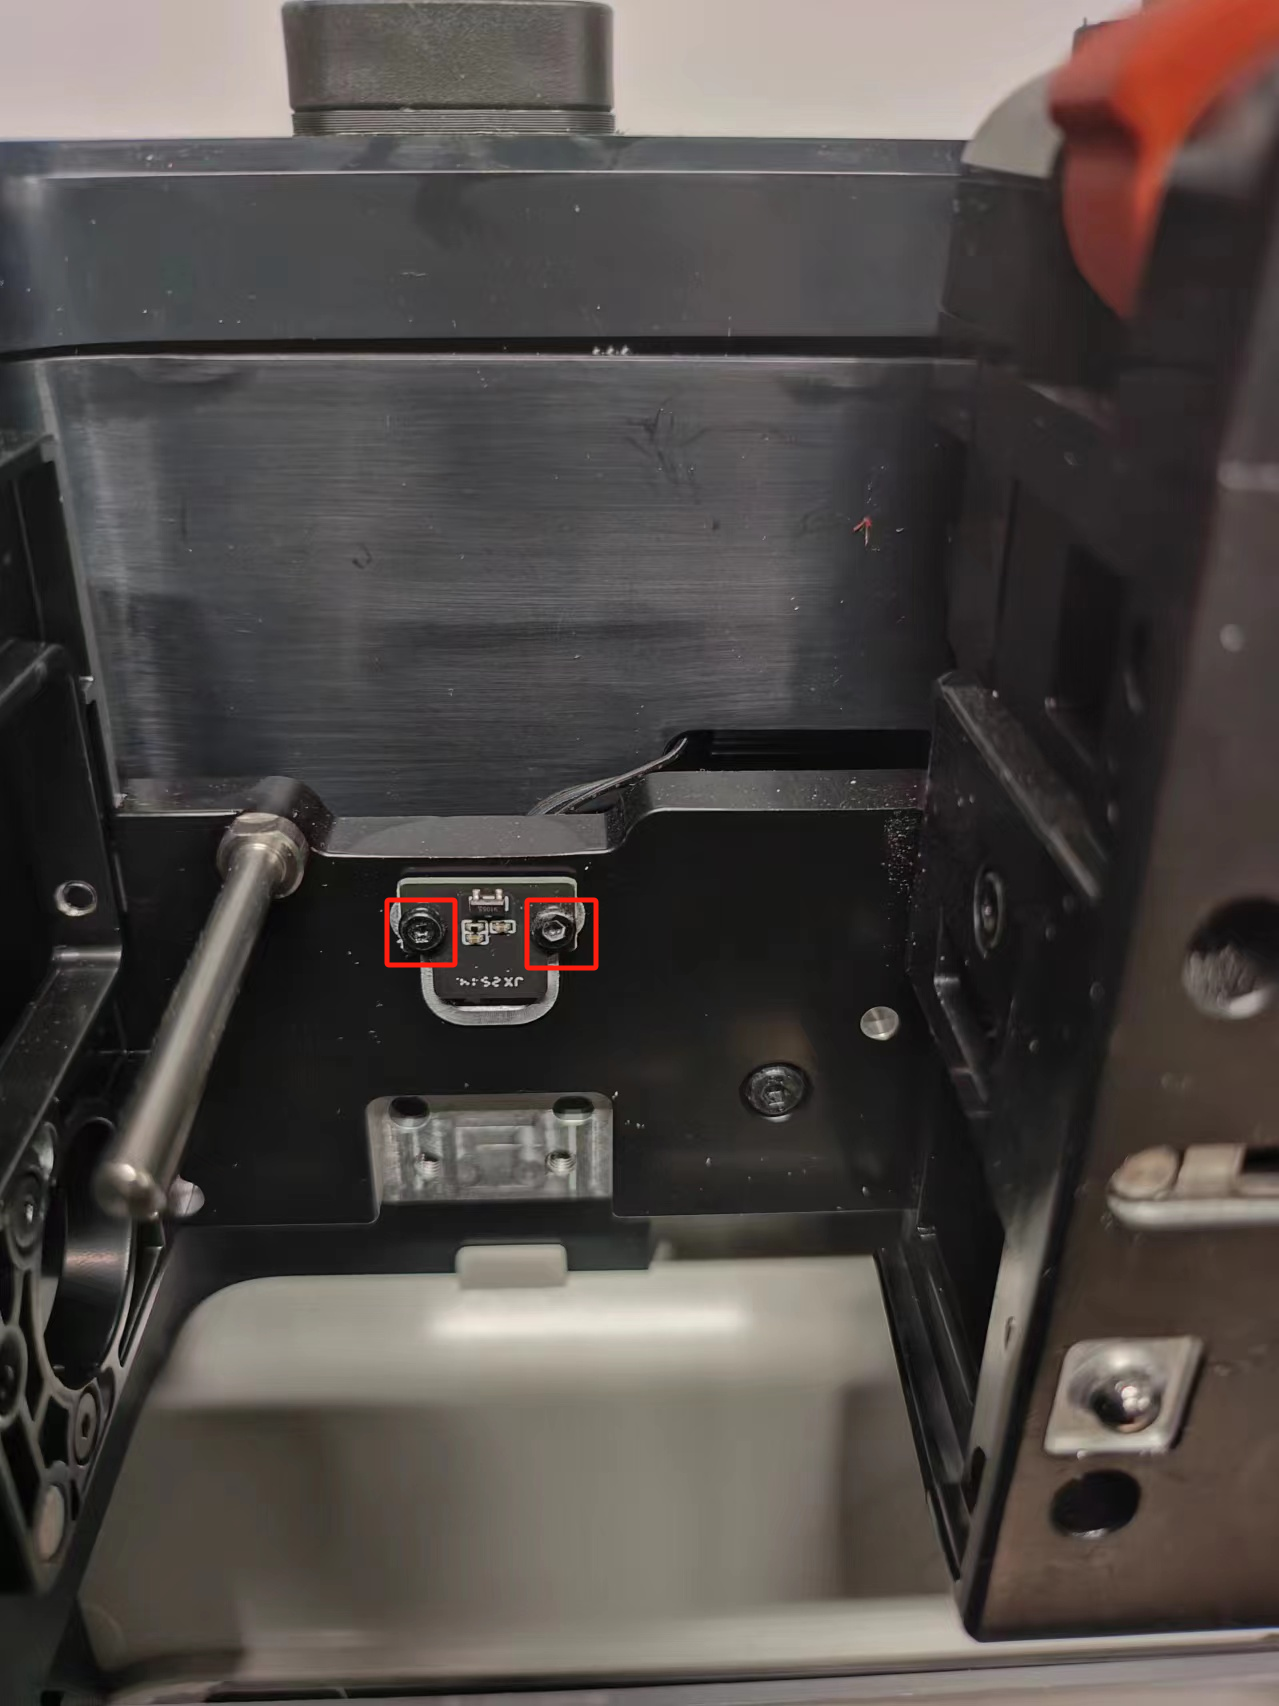
- Use the H1.5 hex key to unscrew the two fixing screws.
- Press and hold the clip indicated by the arrow, then pull out the cable of the docking Hall sensor board.

¶ Step 3. Install the new docking Hall sensor board
- Reconnect the cable to the new docking Hall sensor board.

- Use the H1.5 hex key to tighten the two fixing screws.
¶ Reach out to Snapmaker Support
After following the troubleshooting steps, if you find it difficult to resolve your issue, kindly submit a support ticket through https://snapmaker.formcrafts.com/u1-troubleshooting-request and share your troubleshooting results with some pictures/videos.
Our dedicated support team will be more than willing to assist you in resolving the issue.