Here is a quick checklist to help you get ready before you upload.
Complete model information, clear photos of the printed model, and verified print profiles help users quickly understand your work and reduce trial and error during printing. This guide walks you through the uploading steps and provides practical tips for key information to help your submission pass review smoothly.
¶ Upload Path
Sign in to Snapmaker Space, then click Upload in the top-right corner to open the model upload page.
¶ Model Files
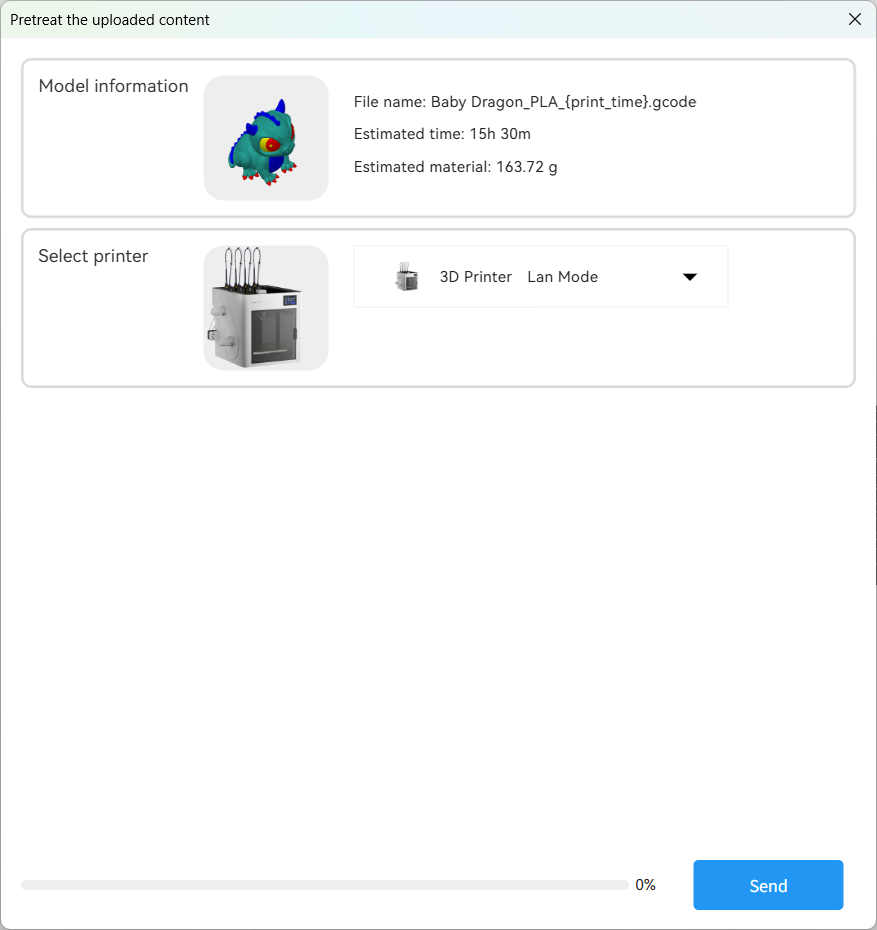
When uploading a model, you must provide a 3MF file or an original model file with a print profile for U1.
When uploading a file, make sure it prints successfully on the Snapmaker U1 and is optimized to take advantage of the U1's multi-toolhead capabilities.
If you have multiple print profiles, upload the first one and wait for it to pass review before adding the others from the model details page.
¶ With a U1 Print Profile
If you have already verified your model on the Snapmaker U1, we recommend uploading a 3MF file (.3mf) that includes the print profile. This allows other users to achieve consistent, reliable print results.
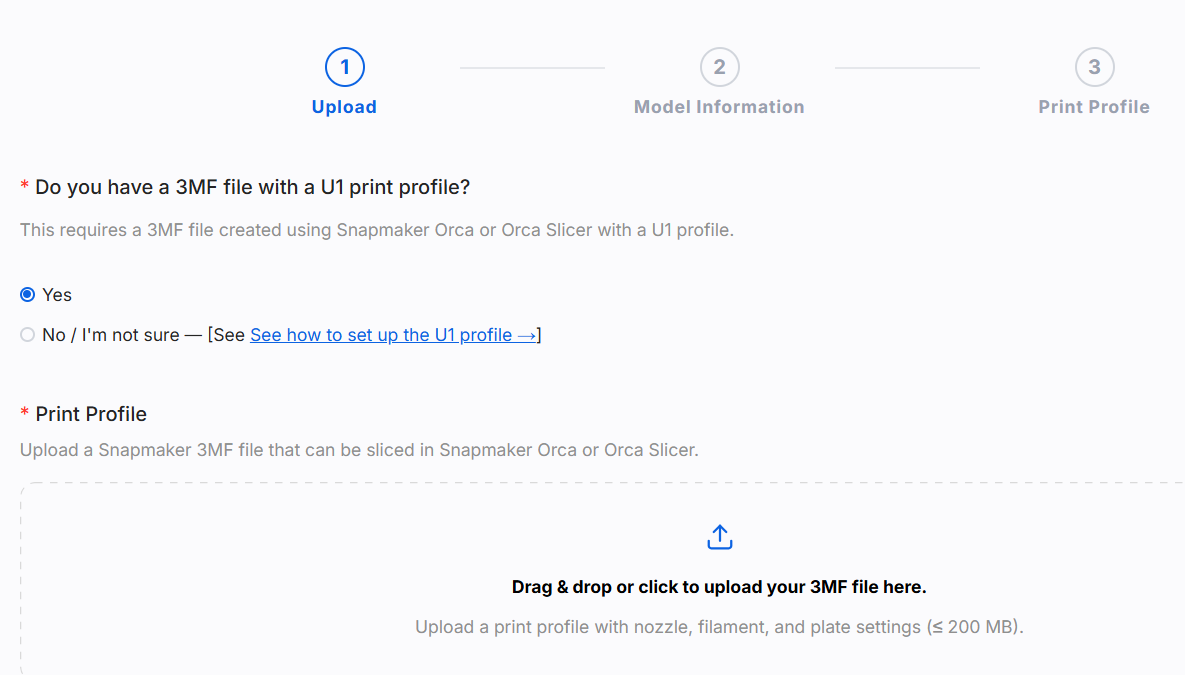
A 3MF file typically includes:
- Model Placement: The position of the model or each object on the build plate;
- Print Orientation: The orientation of each object;
- Slicing Settings: Print speed, layer height, infill, supports, and more;
- Color & Filament: Model color information and filament settings;
- Printer Model: Information about the corresponding printer model.
¶ Without a U1 Print Profile
If you don't have a print profile for the Snapmaker U1 yet, you can upload other model file formats supported by Snapmaker Space, such as STL, OBJ, STEP/STP, F3D, FCSTD, and SLDPRT.
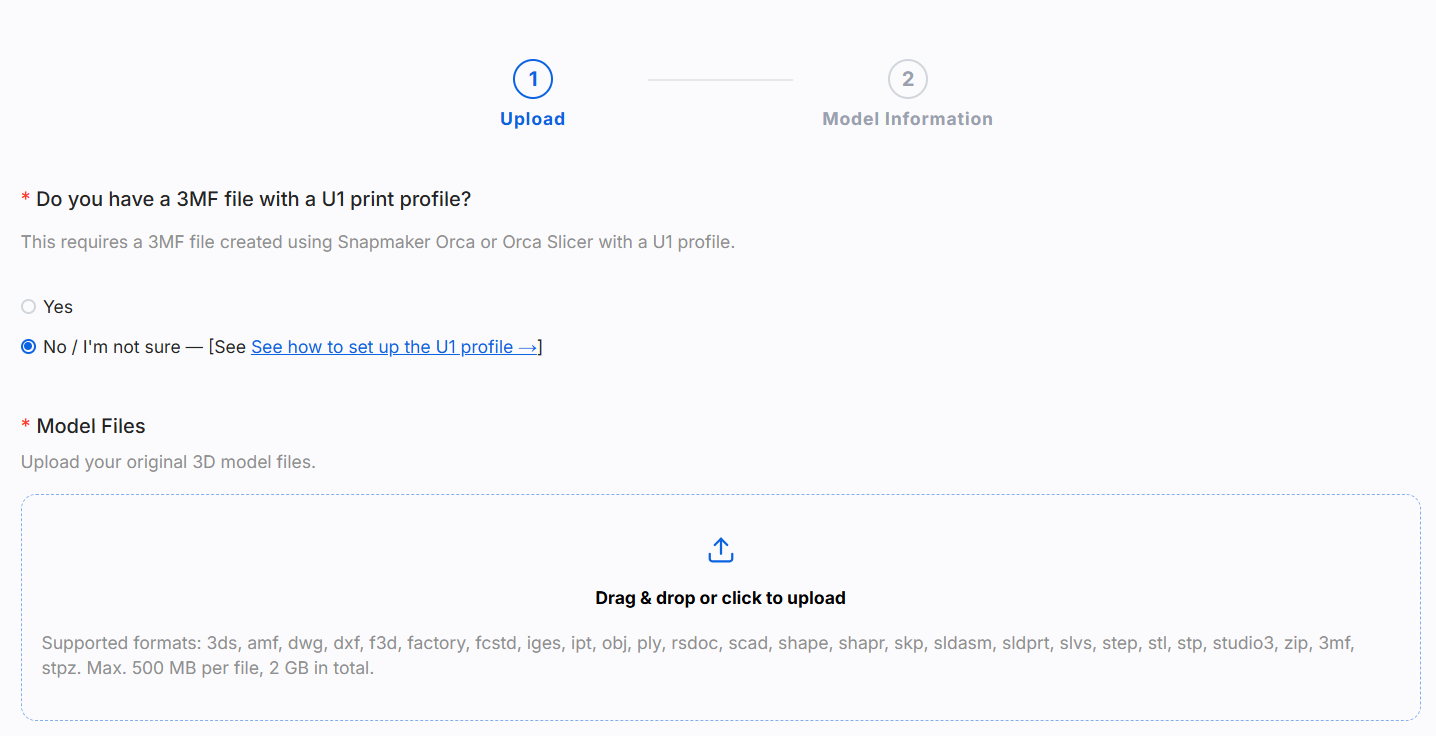
- Supported formats: 3ds、amf、dwg、dxf、f3d、factory、fcstd、iges、ipt、obj、ply、rsdoc、scad、shape、shapr、skp、sldasm、sldprt、svs、step、stl、stp、studio3、zip、3mf、stpz;
- File size: Max. 500 MB per file, 2 GB in total.
Models without a Snapmaker U1 print profile can still be published, but other users won't be able to print them directly with the recommended print settings, and you won't receive points for the print profile. If possible, we recommend adding a verified U1 print profile to provide a better printing experience for other users.
¶ Model Images
¶ Cover Photo
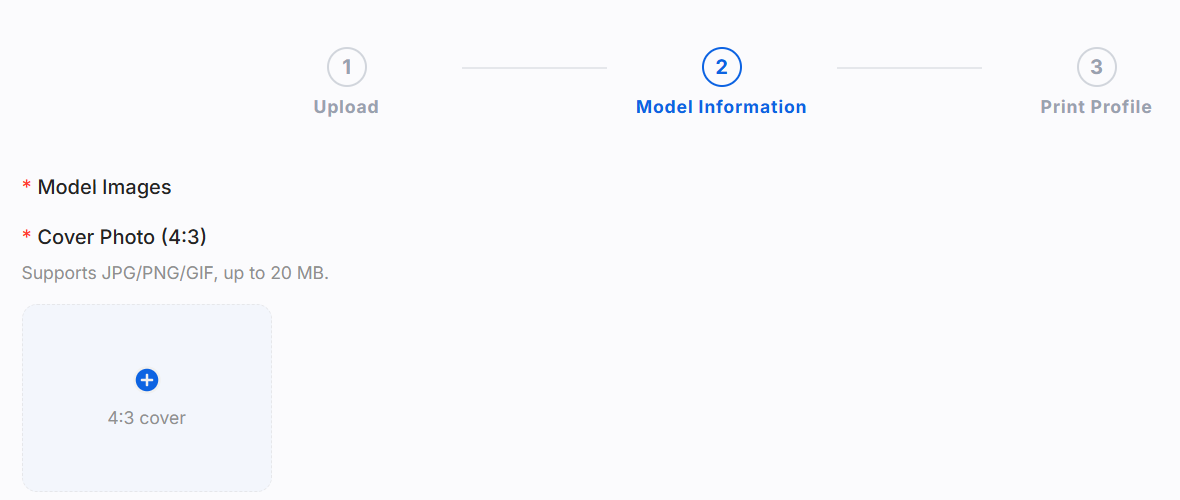
Choose a photo that best showcases your model as the cover image. A clear, attractive cover helps users quickly understand your work and makes your model more appealing in browsing and search results.
¶ Requirements
- Supported formats: JPG, PNG, and GIF. Each image must be no larger than 20 MB. A 4:3 aspect ratio is recommended.
- Use a clear, high-resolution photo of the finished print.
- Do not add text to the cover photo, so users can enjoy a consistent browsing experience across languages.
- Studio watermarks are allowed, but make sure they do not cover the main part of the model.
If the cover photo does not meet these requirements, it may be replaced with another photo of the finished print or rejected during review.
¶ Good Examples
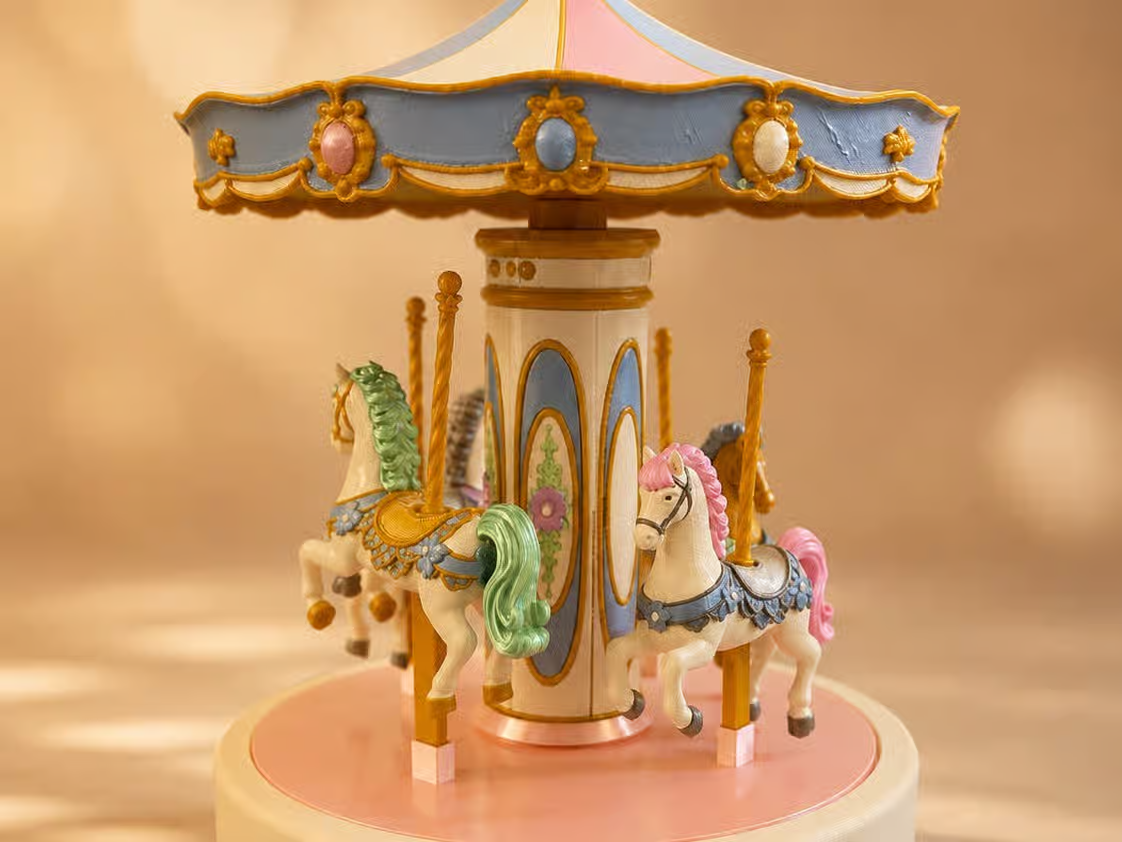
Snap-Carousel by Riciery (@TechTronic3Dbrasil)
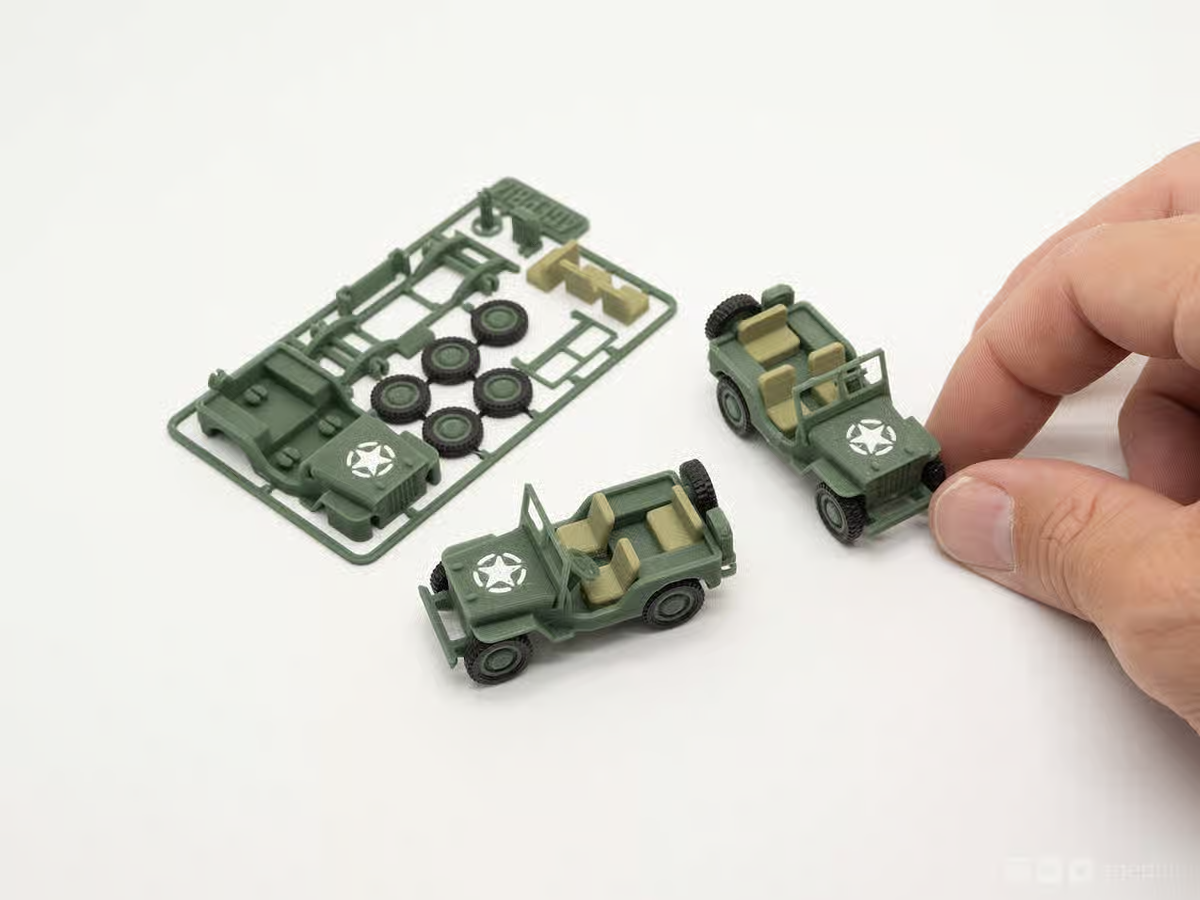
Jeep Kit Card (@agepbiz)
¶ Showcase Images
Use multiple images to show your model from different angles, including its appearance, details, assembly process (if applicable), and real-world use. A variety of authentic images helps users determine whether the model meets their needs and makes your work more appealing.
¶ Requirements
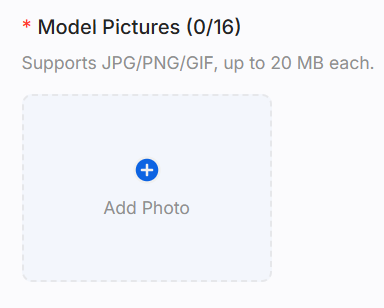
- Supported formats: JPG, PNG, and GIF. Each image must be no larger than 20 MB, with up to 16 images allowed.
- Use photos of the finished print for your cover and showcase images. Avoid using renders or AI-generated images whenever possible.
- We recommend uploading at least 3 photos of the finished print from different angles.
- Use well-lit shots with a clean, uncluttered background.
- Highlight key details, moving parts, or special features of the model.
- Give each image a clear focus—for example, show the overall appearance, close-up details, printing process, and real-world use in different images.
¶ Good Examples
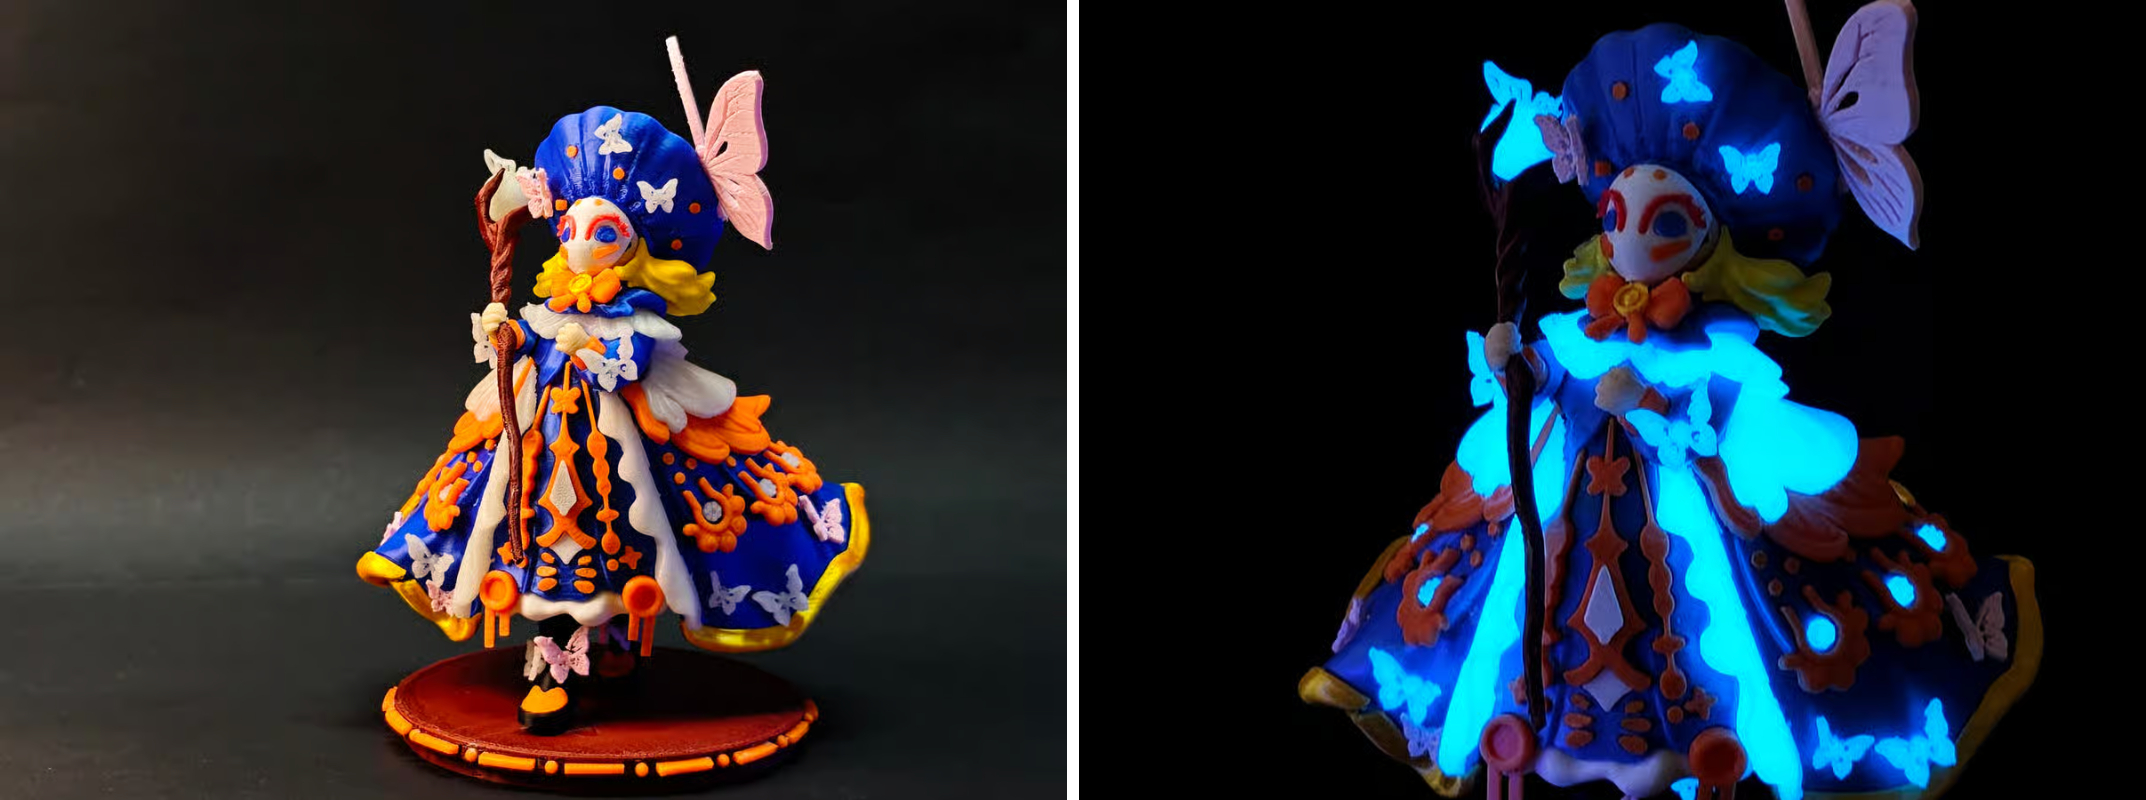
Night Elf (@SUN3D)
¶ Basic Model Information
¶ Model Name & Description
Give your model a clear, easy-to-understand name. In the description, explain the design concept, main purpose, intended use cases, and any printing tips to help users quickly understand your work.
- Make sure the model name, description, and other relevant information do not contain the names, logos, or trademarks of other brands or competing products.
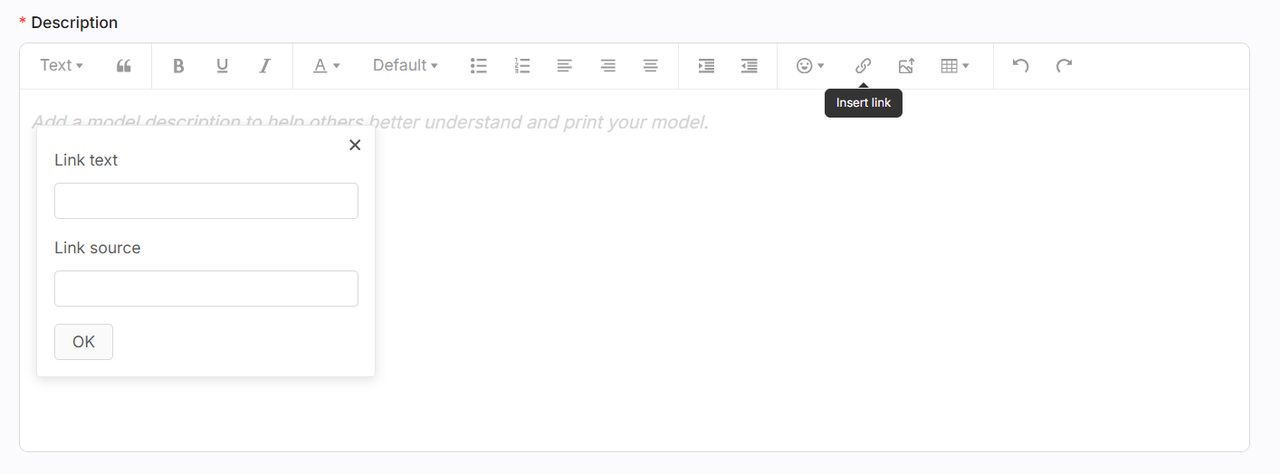
- To add a video to the description, simply paste its webpage URL into the input field.
¶ Category
Choose the category that best matches your model. Accurate categorization makes it easier for users to browse and discover your work.
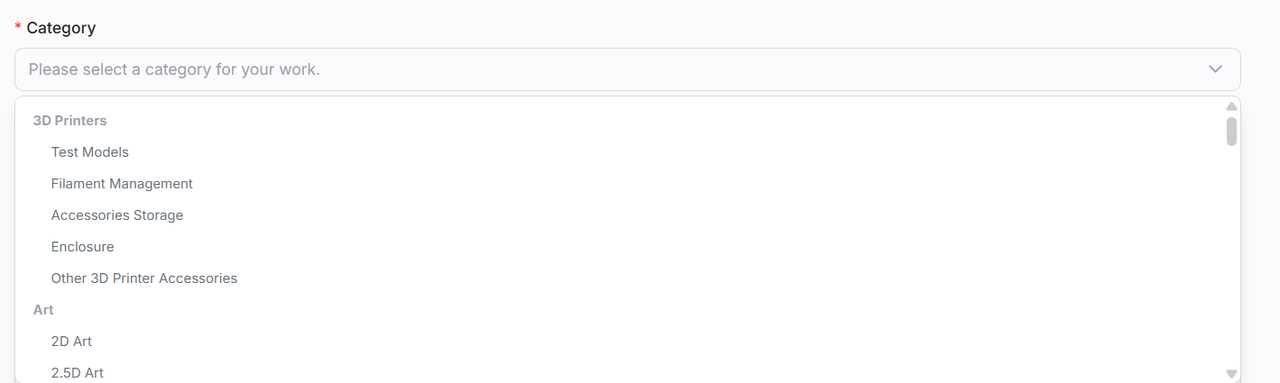
Not sure which category to choose? See theGuide to Categories。
¶ License
A license determines whether other users can share, modify, or create derivative works from your model, and whether they must give you credit. Choosing the right license helps balance open sharing with the protection of your creative work.
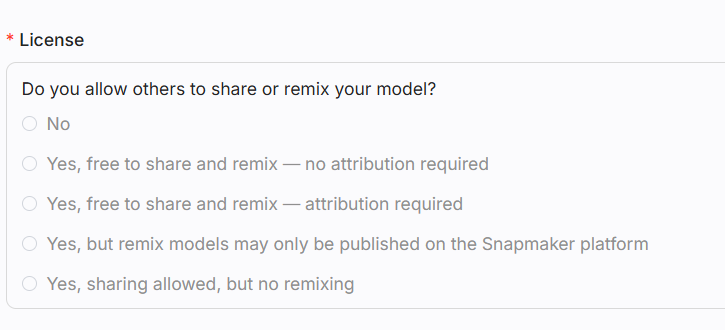
For licenses that allow sharing (with commercial use disabled by default), you can also choose whether to allow commercial use. When enabled, other users may use the model for commercial purposes as long as they comply with the license terms. When disabled, the model may only be used for non-commercial purposes.
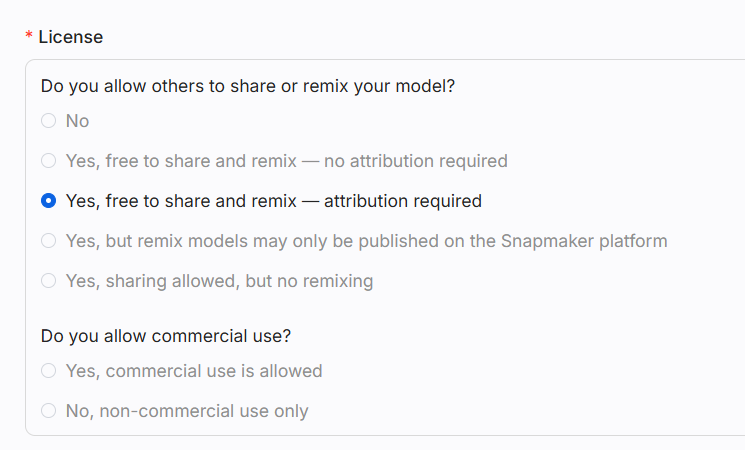
The commercial use and derivative-work permissions for each license are as follows:
| License Icon | License Type | Permissions |
|---|---|---|
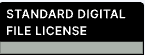 |
This work is licensed under the Standard Digital File License and is strictly for non-commercial, personal use. | Others may not share, modify, or create derivative works from your model. |
 |
This work is dedicated to the public domain under the CC0 License. | Others may share, modify, and create derivative works from your model without attribution, including for commercial purposes. |
 |
This work is licensed under the CC BY-SA License. | Others may share, modify, and create derivative works from your model with attribution. Commercial use is allowed, and derivative works must be released under the same license. |
 |
This work is licensed under the CC BY-NC-SA License. | Others may share, modify, and create derivative works from your model with attribution. Only non-commercial use is allowed, and derivative works must be released under the same license. |
 |
This work is licensed under the CC BY License. | Others may share, modify, and create derivative works from your model with attribution. Commercial use is allowed, and derivative works may be released under any license. |
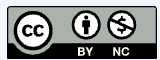 |
This work is licensed under the CC BY-NC License. | Others may share, modify, and create derivative works from your model with attribution. Only non-commercial use is allowed, and derivative works may be released under any license. |
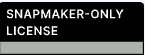 |
This work is licensed under the Snapmaker-Only License. | Others may share, modify, and create derivative works from your model, but derivative works may only be published on the Snapmaker platform and may only be used for non-commercial purposes. |
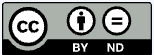 |
This work is licensed under the CC BY-ND License. | Others may share your model, but may not modify it or publish derivative versions. Commercial use is allowed. |
 |
This work is licensed under the CC BY-NC-ND License. | Others may share your model, but may not modify it or publish derivative versions. Only non-commercial use is allowed. |
¶ Tag
Add relevant tags to describe your model more accurately and help users find it through search. Type a tag and press Enter to add it. You can add up to 20 tags.

We recommend prioritizing tags that highlight the printing capabilities of the Snapmaker U1 and the key characteristics of your model.
¶ Showcase U1 Capabilities
- Multi-Color — Uses multiple colors in a single print.
- Multi-Material — Combines different materials in the same model, such as PLA + TPU.
- Print-in-Place — Prints as a fully assembled model without requiring assembly.
¶ Structure & Function
- Articulated — Features movable joints and can be posed in different positions.
- Flexi — Flexible and bendable, with some degree of elasticity.
¶ Themes & Use Cases
- Dragon — Models featuring dragons or fantasy dragon themes.
- Christmas — Models themed around Christmas or other holidays.
¶ Print Profile Details
Verified and optimized print profiles make it easier for others to print your model successfully, while also helping you gain more exposure, downloads, and points. After uploading a print profile, provide details such as the profile name, description, and images.
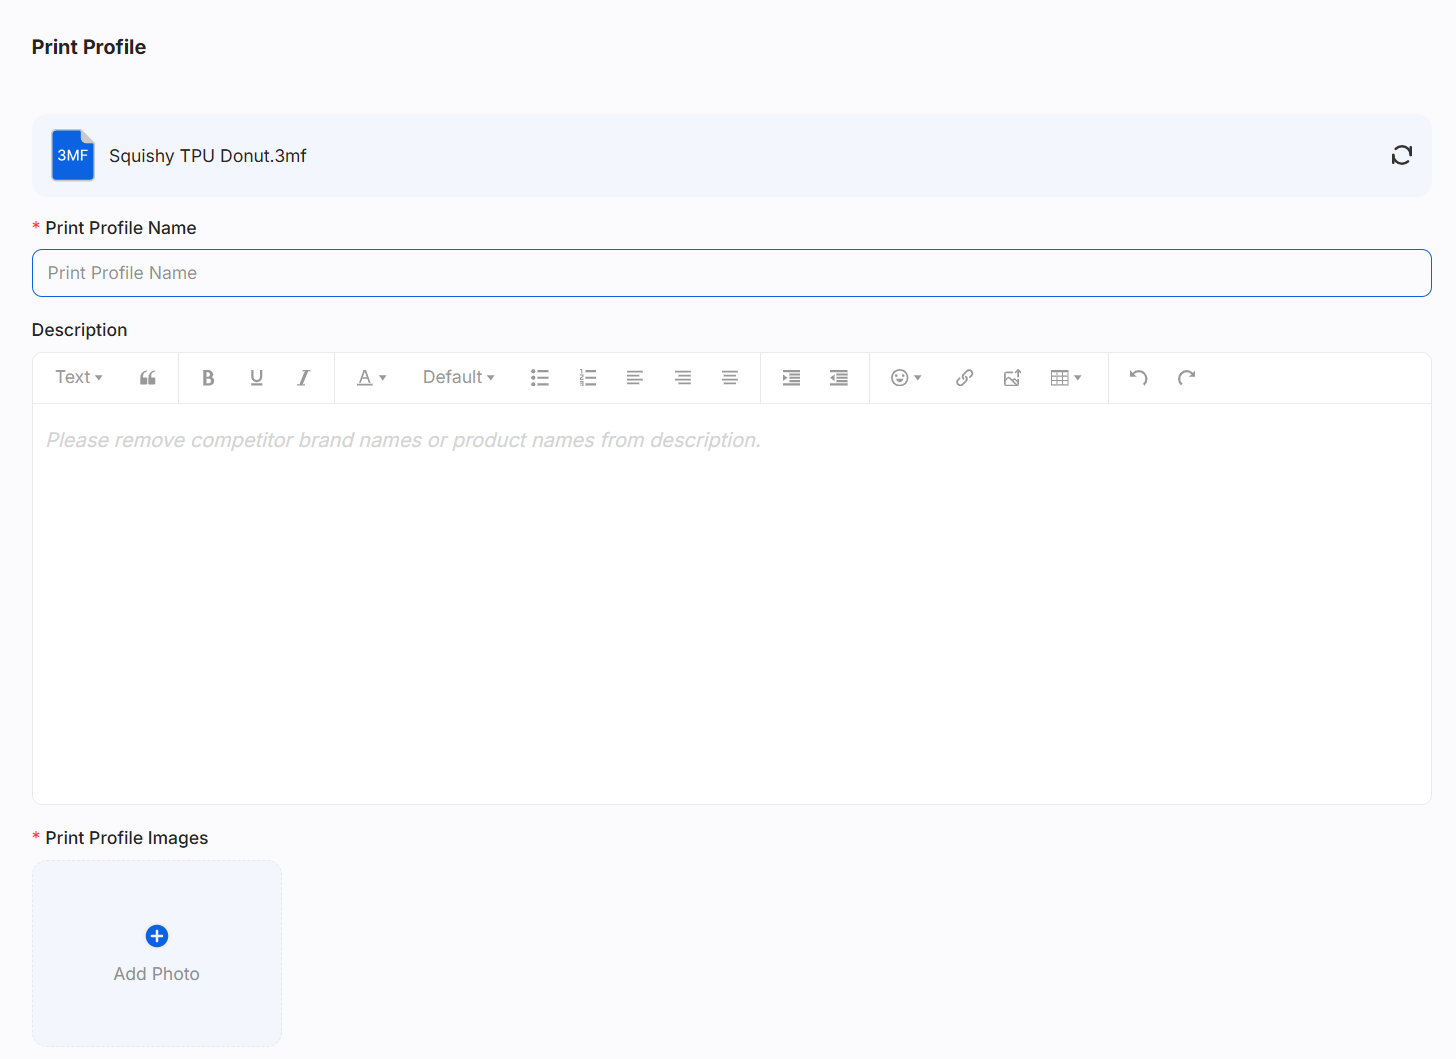
¶ Add a Print Profile
In addition to adding print profiles for your own models, you can also contribute high-quality print profiles to models published by other creators, helping more users successfully complete their prints.
- Open the model details page, click
Add Print Profilein the top-right corner, and upload a 3MF file (.3mf).
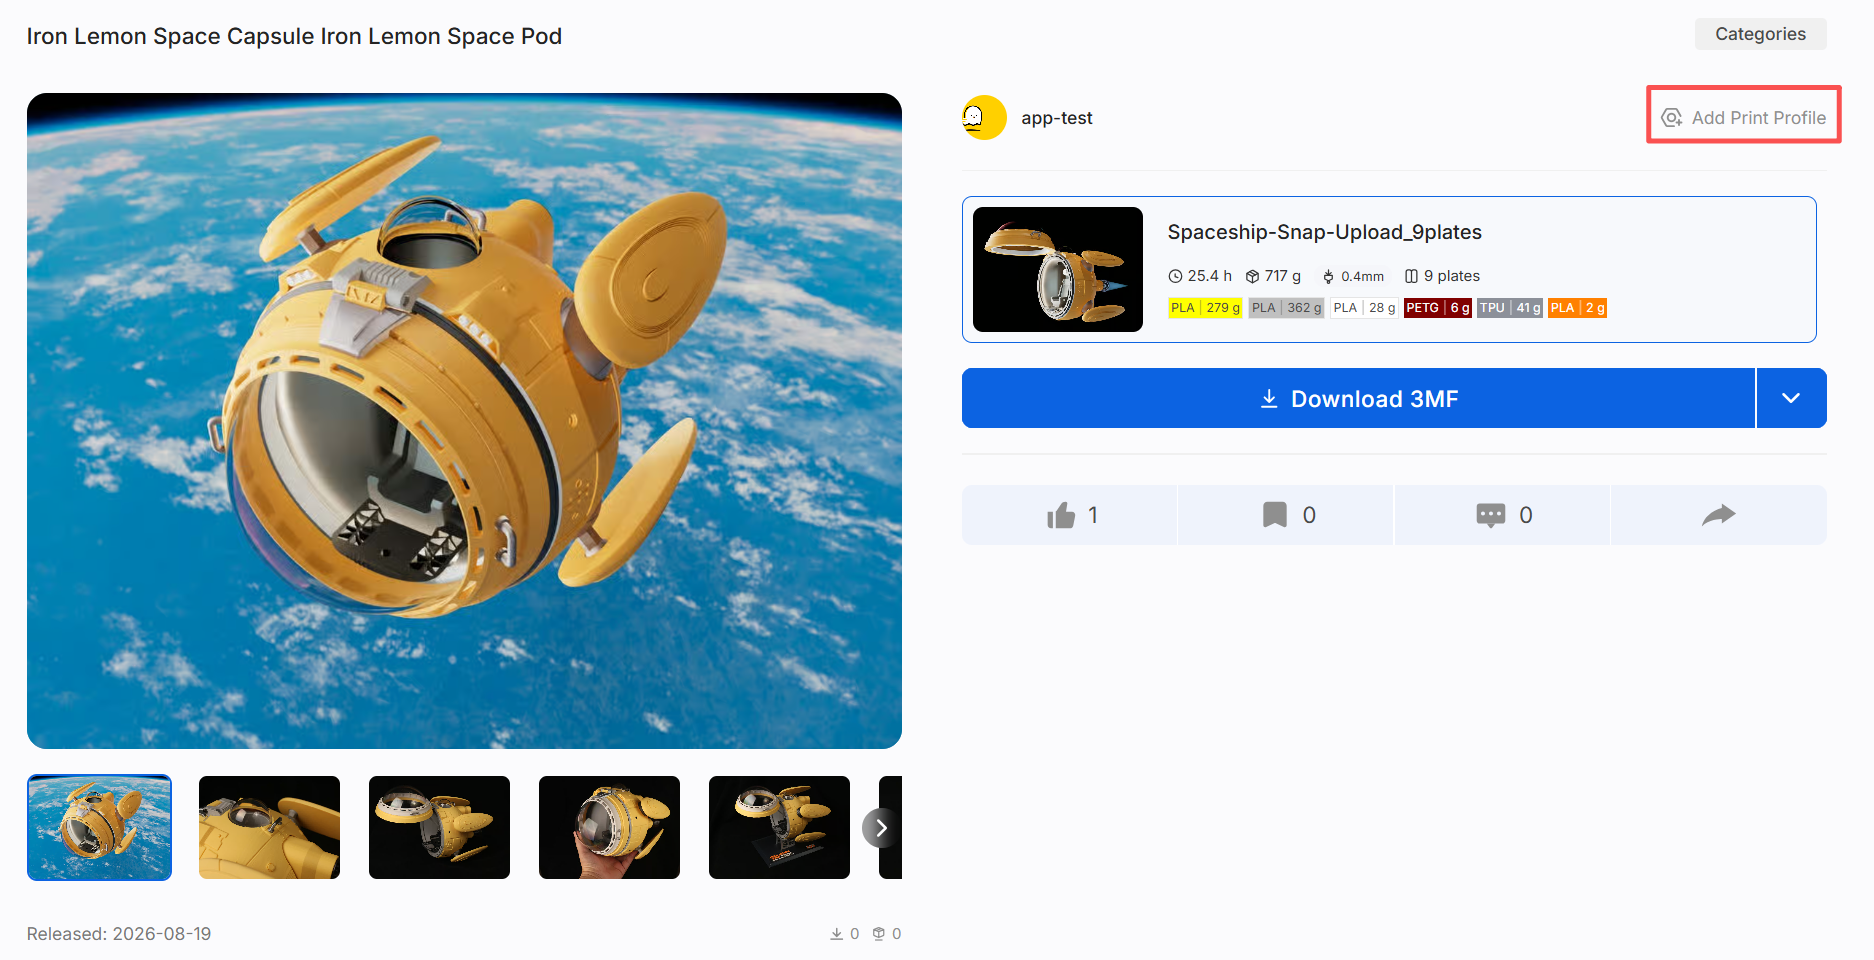
- After uploading the 3MF file, provide the print profile details, including the profile name, description, print photos, and visibility settings.
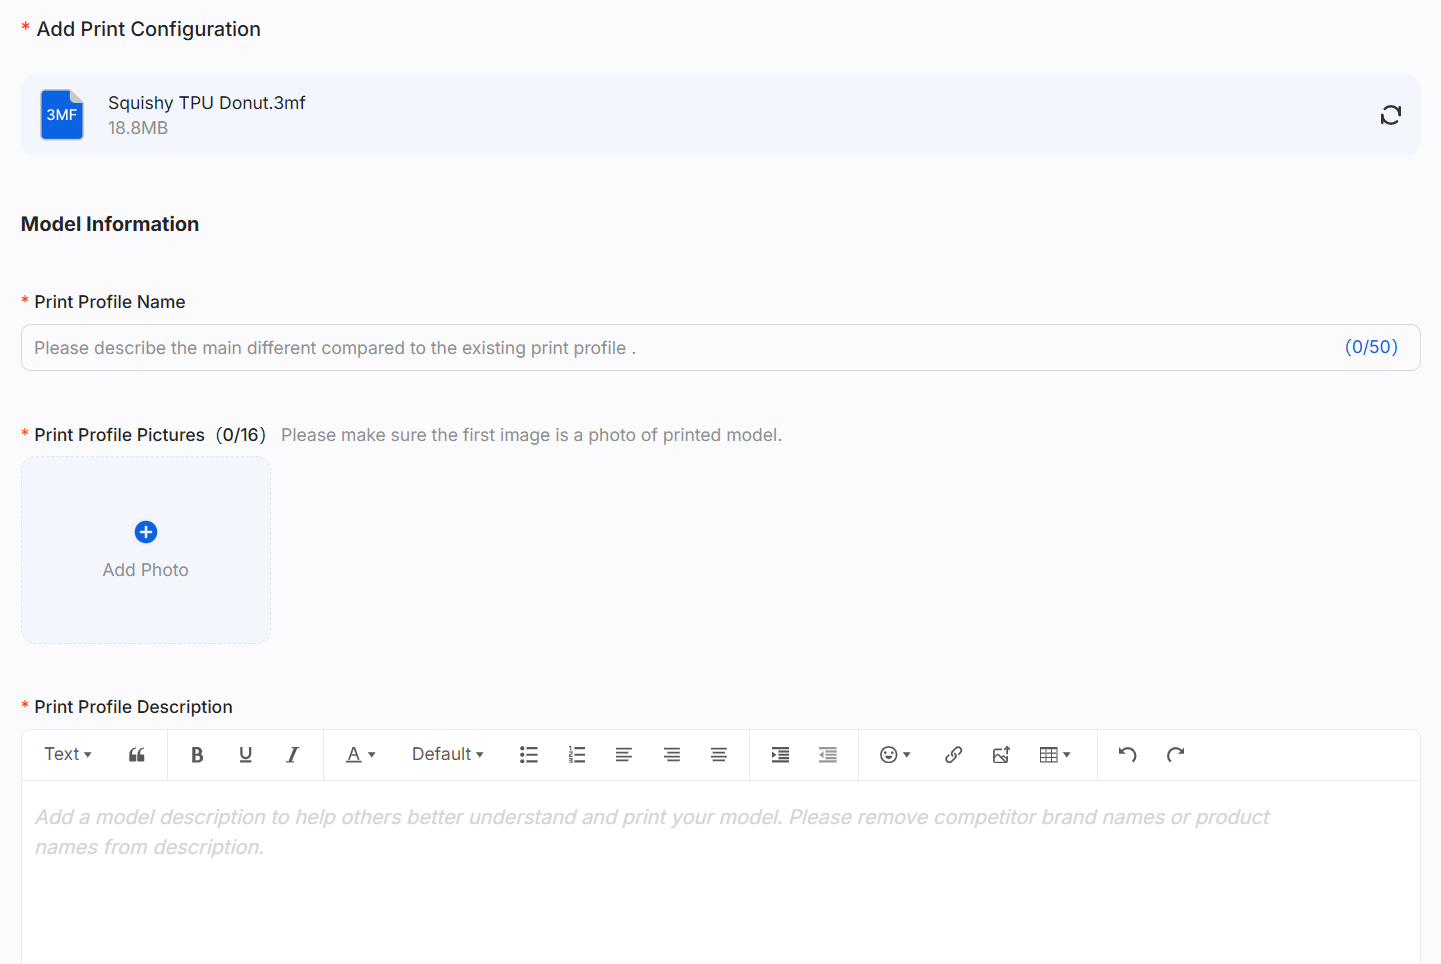
¶ Profile Name
Choose a clear, easy-to-understand name that highlights the main differences from existing profiles, so users can quickly choose the right print option. For example:
- 0.16 mm Layer Height
- Support-Free Optimized Version
- TPU Version
¶ Profile Description
Describe the key features or optimizations of the profile, such as:
- Adjusted layer height, infill, or support settings;
- Optimized model orientation to improve print success rates;
- Optimized seam placement for a better appearance;
- Adjusted the multi-color printing setup to reduce color changes or filament waste;
- Included important notes for printing.
¶ Profile Images
Clear, complete photos of the finished print not only help your profile pass review but also give other users a clear idea of the actual print results.
- Upload photos of the finished print made with this print profile to accurately show the final results.
- The first image must be a photo of a finished print made with this profile. If the first image does not meet the requirements, its position may be changed during review so that a qualifying photo is shown first.
¶ Managing Published Models and Print Profiles
After publishing, you can update your model information, model files, or print profiles at any time.
¶ Edit a Model
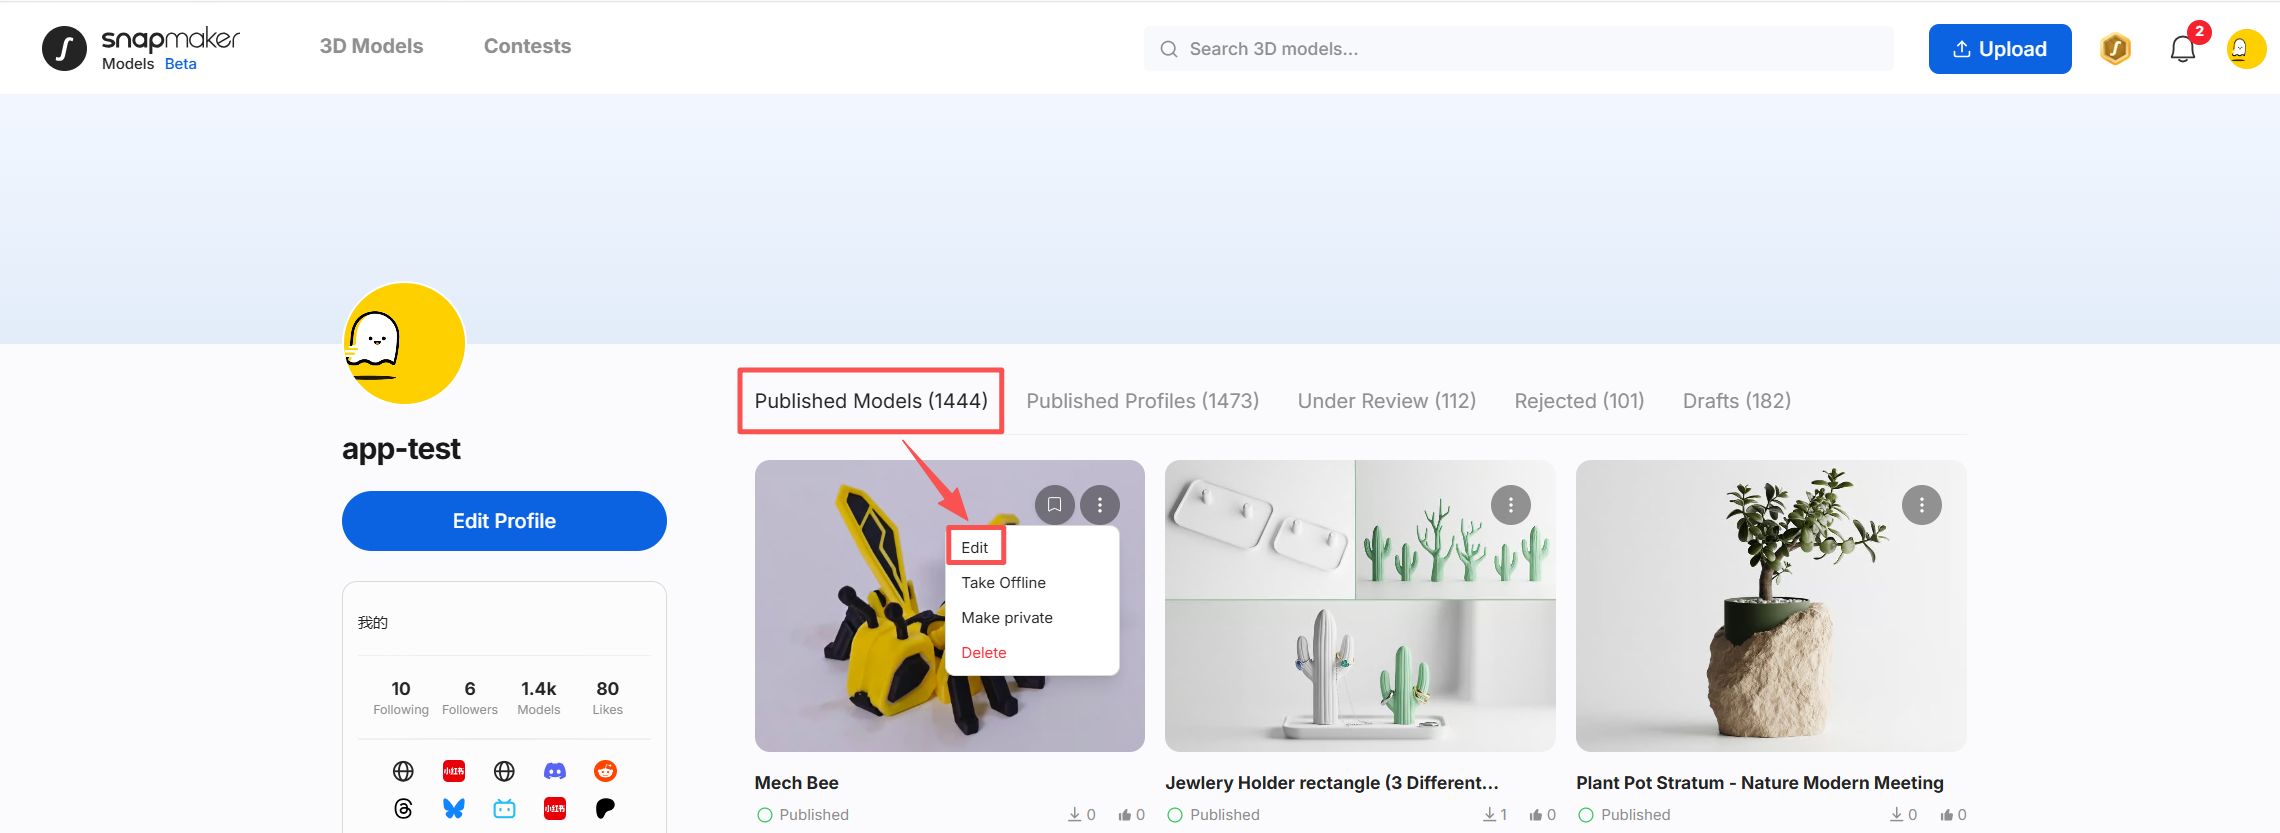
Go to the Published Models tab on your profile, find the model you want to edit, and click the ⋮ button in the top-right corner of its card to update the model information or files.
¶ Edit a Print Profile
Go to the Published Profiles tab on your profile, find the profile you want to edit, and click the ⋮ button in the top-right corner of its card to update the profile details or replace the 3MF file.
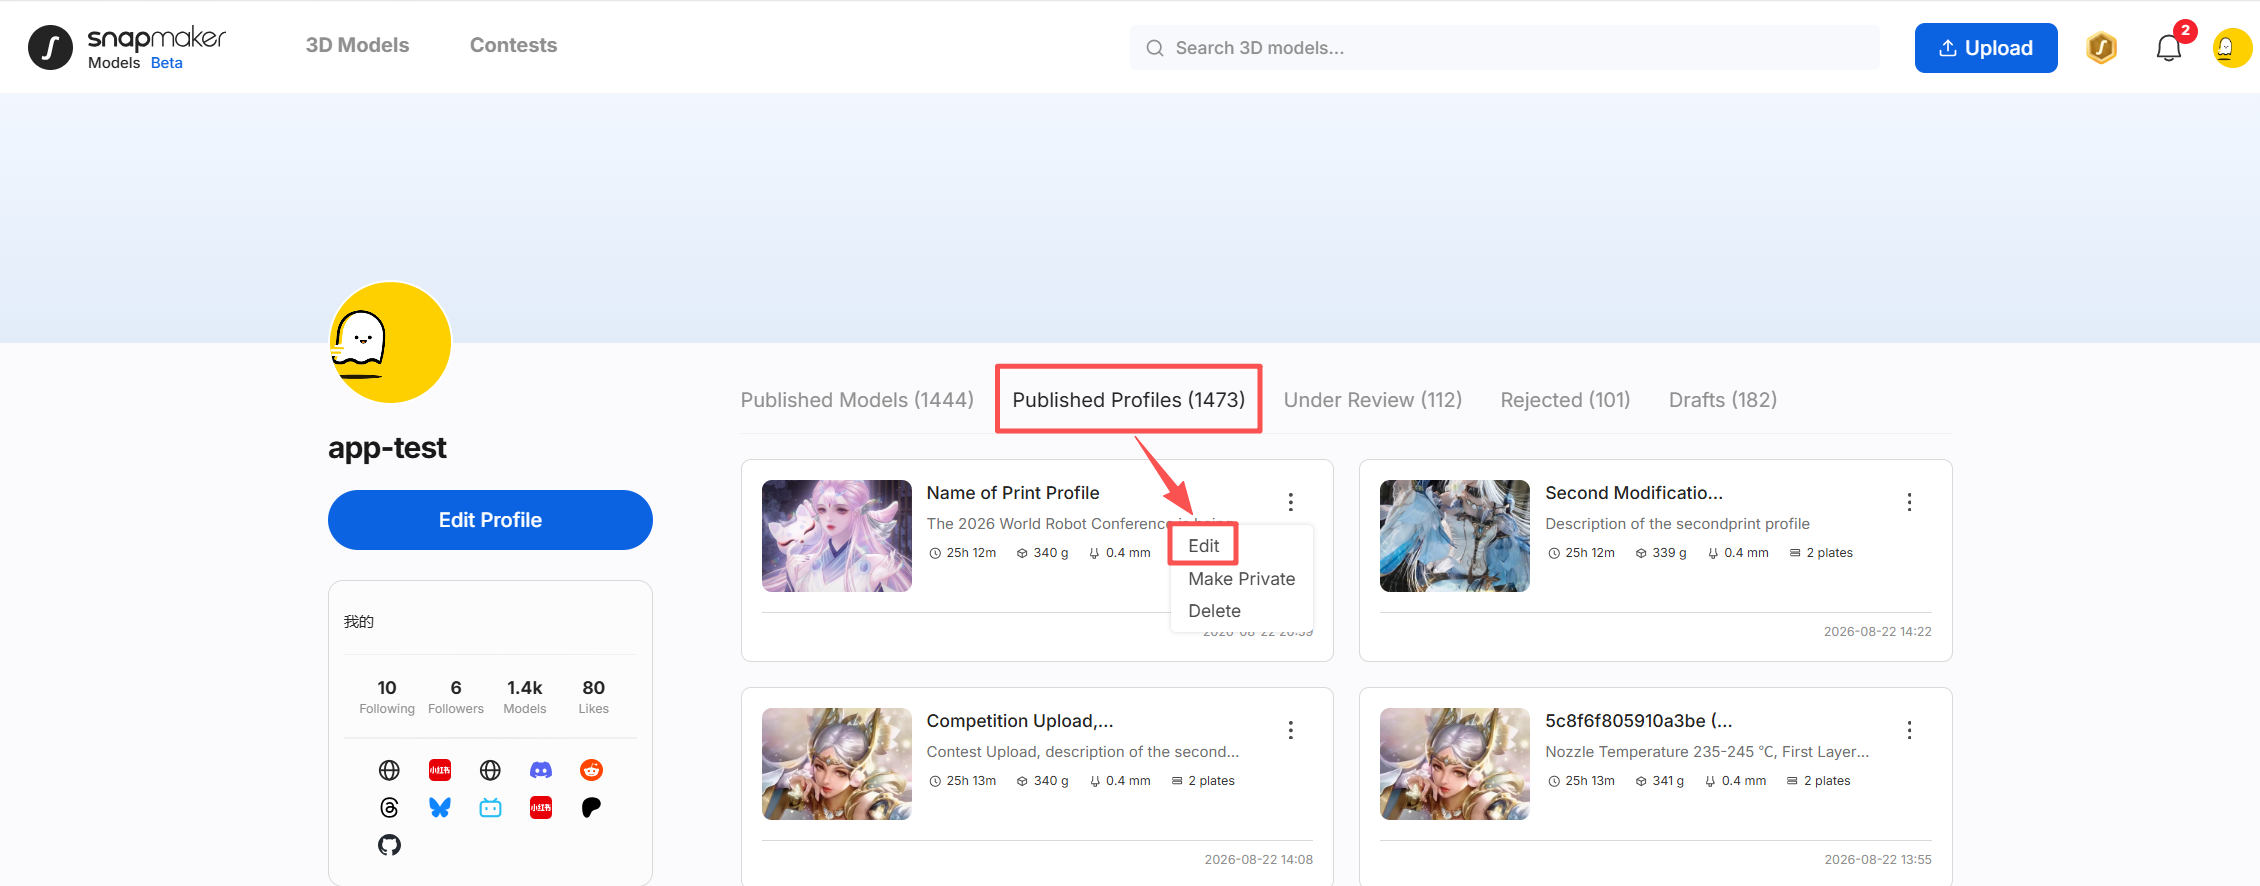
All updated or newly uploaded print profiles must go through another round of review before they are published.