¶ Introduction
This guide provides a detailed, step-by-step process for replacing the touchscreen on the J1/J1s.
¶ Tools Needed
- New touchscreen
- Phillips screwdriver
- H1.5 screwdriver
- H2.0 screwdriver
¶ Safety Precautions
When removing or reinstalling the part, please make sure the machine is powered off. To avoid any issues, be careful not to plug or unplug anything while the machine is on or accidentally connect things the wrong way.
¶ Step-by-Step Instructions
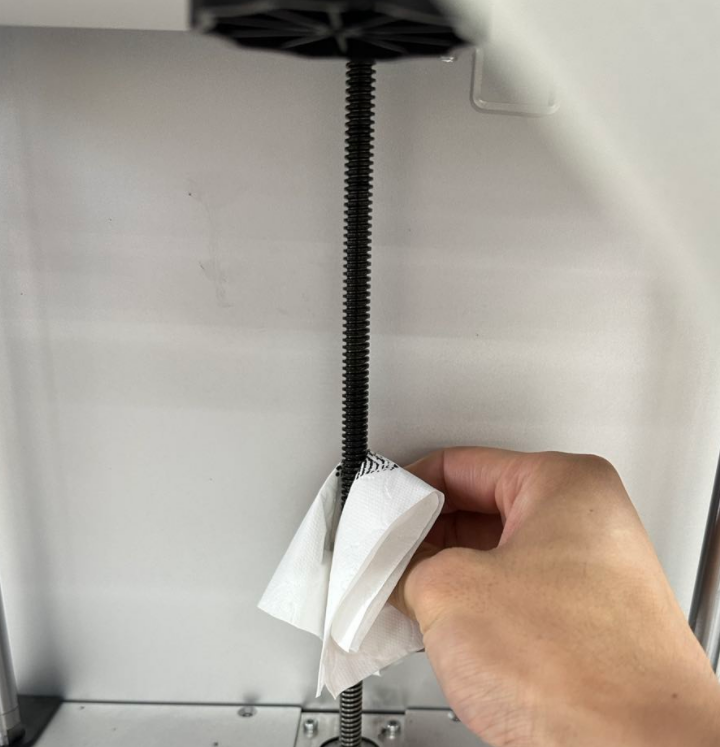
¶ Step 1 Move the Heated Bed to the Top
In the touchscreen control settings, raise the heated bed to its highest position to make it easier to remove the bottom cover.
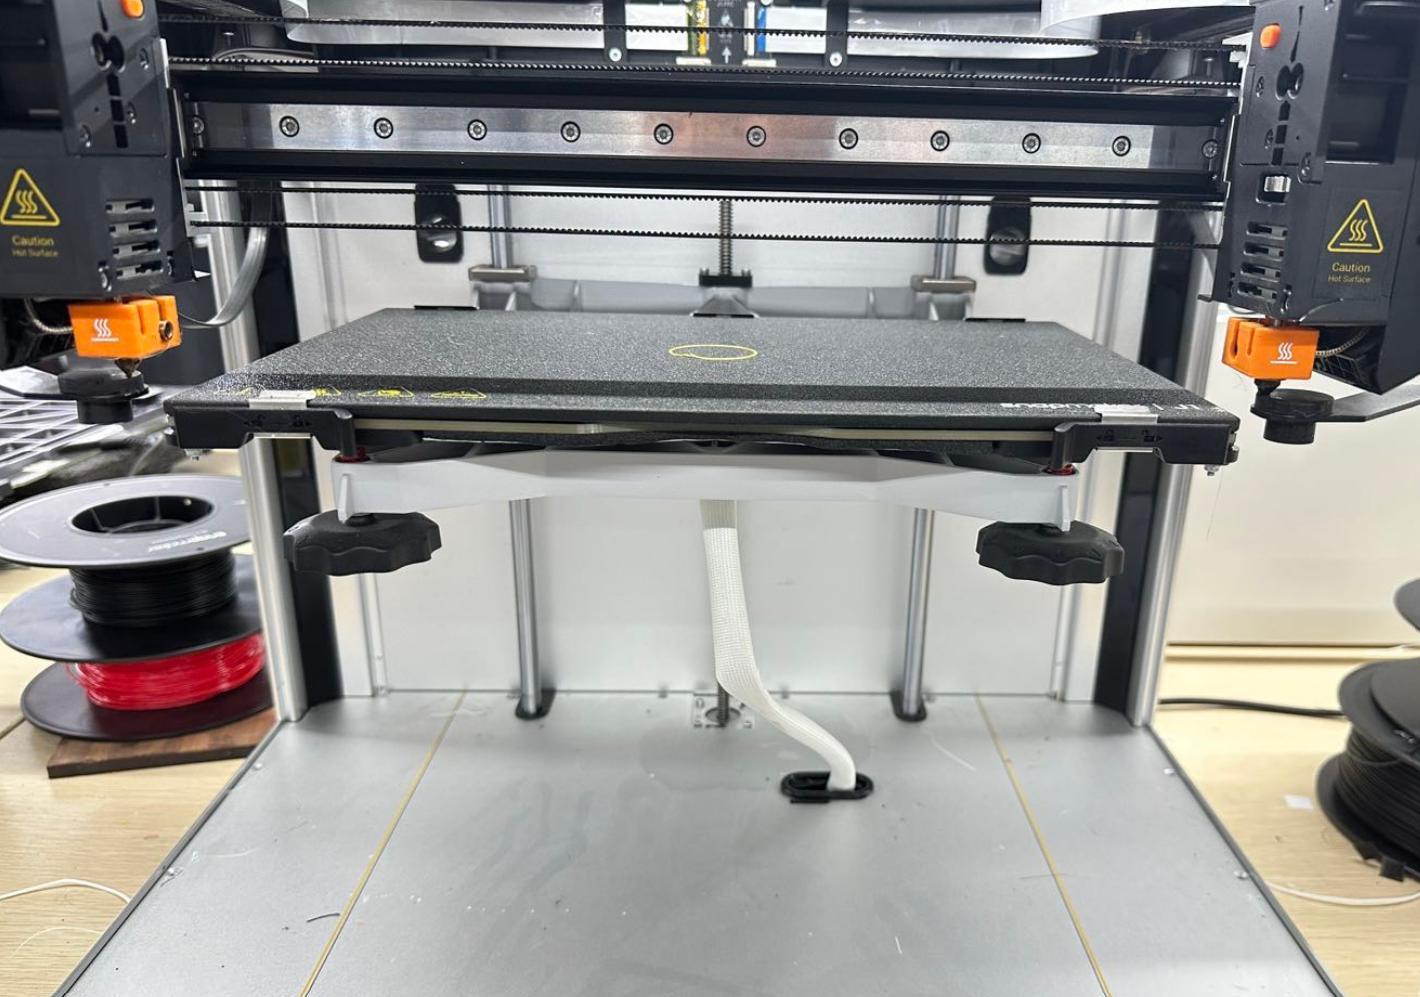
If the heated bed cannot be raised due to other reasons, please power off the machine and manually turn the lead screw clockwise to move the heated bed to the top.
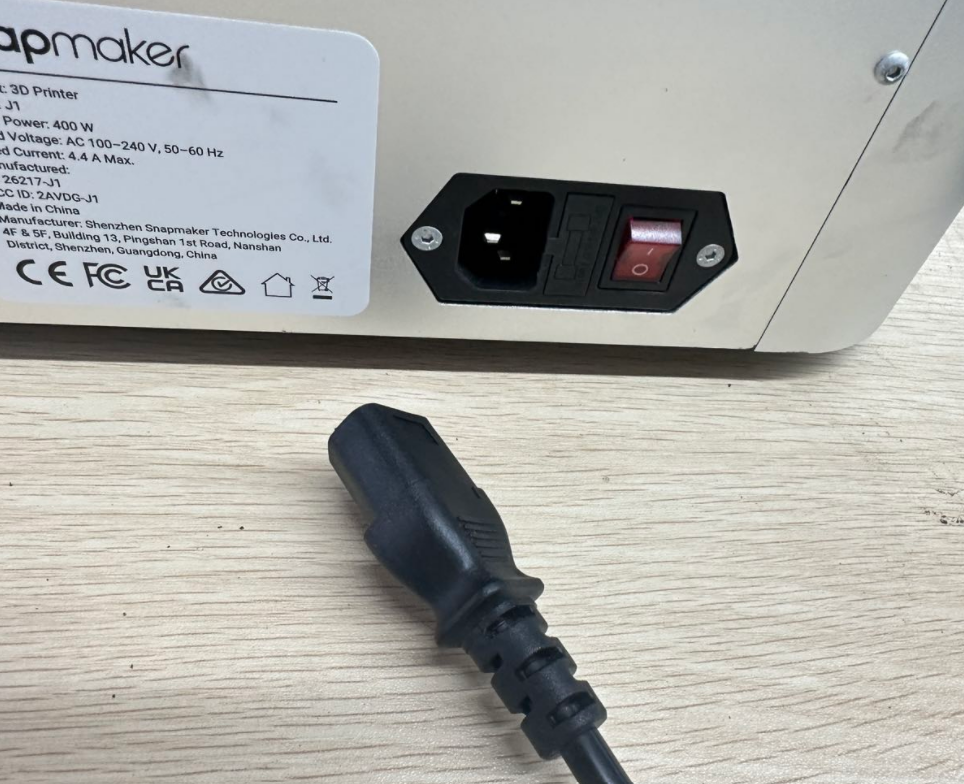
¶ Step 2 Power off and unplug the machine
¶ Step 3 Loosen screws securing the bottom cover
Use an H2.0 screwdriver to loosen the 14 screws securing the bottom cover and then take out the bottom cover.

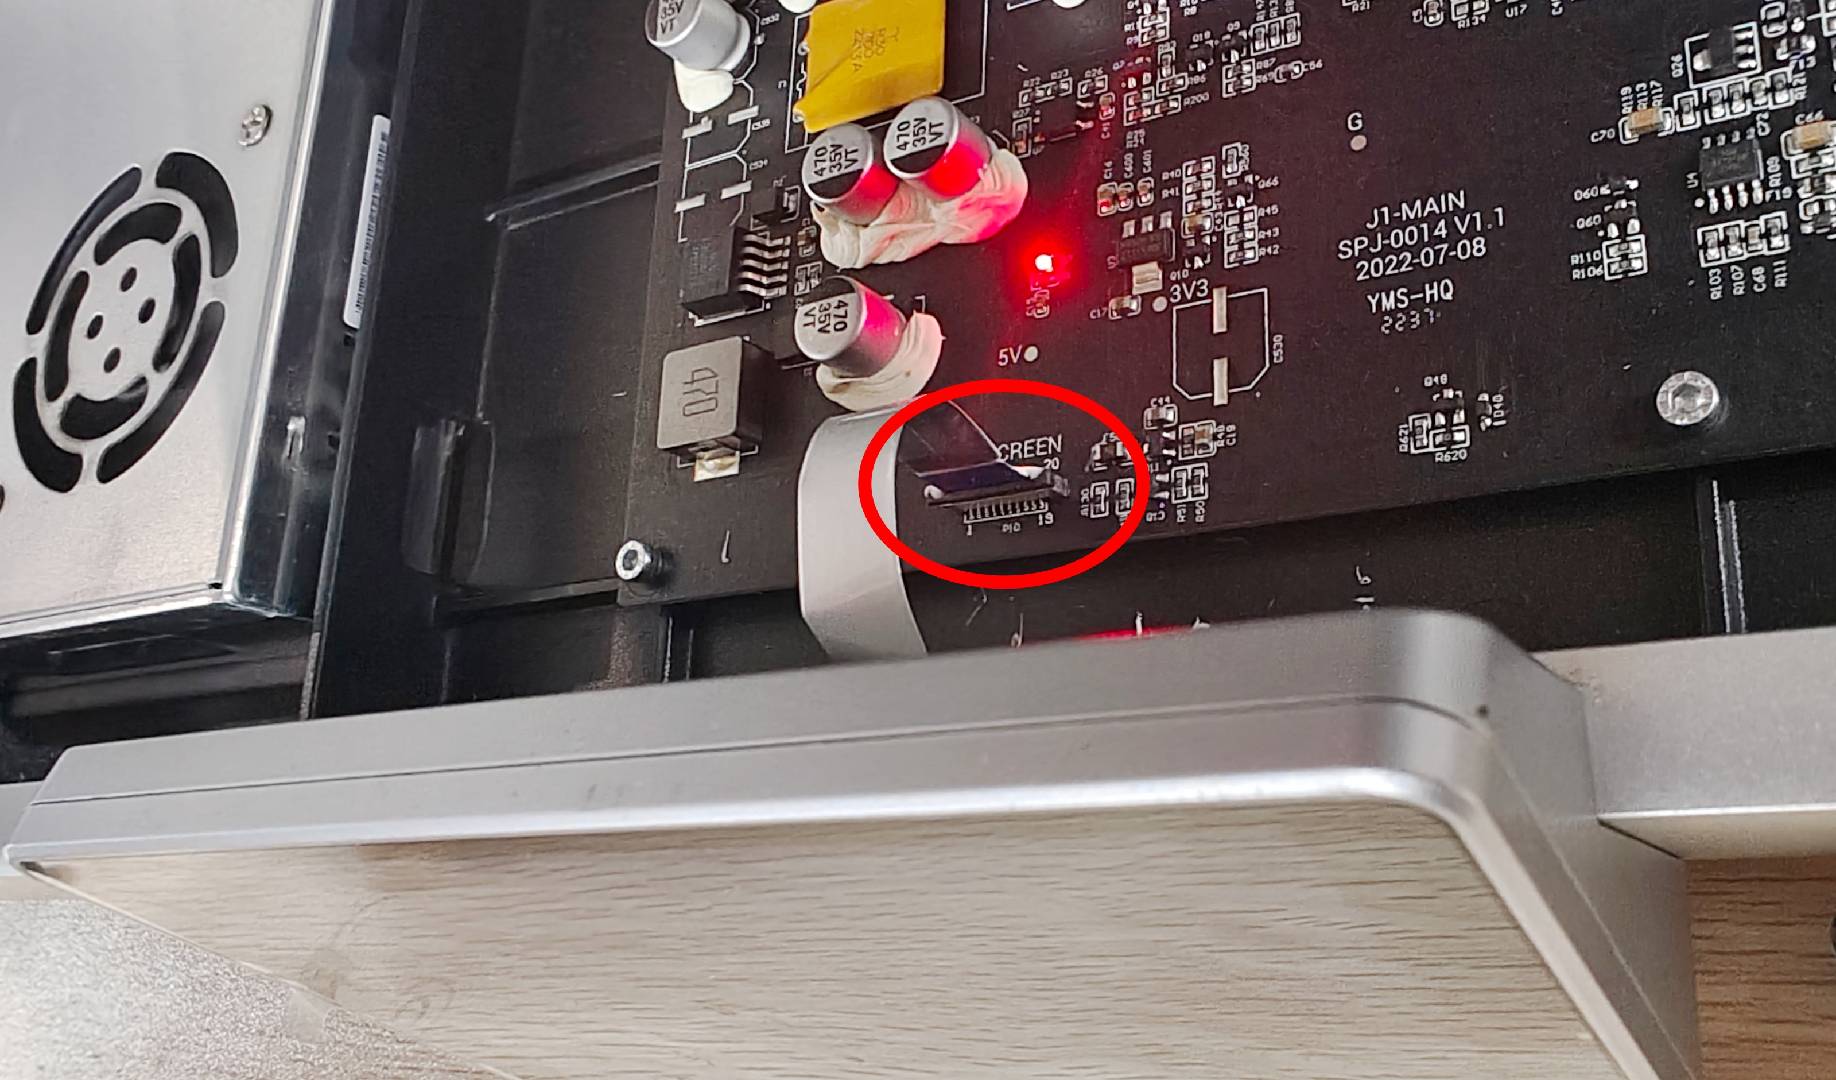
¶ Step 4 Disconnect the FFC cable connecting the touchscreen to the mainboard
Open the bottom cover and carefully disconnect the FFC cable connecting the touchscreen to the mainboard. The FFC cable is delicate, so please handle it with extra care during removal.
¶ Step 5 Loosen the four screws located at the front bottom of the machine
Use an H2.0 hex key to loosen the four screws located at the front bottom of the machine that secure the screen bracket.

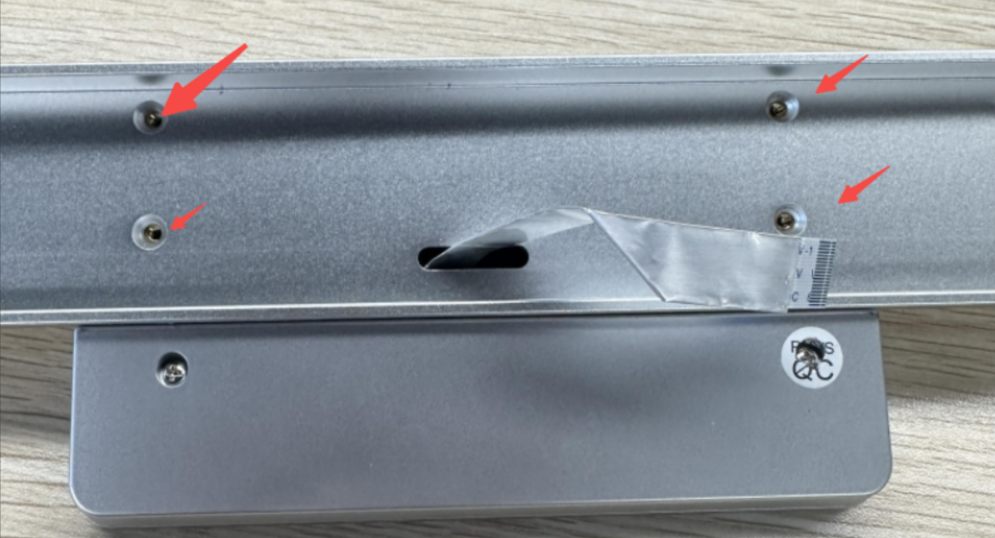
¶ Step 6 Remove the four screws securing the screen
Take out the screen assembly, then use an H1.5 screwdriver to remove the four screws securing the screen.
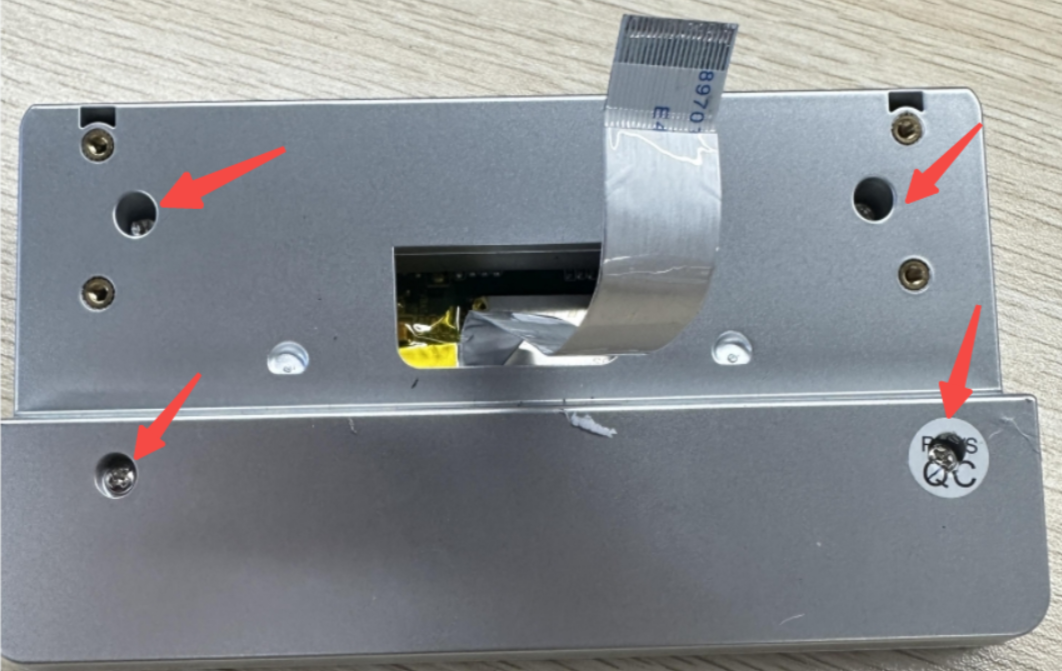
¶ Step 7 Loosen the four screws securing the screen casing
Use a Phillips screwdriver to loosen the four screws securing the screen casing.
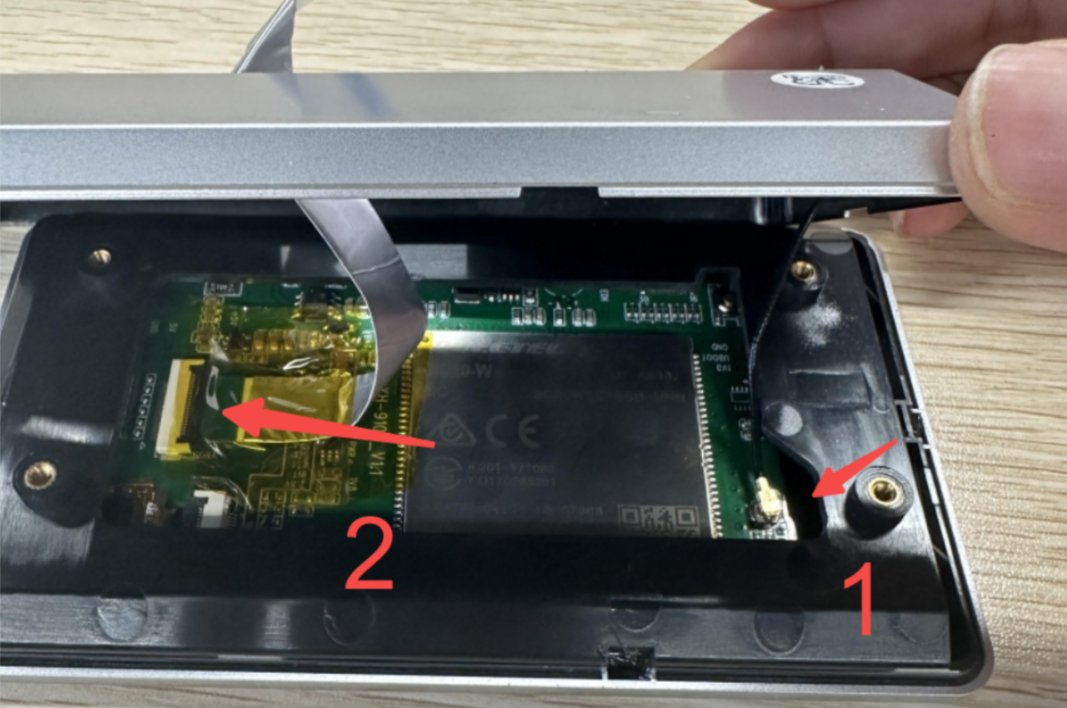
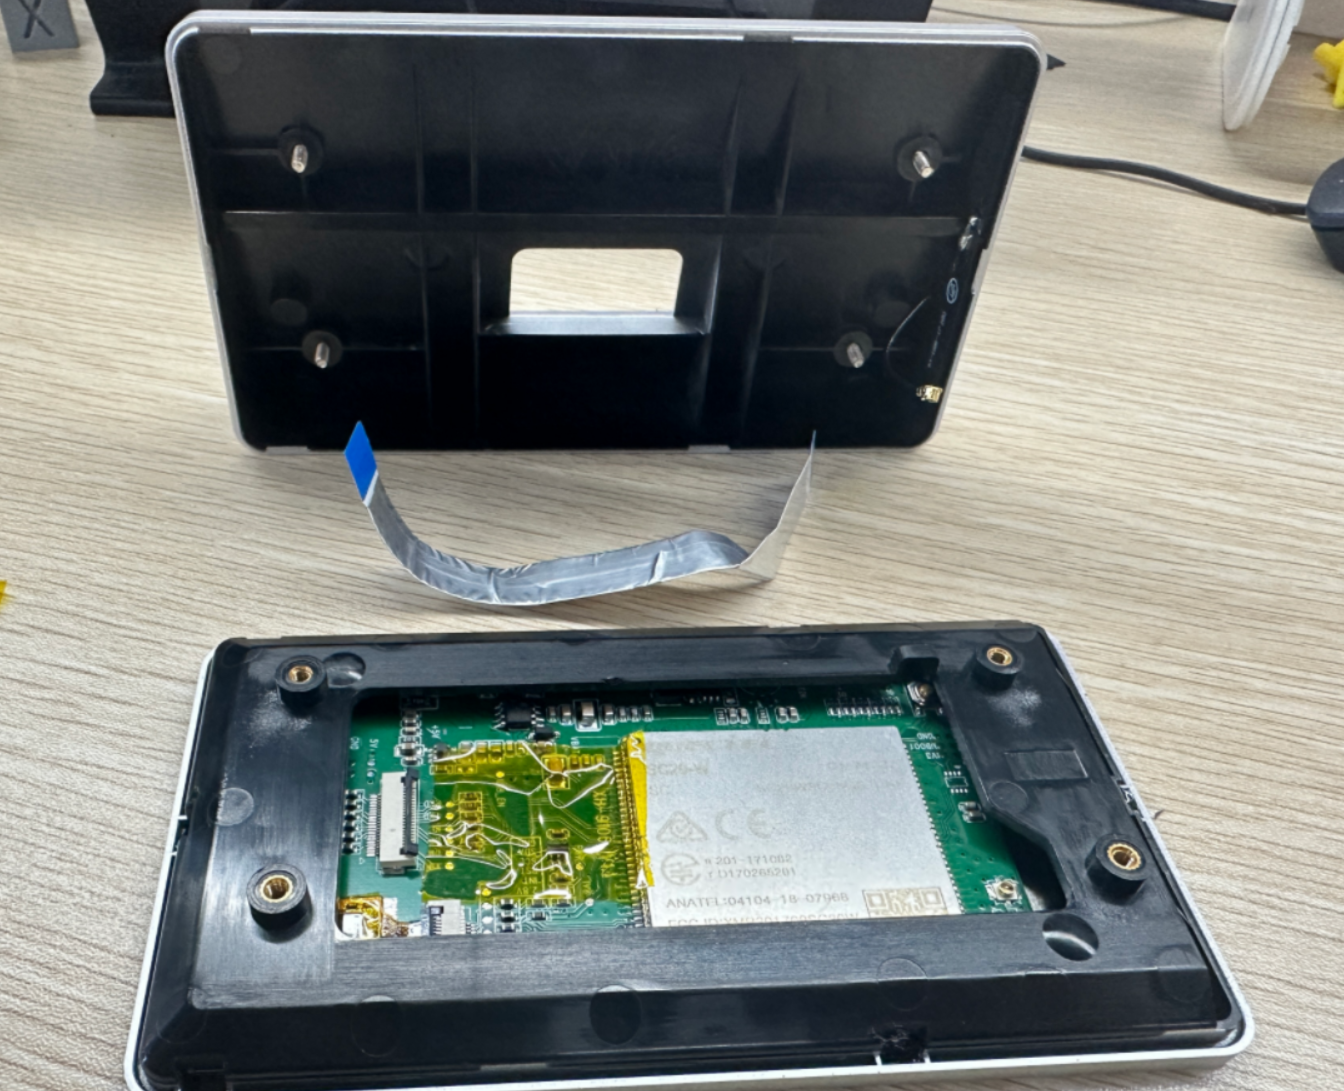
¶ Step 8 Disconnect the antenna and the screen FFC cable
Carefully and slowly open the screen casing, then disconnect the antenna and the screen FFC cable.
¶ Step 9 Install the new touchscreen
¶ Contact Support
If you encounter difficulties during the installation process and wish to seek assistance, kindly submit a support ticket through https://snapmaker.formcrafts.com/support-ticket to contact Snapmaker Support.
Our dedicated support team will be more than willing to assist you in resolving the issue.