¶ Required Tools and Materials
- H2.0 screwdriver
- New X linear rail
- Clean cloths
- Gloves
¶ Steps to Replace the X Linear Rail
¶ Step 1
Remove the top cover and pull the filament tubes out from the feeding port.
¶ Step 2
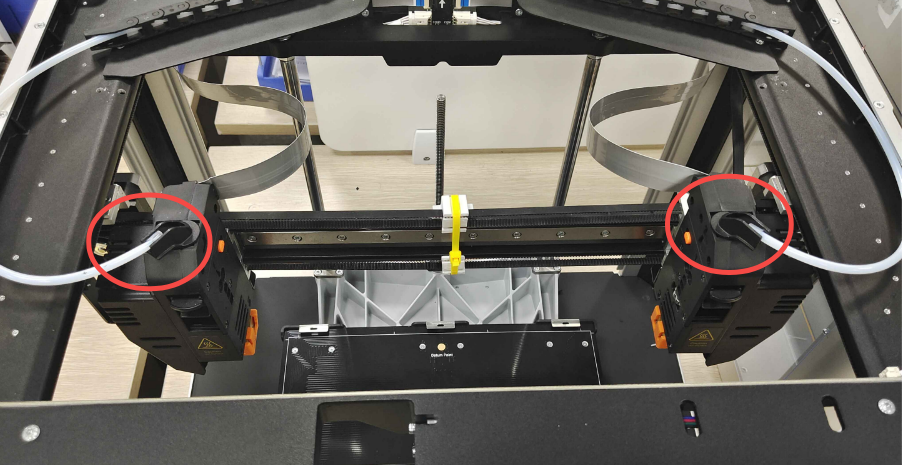
Remove the left and right print heads from the X linear rail. Use an H2.0 screwdriver to remove the four bolts on the back of the print head. Be sure to hold the print head during this process to prevent it from falling.
Please pay attention to holding the print heads during the unscrewing process to avoid the print heads falling off.
¶ Step 3
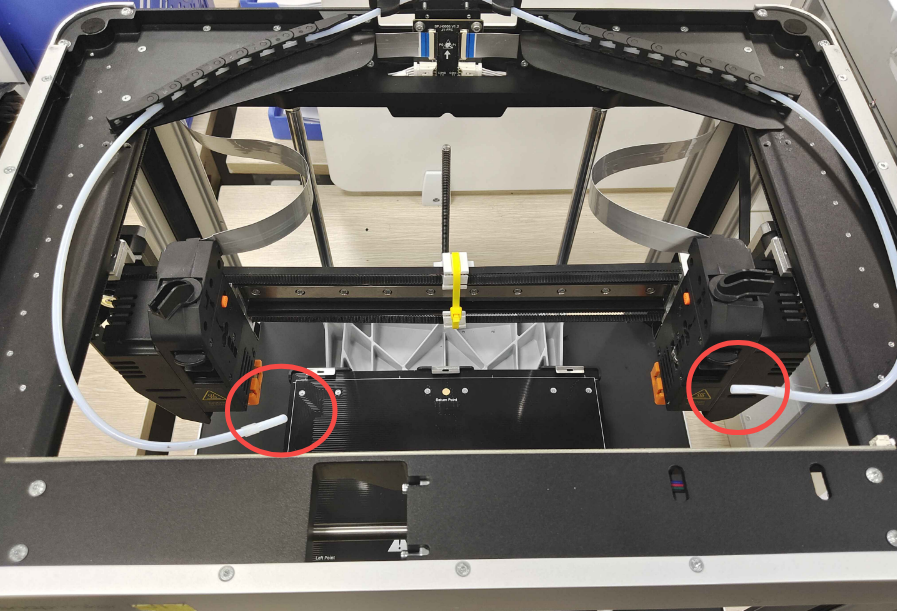
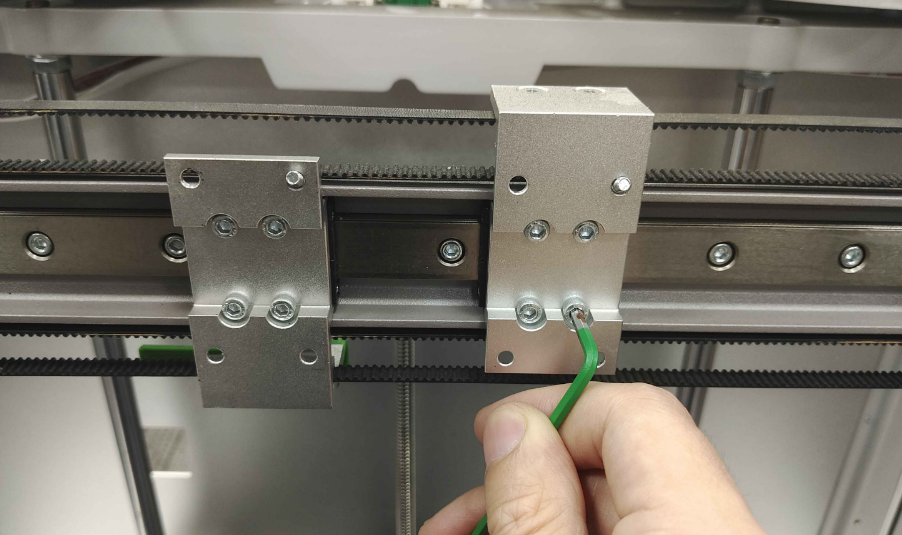
Remove the screws from the left and right printhead mounts.
¶ Step 4
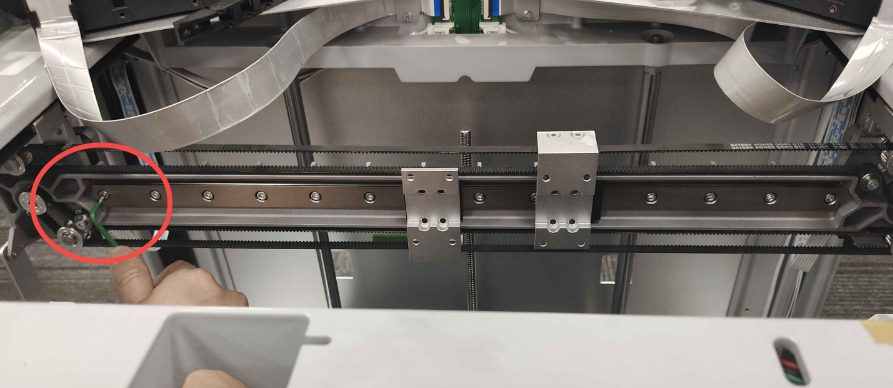
Unscrew the X linear rail and remove it from the machine.
¶ Step 5
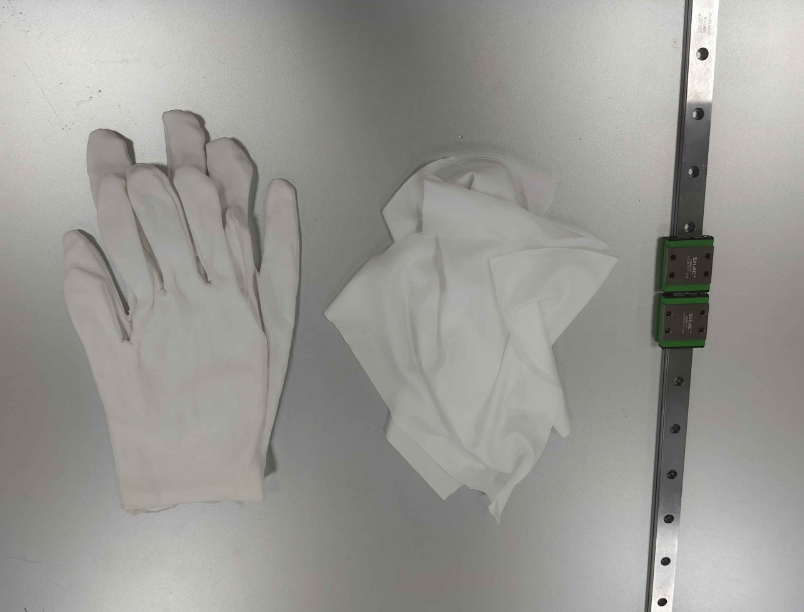
Prepare the following tools:
- New X linear rail
- Clean cloths
- Gloves
¶ Step 6
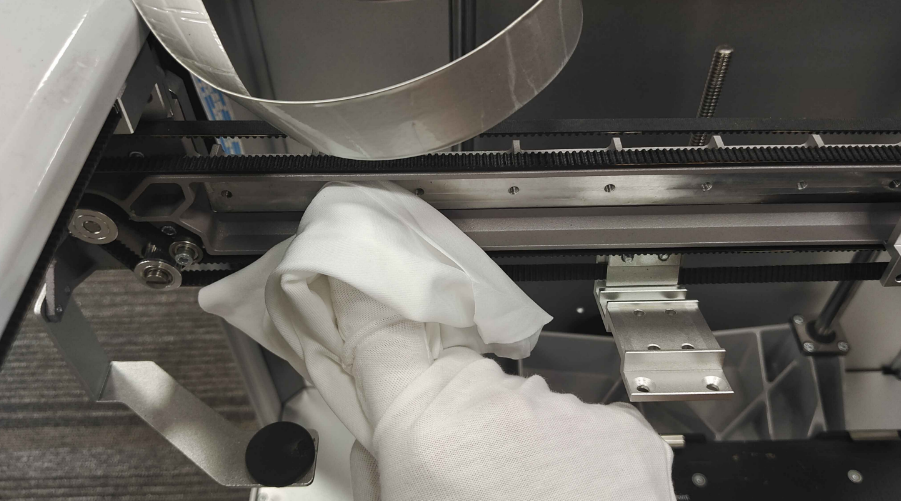
Use a clean cloth to wipe down the bracket where the X linear rail is placed on the machine.
¶ Step 7
Wipe the grease off the new X linear rail with a clean cloth.
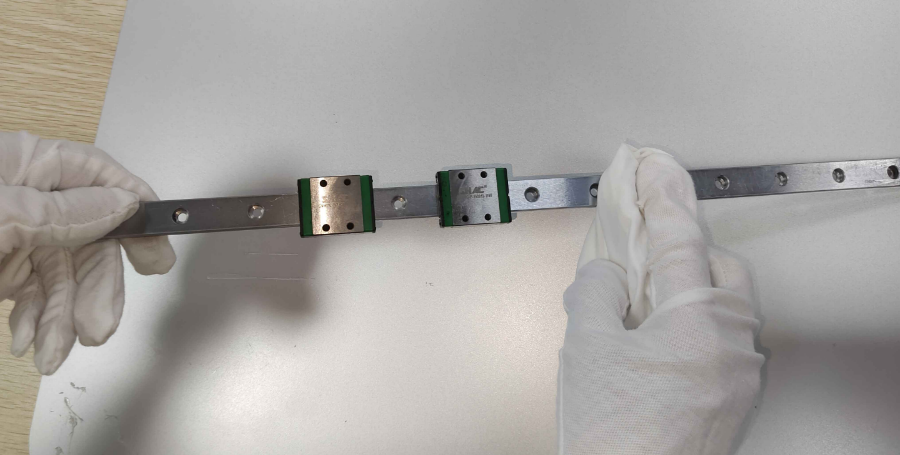
Gloves must be worn to perform this step.
¶ Step 8
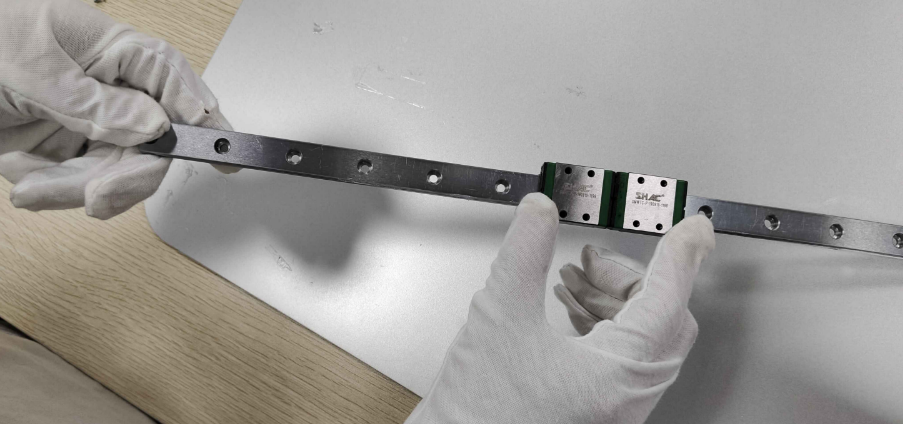
Apply white lithium-based grease to the new X linear rail, then slide the linear rail back and forth 2-3 times after applying the grease.

¶ Step 9
Install the new X linear rail into the bracket, tighten the screws, but do not fully lock them.

Gloves must be worn to perform this step.
¶ Step 10
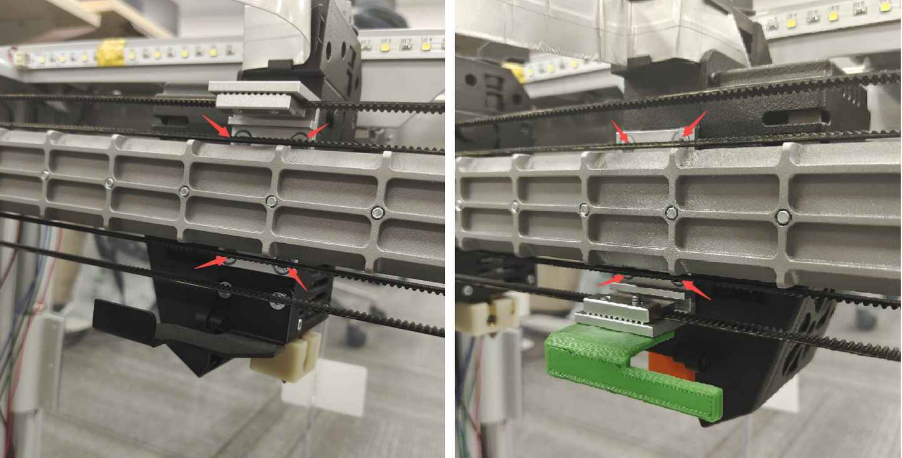
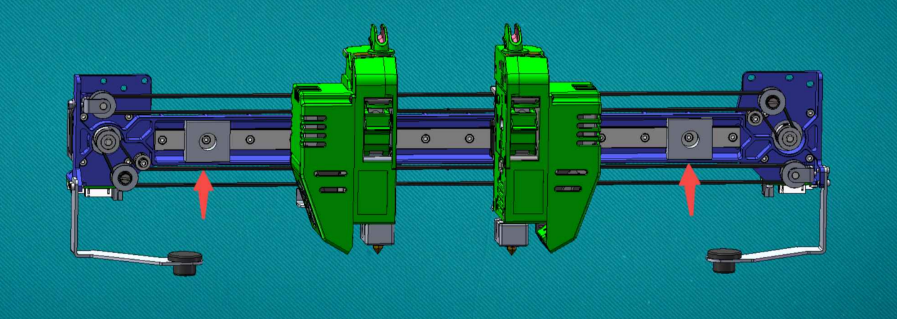
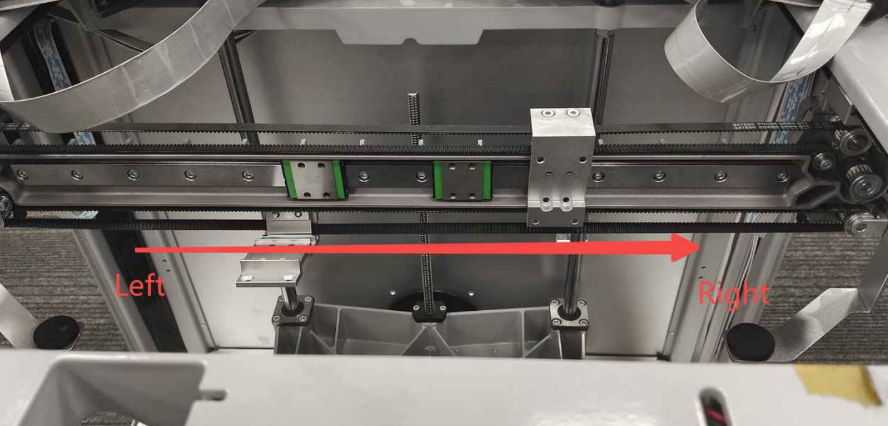
Print out the J1 Linear Rail Installer and use it to ensure the correct upper and lower positioning of the new linear rail in the bracket, as shown below. Fully tighten the bolts from left to right, with a recommended torque of approximately 1 N·m.
Downlaod the J1 Linear Rail Installer from HERE:
¶ Step 11
Install the print head mounts, tighten the bolts, and use a torque of approximately 1 N·m as recommended.
¶ Step 12
Install the print heads, tighten the bolts, and use a torque of approximately 0.6 N·m as recommended.

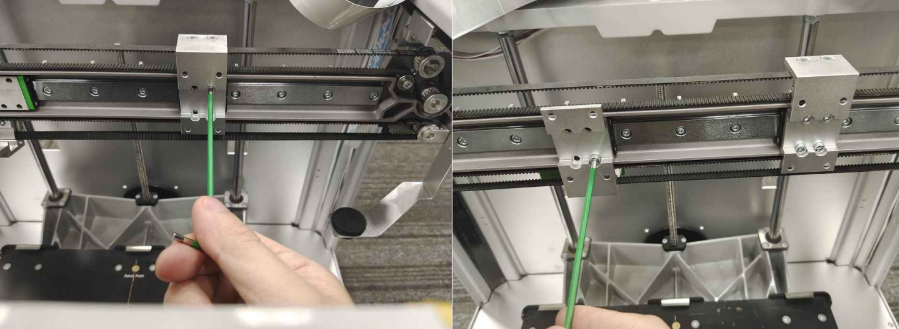
¶ Step 13
Insert the filament tube back into the feeding port to complete the replacement.