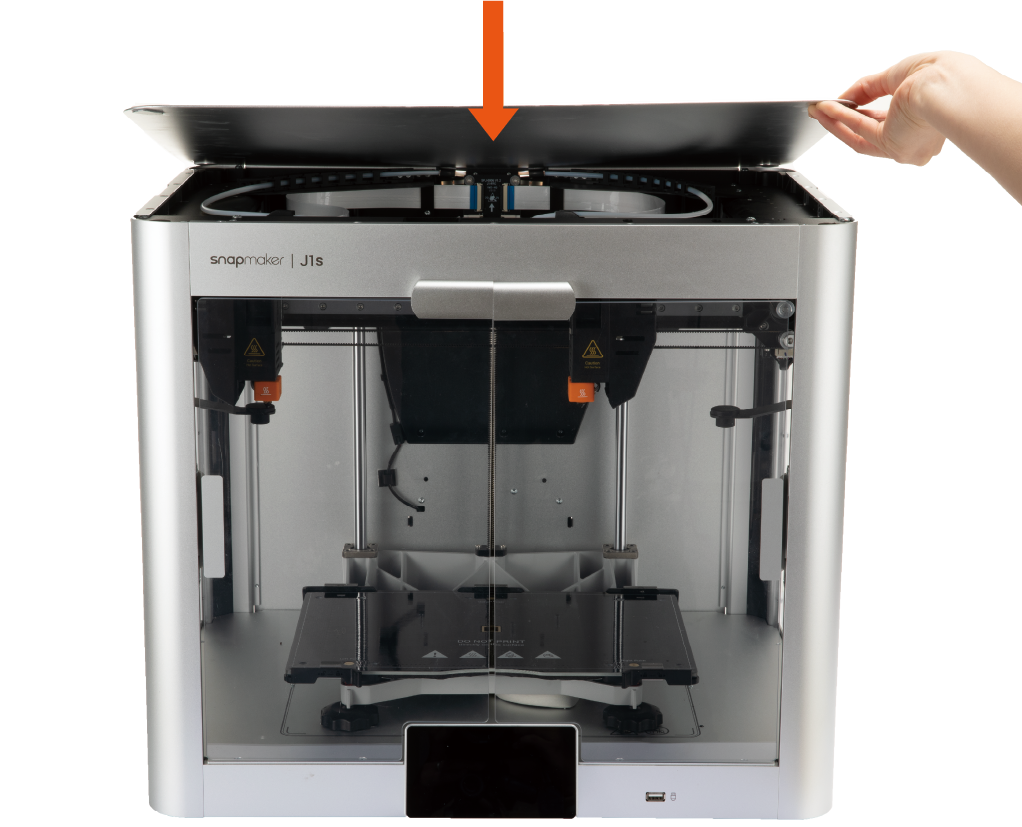
The following steps for replacing high-speed hot end fan and hot end fan duct are illustrated based on the right extruder. Note that all steps are applicable to the left extruder.
¶ Before You Start
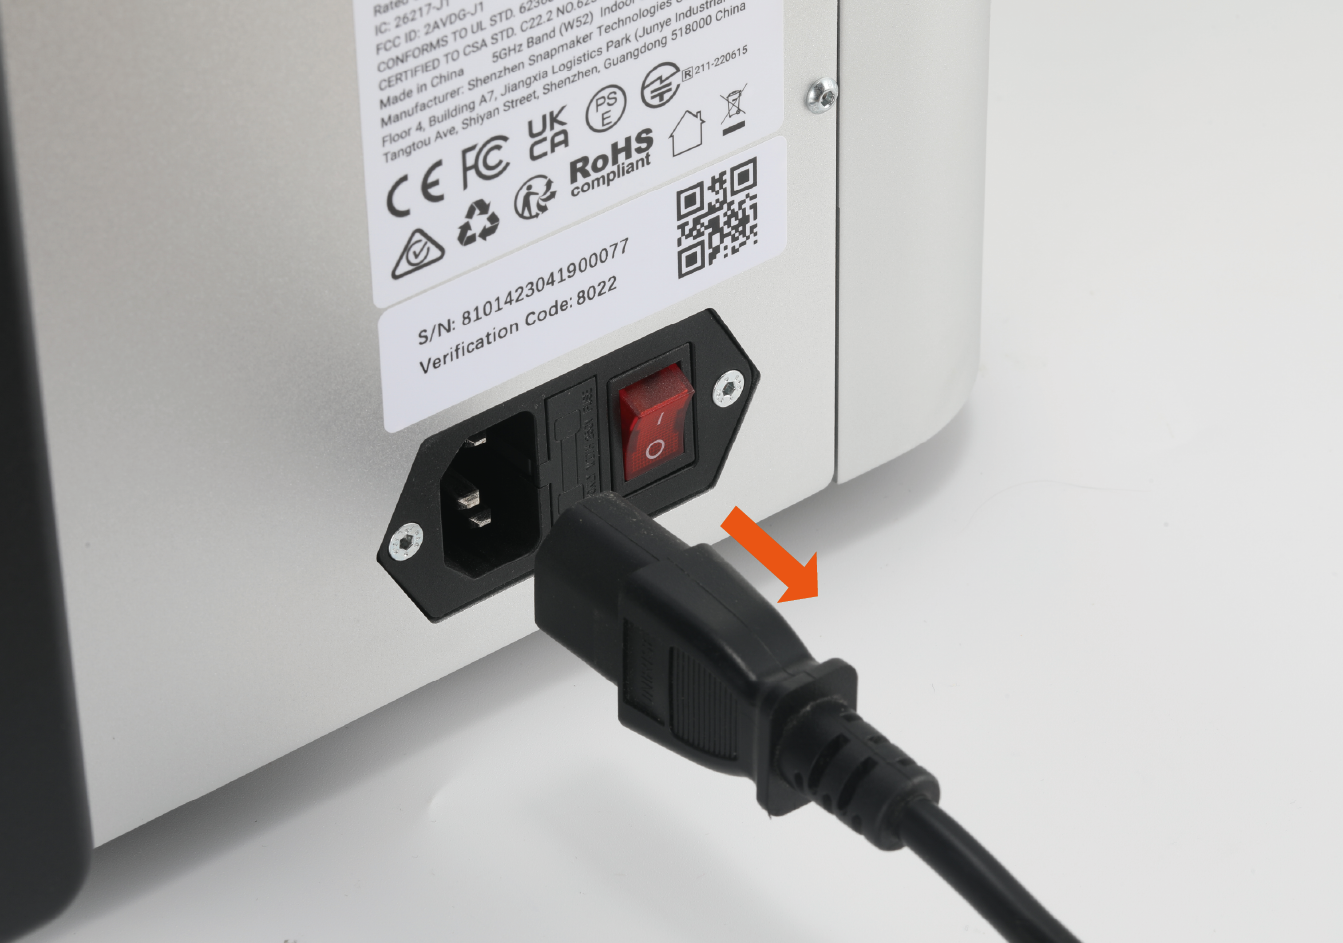
Please turn off the power switch, and unplug the power cable.
¶ Parts List
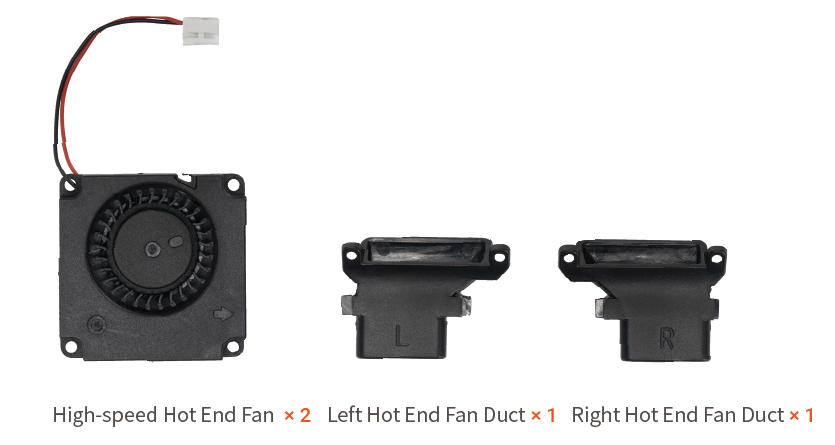
In the box, there are two hot end fan ducts. The left hot end fan duct, marked with "L", is for the left extruder; while the right hot end fan duct, marked with "R", is for the right extruder.
¶ Tools & Accessories Required
- PH1 Phillips Screwdriver ×1(not provided)
- Tweezer ×1(provided in the toolbox that comes with your J1/J1s machine)
¶ Procedures
Make sure the pointed part is facing the right way when you see the symbol
.
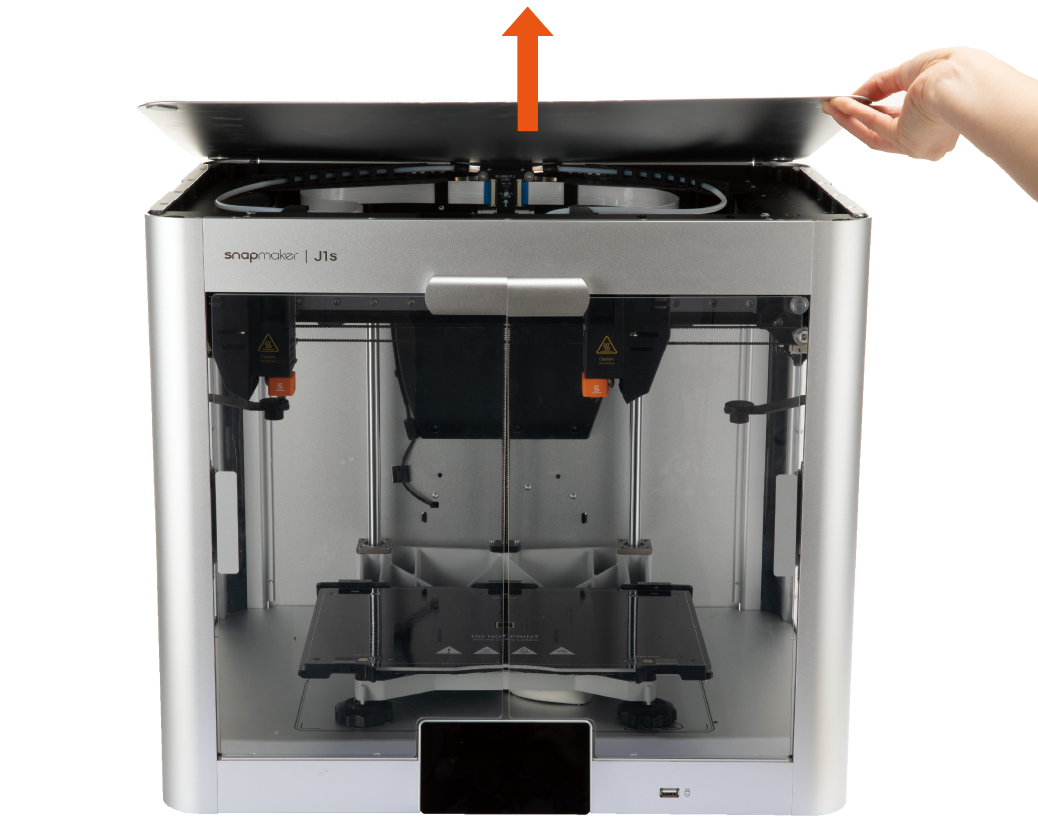
- Remove the top panel.
- Move the right extruder to a proper place.
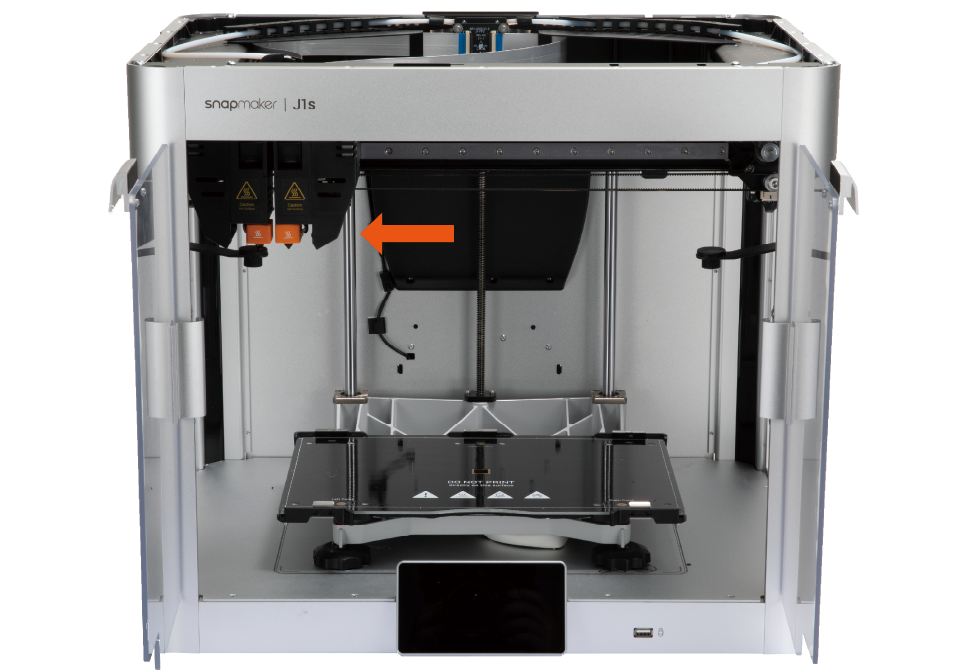
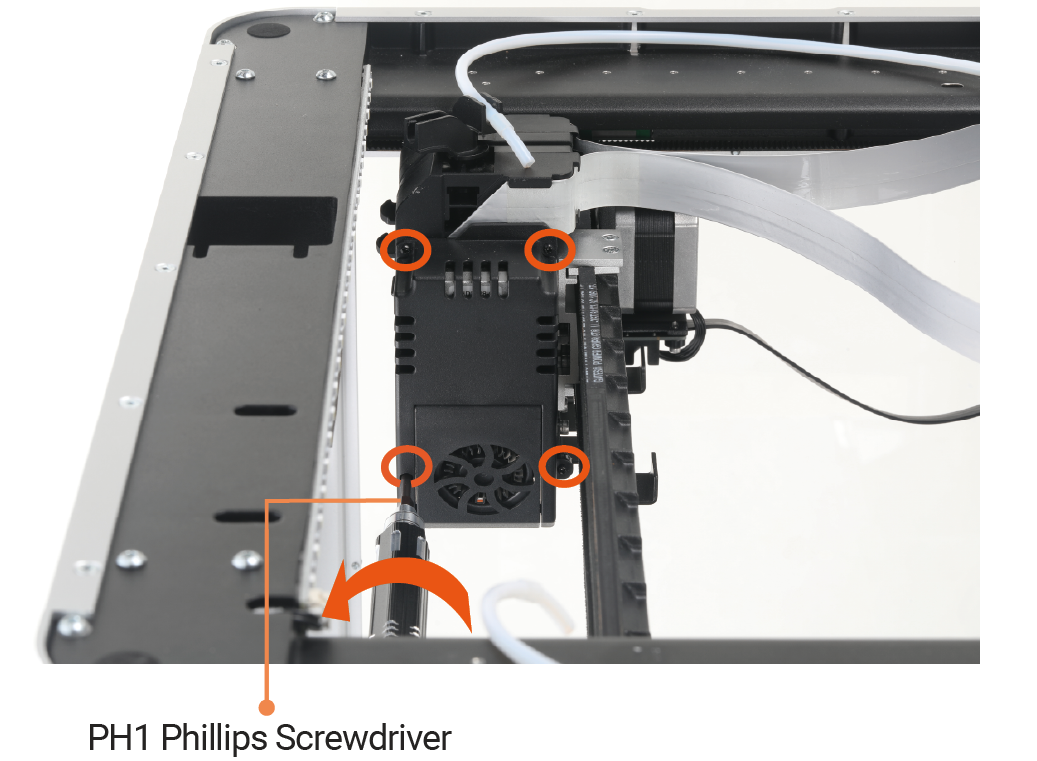
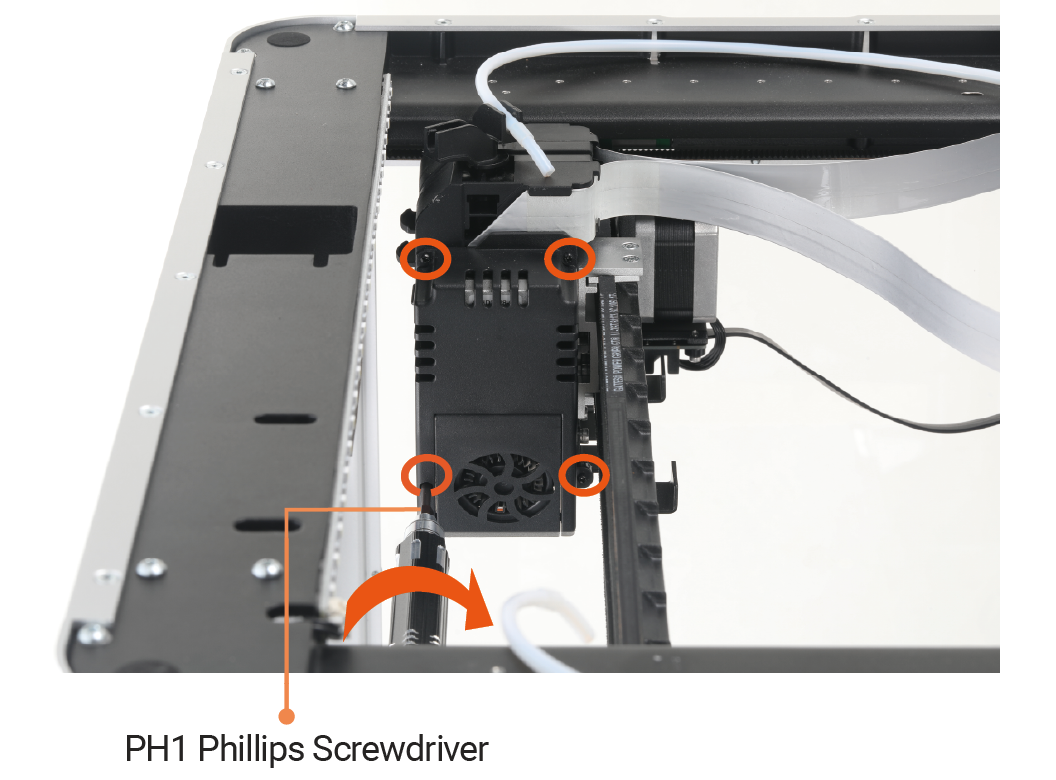
- Remove the four screws on the outer casing of the right extruder.
- Gently separate the extruder outer casing. The extruder outer casing can only be removed in step 6.
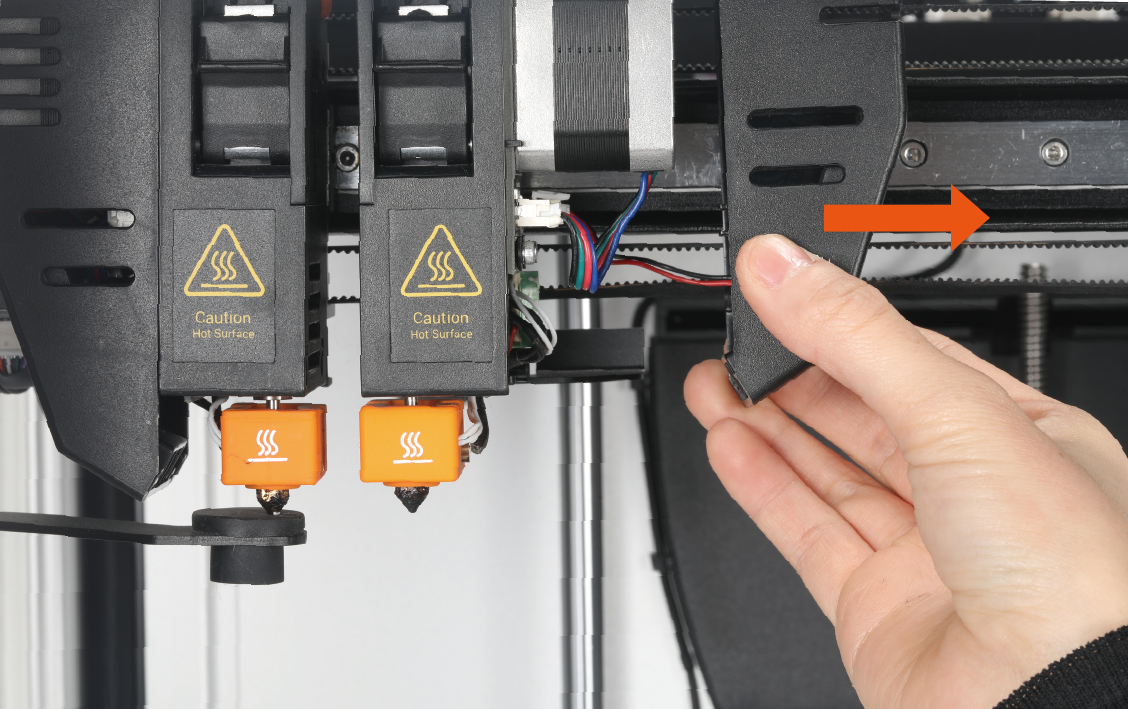
Since the fan cord is still connected to the circuit board and it is quite short, please be careful when separating the extruder outer casing, and avoid using excessive force to prevent damage to the circuit board or the extruder.
- (Optional) Use the tweezer to remove the adhesives around the fan connector.
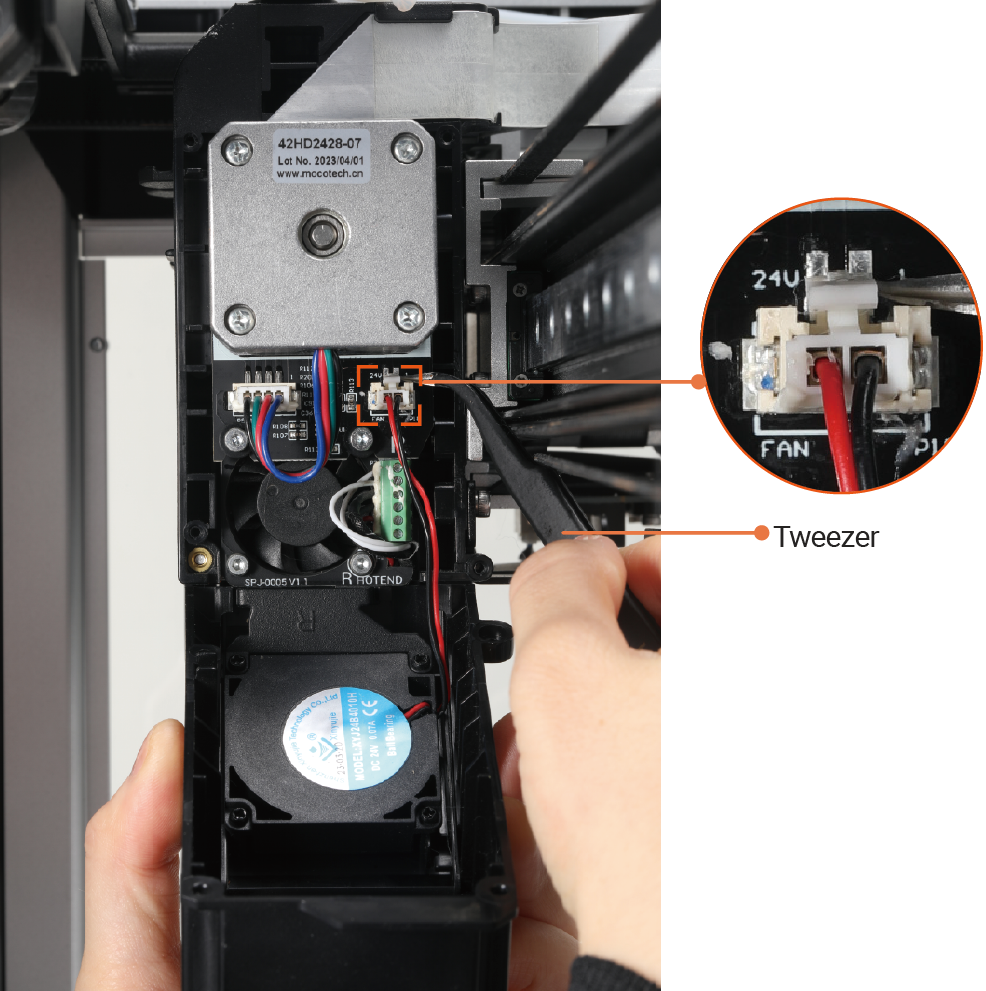
To prevent the fan connector from loosening, we have applied some solid glue around the connector during assembly. If there is no obvious adhesive found on your machine, you can skip this step.
For easier observation, you can bend down a bit.
Be careful to avoid damaging the circuit board.
- Press the latch on the connector to unplug the fan.
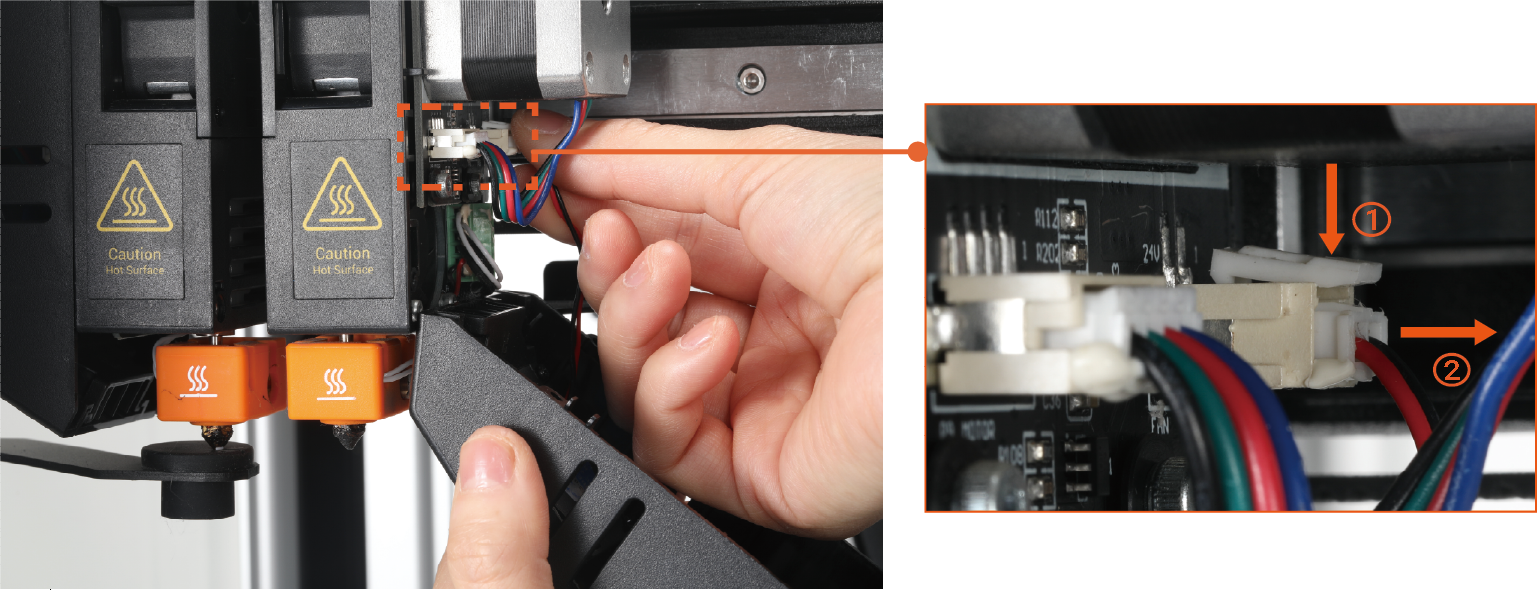
For easier observation, you can bend down a bit.
Be careful to avoid damaging the circuit board.
- Remove the four screws on the fan.
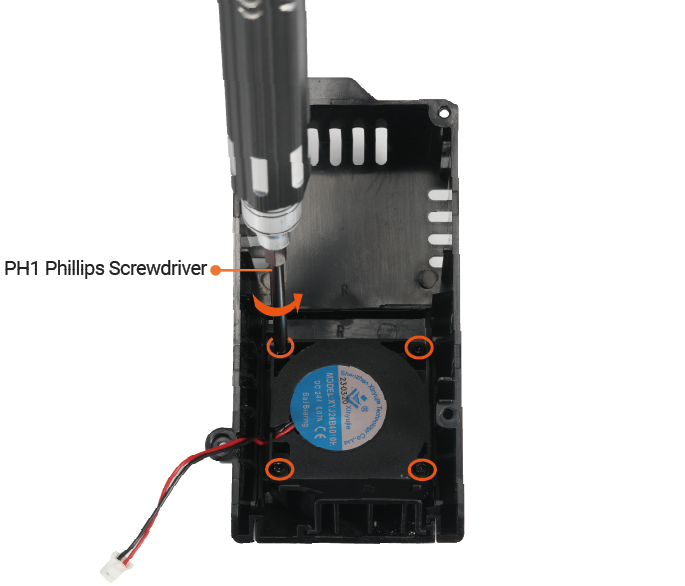
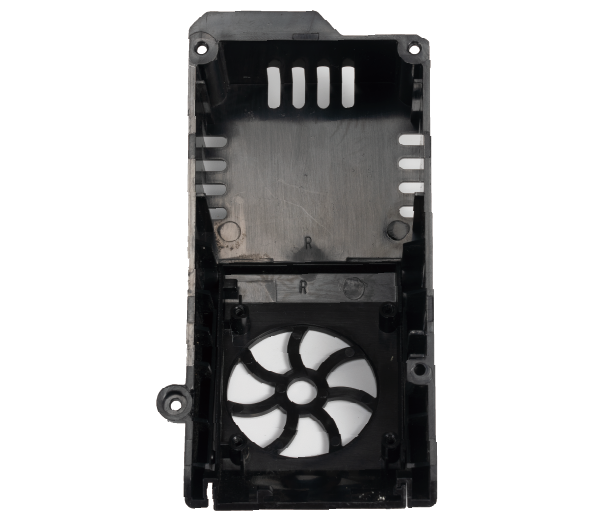
- Remove the fan and fan duct.
- Place the high-speed hot end fan onto the extruder outer casing, then place the right hot end fan duct under it.
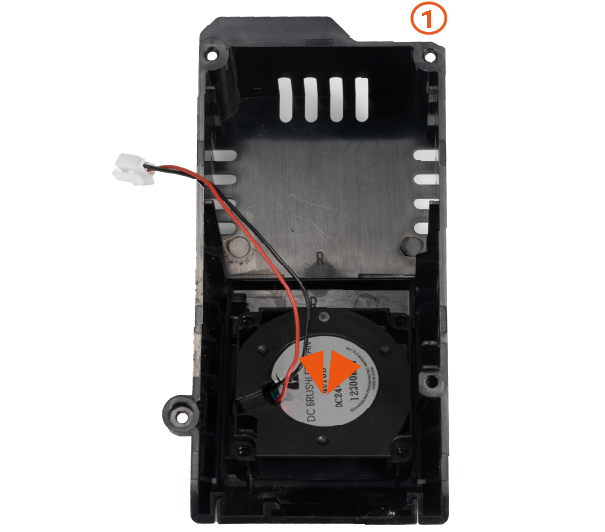
When installing the high-speed hot end fan, please ensure that the air outlet is facing downwards.
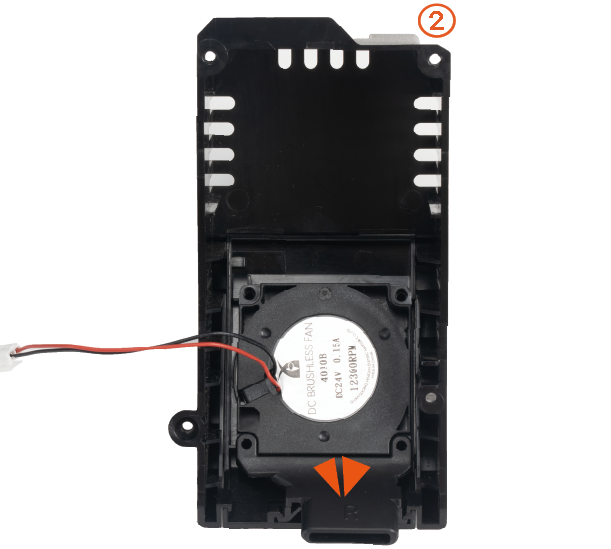
The right hot end fan duct is marked with "R"; while the left hot end fan duct is marked with "L".
- Attach the high-speed hot end fan and hot end fan duct to the extruder outer casing.
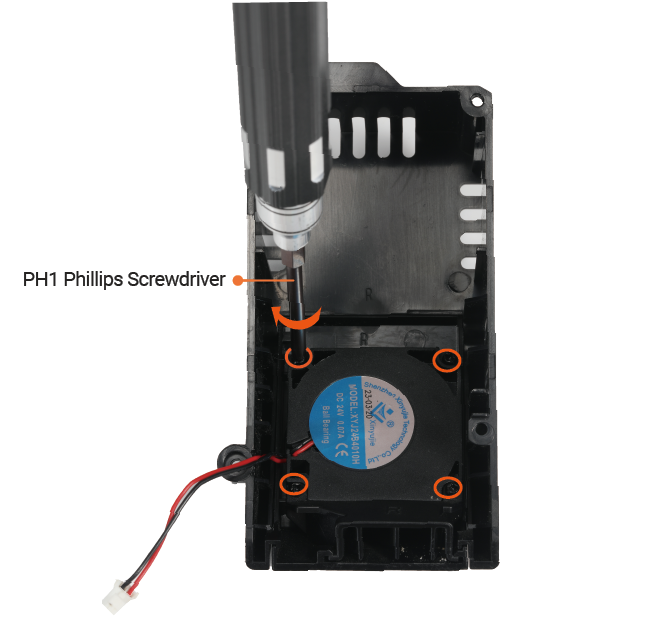
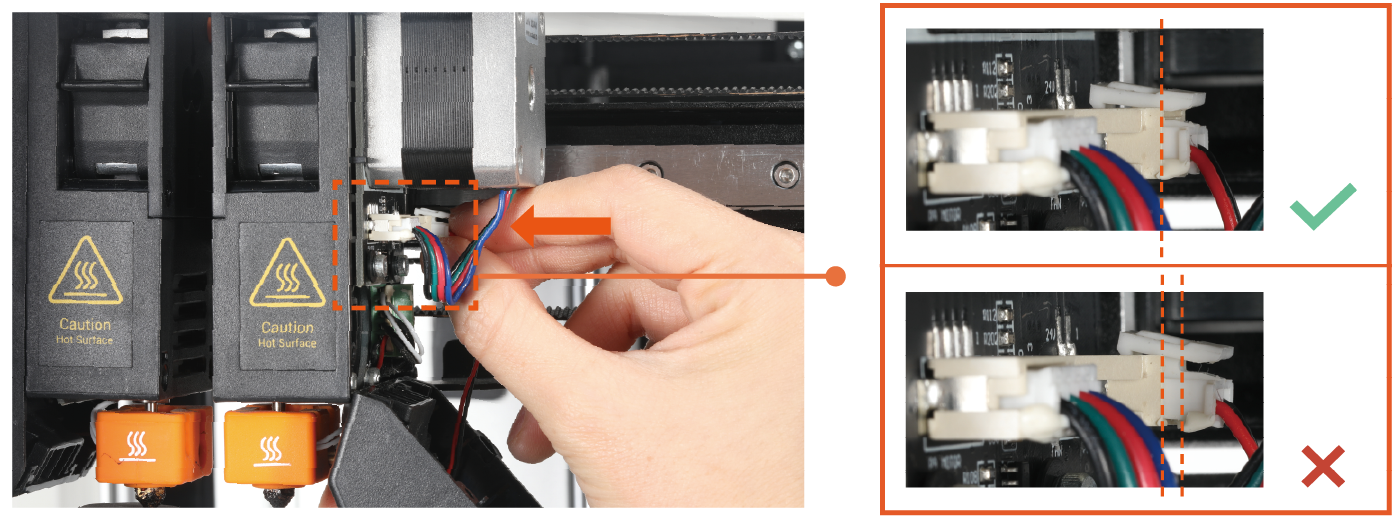
- Plug the high-speed hot end fan connetor into the circuit board. Make sure that the connector is properly plugged in.
- Attach the outer casing to the extruder.
- Put the top panel back.
