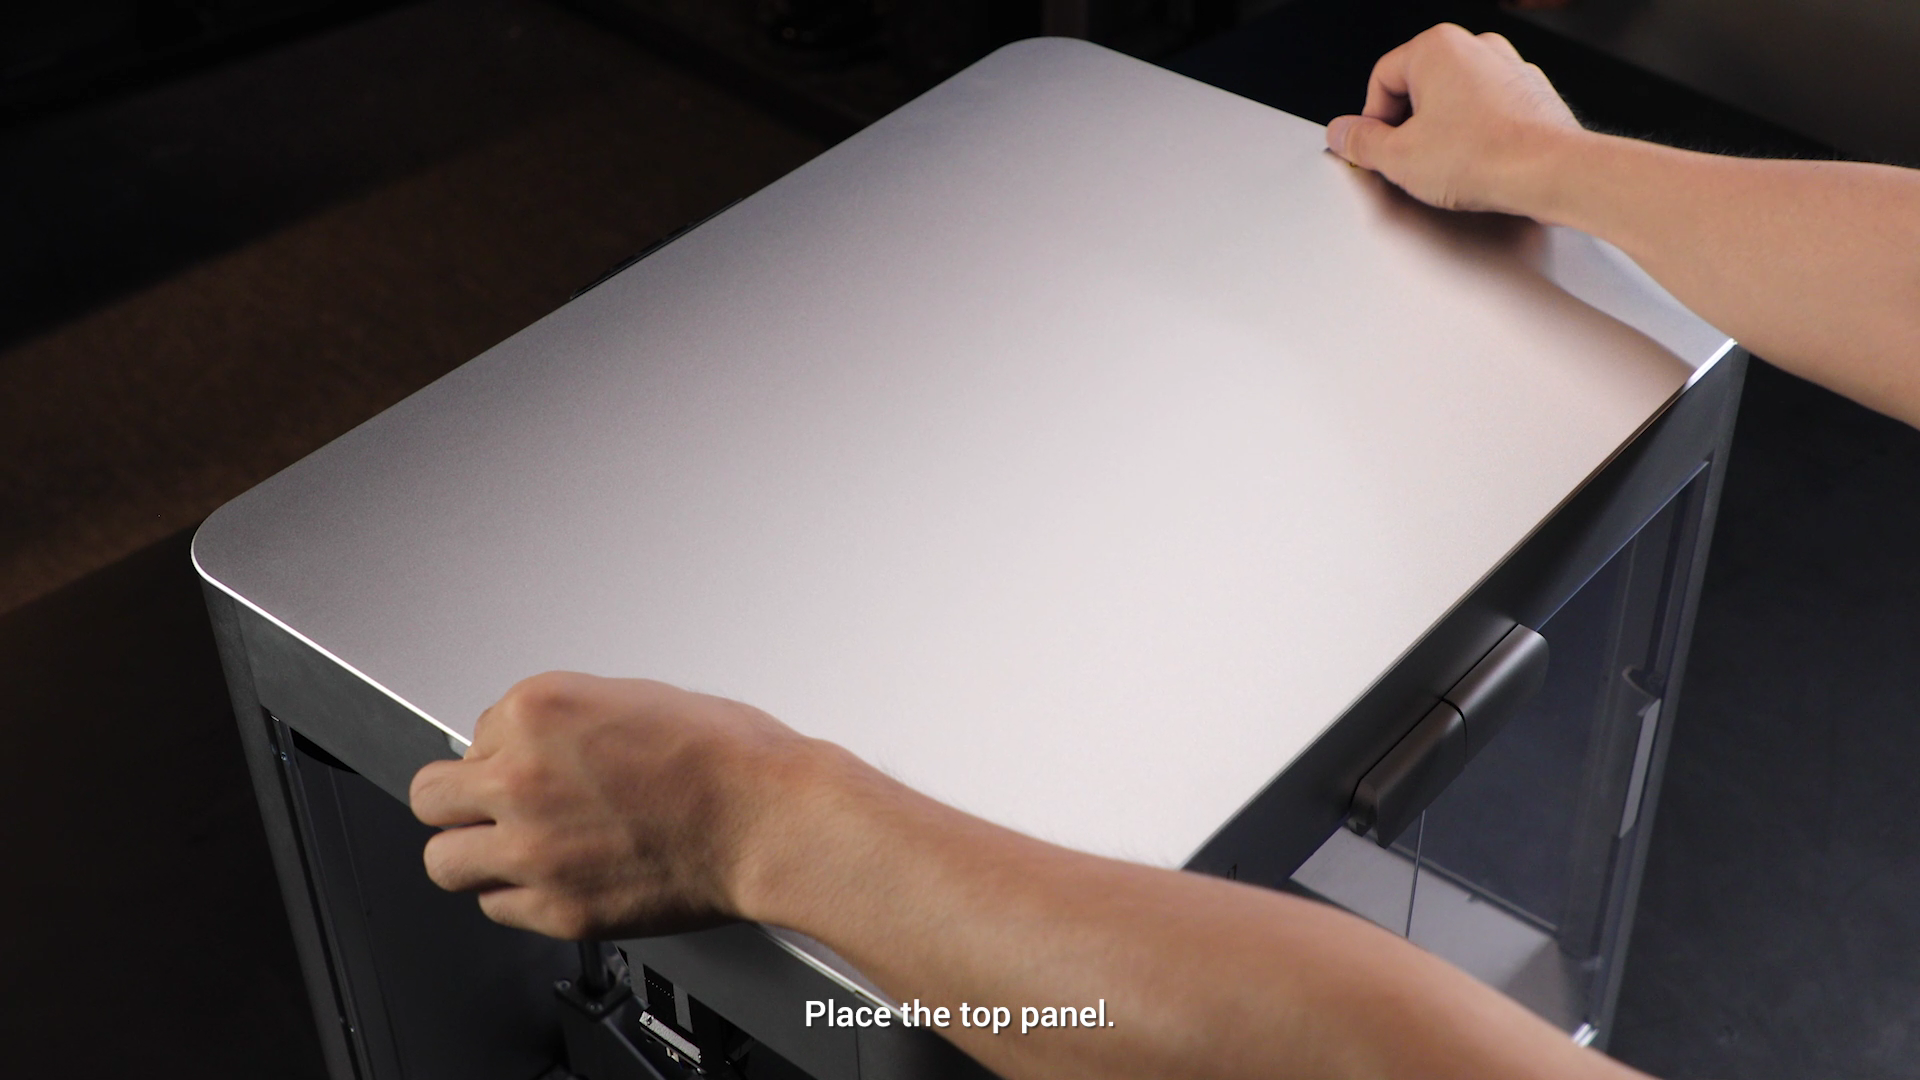
To complete the assembly, you can either watch the video tutorial (https://www.youtube.com/watch?v=X3tj_Lr9Zzc) or follow the instructions below.
¶ Unloading Filament
If the extruder is already loaded with filament, follow these steps to unload the filament.
-
Turn on the printer.
-
Tap Control > Extruder, slide to set the target temperature, and then tap Heat.
Each type of filament requires a different heating temperature. It is recommended to consult the information provided by the filament manufacturer for more detailed instructions.
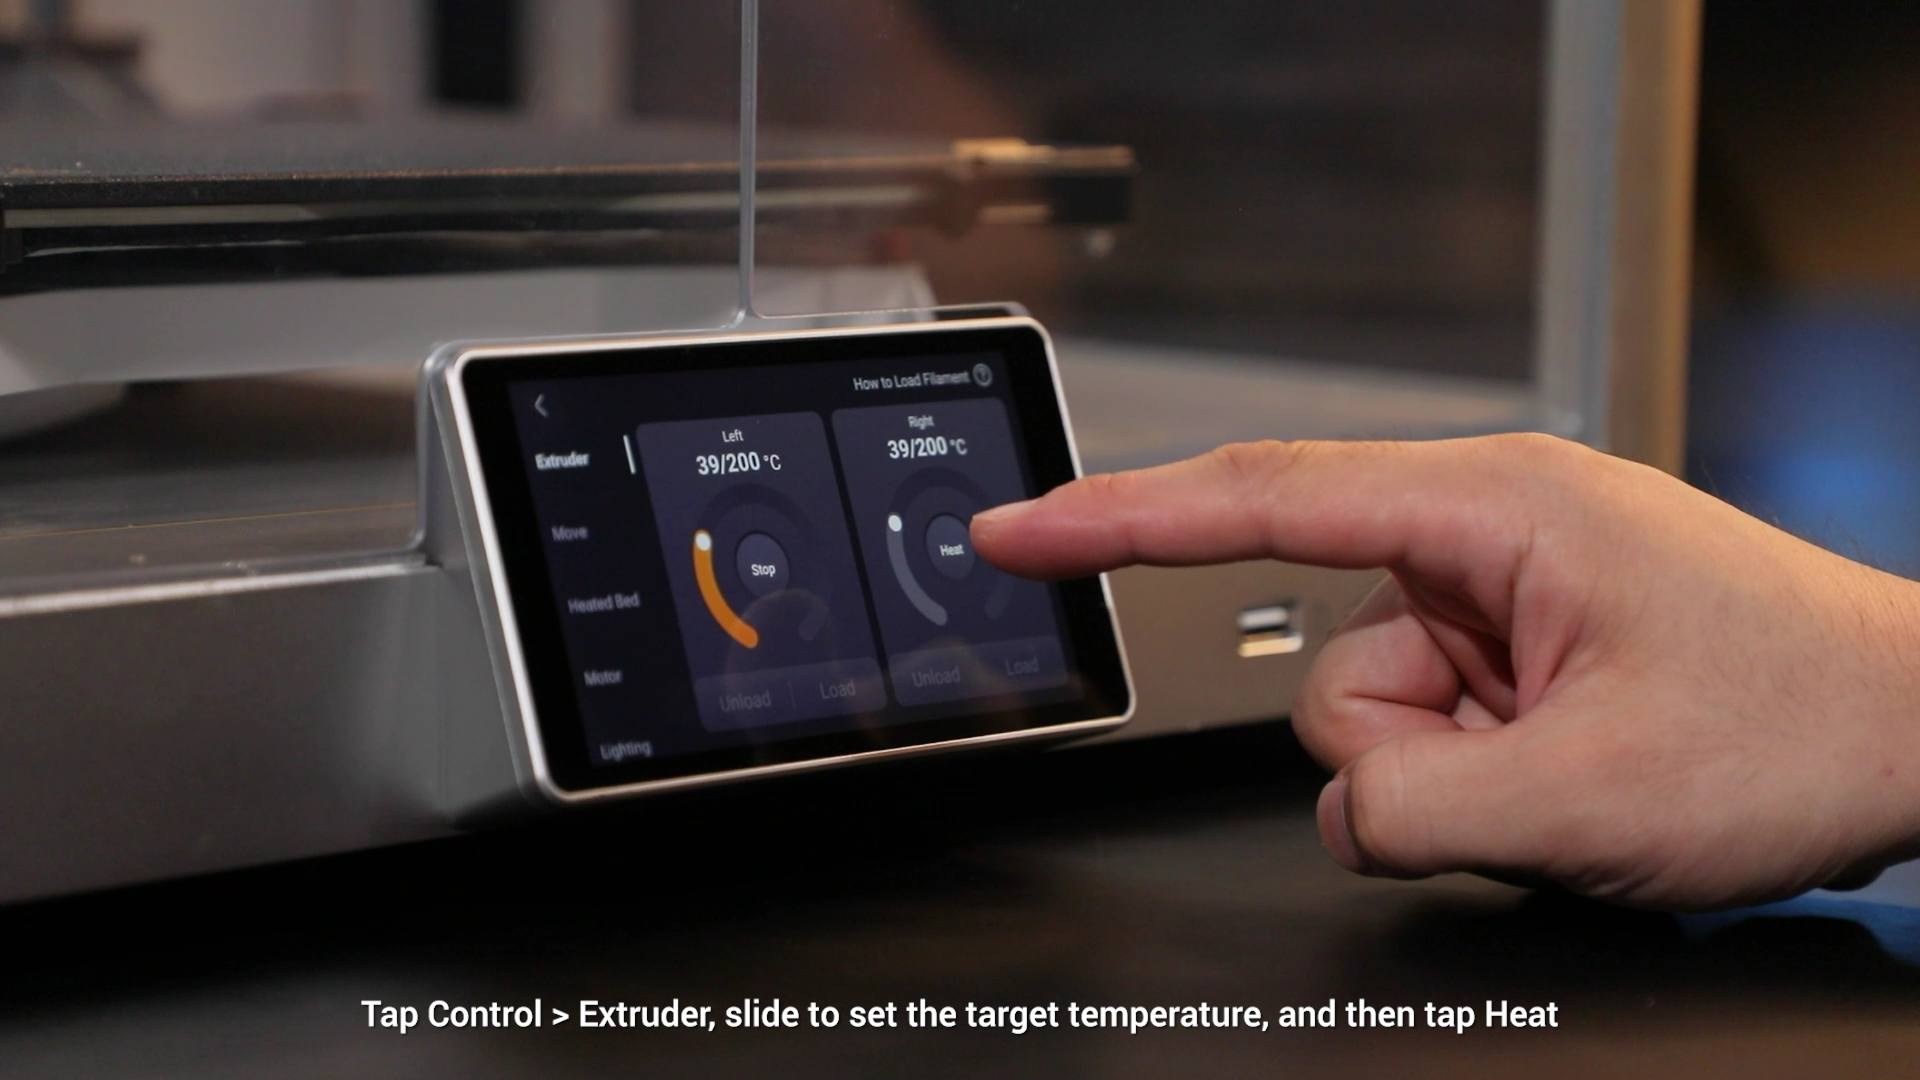
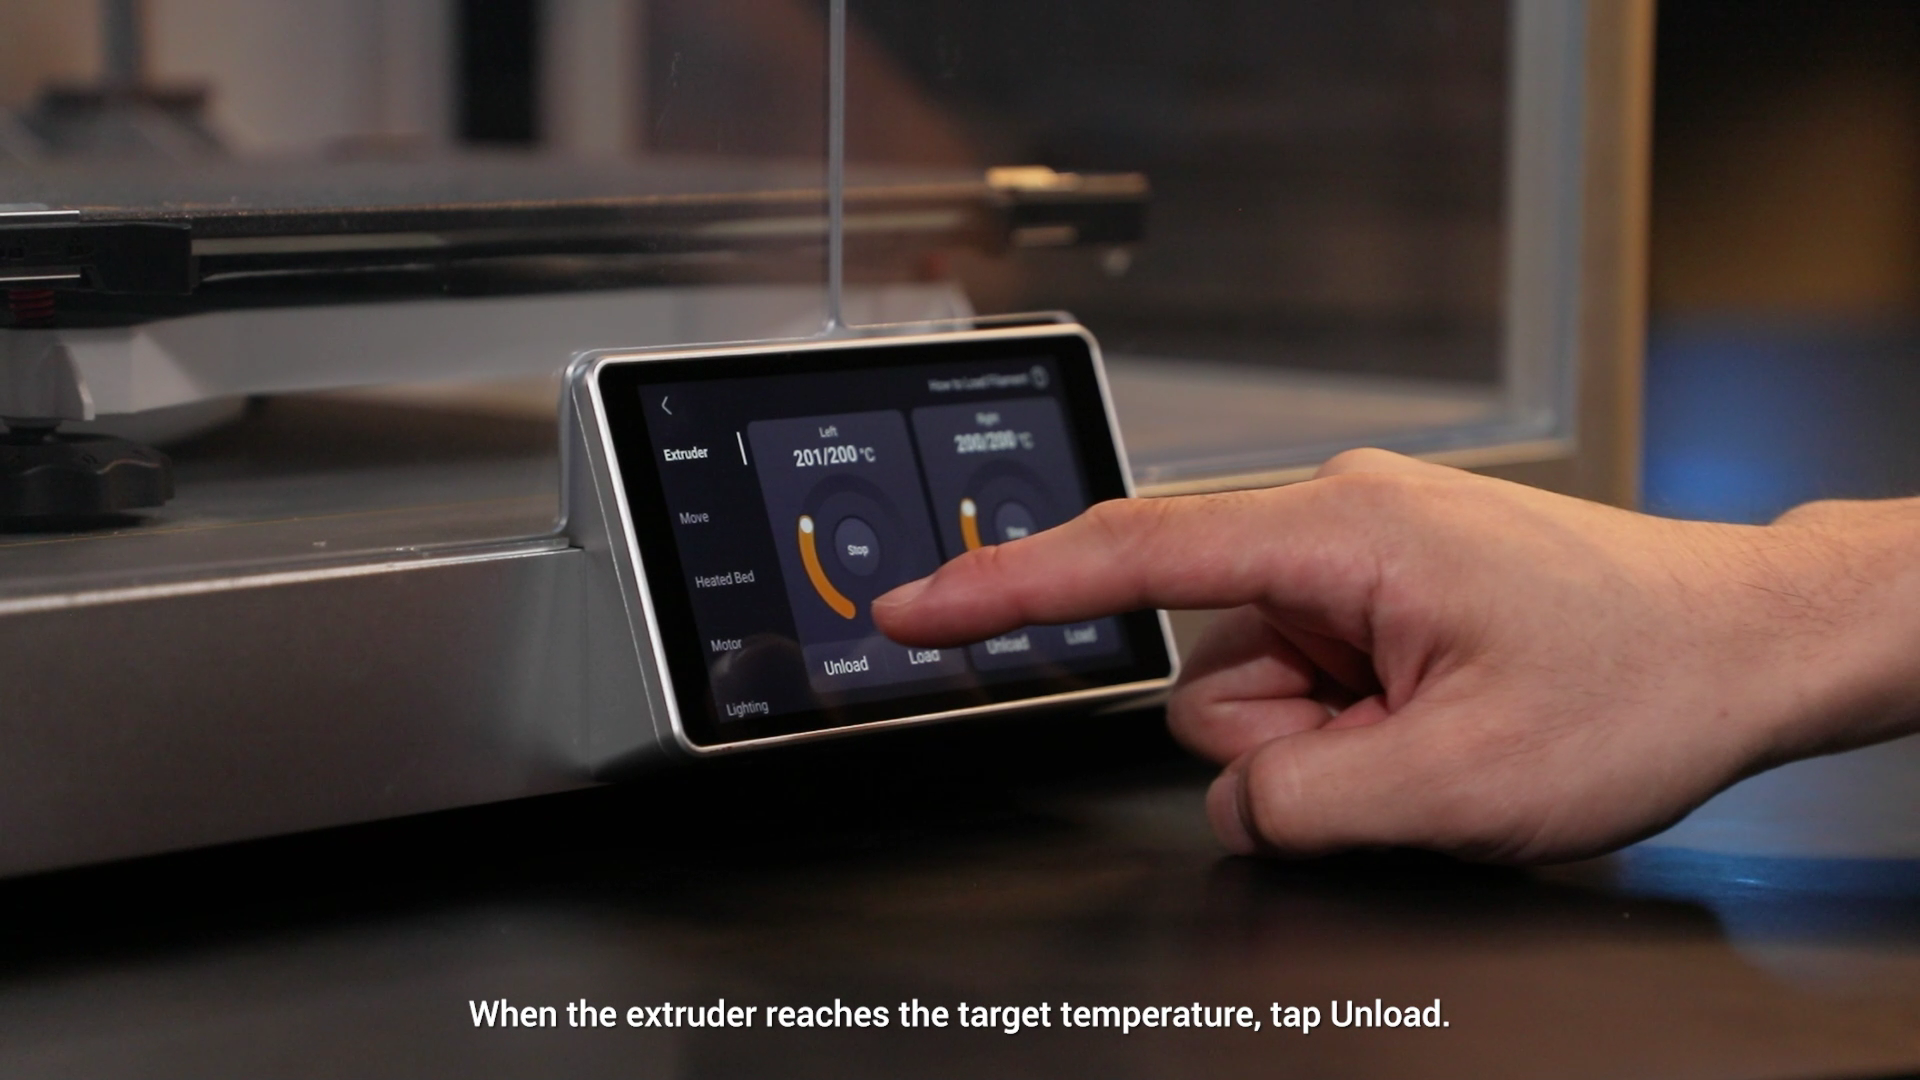
- When the extruder reaches the target temperature, tap Unload.
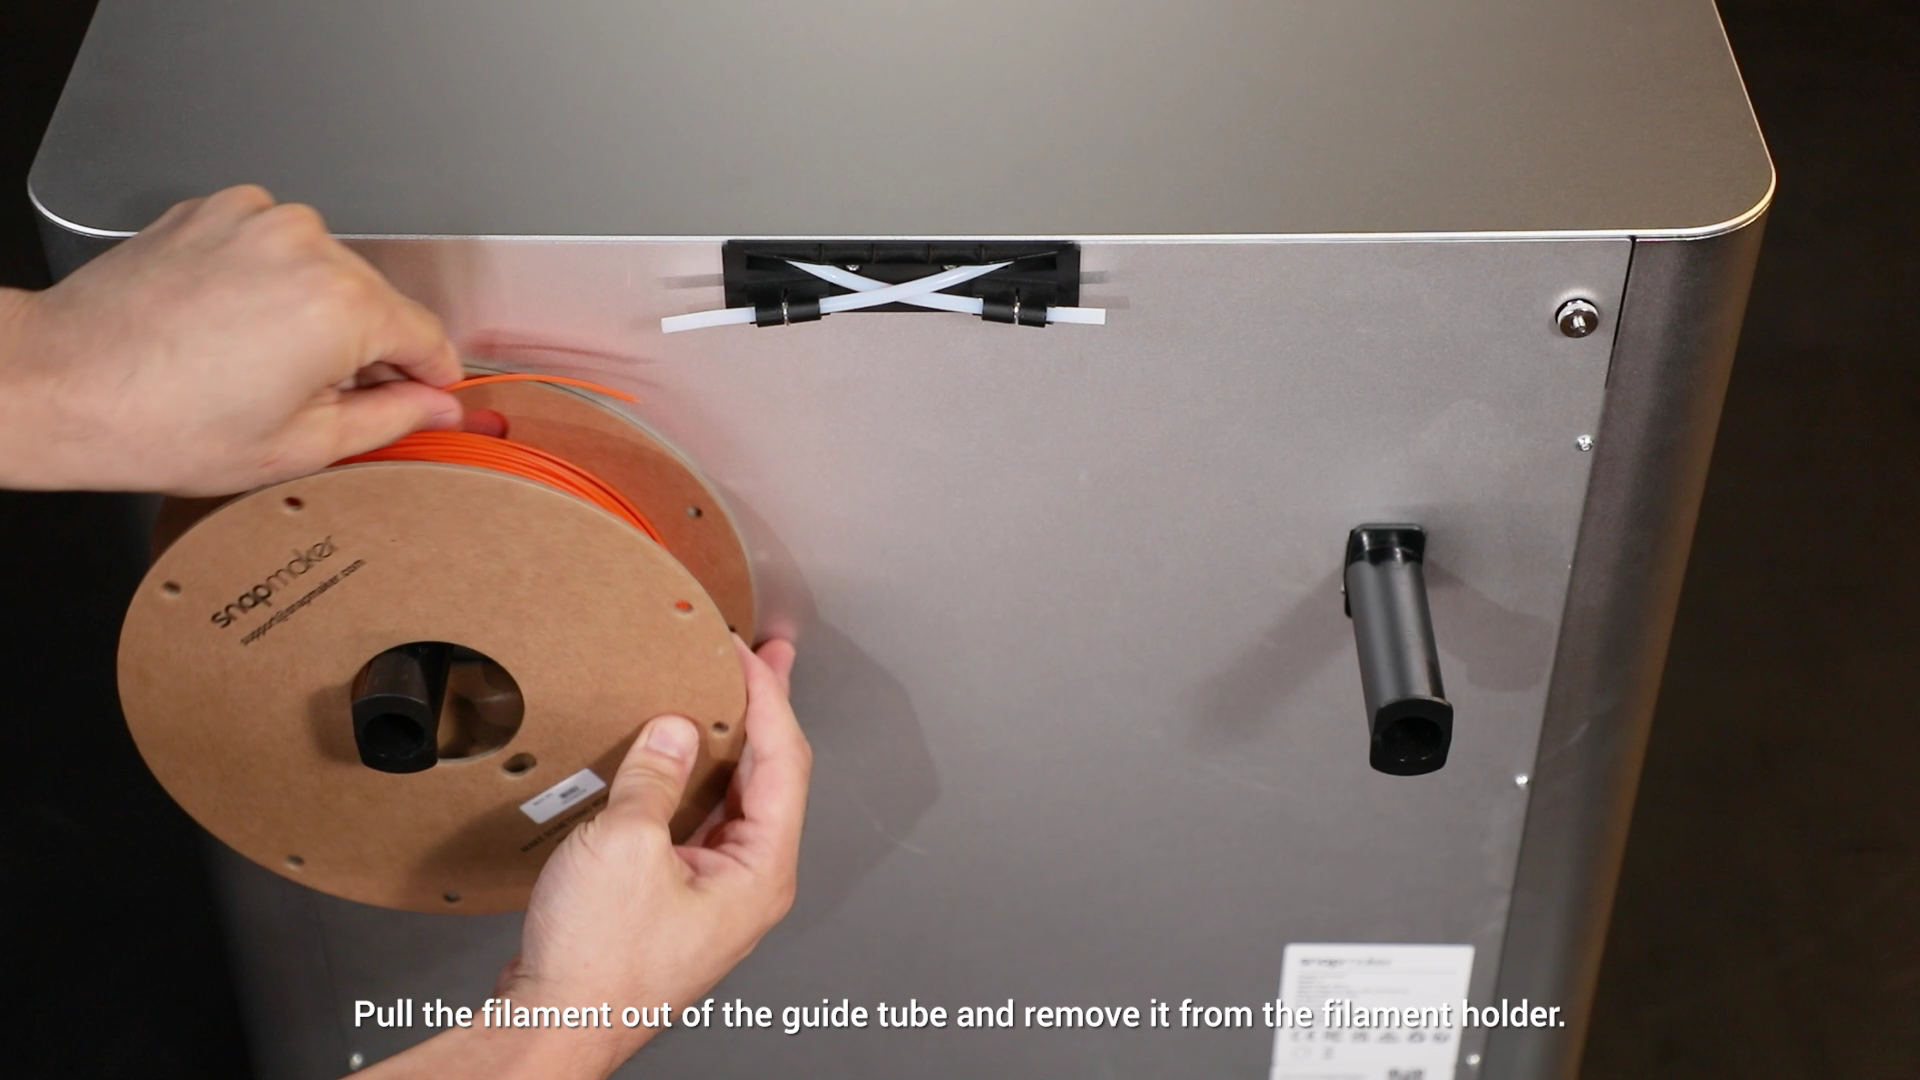
- Pull the filament out of the guide tube and remove it from the filament holder.
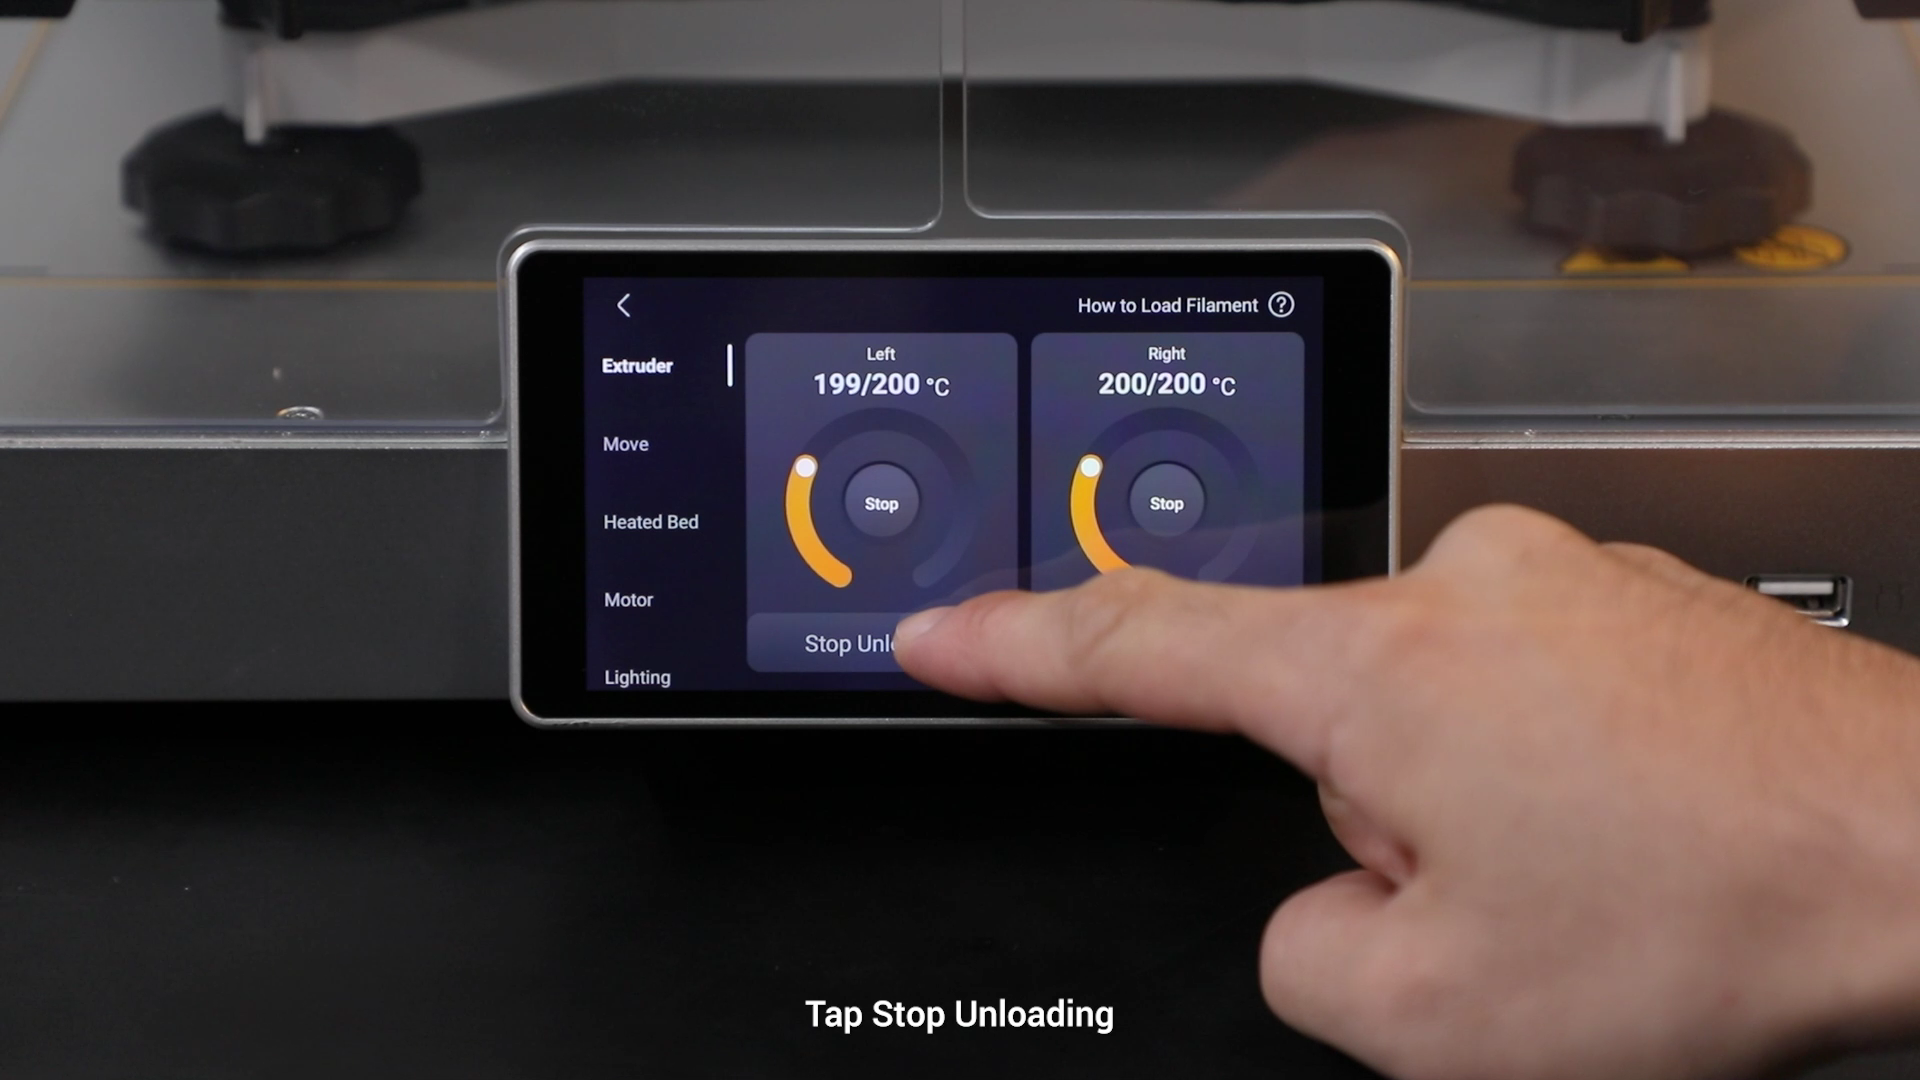
- Tap Stop Unloading.
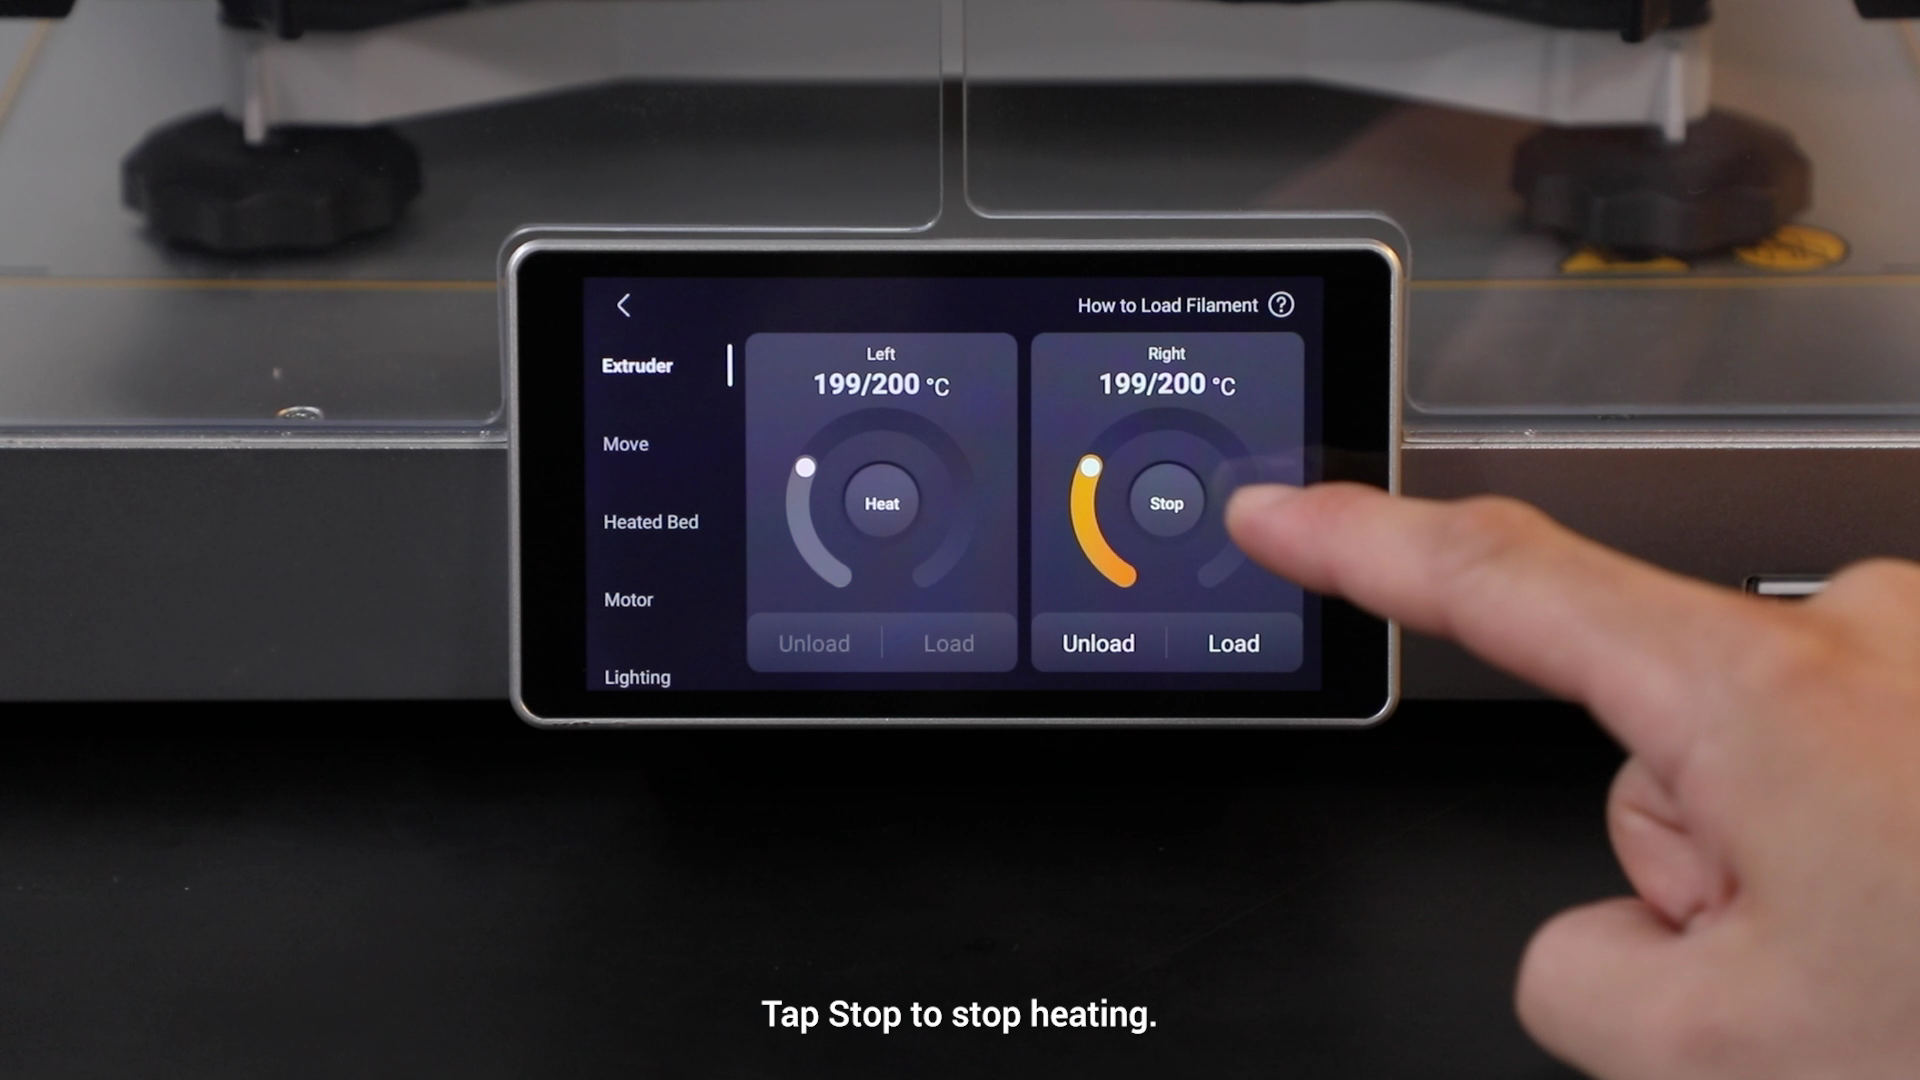
- Tap Stop to stop heating.
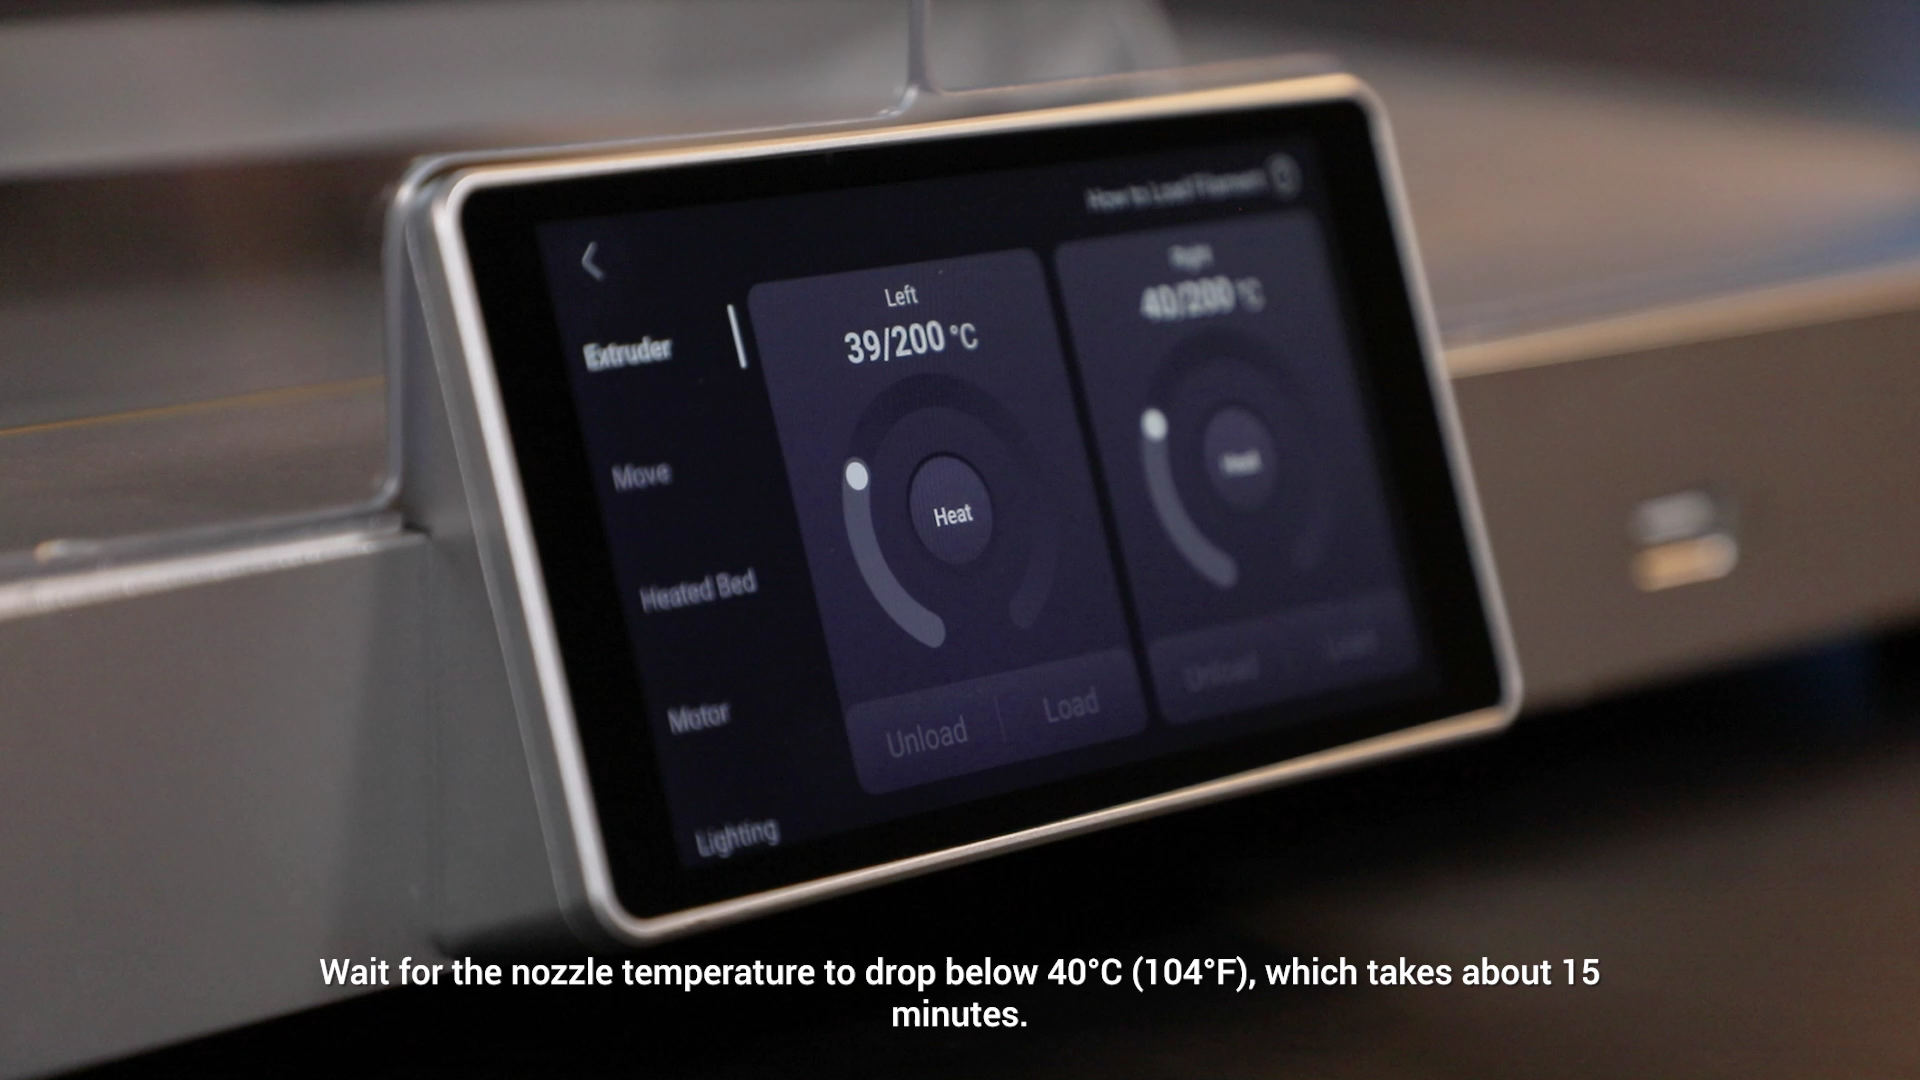
- Wait for the nozzle temperature to drop below 40°C (104°F), which takes about 15 minutes.
- Turn off the printer and unplug the power cable.

¶ Detaching the Back Panel
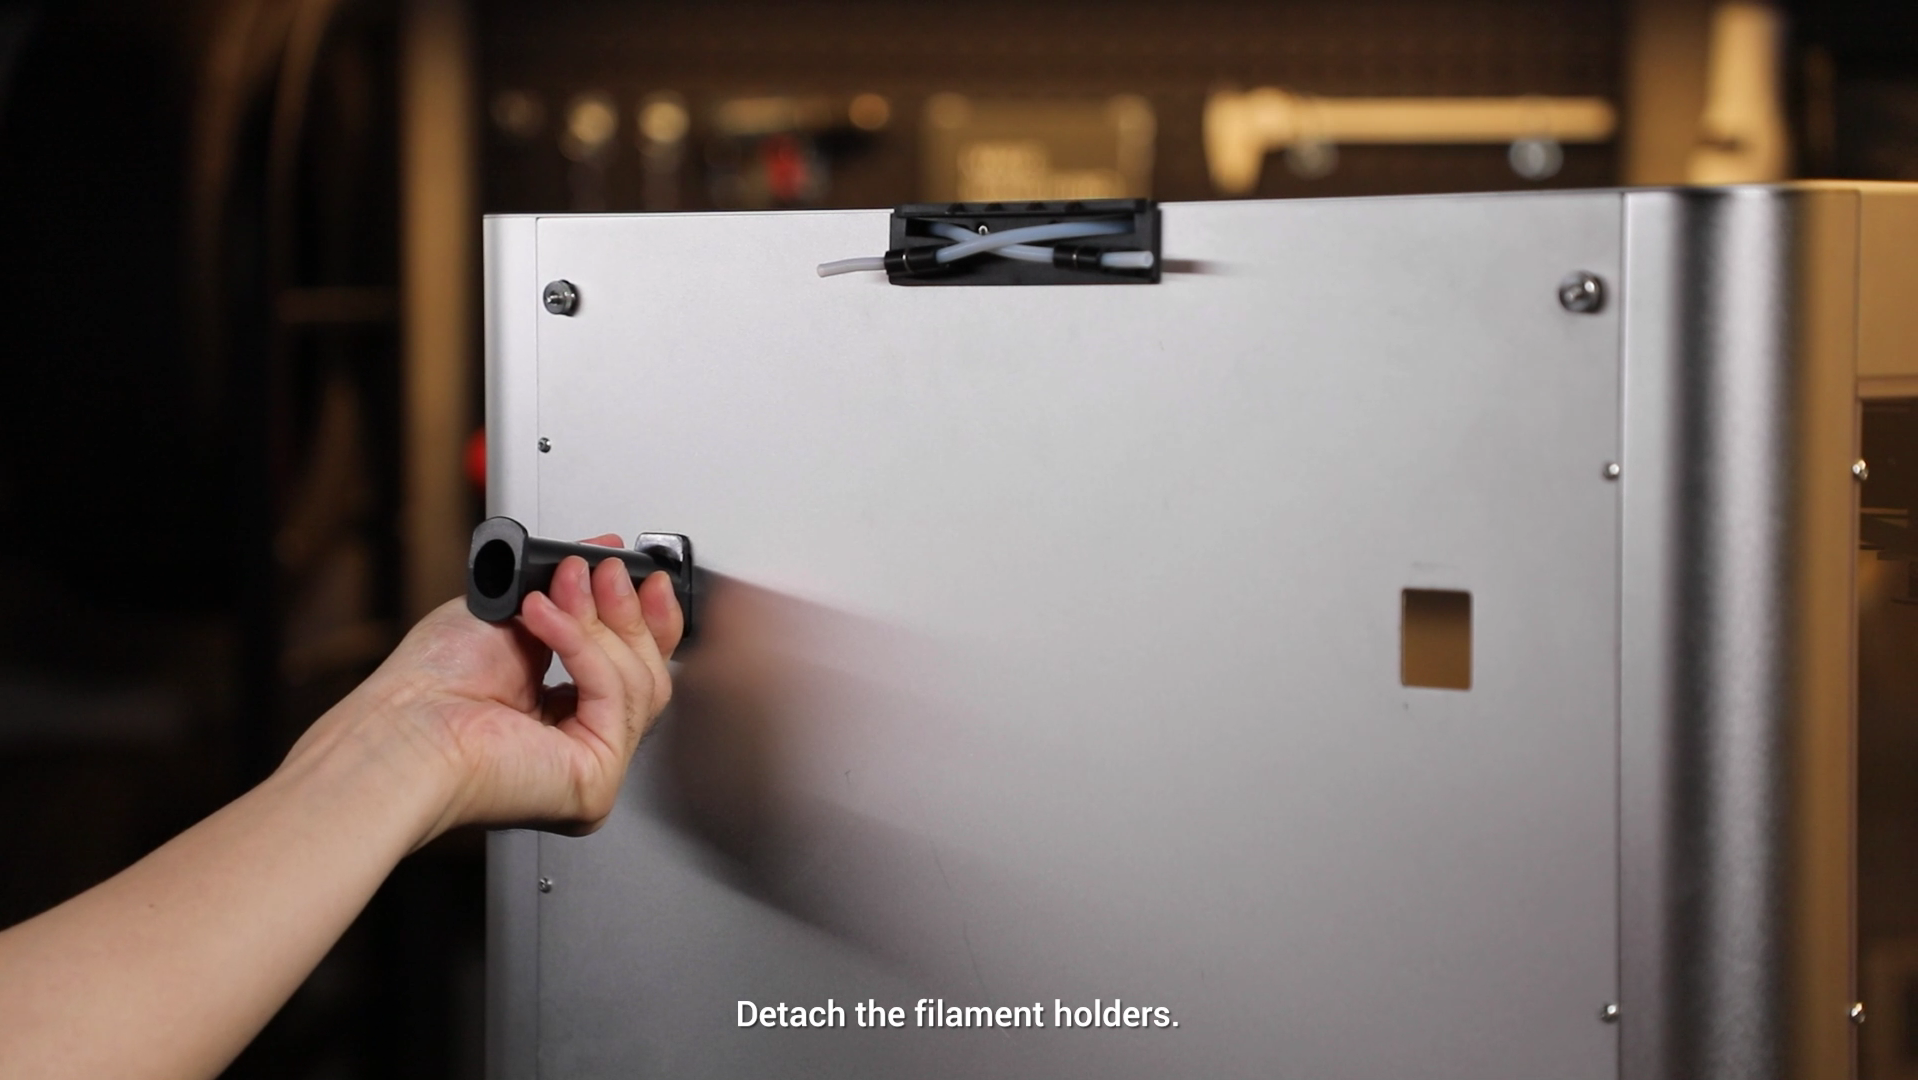
- Detach the filament holders.
- Remove the top panel.
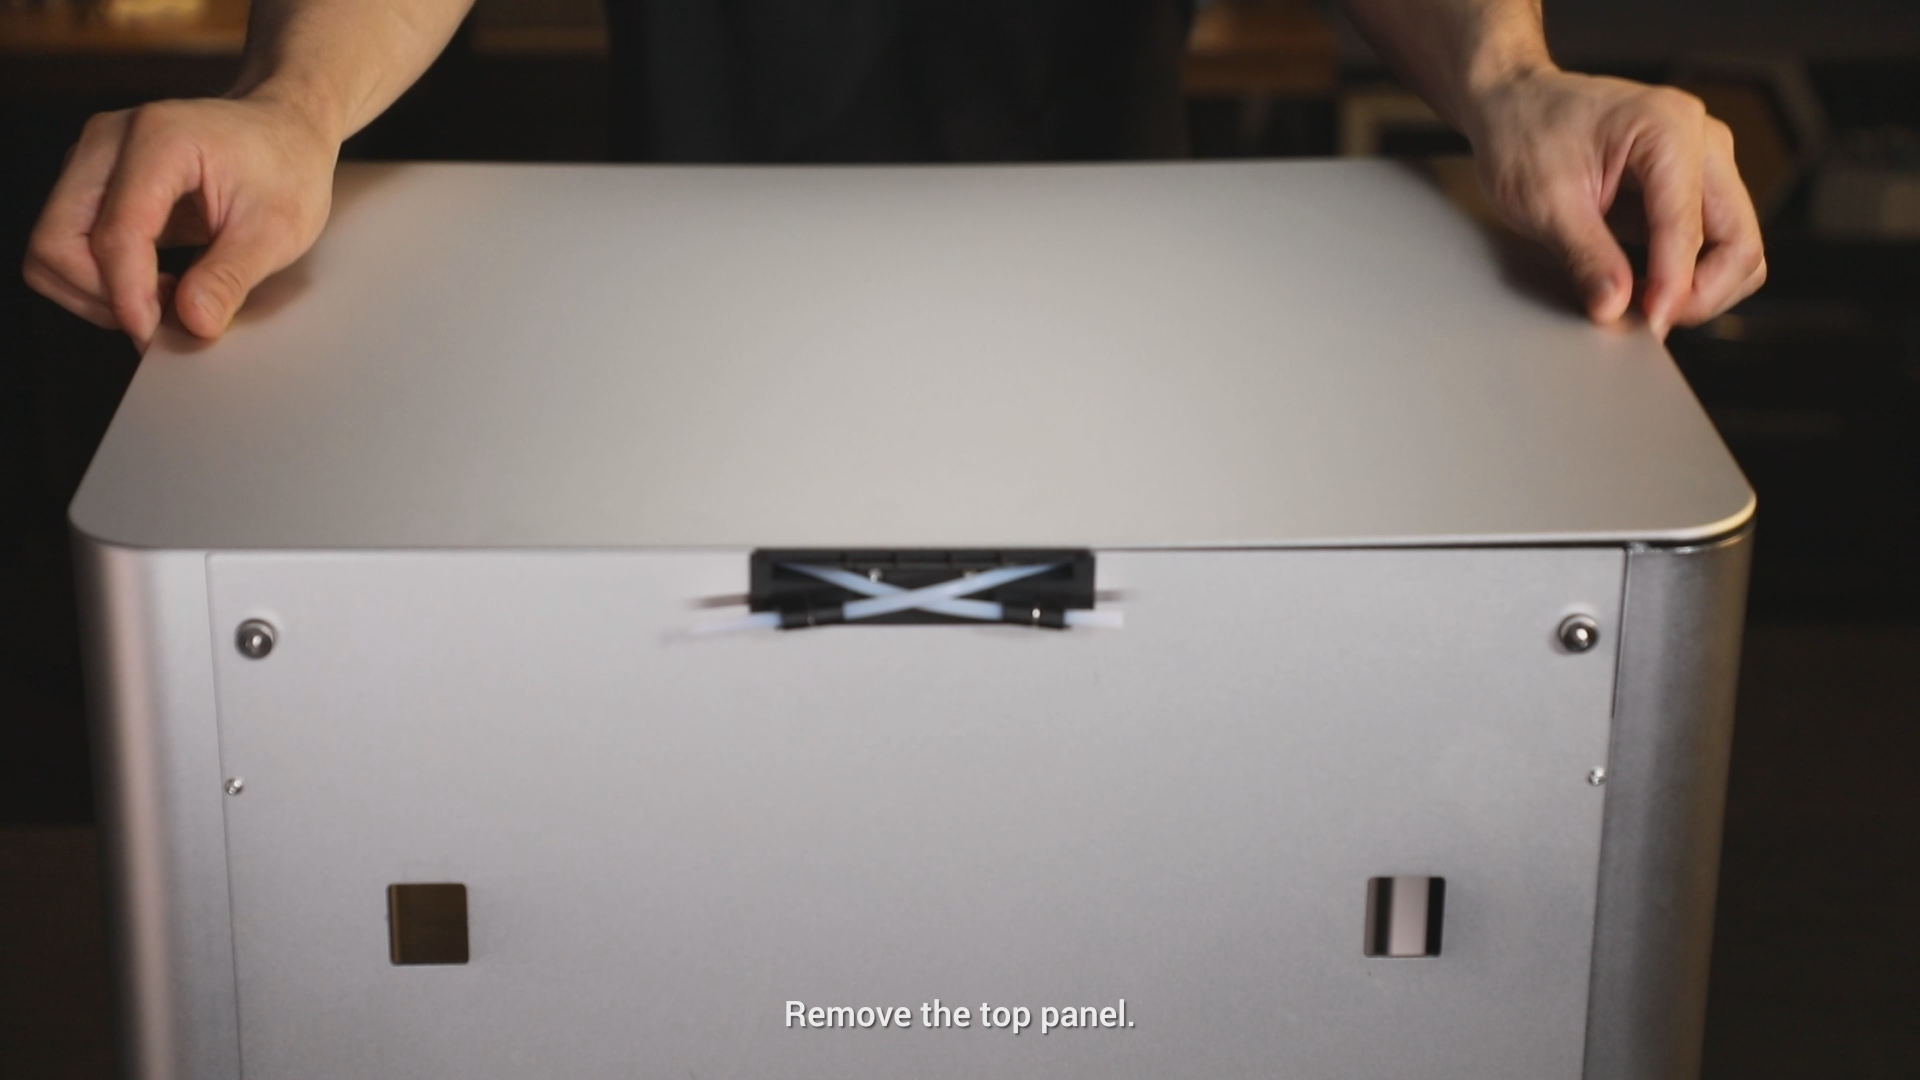
- Unscrew the screws from the holder of the filament guide tube with an hex key (H2.0), and then detach the holder.
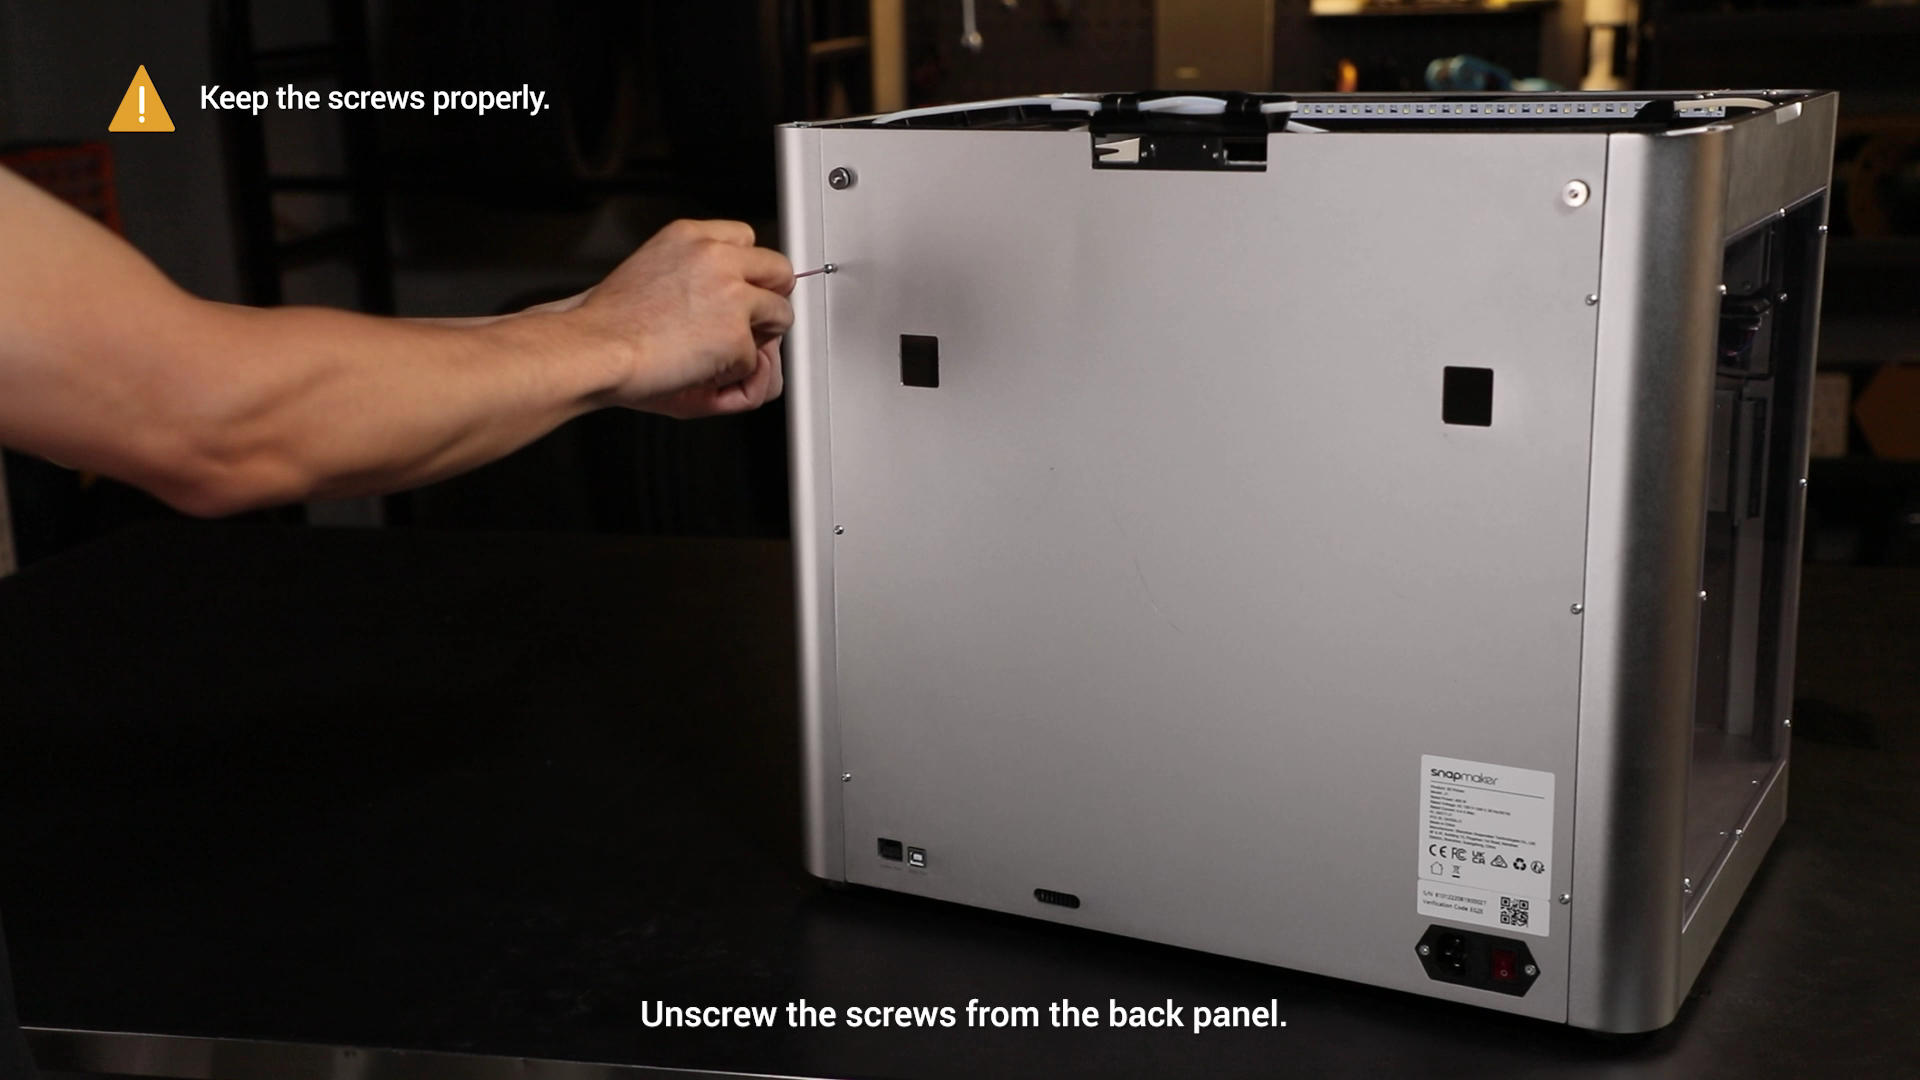
Keep the screws properly.
You can first loosen the screws with the long handle, and then unscrew the screws quickly with the short handle.

- Unscrew the screws from the back panel.
Do not adjust the thumb screws. Loose belts may lead to inferior printing results like layer shifting.
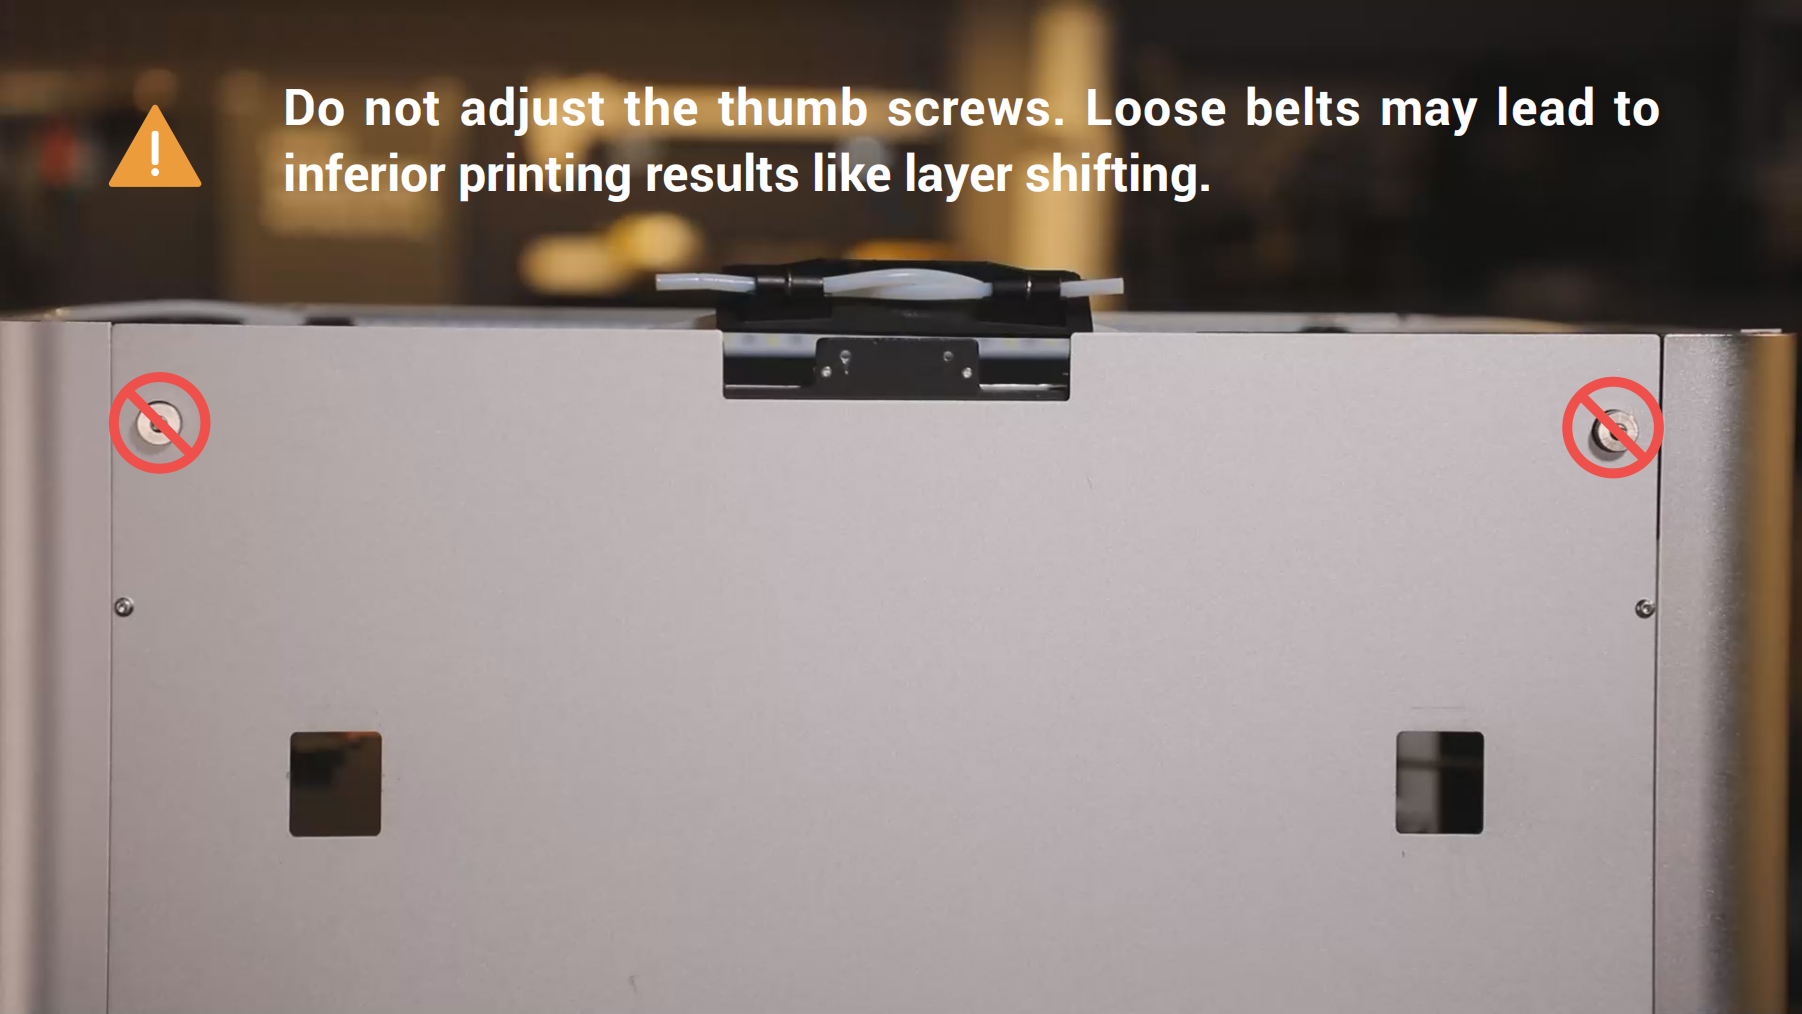
Keep the screws properly.
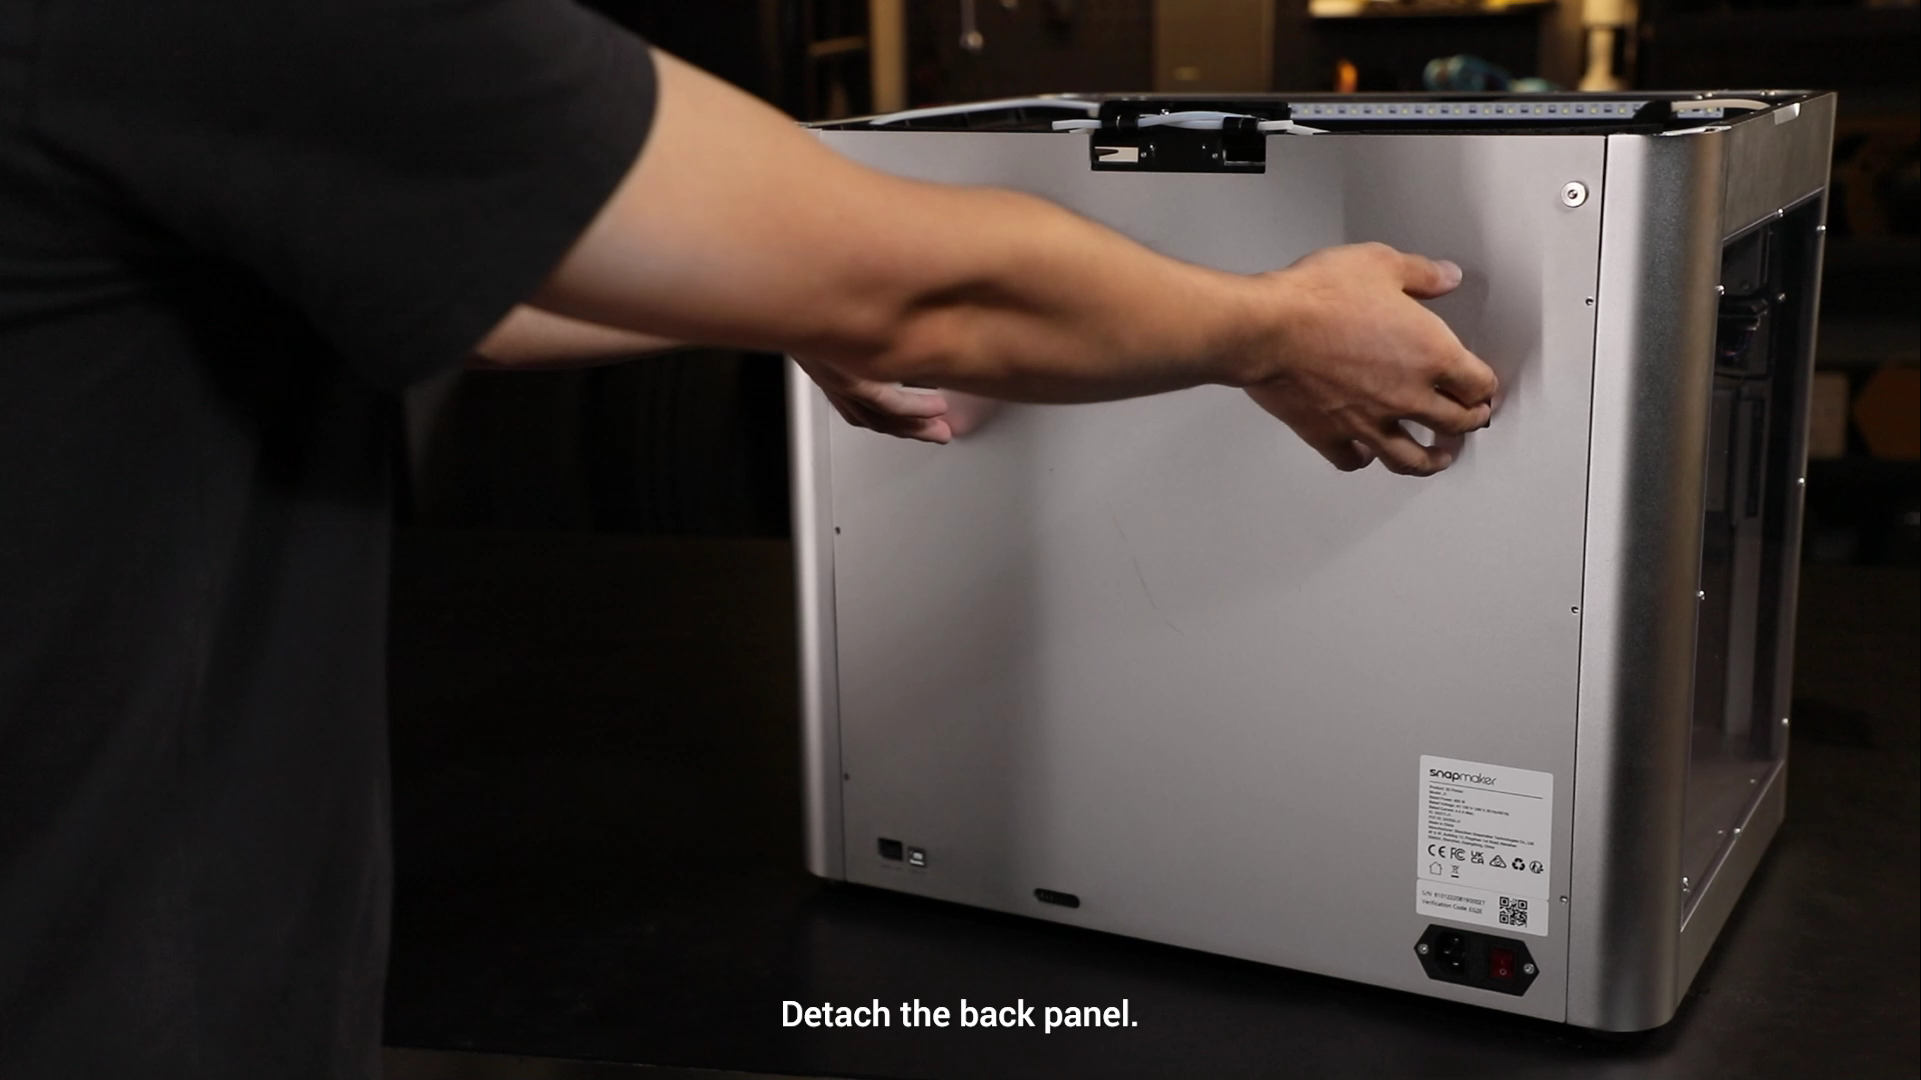
- Detach the back panel.
¶ Detaching the Original PCB
You can open the front doors before proceeding.
- For the convenience of subsequent operations, loosen the two screws without unscrewing them.

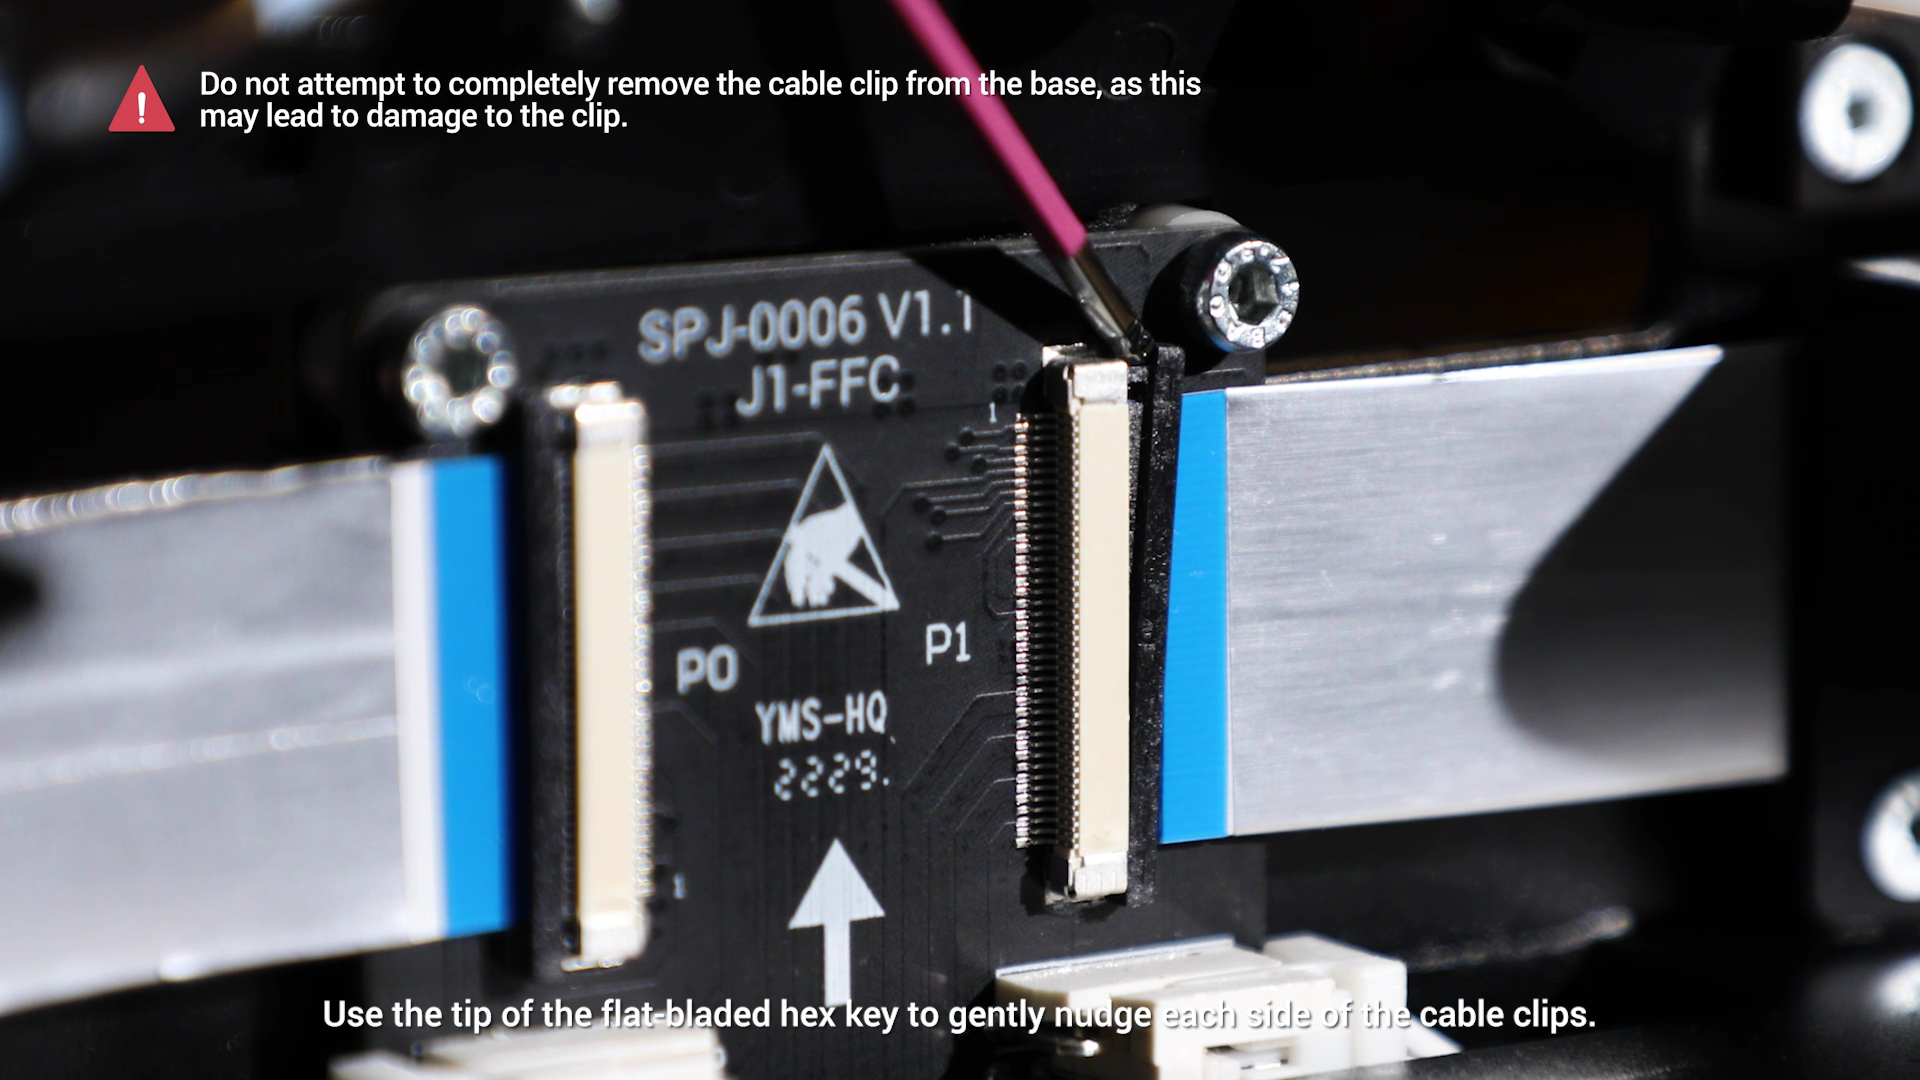
- Use the tip of the flat-bladed hex key to gently nudge each side of the cable clips.
Do not attempt to completely remove the cable clip from the base, as this may lead to damage to the clip.
- Remove the ribbon cables.

- Unplug the cables.

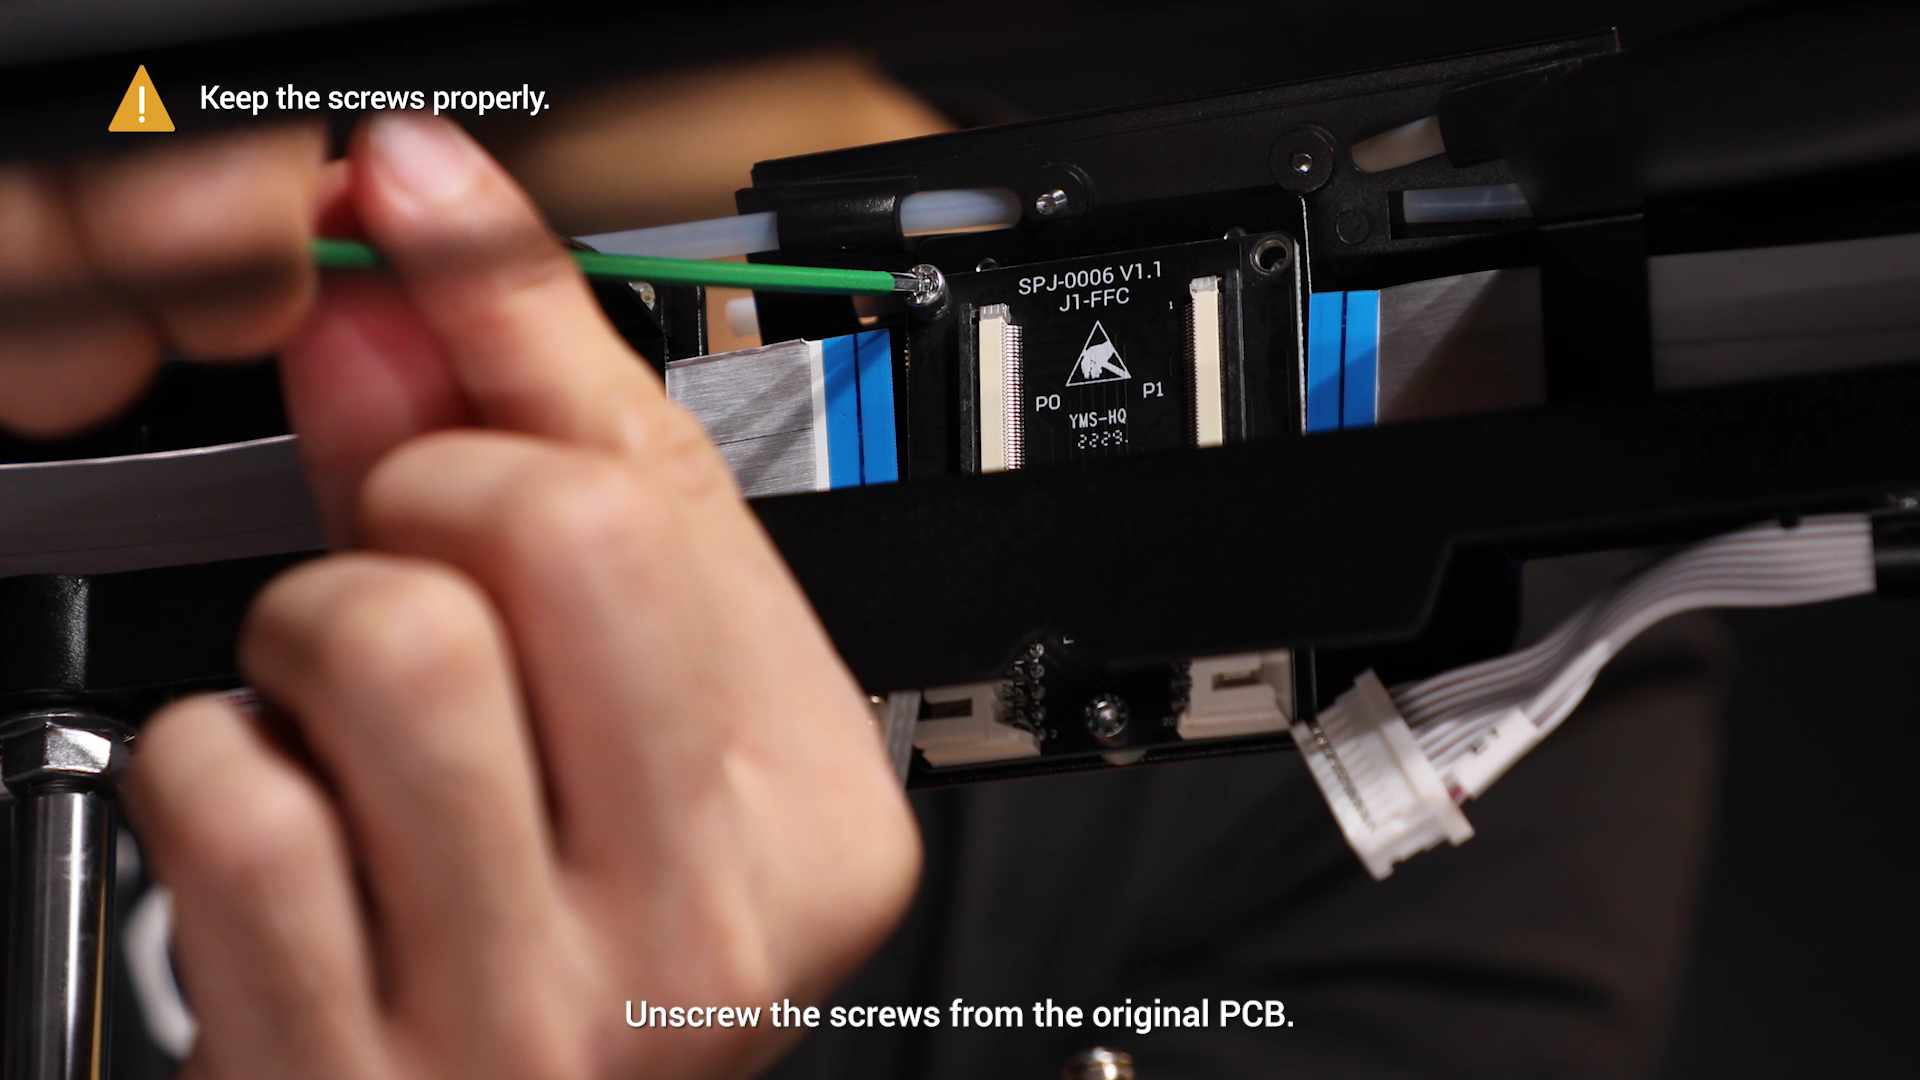
- Unscrew the screws from the original PCB with an hex key (H2.5).
Keep the screws properly.
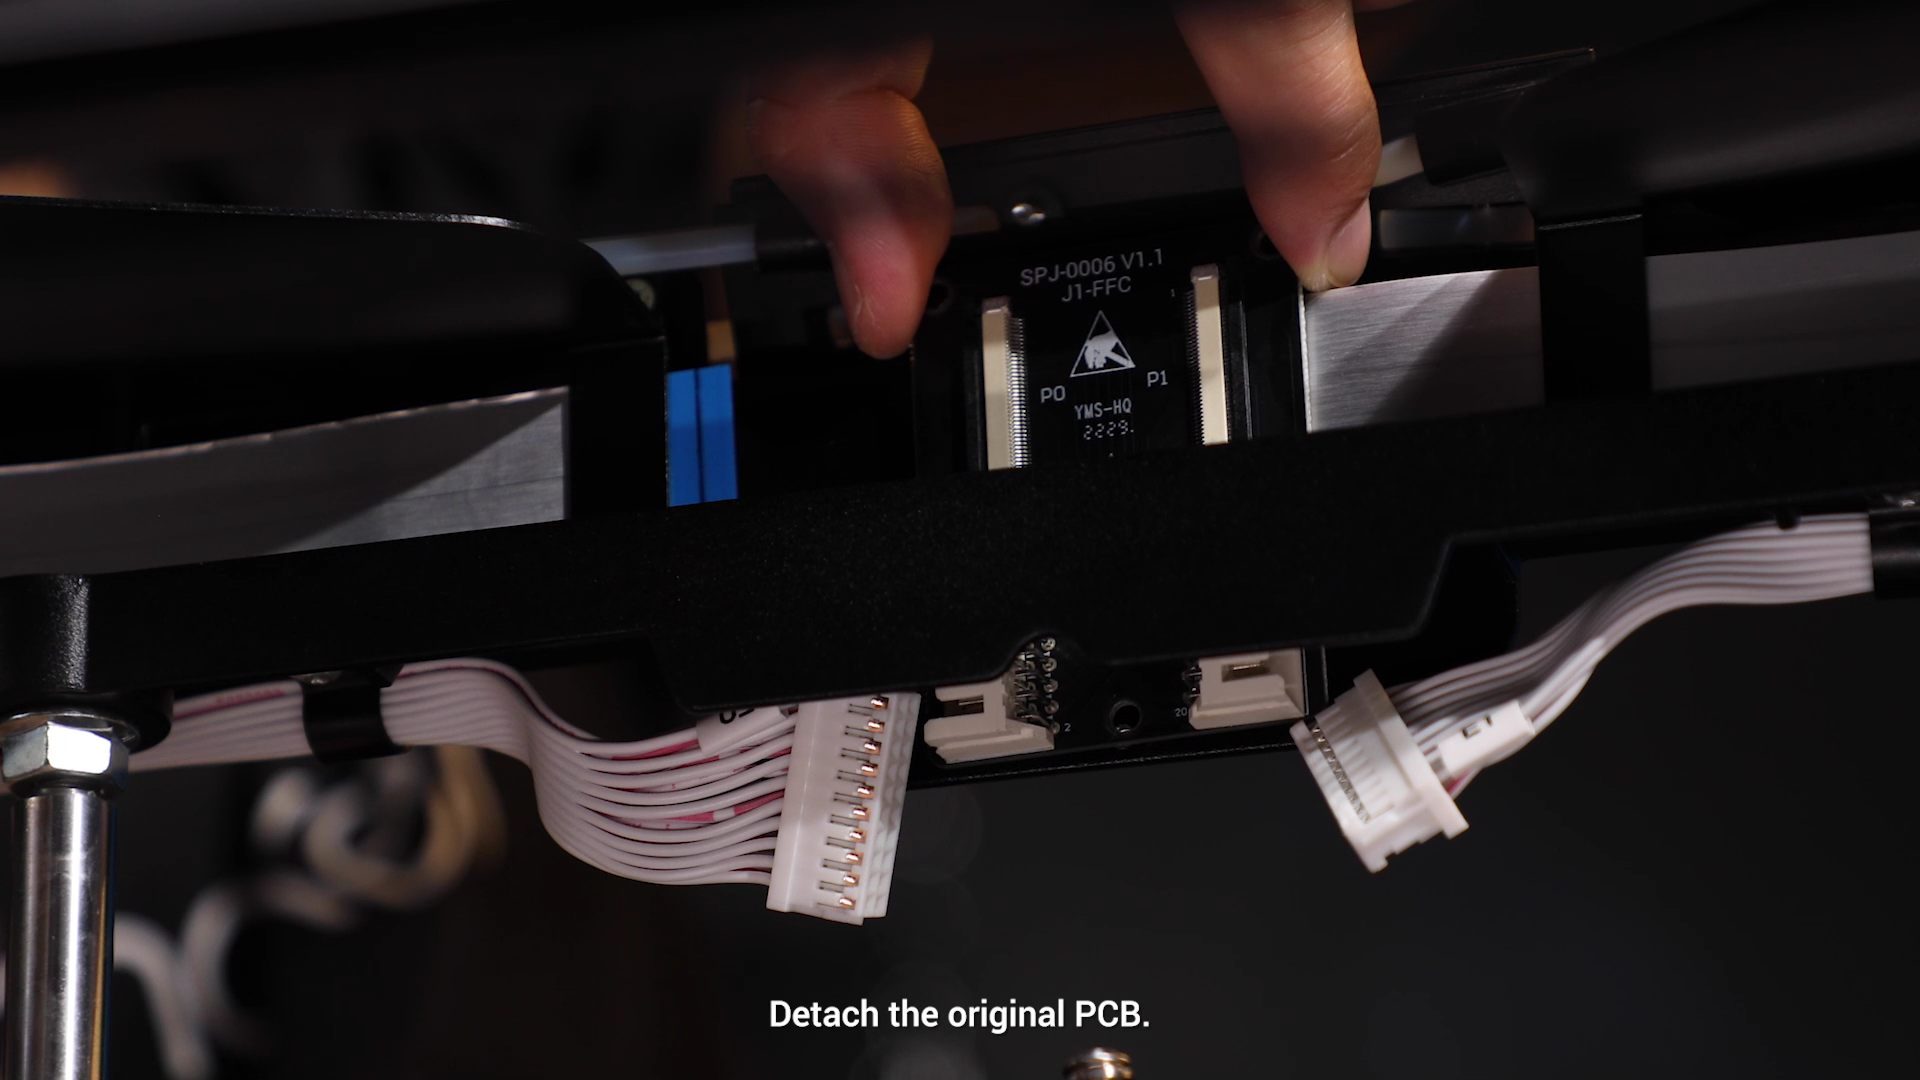
- Detach the original PCB.
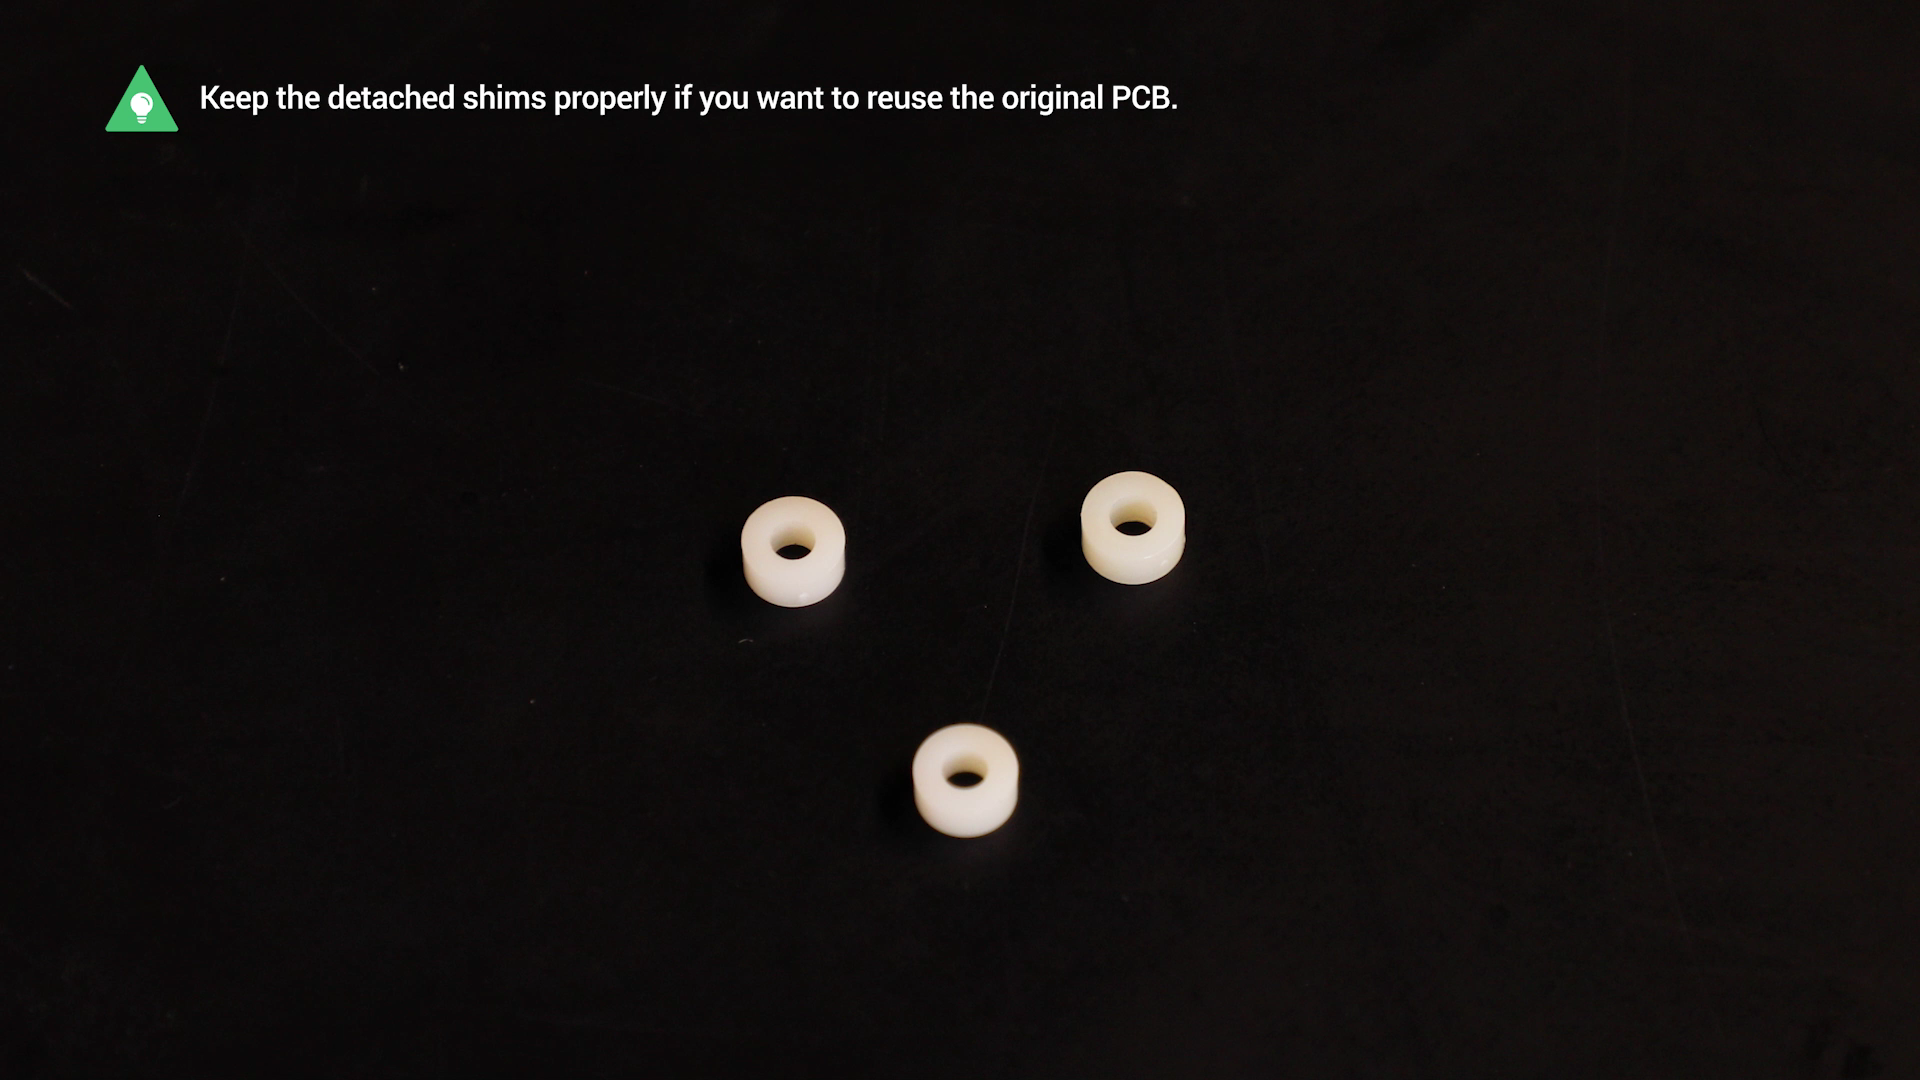
Keep the detached shims properly if you want to reuse the original PCB.
¶ Installing the New PCB
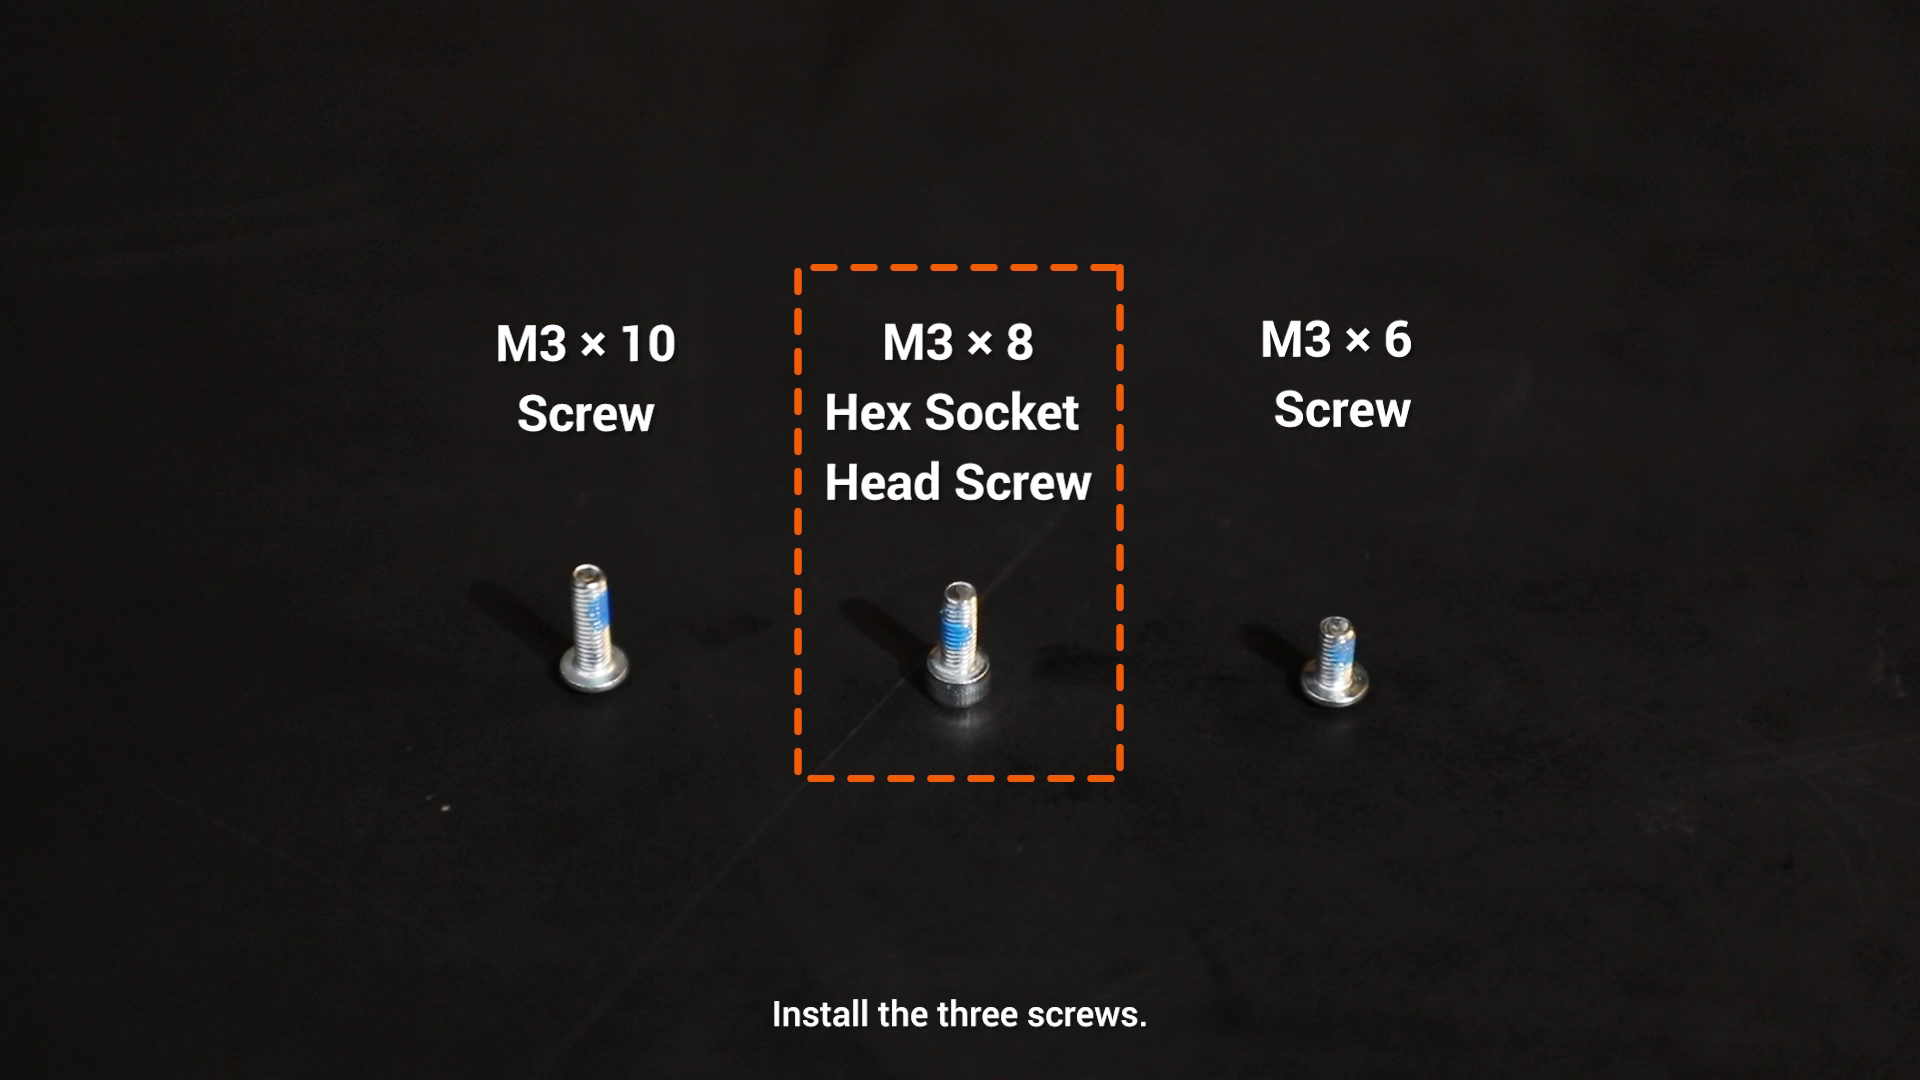
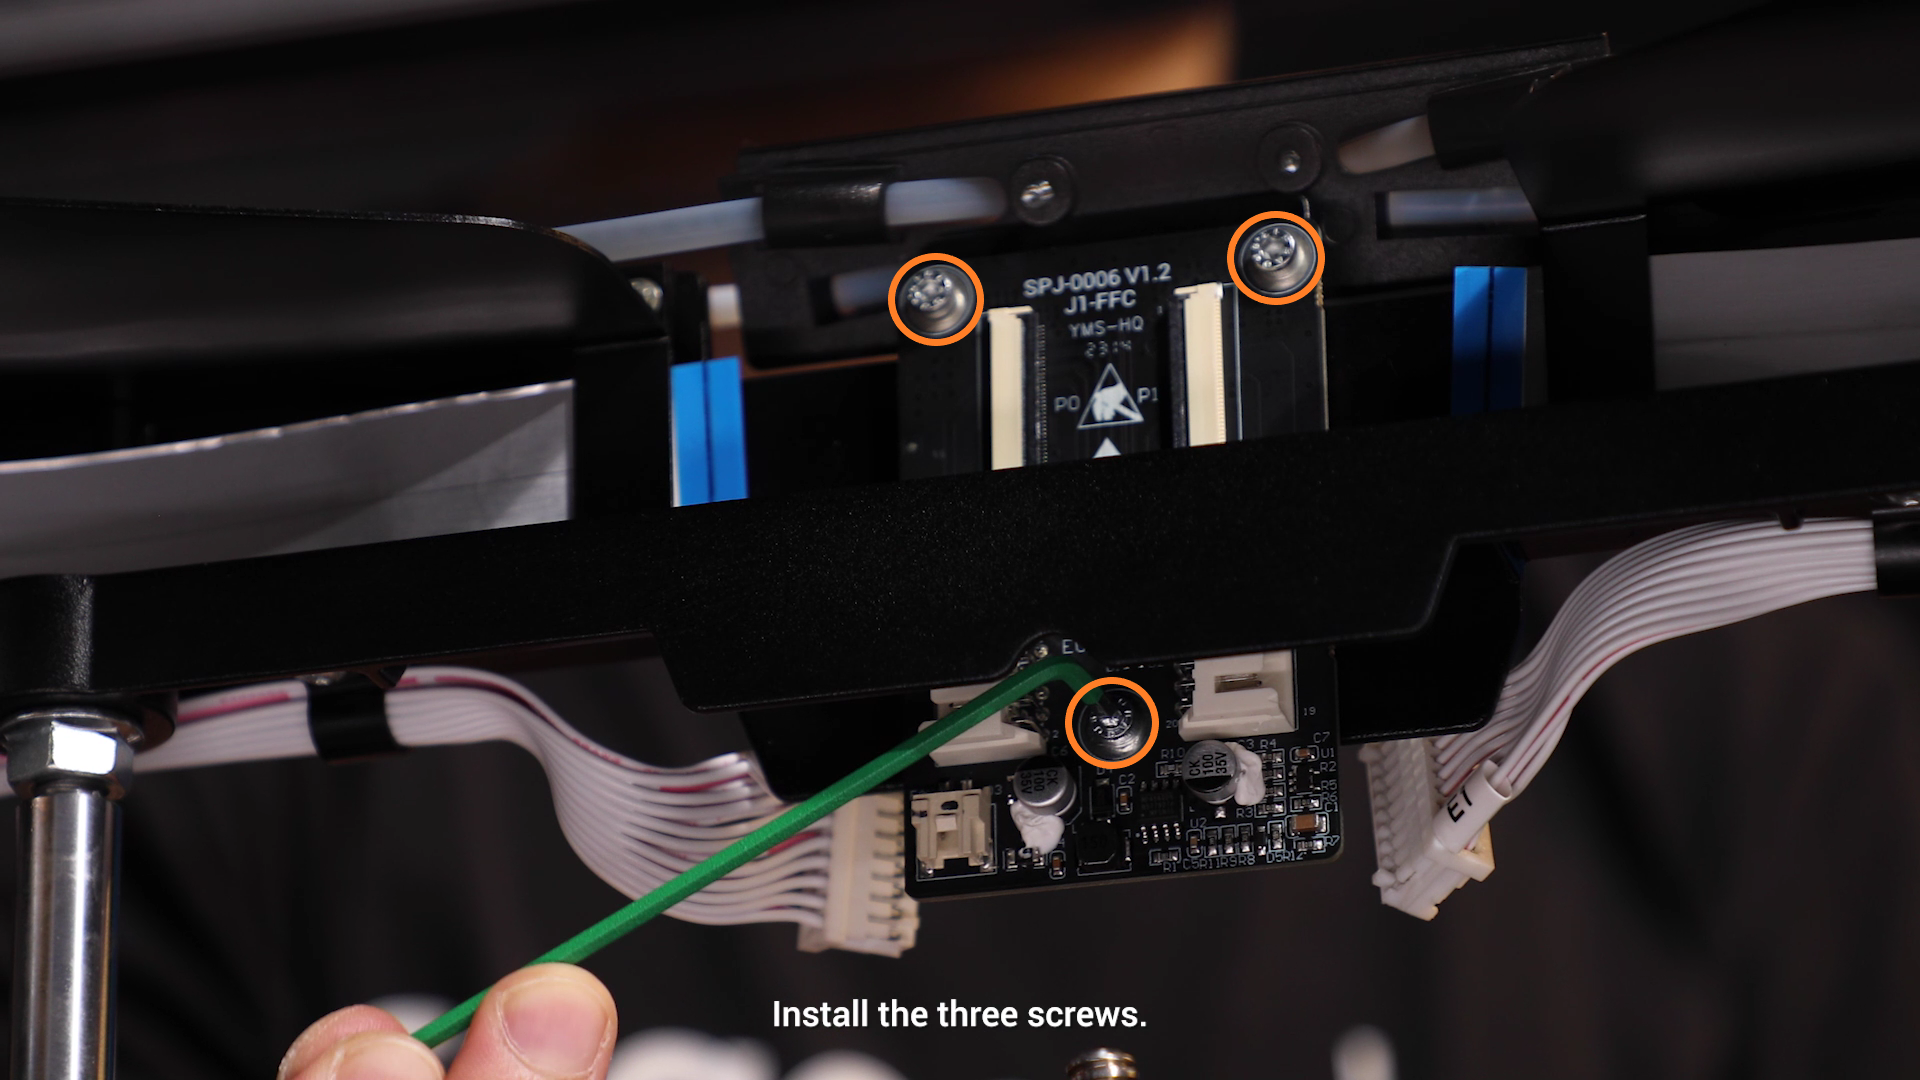
- Install the three screws.
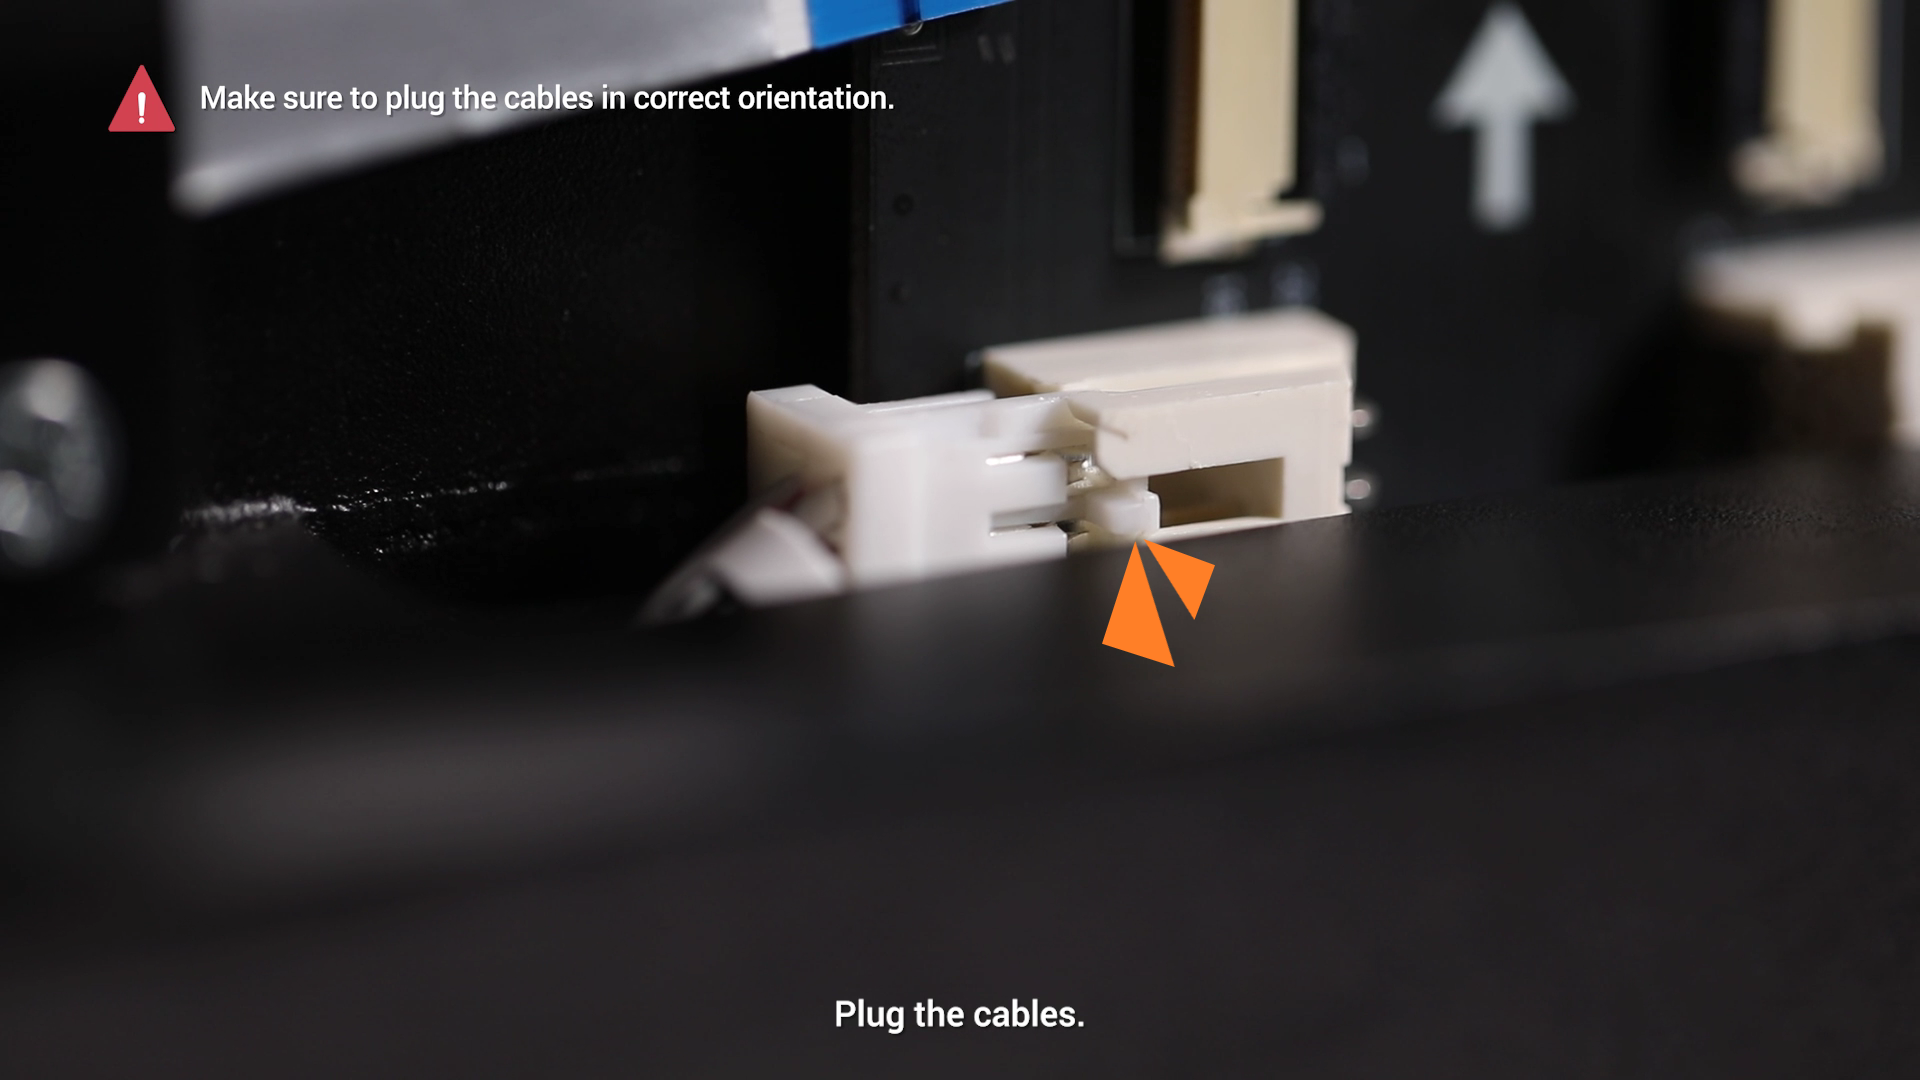
- Plug the cables.
Make sure to plug the cables in correct orientation.

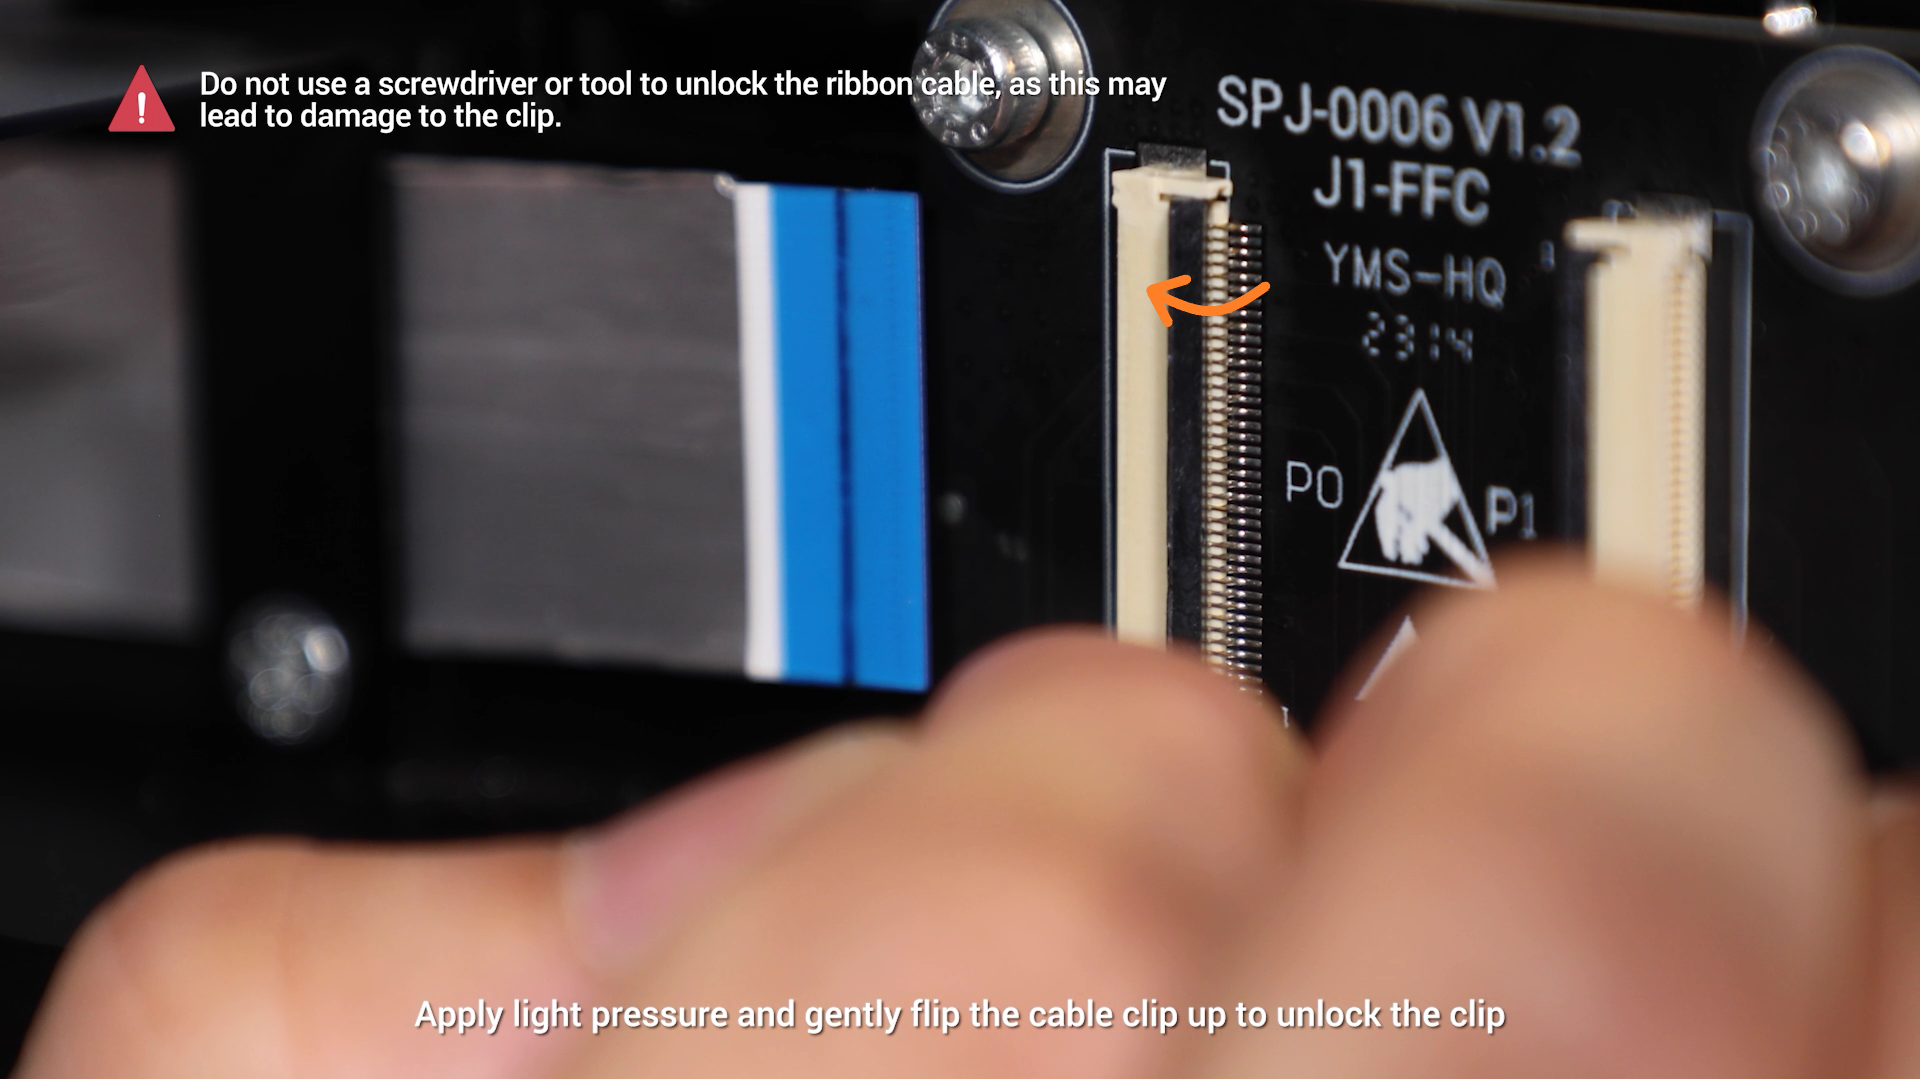
- Apply light pressure and gently flip the cable clip up to unlock the clip.
Do not use a screwdriver or tool to unlock the ribbon cable, as this may lead to damage to the clip.
- Insert the end of the ribbon cable straight into the slot as far as it can go.

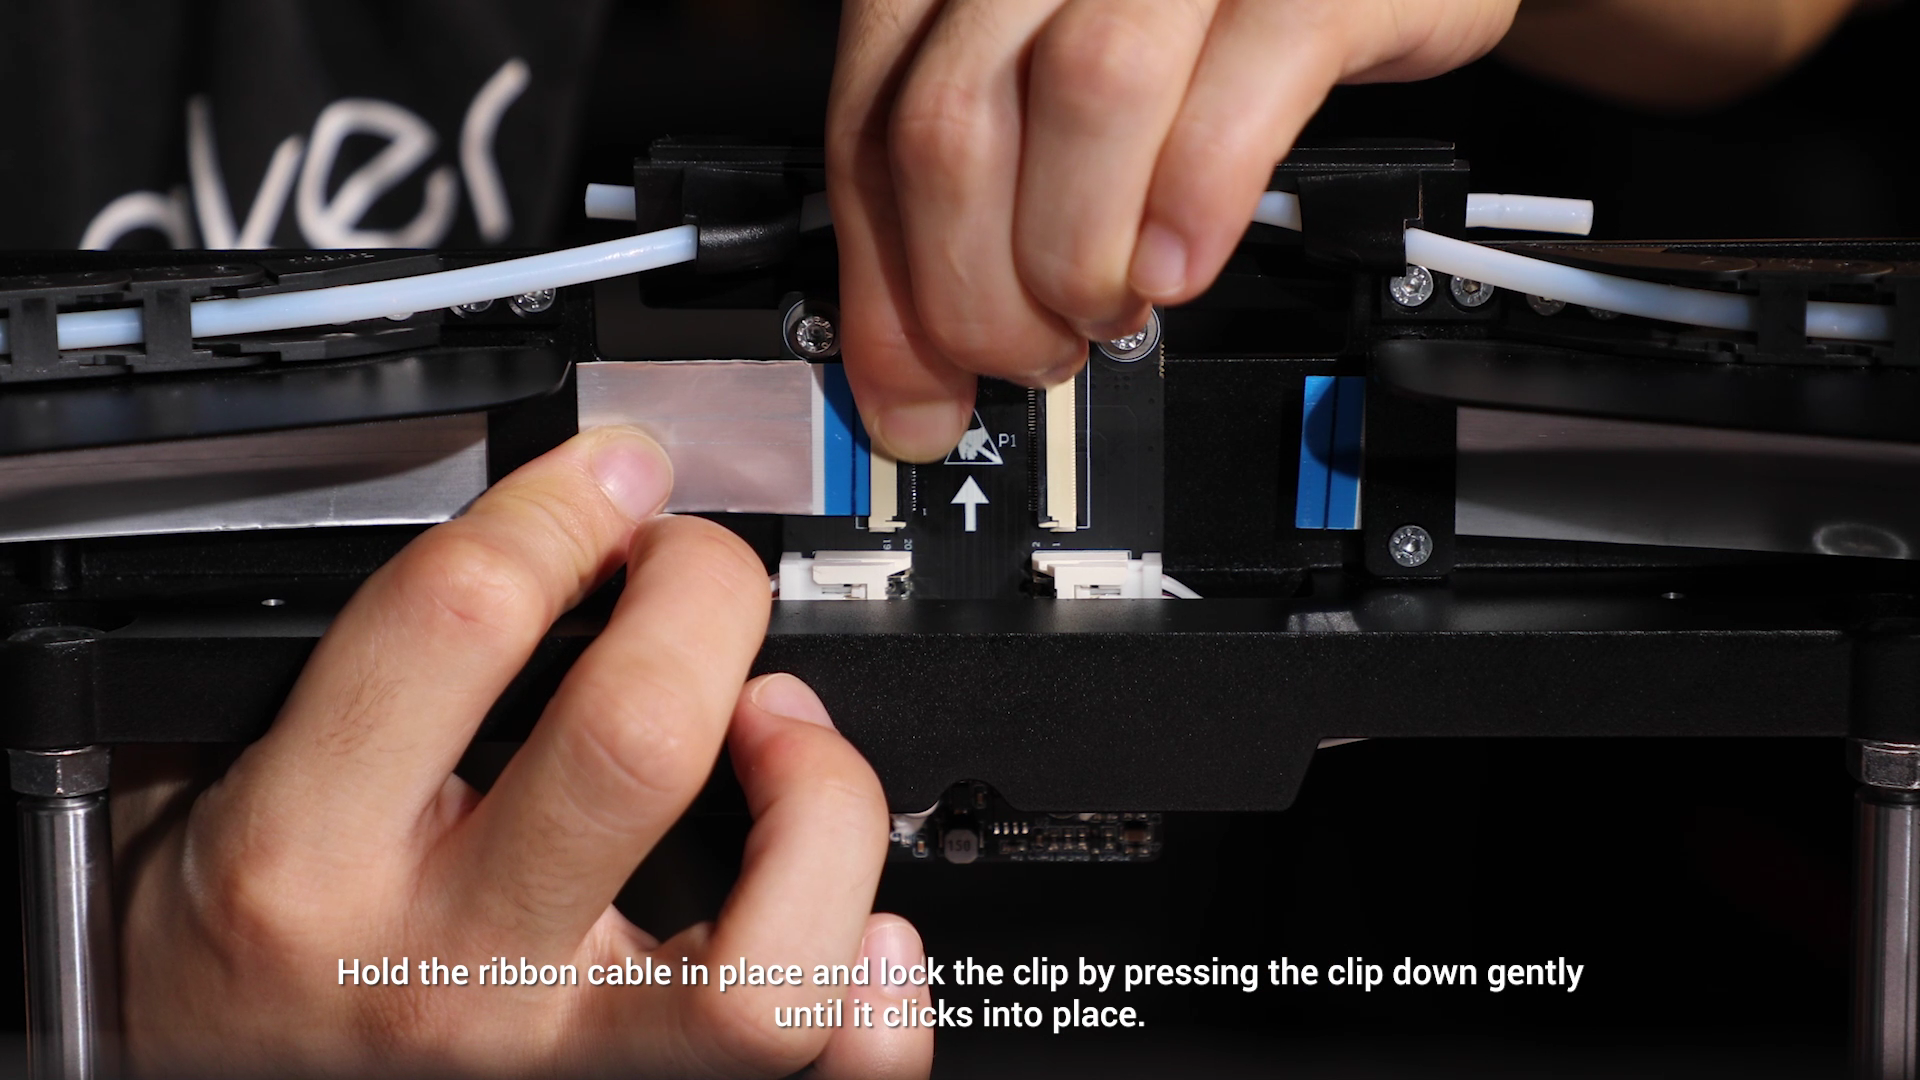
- Hold the ribbon cable in place and lock the clip by pressing the clip down gently until it clicks into place.
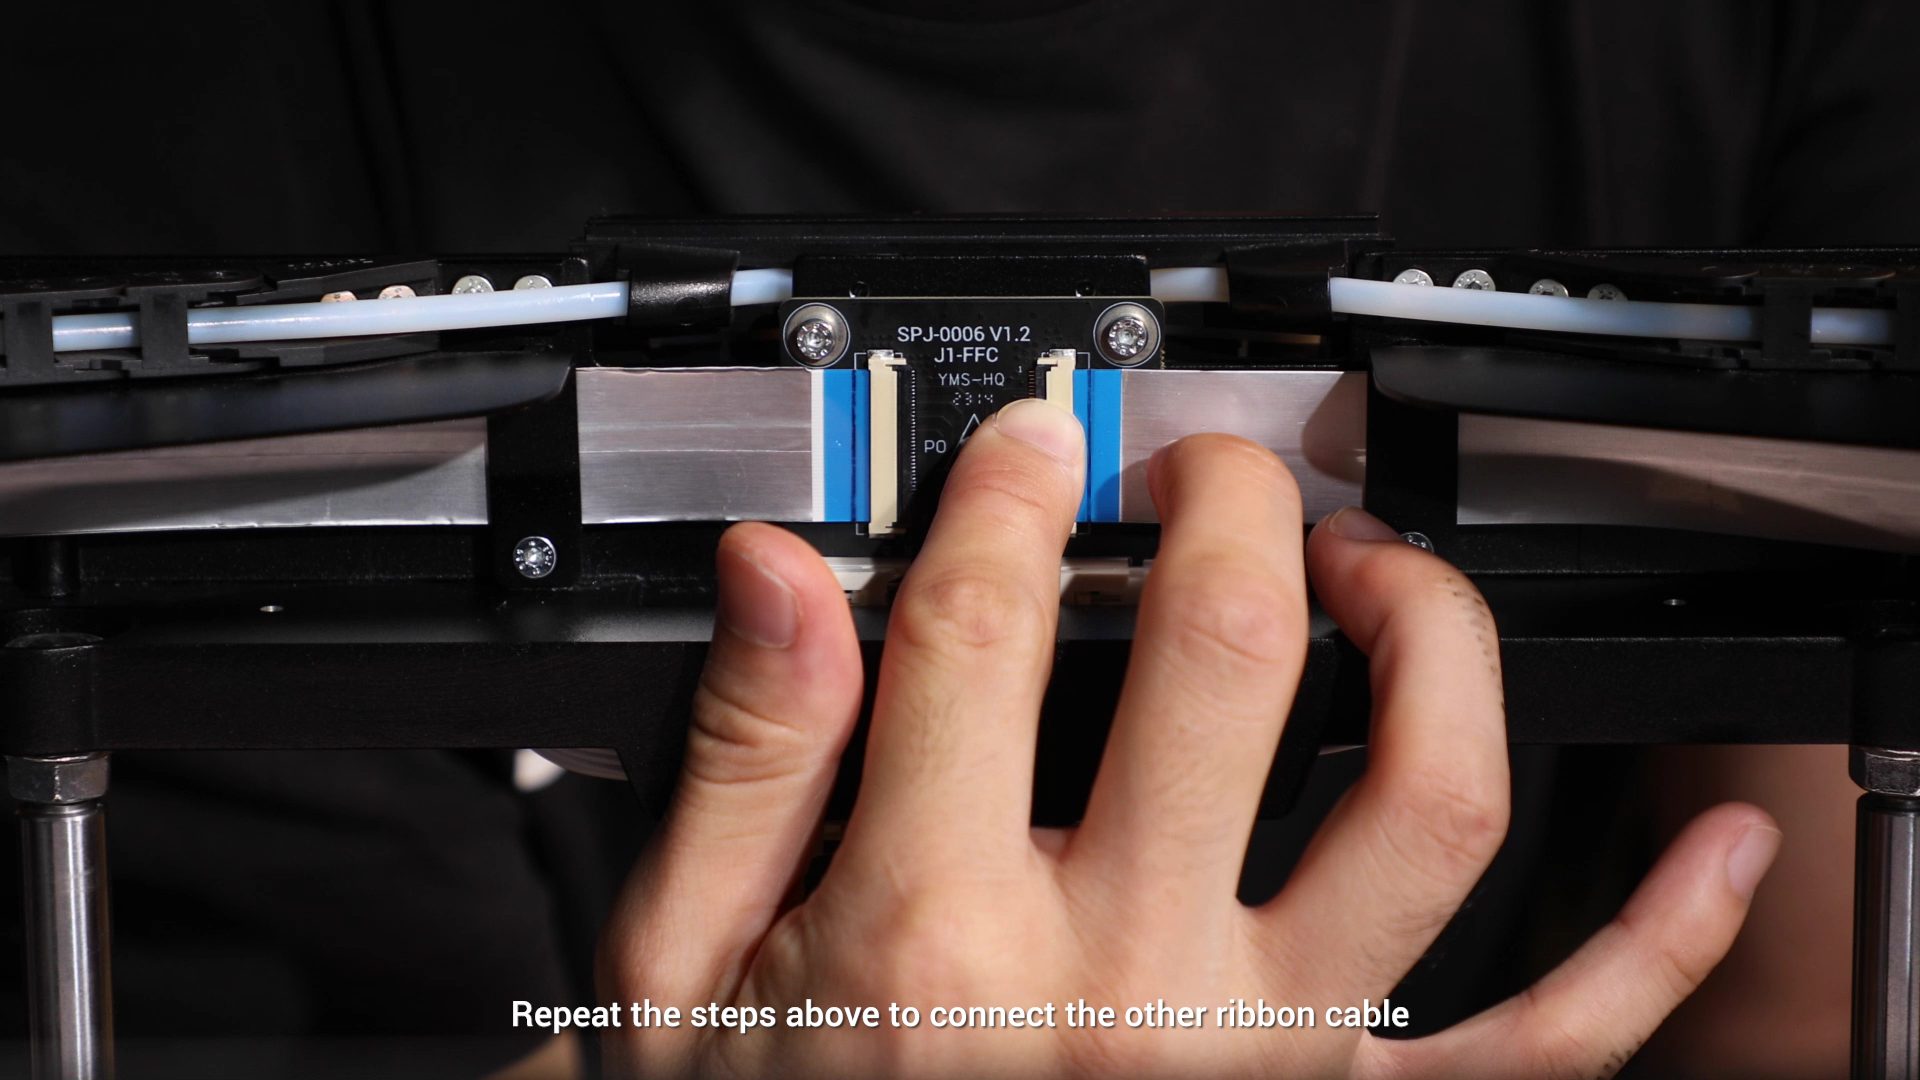
- Repeat the steps above to connect the other ribbon cable.
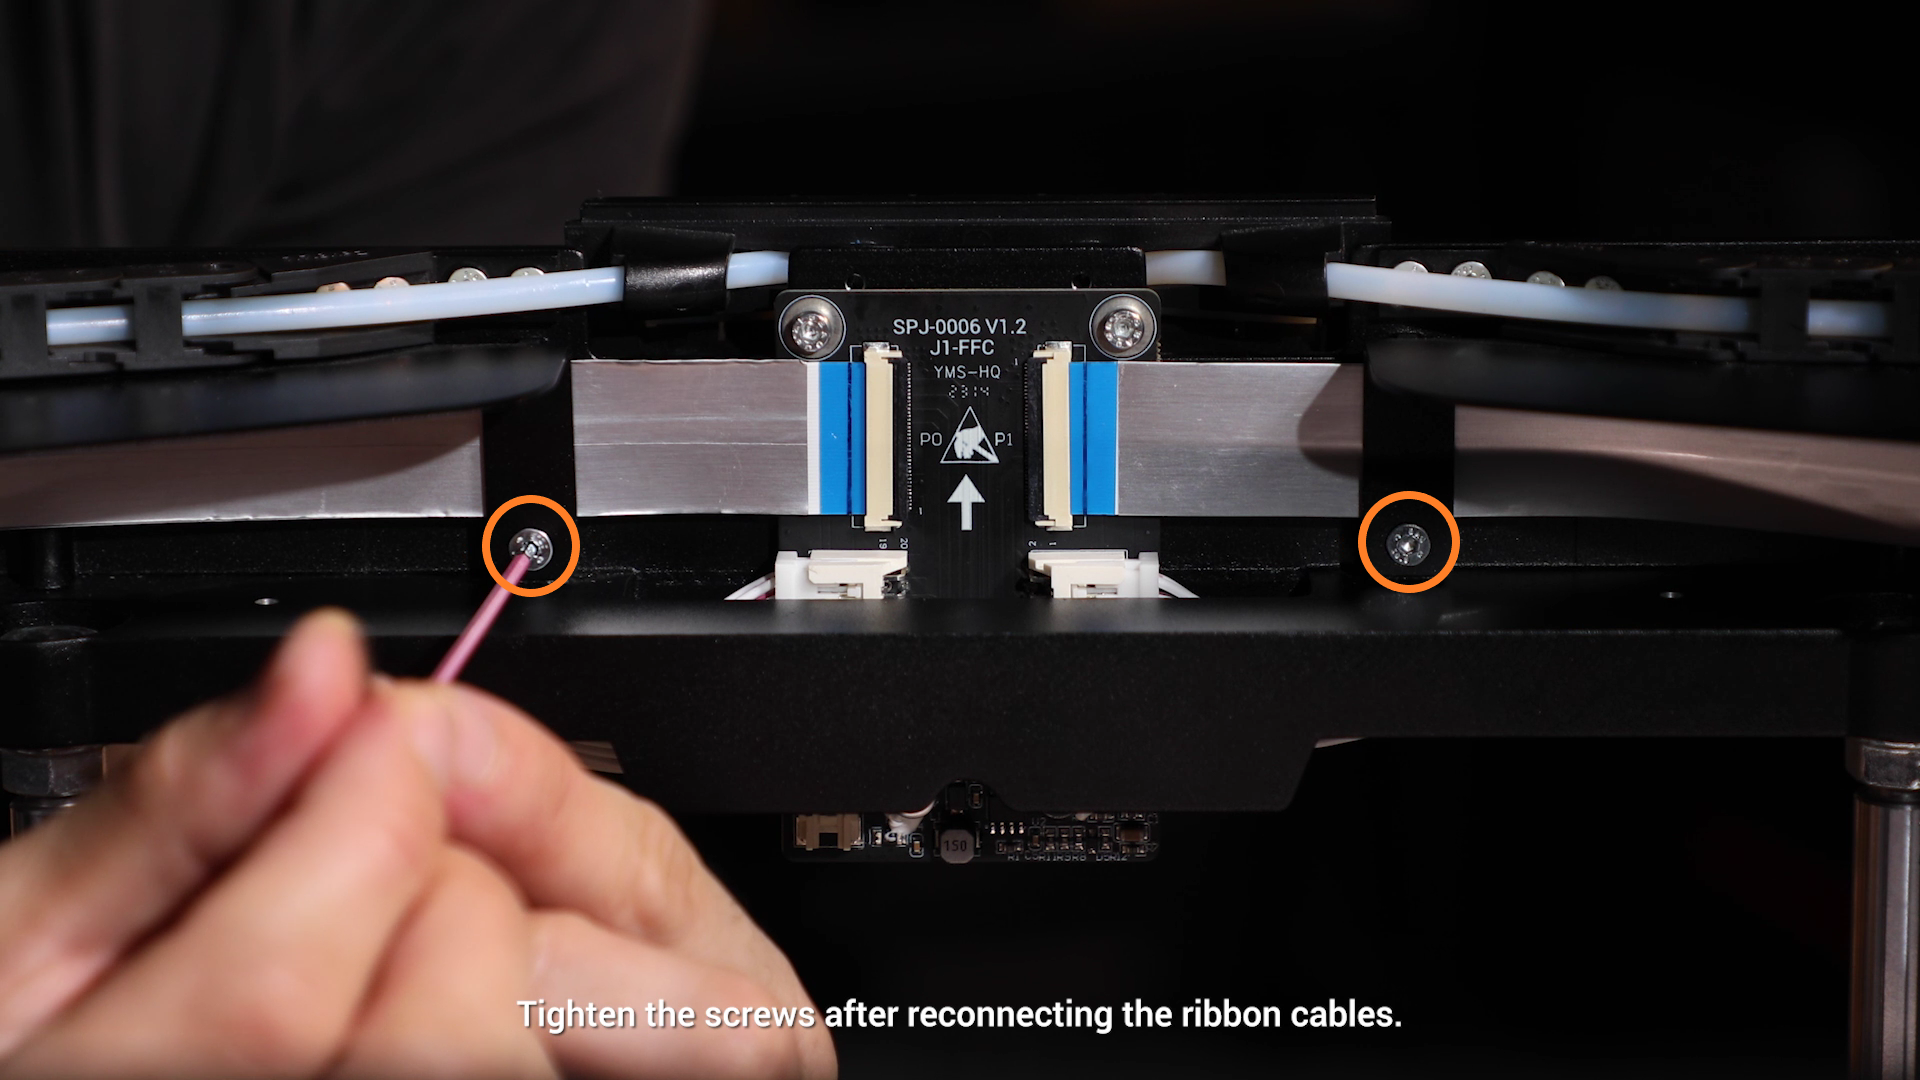
- Tighten the screws after reconnecting the ribbon cables.
¶ Installing the Print Cooling Fan
- Thread the connecting cable through the hole, and then lock the Print Cooling Fan into place.

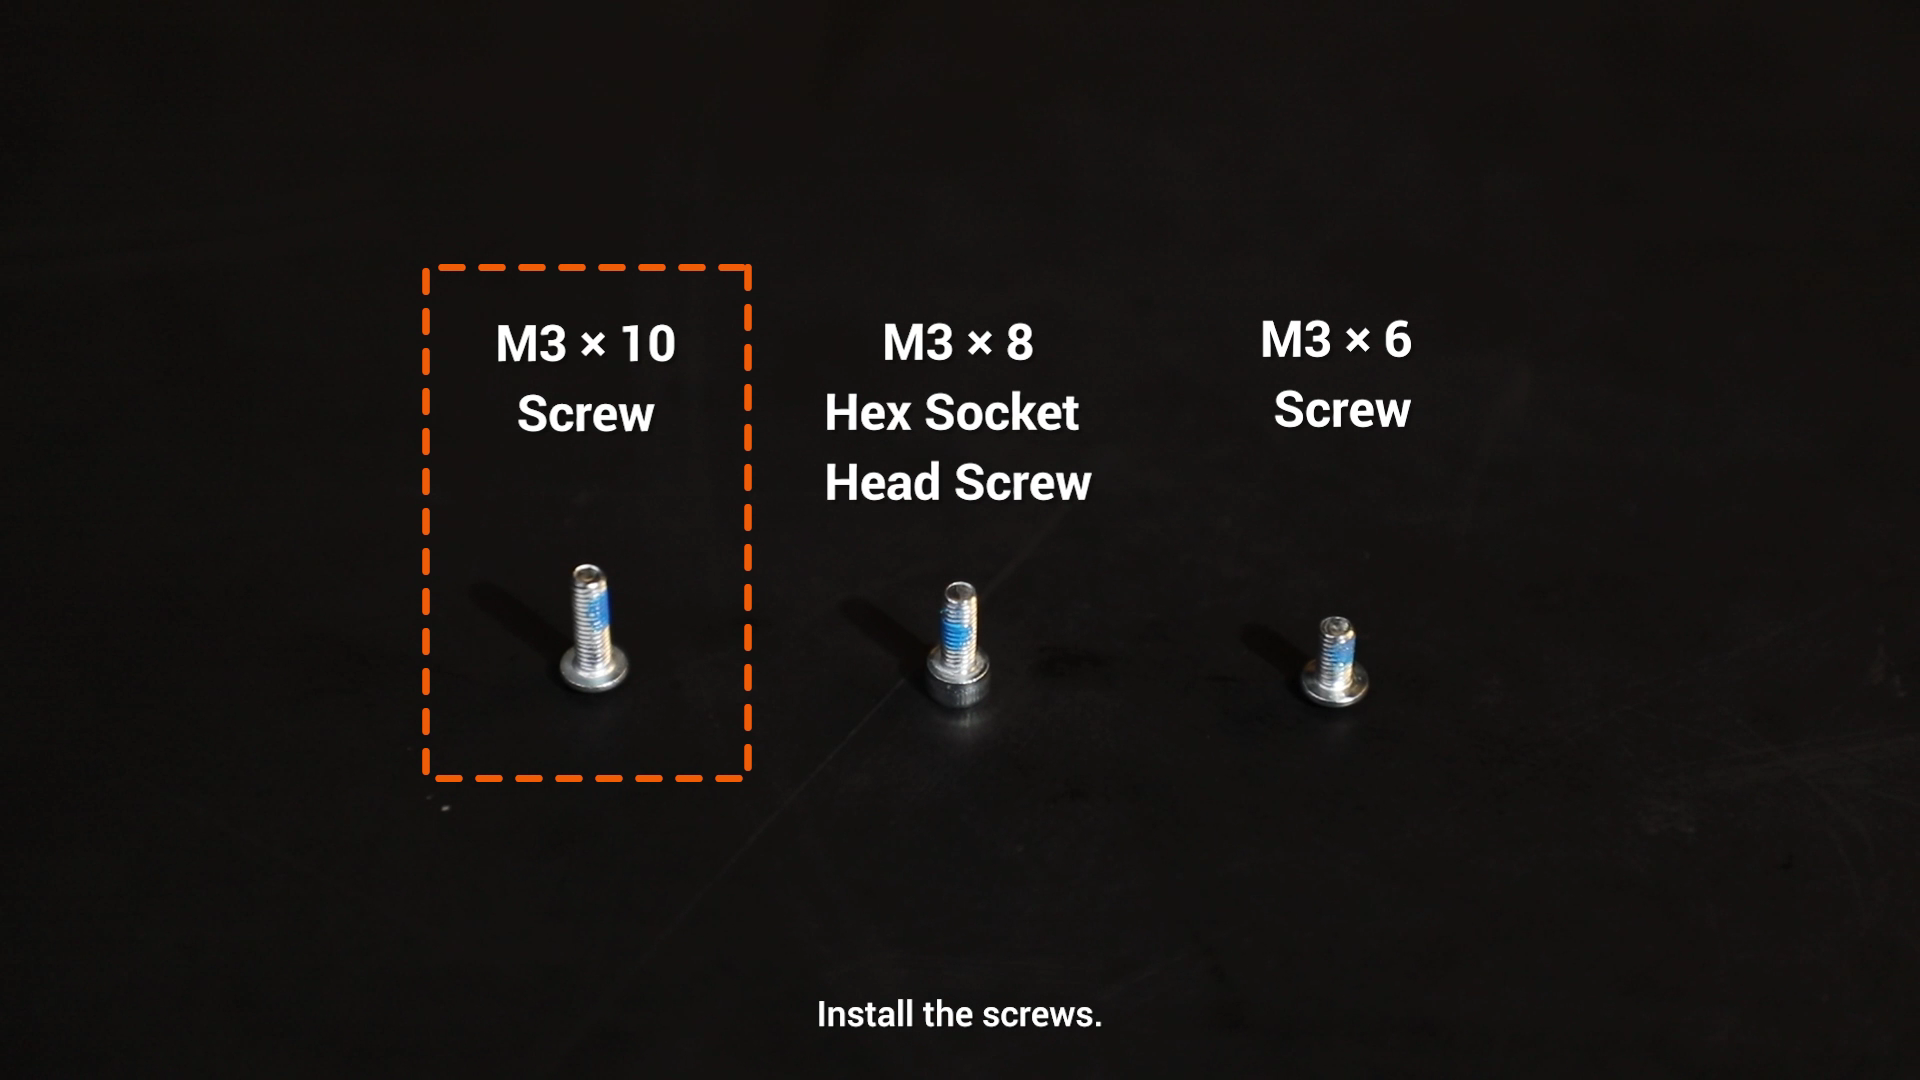
- Install the screws.
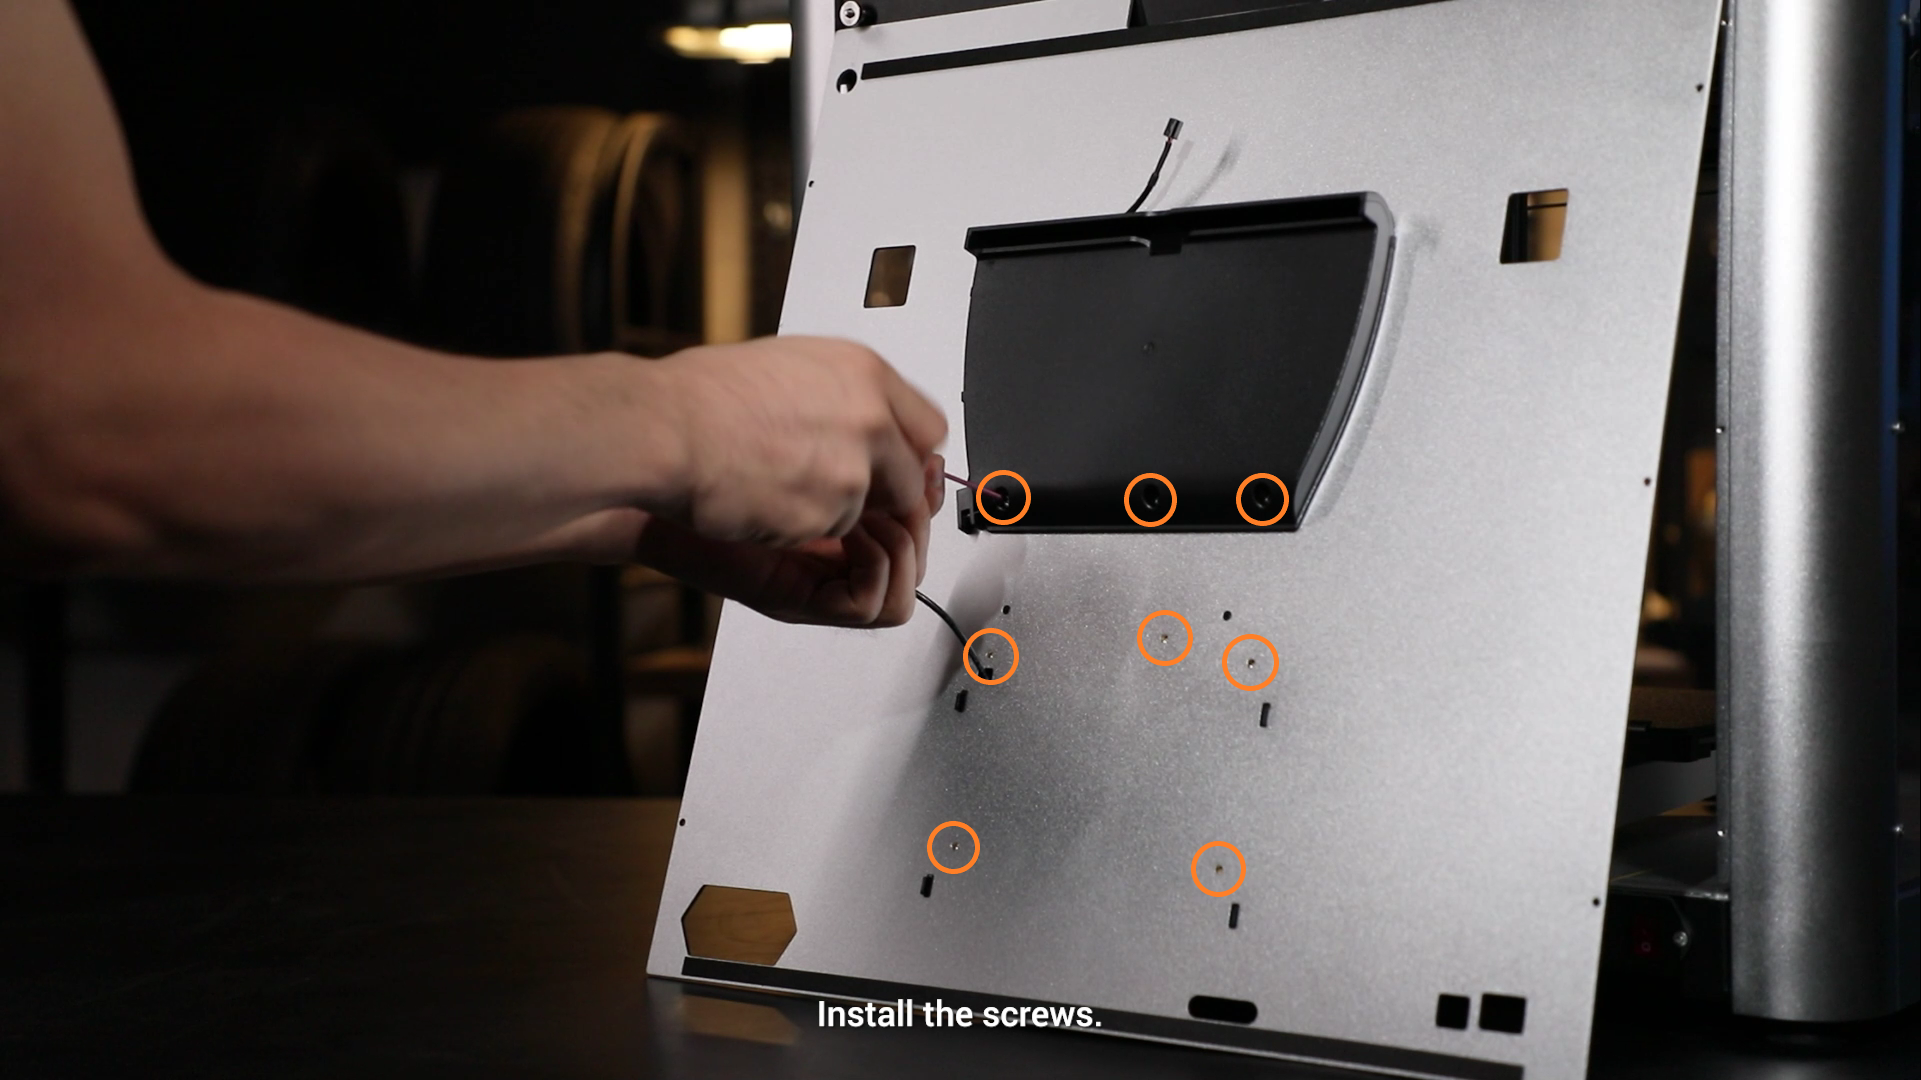
- Connect the Print Cooling Fan. Press the cable into the clip, and then stick the cable clip to the back panel.

¶ Installing the Back Panel
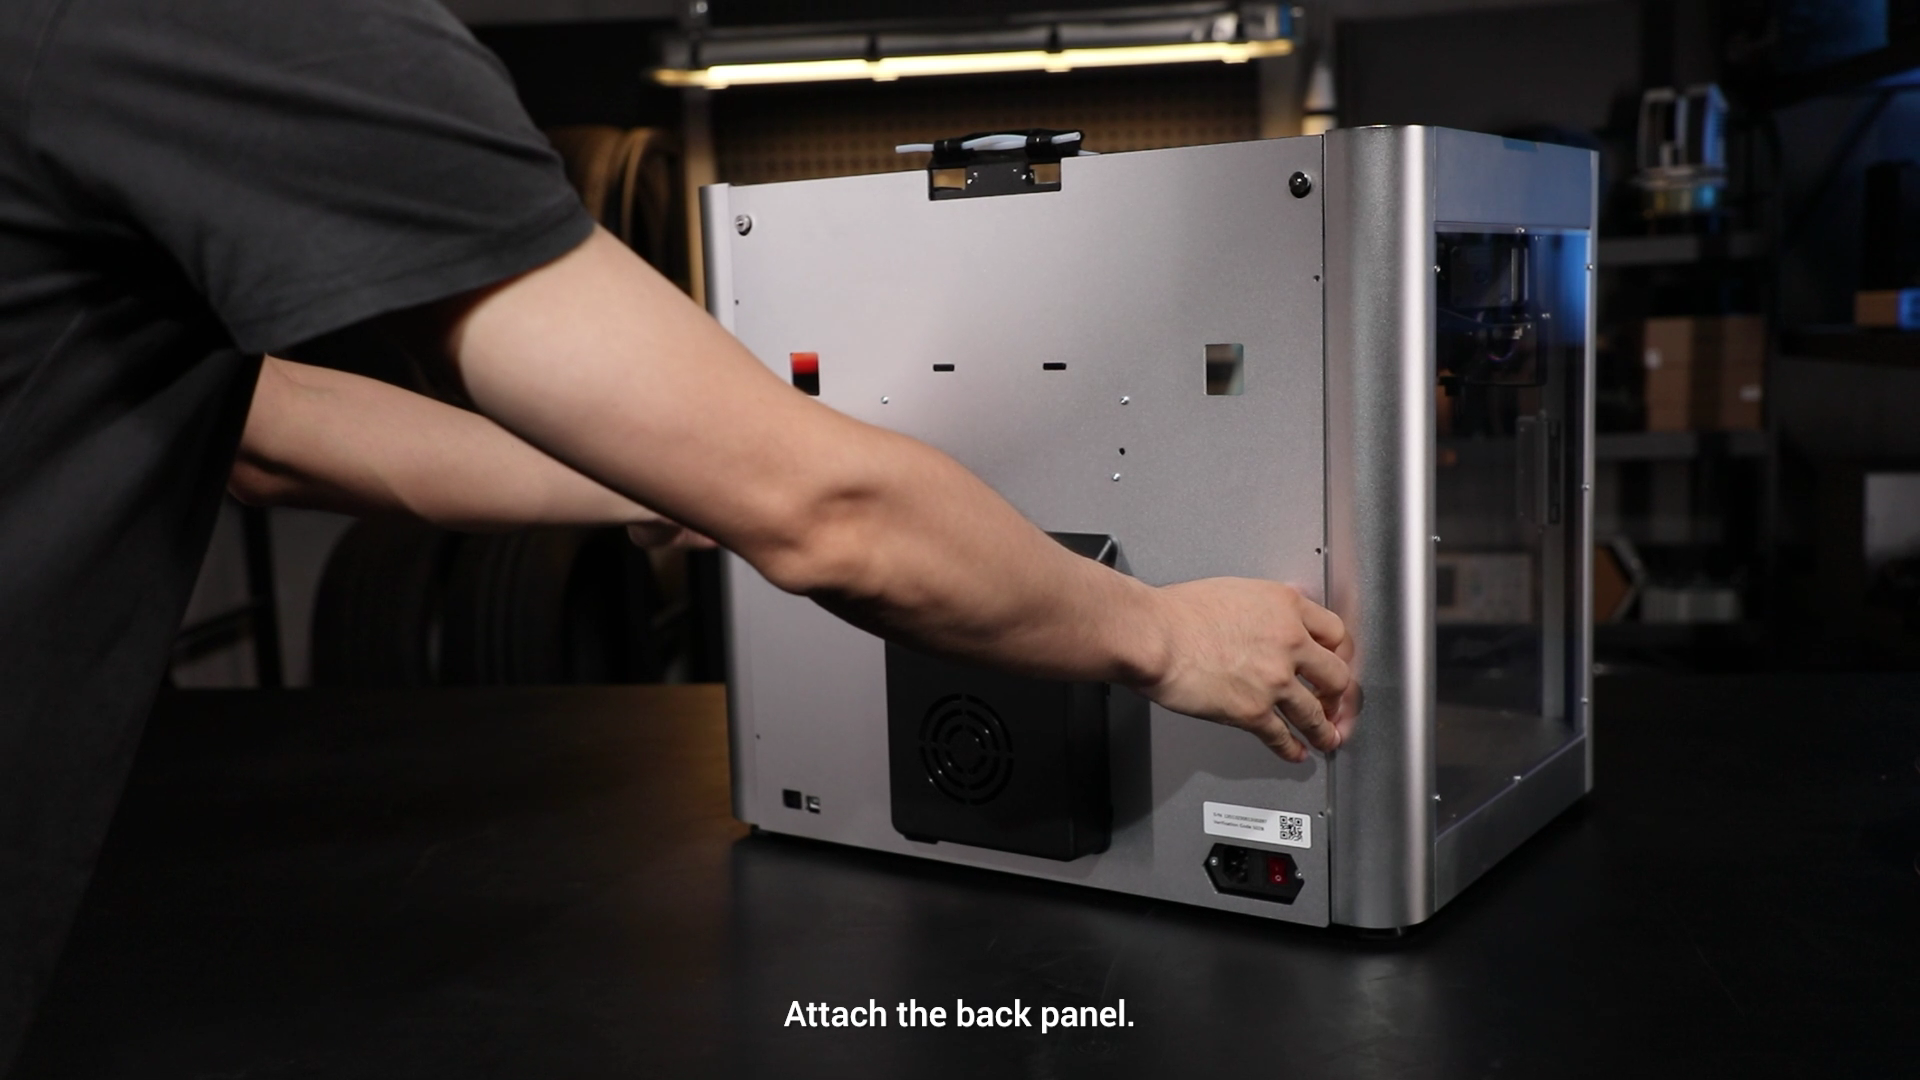
- Attach the back panel.
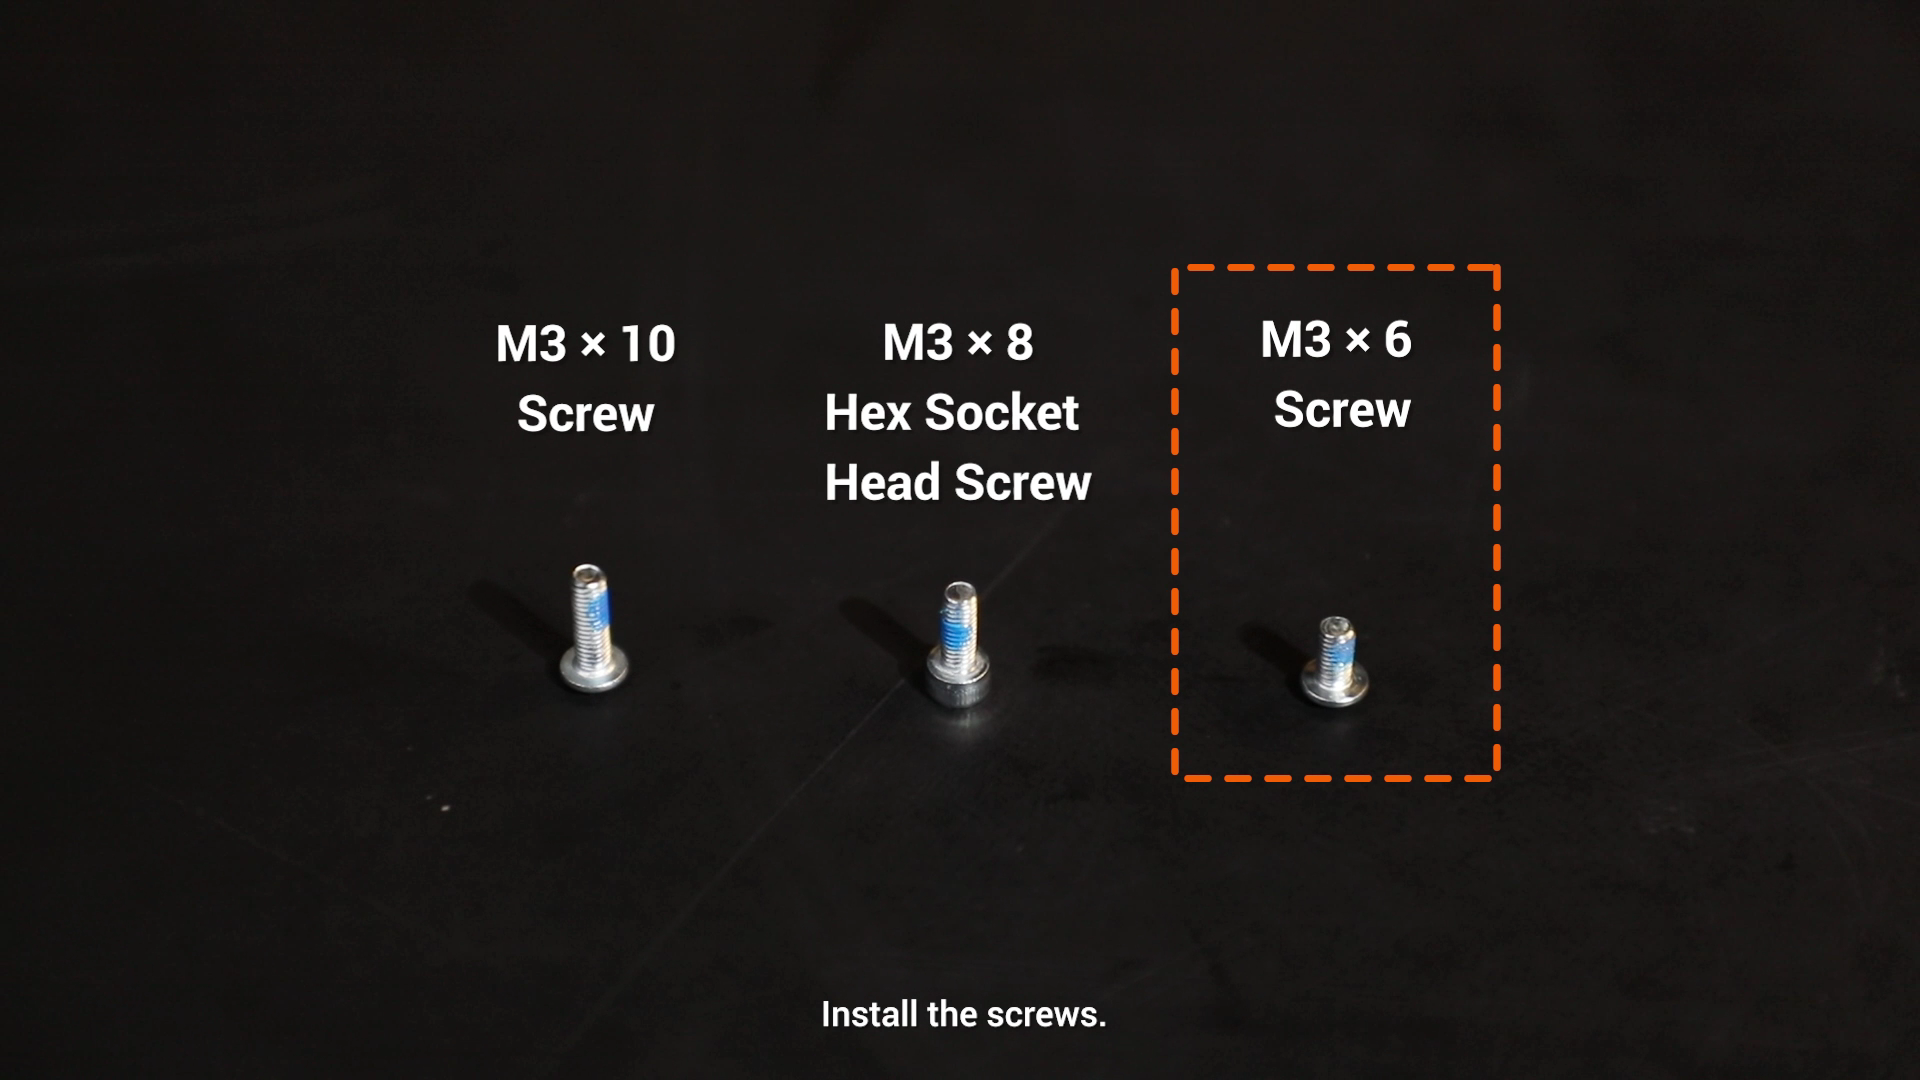
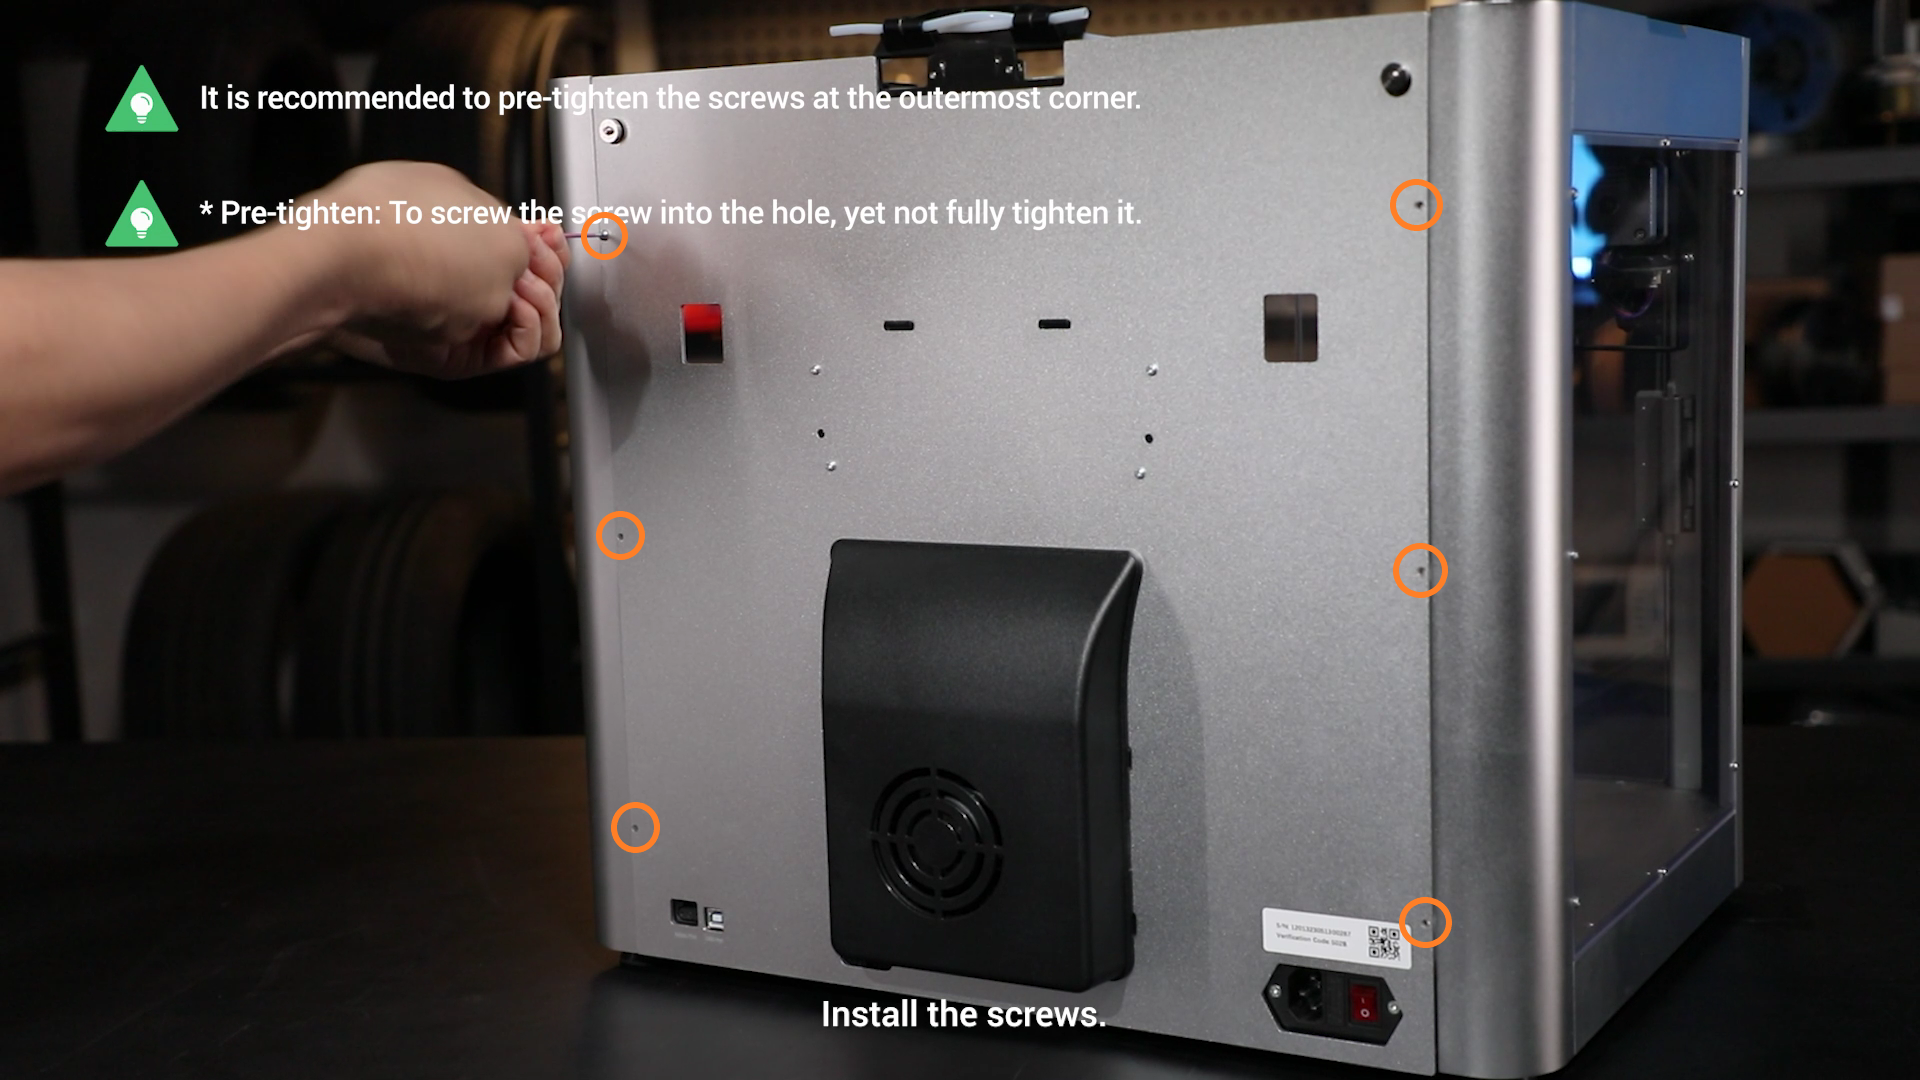
- Install the screws.
It is recommended to pre-tighten the screws at the outermost corner.
Pre-tighten: To screw the screw into the hole, yet not fully tighten it.
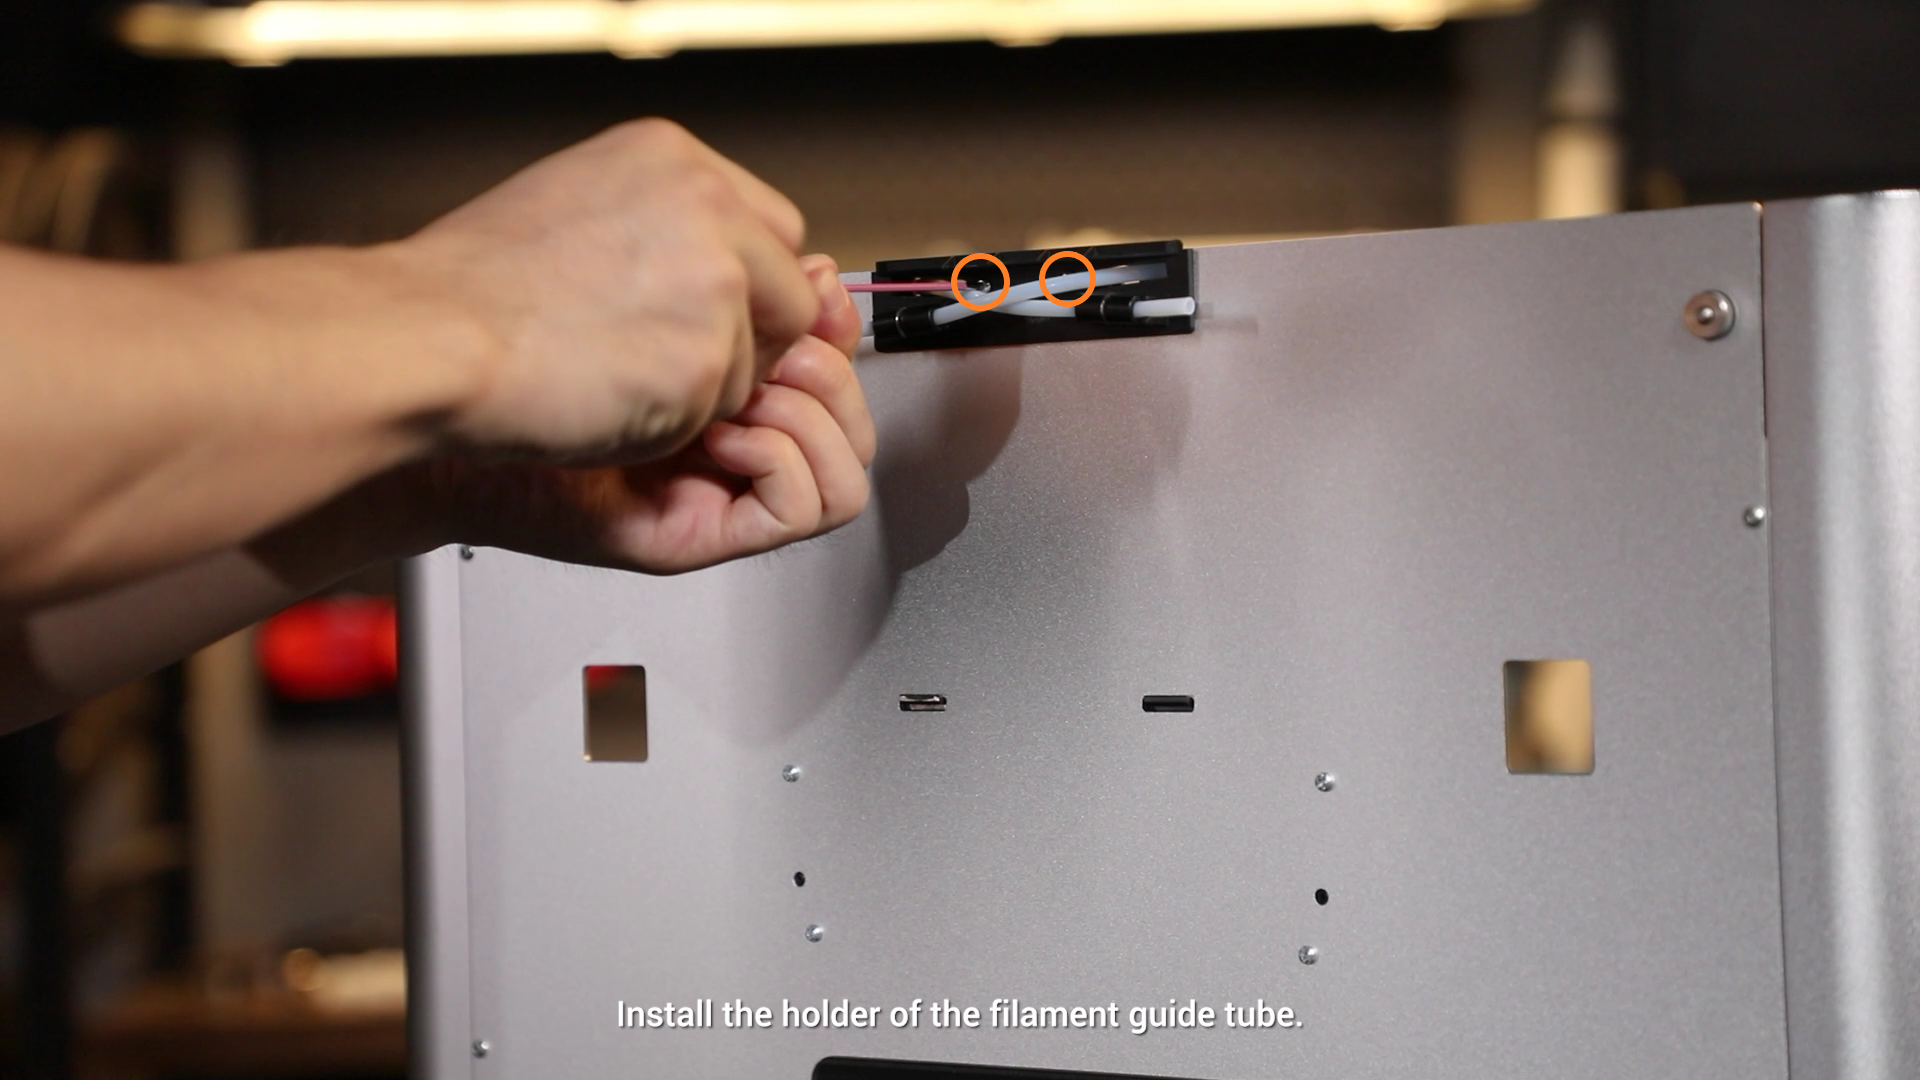
- Install the holder of the filament guide tube.
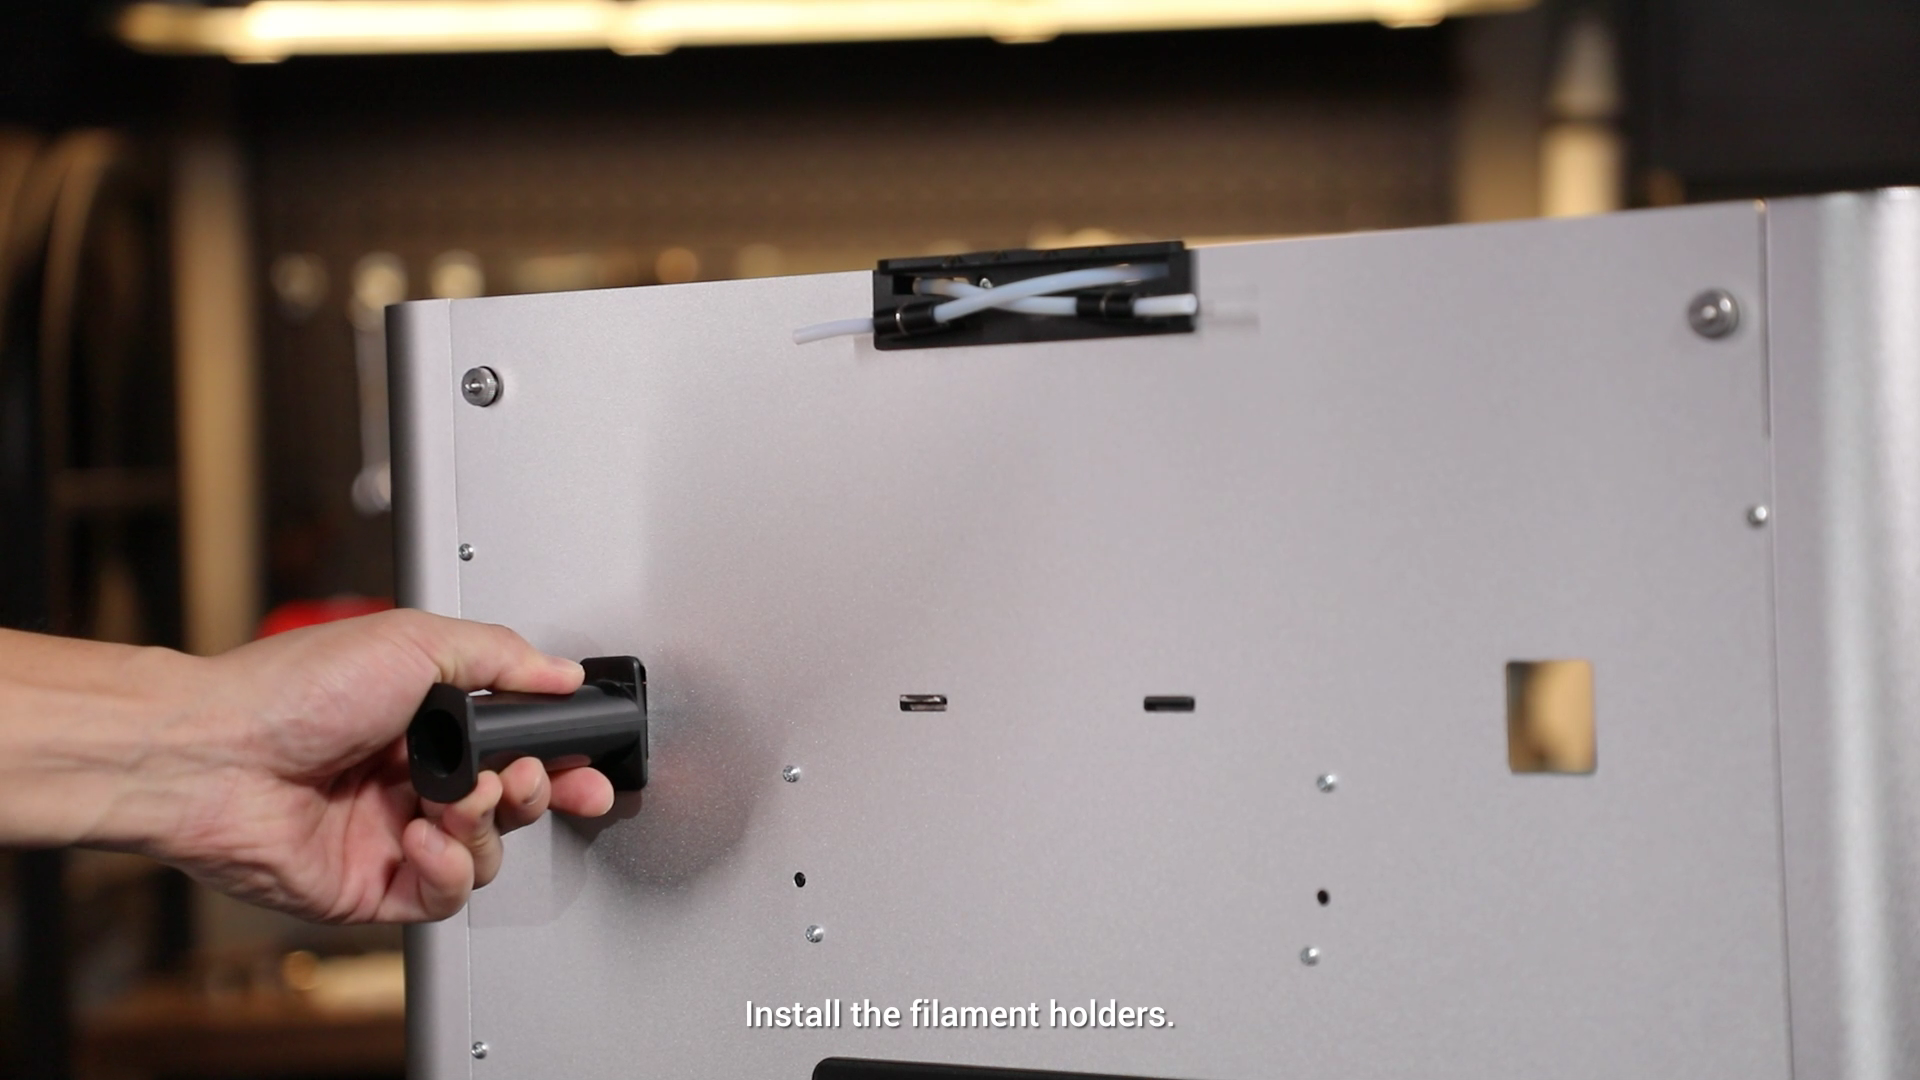
- Install the filament holders.
- Connect the Print Cooling Fan.

- Place the top panel.
