¶ Introduction
This guide provides a detailed, step-by-step process for replacing the linear module limit switch on Artisan.
¶ Tools Needed
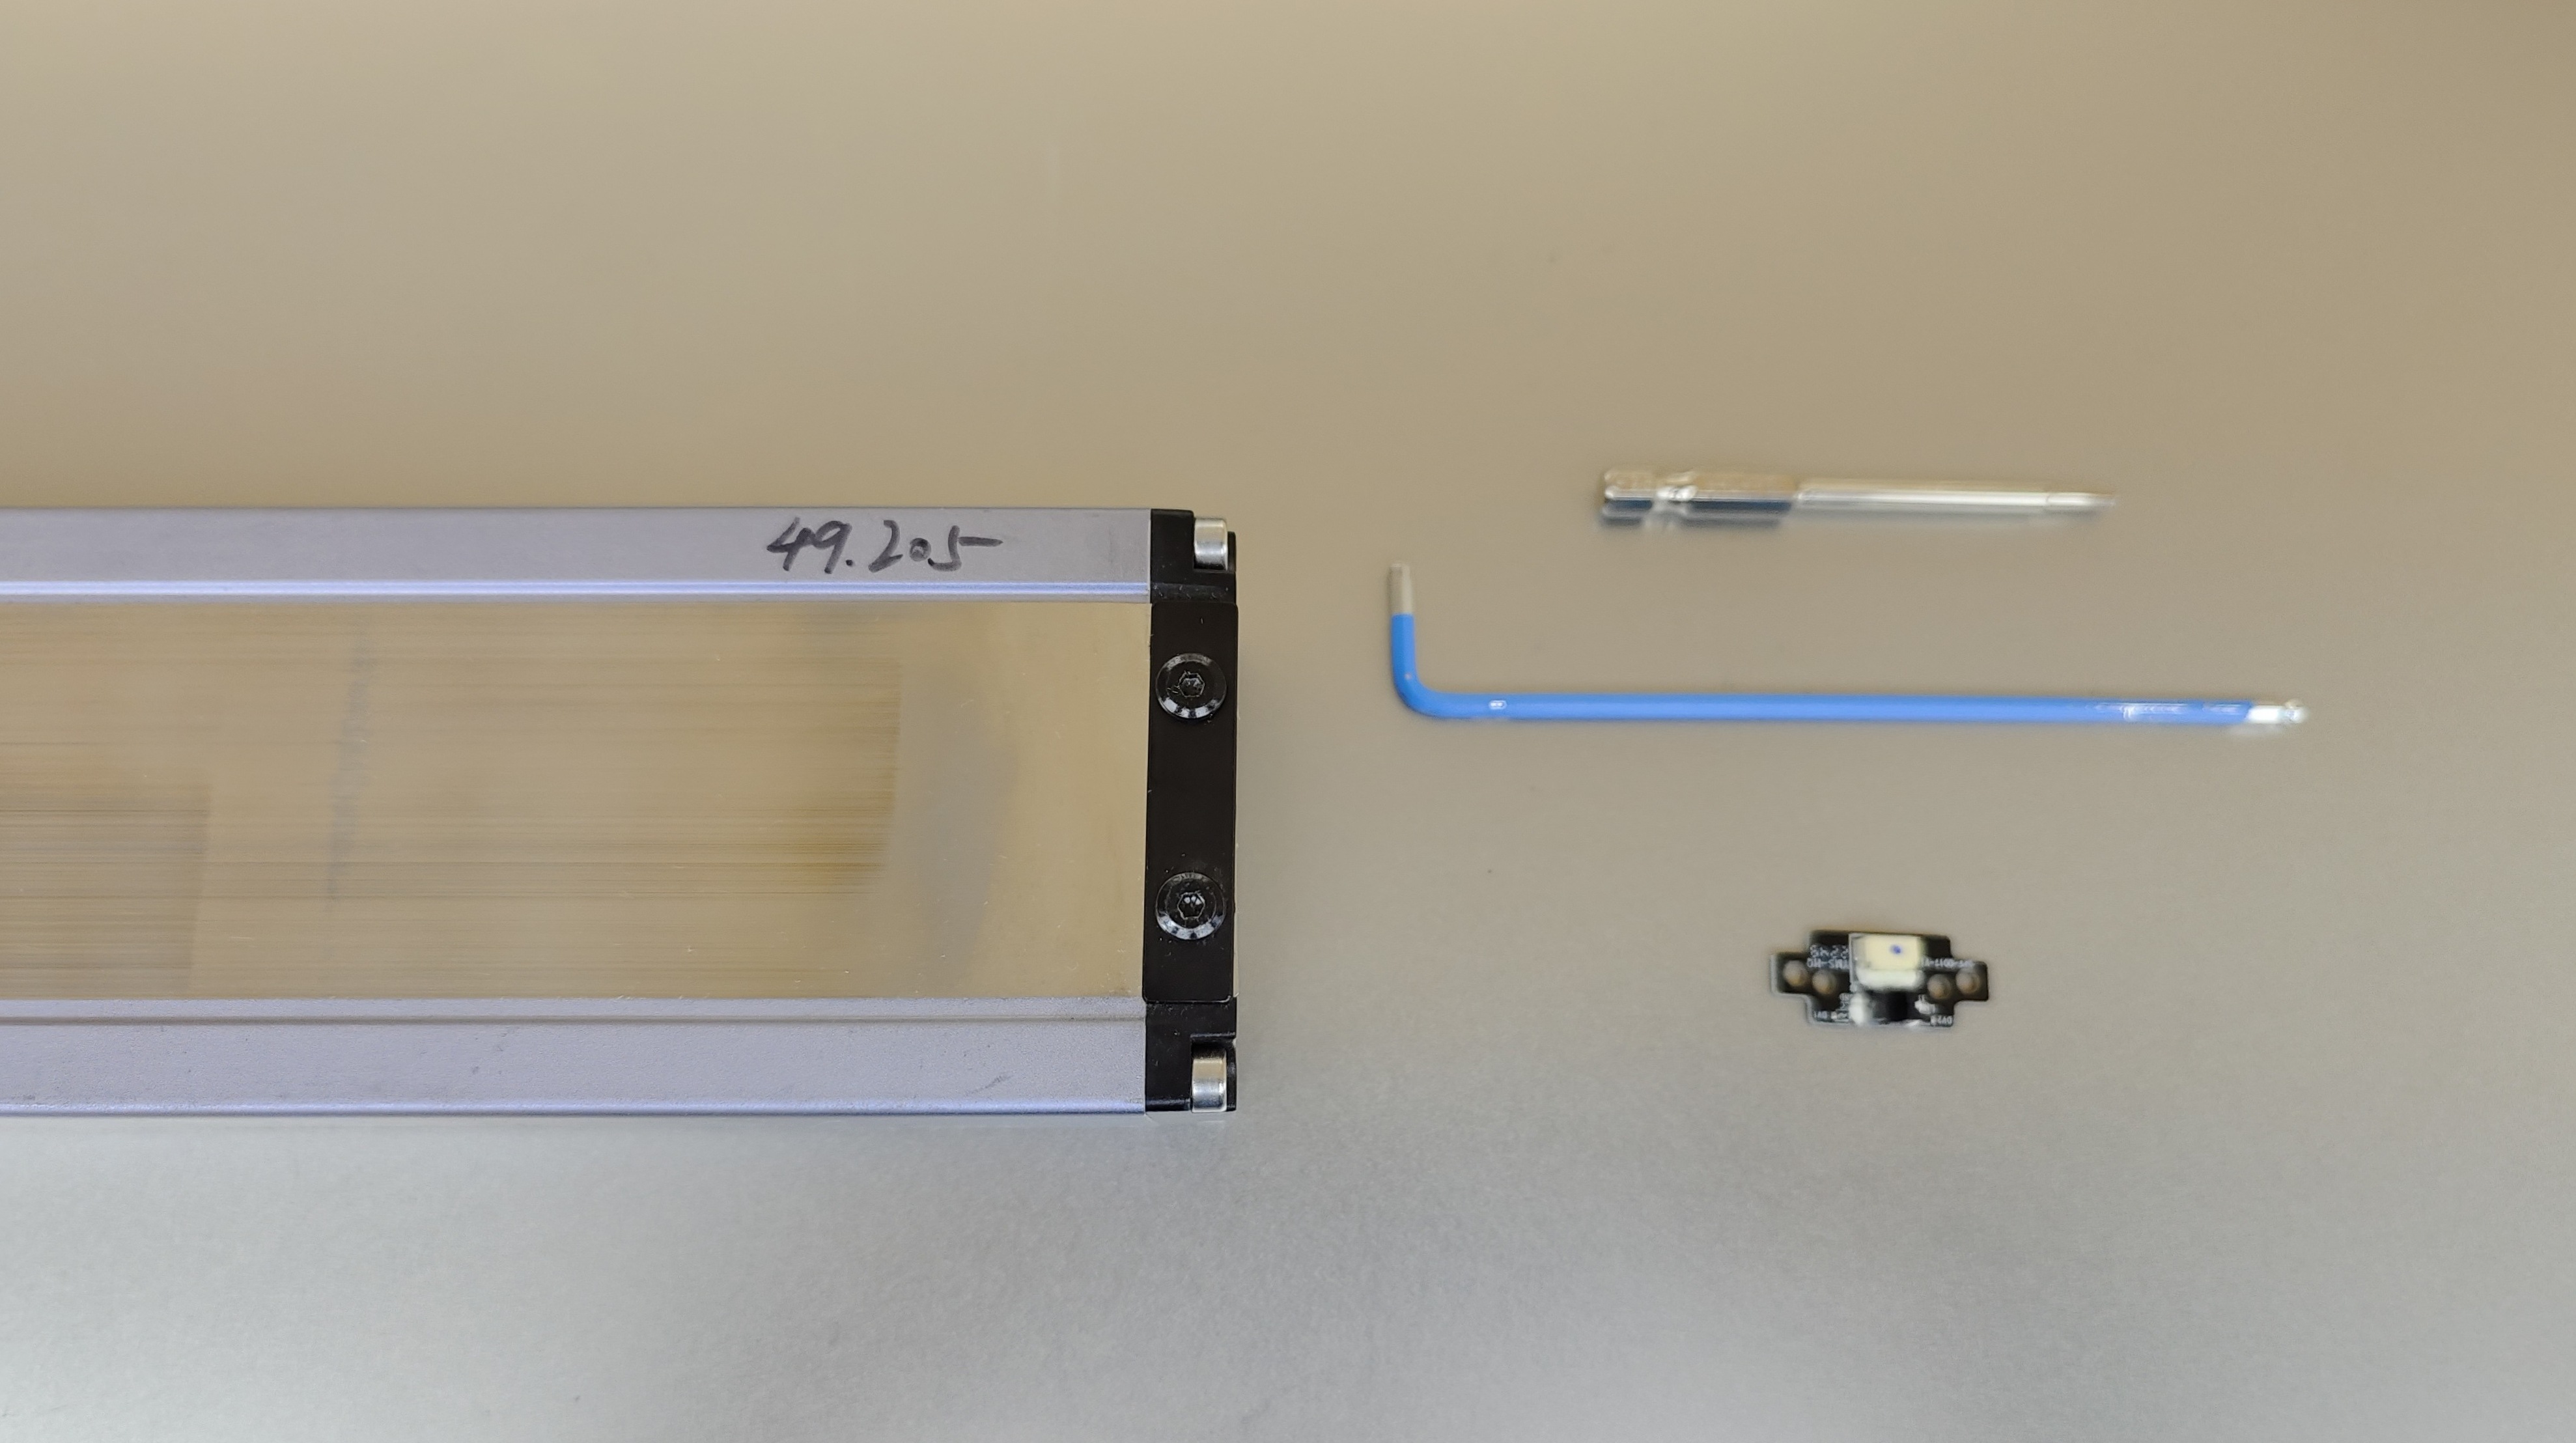
- New limit switch
- H2.5 screwdriver
- H3.0 screwdriver
¶ Safety Precautions
-
When removing or reinstalling the linear module, please make sure the machine is powered off. To avoid any issues, be careful not to plug or unplug anything while the machine is on or accidentally connect things the wrong way.
-
During the operation, you may need to handle the steel strip, which has sharp edges. Please exercise caution to avoid any cuts or injuries from the steel strip.
¶ Step-by-Step Instructions
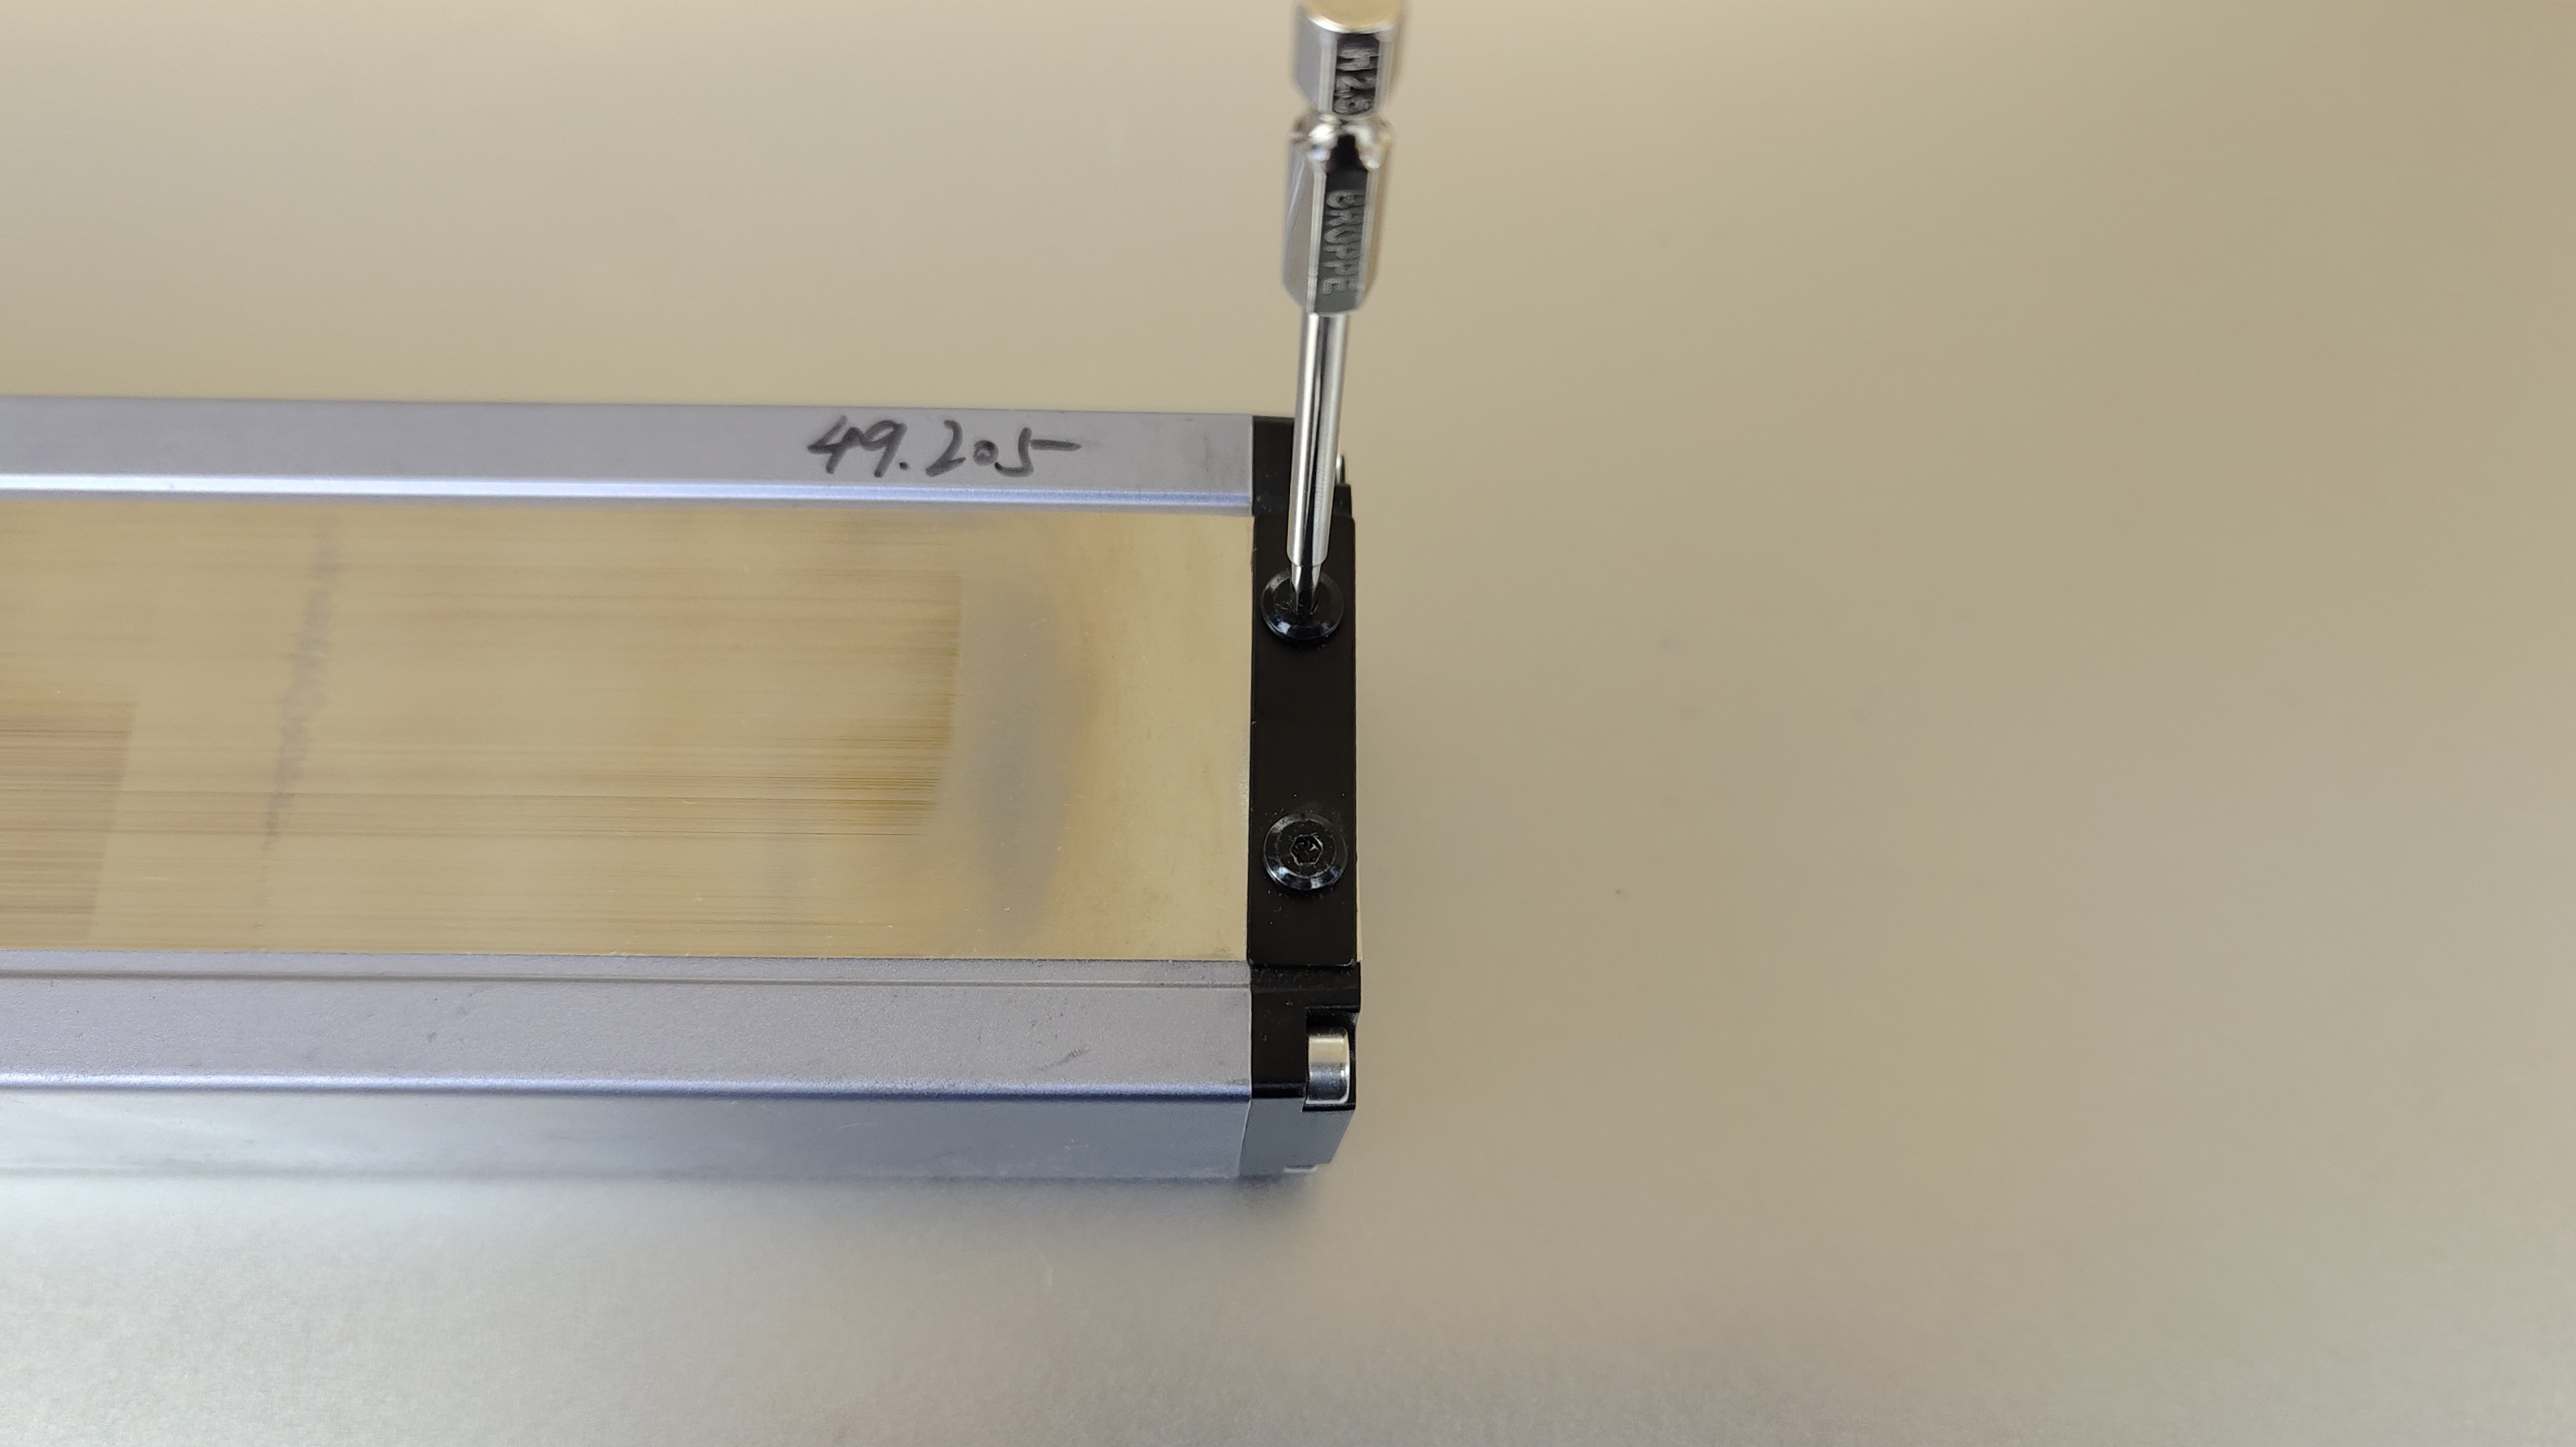
¶ Step 1 Remove the two screws securing the steel strip
Locate the end of the linear module that does not have the linear module cable connected, and then use a H2.5 screwdriver to remove the two screws securing the steel strip.
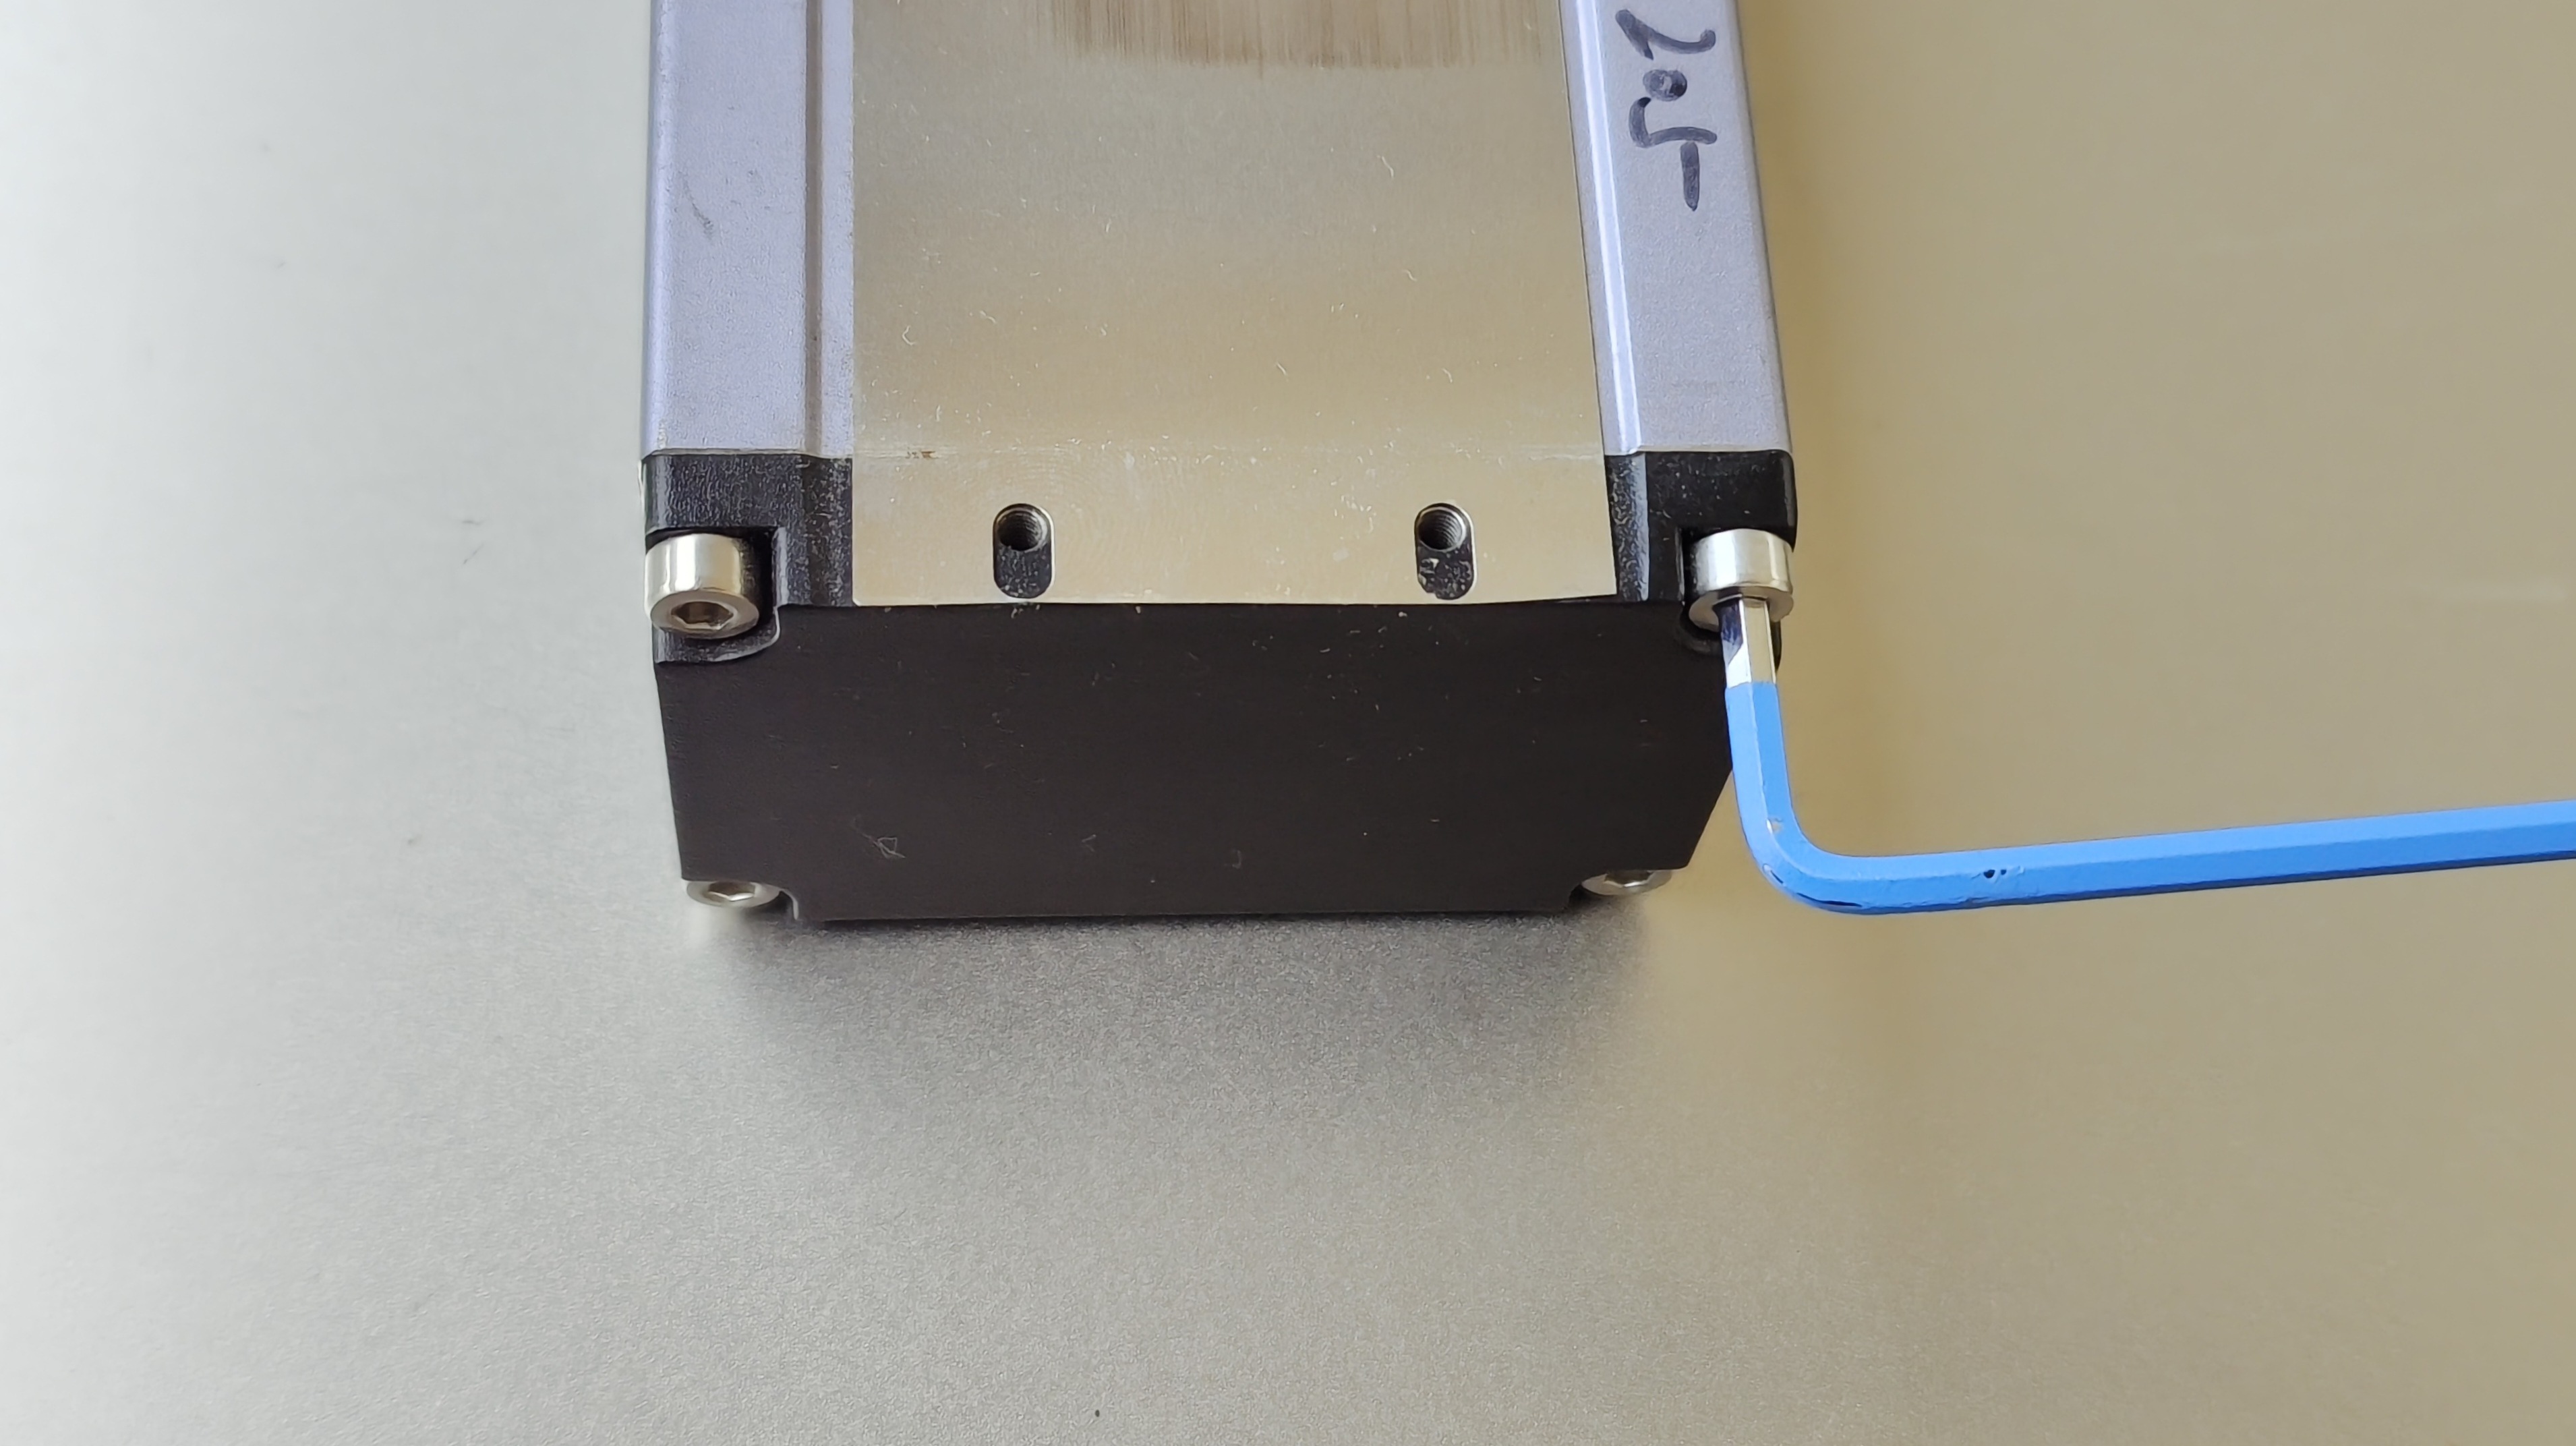
¶ Step 2 Remove the four screws securing the end cap
Use an H3.0 screwdriver to remove the four screws securing the end cap.
¶ Step 3 Remove the end cap
Remove the end cap from the linear module.
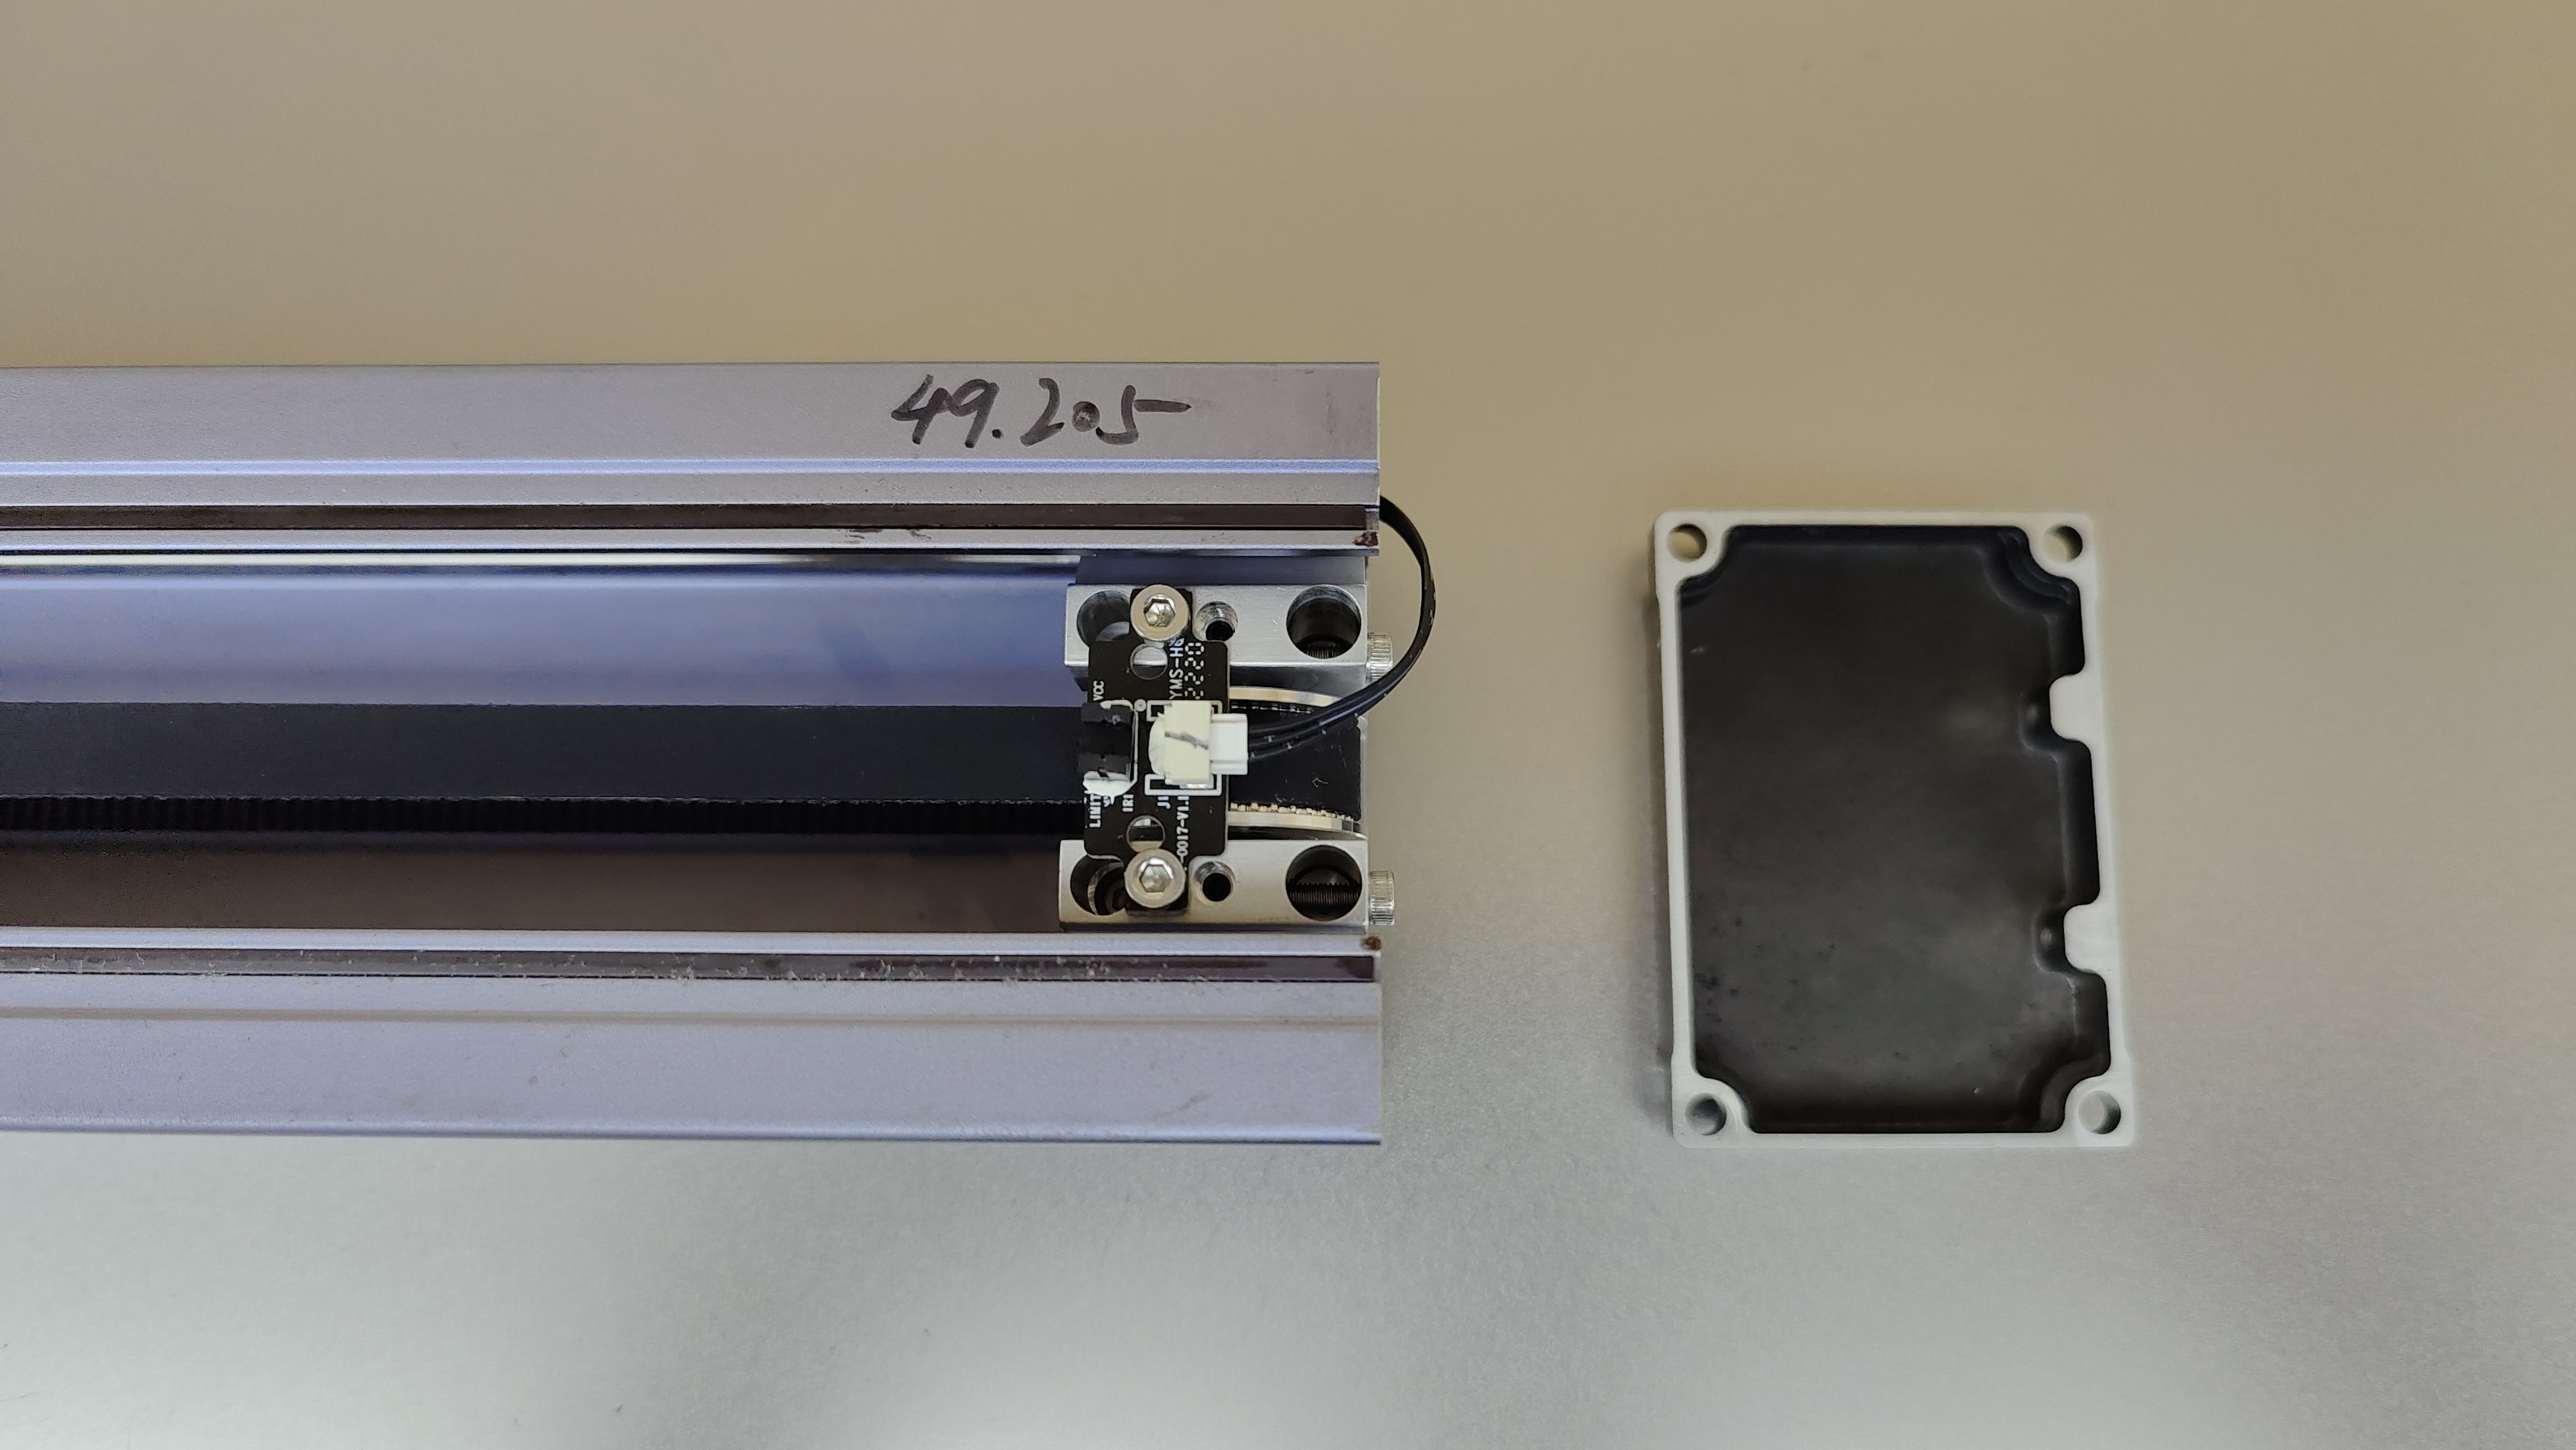
¶ Step 4 Unplug the limit switch cable
Unplug the limit switch cable from the old limit switch board.
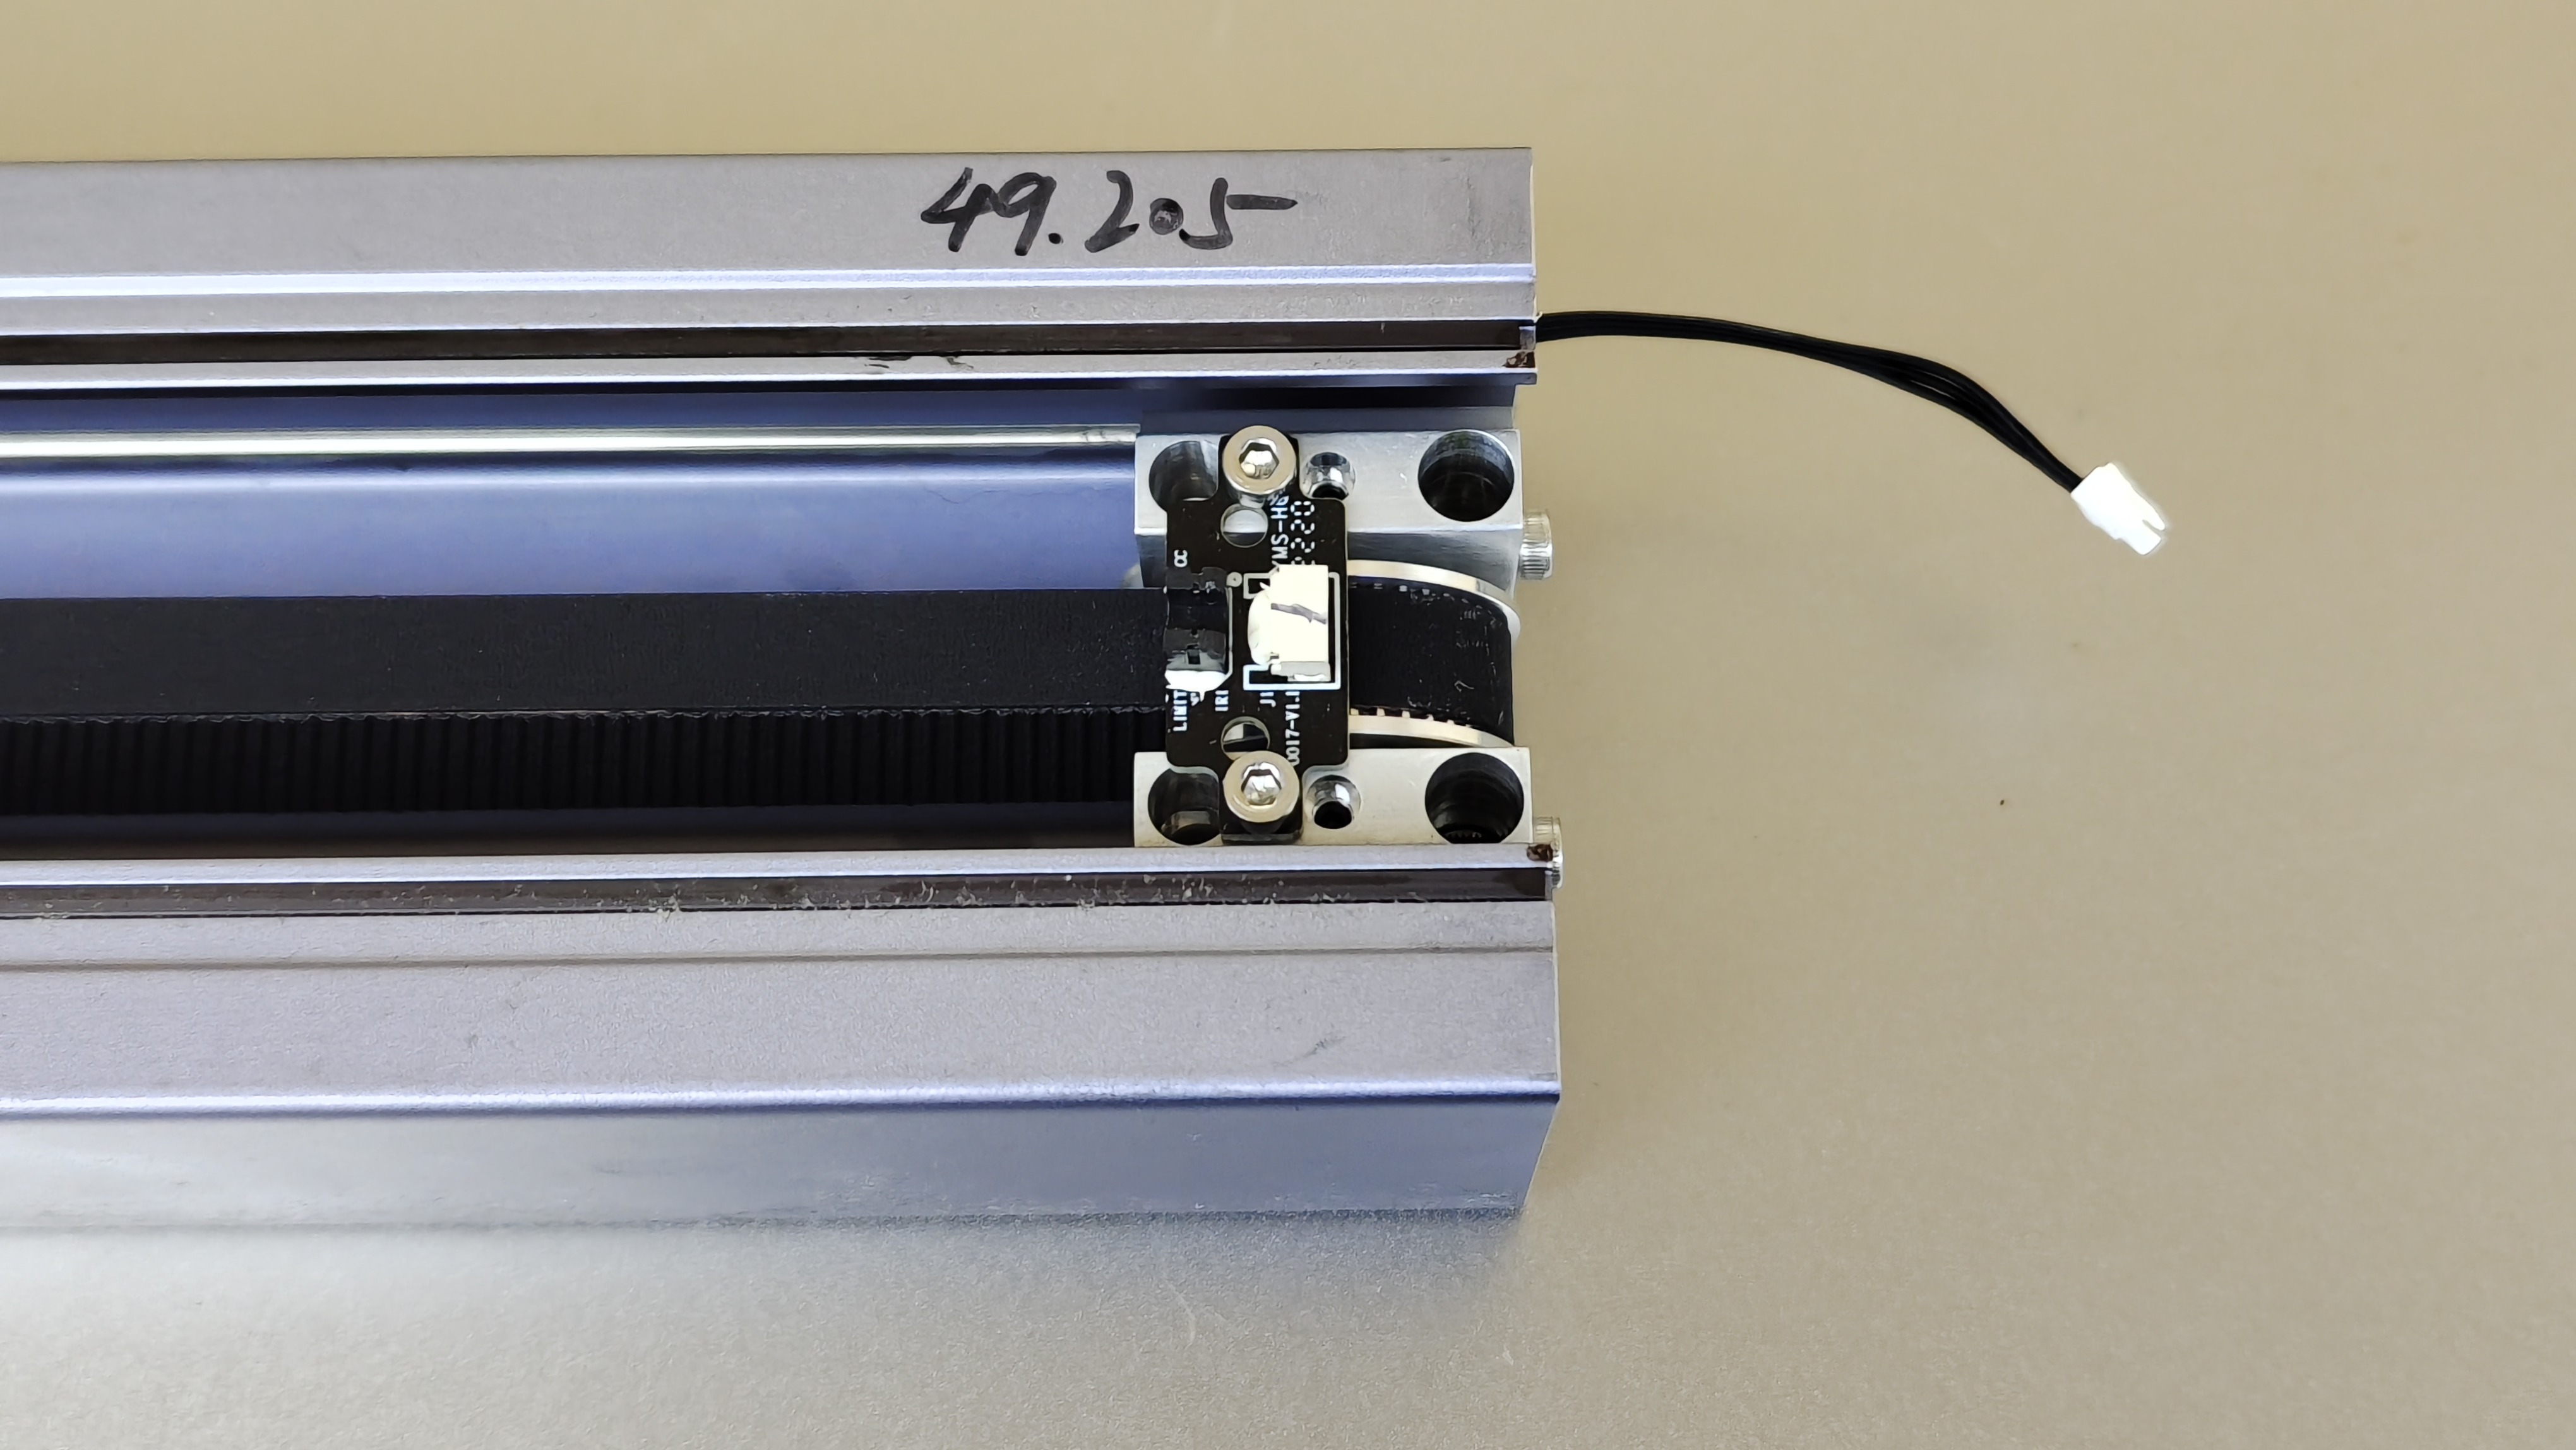
¶ Step 5 Remove the two screws securing the limit switch
Use an H2.5 screwdriver to remove the two screws securing the limit switch.
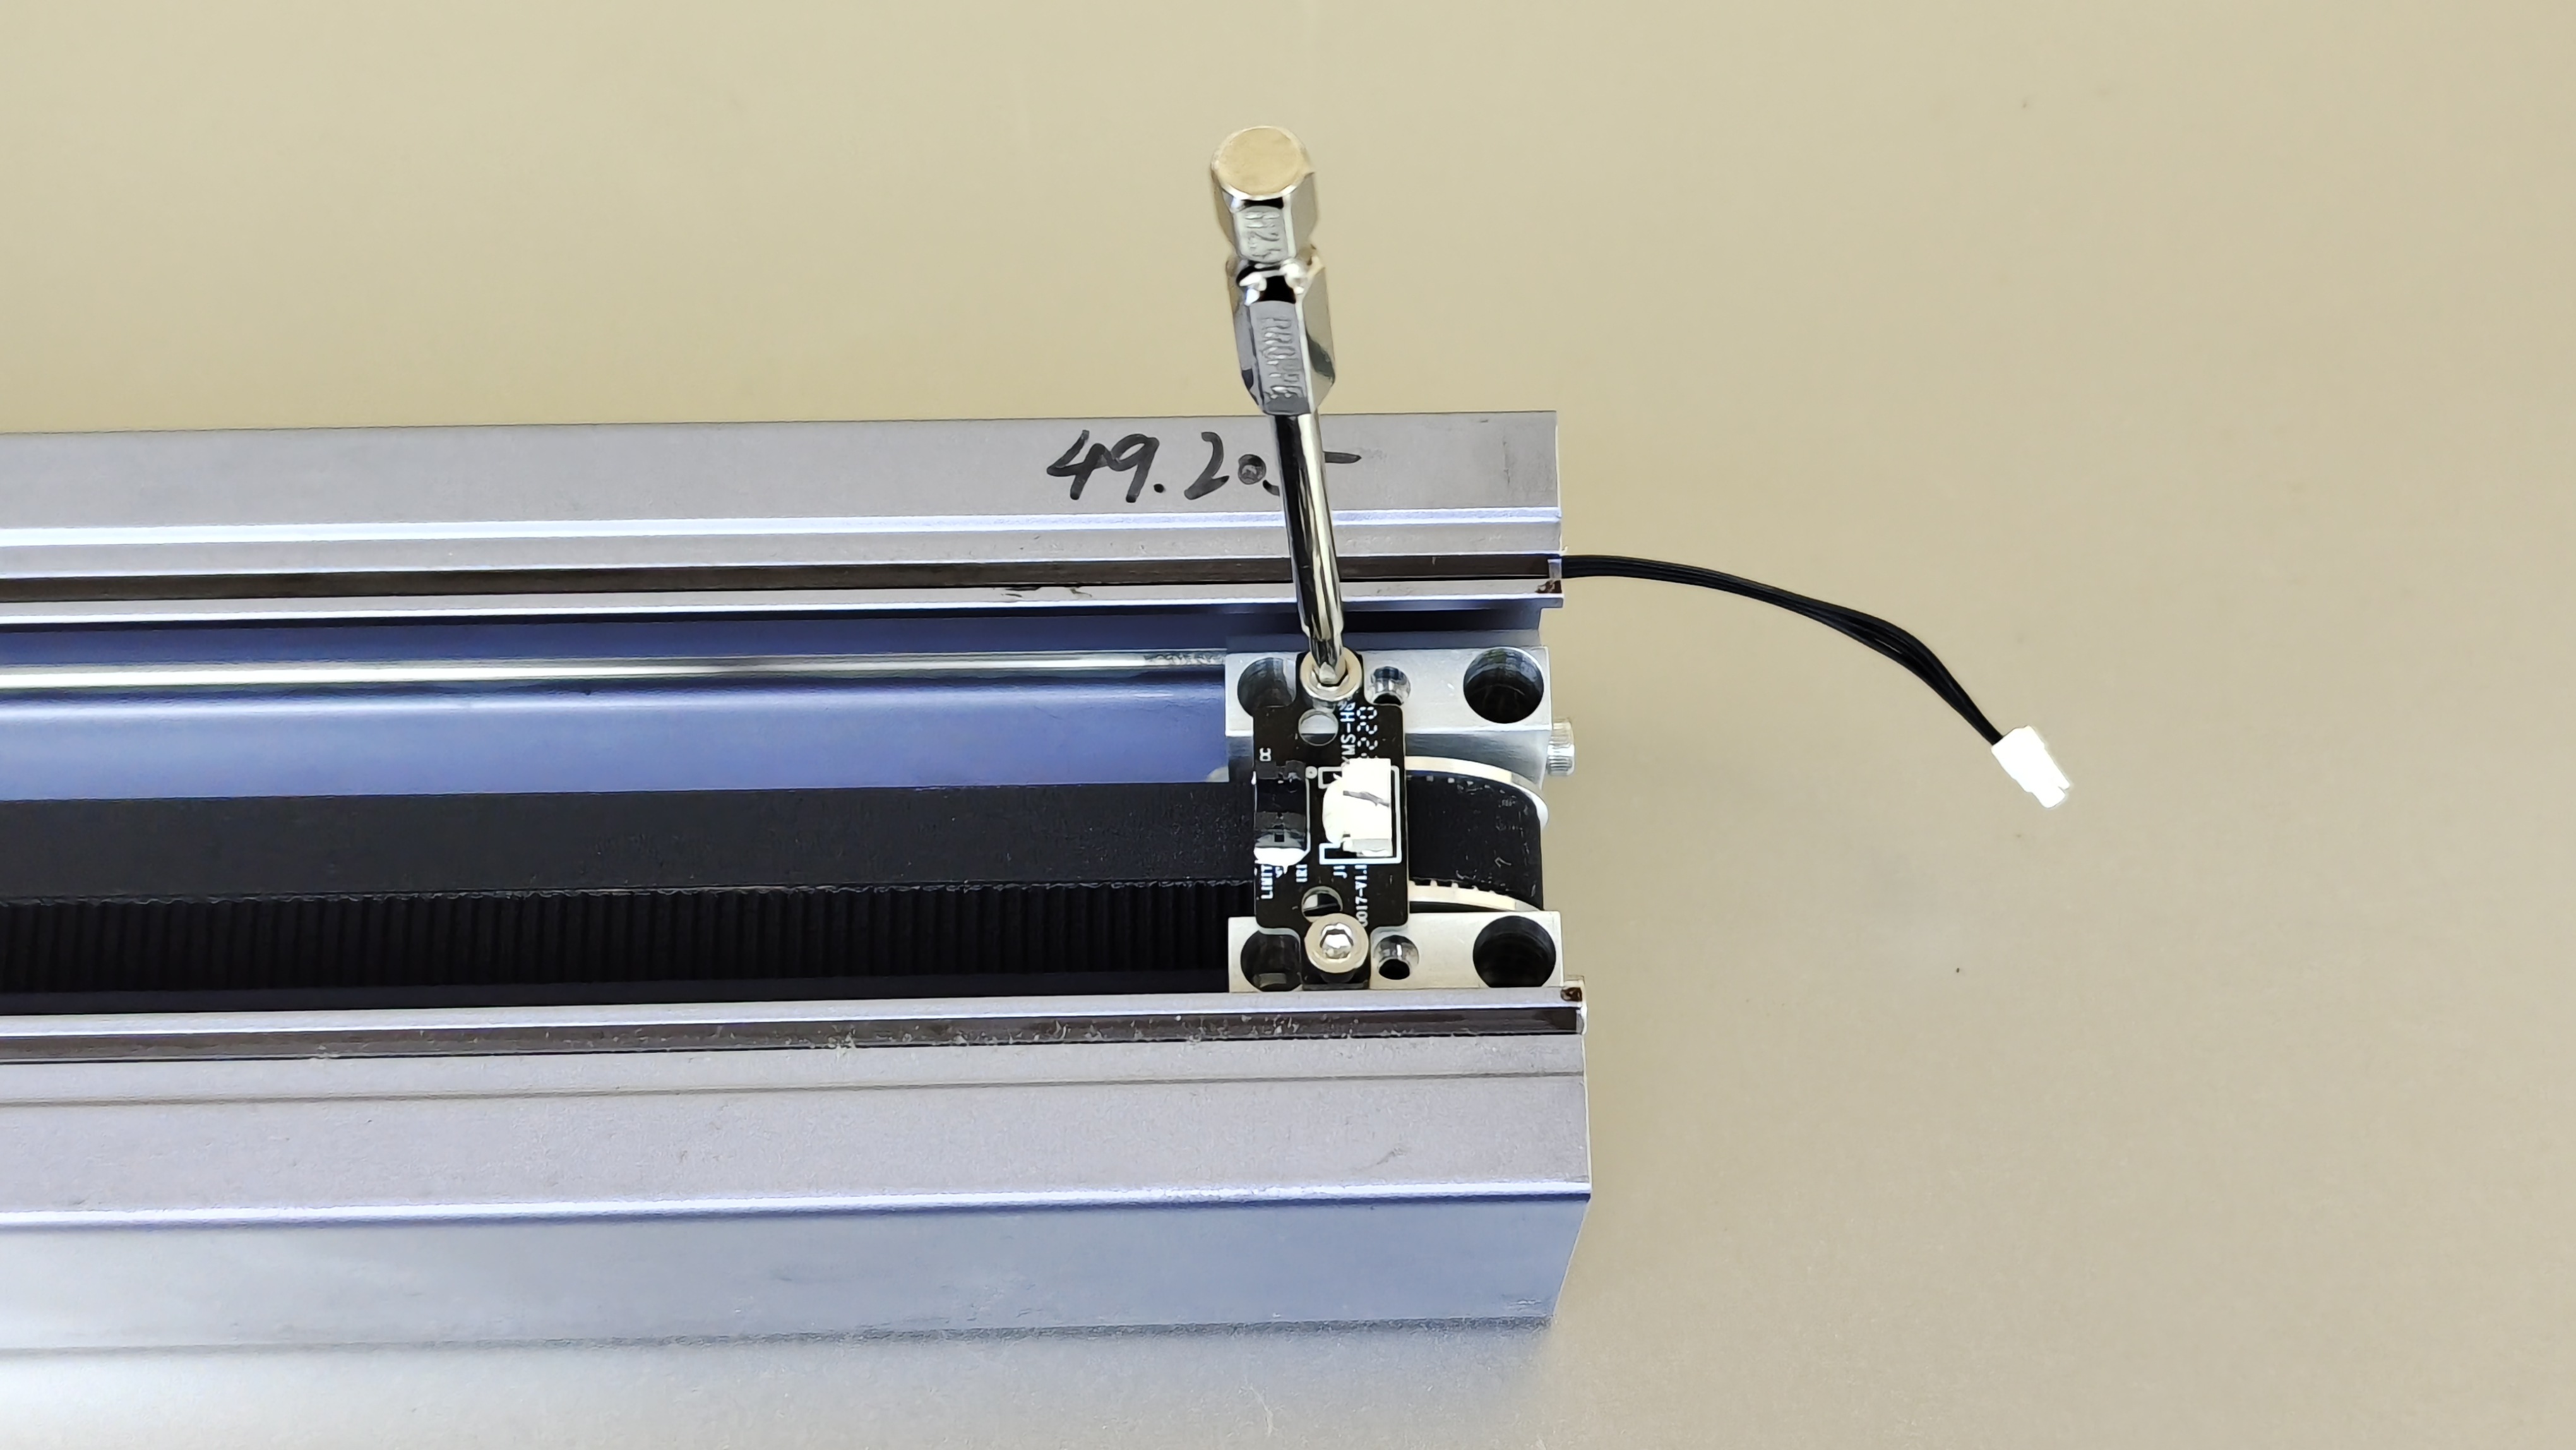
¶ Step 6 Install the new limit switch
Install the new limit switch and plug in the limit switch cable.
¶ Step 7 Reinstall the modules and screws
Following the disassembly steps, carefully reinstall each module and screw to complete the process.
¶ Contact Support
If you encounter difficulties during the installation process and wish to seek assistance, kindly submit a support ticket through https://snapmaker.formcrafts.com/support-ticket to contact Snapmaker Support.
Our dedicated support team will be more than willing to assist you in resolving the issue.